


spring使用注解开发替代传统的xml开发已经是大势所趋。传统的xml配置繁琐且出错不容易发现,导致许多低级错误无法排除,而且随着springboot的发展,注解开发将会更加流行。
下面首先是传统的xml开发。
首先导入maven依赖,只需要导入spring-context即可。
 <dependencies>
        <dependency>
            <groupId>org.springframework</groupId>
            <artifactId>spring-context</artifactId>
            <version>5.3.6</version>
        </dependency>
    </dependencies>
然后当然是配置application.xml
<?xml version="1.0" encoding="UTF-8"?>
<beans xmlns="http://www.springframework.org/schema/beans"
    xmlns:xsi="http://www.w3.org/2001/XMLSchema-instance"
    xsi:schemaLocation="http://www.springframework.org/schema/beans http://www.springframework.org/schema/beans/spring-beans.xsd">

</beans>
然后写我们需要交给ioc容器管理的类,这里我写了一个Person类
package top.rslly;

public class Person {
    private int weight;
    private int leg;

    public Person(int weight, int leg) {
        this.weight = weight;
        this.leg = leg;
    }

    public int getWeight() {
        return weight;
    }

    public void setWeight(int weight) {
        this.weight = weight;
    }

    public int getLeg() {
        return leg;
    }

    public void setLeg(int leg) {
        this.leg = leg;
    }
}
然后再次配置xml文件
<?xml version="1.0" encoding="UTF-8"?>
<beans xmlns="http://www.springframework.org/schema/beans"
       xmlns:xsi="http://www.w3.org/2001/XMLSchema-instance"
       xsi:schemaLocation="http://www.springframework.org/schema/beans http://www.springframework.org/schema/beans/spring-beans.xsd">
    <bean name="person" class="top.rslly.Person">

        <constructor-arg name ="weight" value="100"/>
        <constructor-arg name = "leg" value="2"/>
    </bean>
</beans>
通过构造器的形式注入,这也是spring官方较为推荐的做法。当然也可以用set注入。
最后创建启动类
public class main {
    public static void main(String []args) {
        //加载xml文件,获取容器中的对象
        ApplicationContext ac = new ClassPathXmlApplicationContext("application.xml");
        Person person = (Person) ac.getBean("person");
        System.out.println(person.getWeight());
    }
}
最后运行结果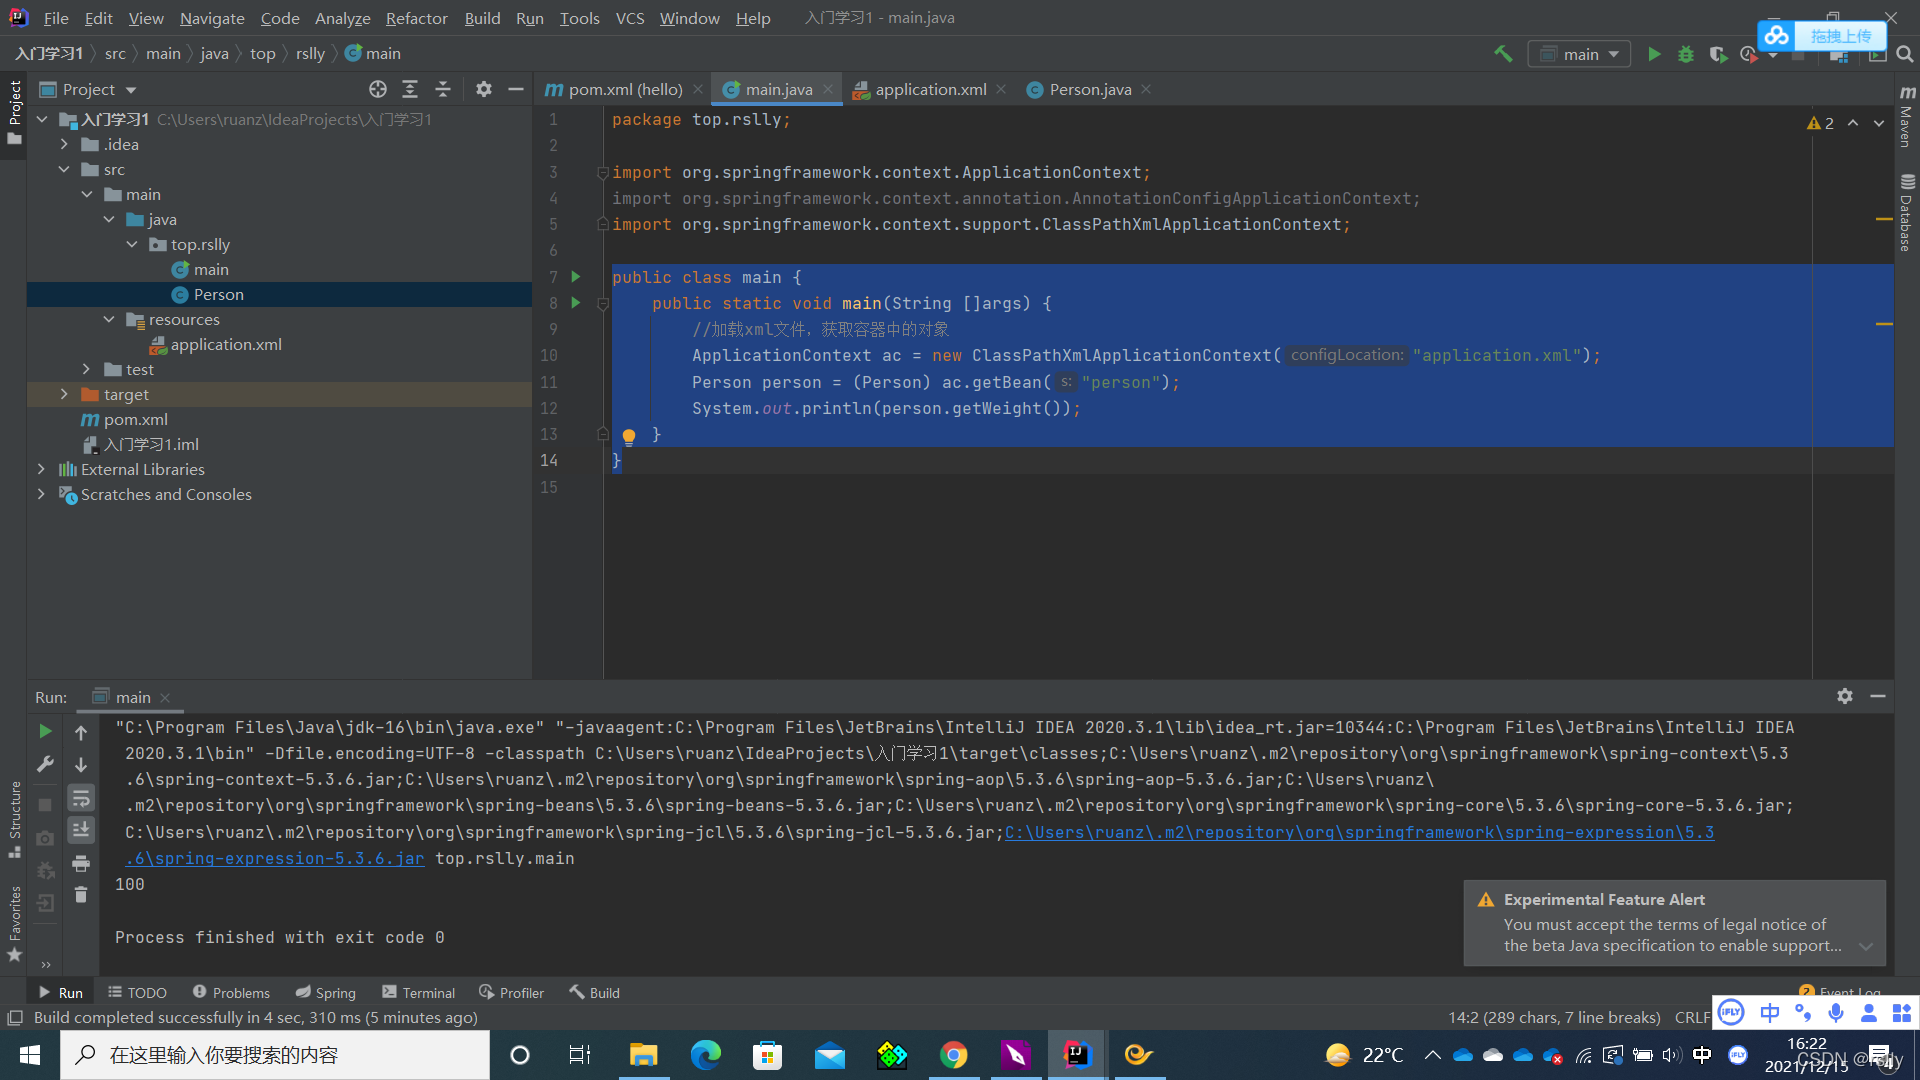
可见得到了我们想要的结果。
下面是使用注解开发
maven依赖不需要改变,不需要配置xml文件。只需要书写配置类。
@Configuration
public class config {
    @Bean
    Person person (){
        return new Person(150,2);
    }
}
可以看得出十分直观。
修改一下之前的启动类。
public class main {
    public static void main(String []args) {
        //加载xml文件,获取容器中的对象
        ApplicationContext ac = new ClassPathXmlApplicationContext("application.xml");
        Person person = (Person) ac.getBean("person");
        System.out.println(person.getWeight());
        //加载配置类,获取容器中的对象
        AnnotationConfigApplicationContext ac2= new AnnotationConfigApplicationContext(config.class);
        Person person1 =(Person) ac2.getBean("person");
        System.out.println(person1.getWeight());
    }
}
然后就可以获得理想的结果了。
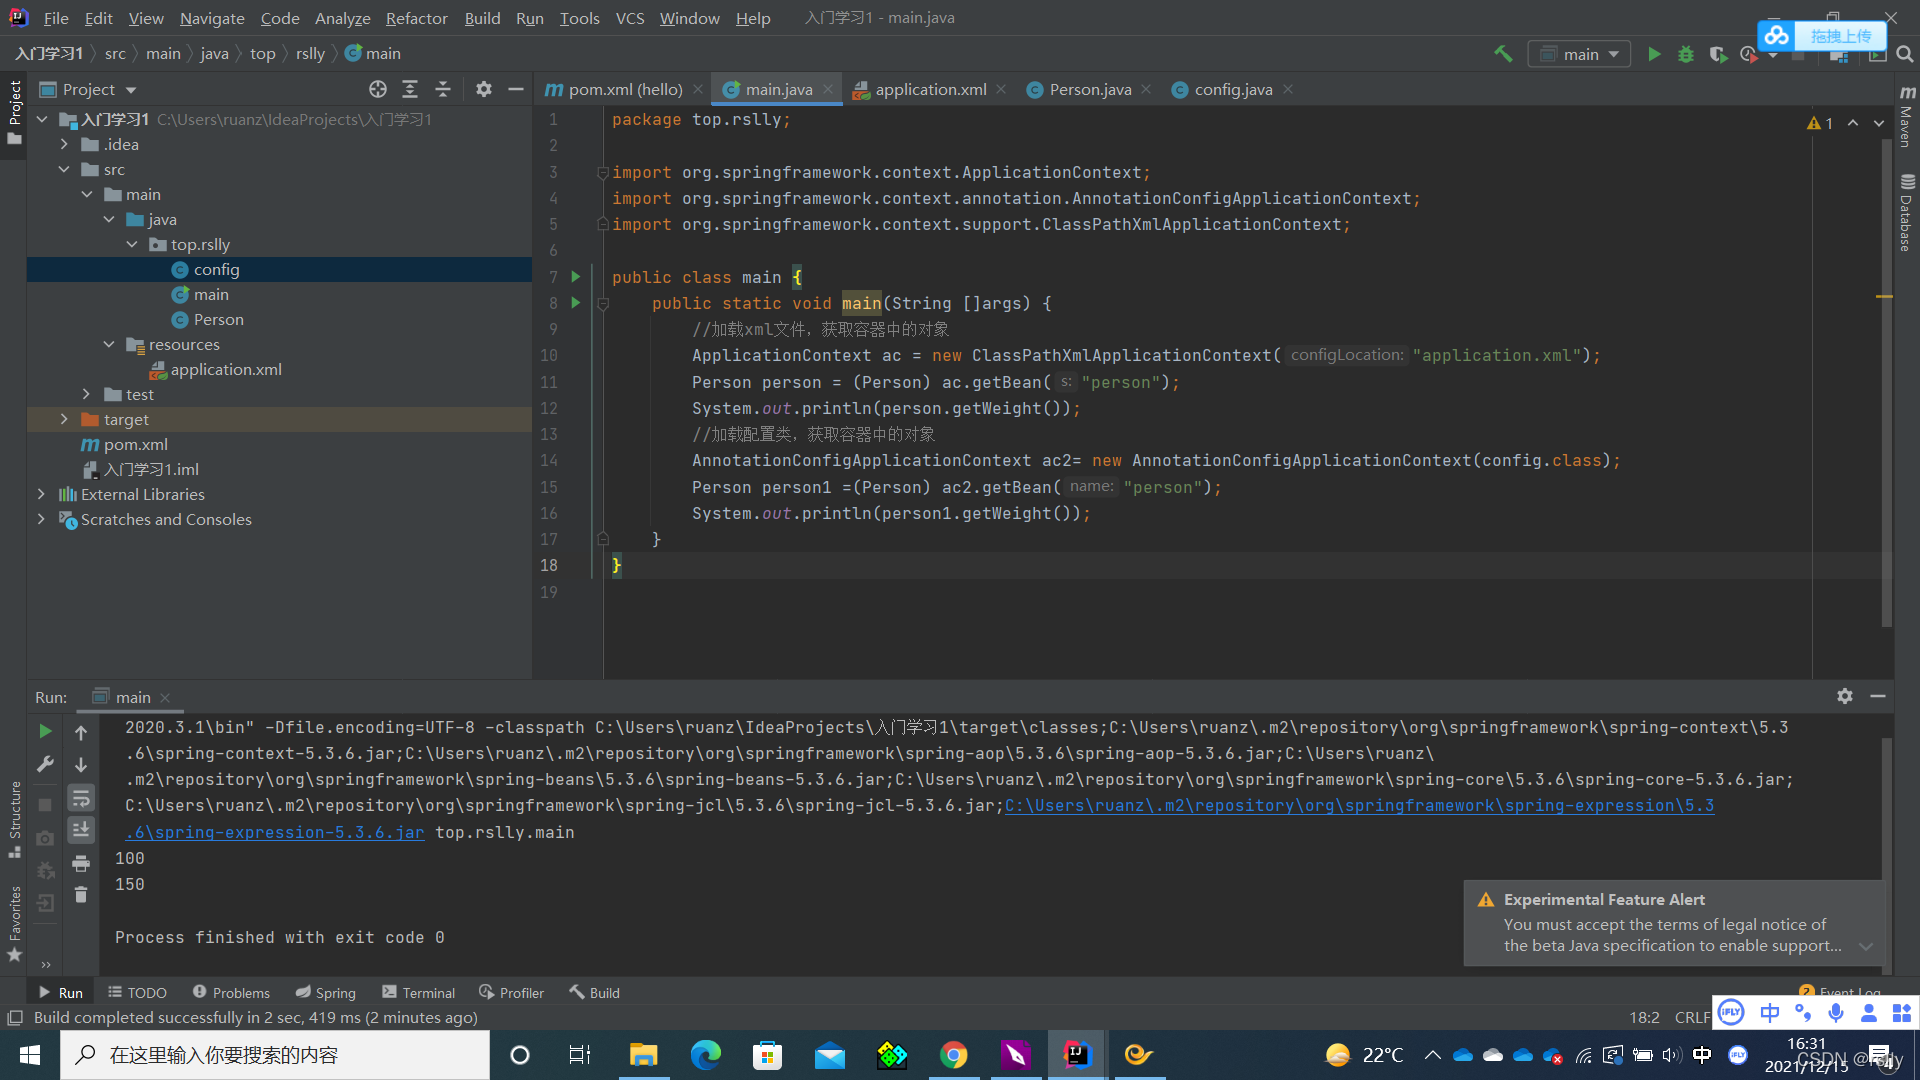
打印出来的结果符合预期。
这就是注解驱动开发的入门。


 529
529

 被折叠的 条评论
为什么被折叠?
被折叠的 条评论
为什么被折叠?
 到【灌水乐园】发言


