


启动HTTPS服务
HTTPS和HTTP的主要区别:
1、https协议需要到CA申请证书,一般免费证书较少,因而需要一定费用。
2、http是超文本传输协议,信息是明文传输,https则是具有安全性的ssl/tls加密传输协议。
3、http的连接很简单,是无状态的;HTTPS协议是由SSL/TLS+HTTP协议构建的可进行加密传输,
身份认证的网络协议,比http协议安全。
更多内容参考:https://blog.csdn.net/rxbook/article/details/130443798
申请免费证书
可以在 https://keymanager.org/ 申请一个免费的测试证书,下载适合自己操作系统的安装包,然后安装,设置一个密码,然后就可以创建一个测试证书了。创建完成后可以导出证书。

导出后会有 .key 和 .crt 两个文件,将这两个文件放在项目根目录下面的/CA目录下(也可以自定义到其他目录)
Gin框架中使用https
需要用到 github.com/unrolled/secure
package main

import (
	"fmt"
	"github.com/gin-gonic/gin"
	"github.com/unrolled/secure"
	"net/http"
)

// 测试证书生成工具:https://keymanager.org/#
// 中间件对应的包:github.com/unrolled/secure
func main() {
	r := gin.Default()
	r.Use(httpsHandler()) //https对应的中间件
	r.GET("/https_test", func(c *gin.Context) {
		fmt.Println(c.Request.Host)
		c.JSON(http.StatusOK, gin.H{
			"code":   http.StatusOK,
			"result": "测试成功",
		})
	})
	path := "/home/rx/go/gin-demo/CA/"              //证书的路径
	r.RunTLS(":8080", path+"ca.crt", path+"ca.key") //开启HTTPS服务
}

func httpsHandler() gin.HandlerFunc {
	return func(context *gin.Context) {
		secureMiddle := secure.New(secure.Options{
			SSLRedirect: true, //只允许https请求
			//SSLHost:"" //http到https的重定向
			STSSeconds:           1536000, //Strict-Transport-Security header的时效:1年
			STSIncludeSubdomains: true,    //includeSubdomains will be appended to the Strict-Transport-Security header
			STSPreload:           true,    //STS Preload(预加载)
			FrameDeny:            true,    //X-Frame-Options 有三个值:DENY(表示该页面不允许在 frame 中展示,即便是在相同域名的页面中嵌套也不允许)、SAMEORIGIN、ALLOW-FROM uri
			ContentTypeNosniff:   true,    //禁用浏览器的类型猜测行为,防止基于 MIME 类型混淆的攻击
			BrowserXssFilter:     true,    //启用XSS保护,并在检查到XSS攻击时,停止渲染页面
			//IsDevelopment:true,  //开发模式
		})
		err := secureMiddle.Process(context.Writer, context.Request)
		// 如果不安全,终止.
		if err != nil {
			context.AbortWithStatusJSON(http.StatusBadRequest, "数据不安全")
			return
		}
		// 如果是重定向,终止
		if status := context.Writer.Status(); status > 300 && status < 399 {
			context.Abort()
			return
		}
		context.Next()
	}
}
访问 https://localhost:8080/https_test
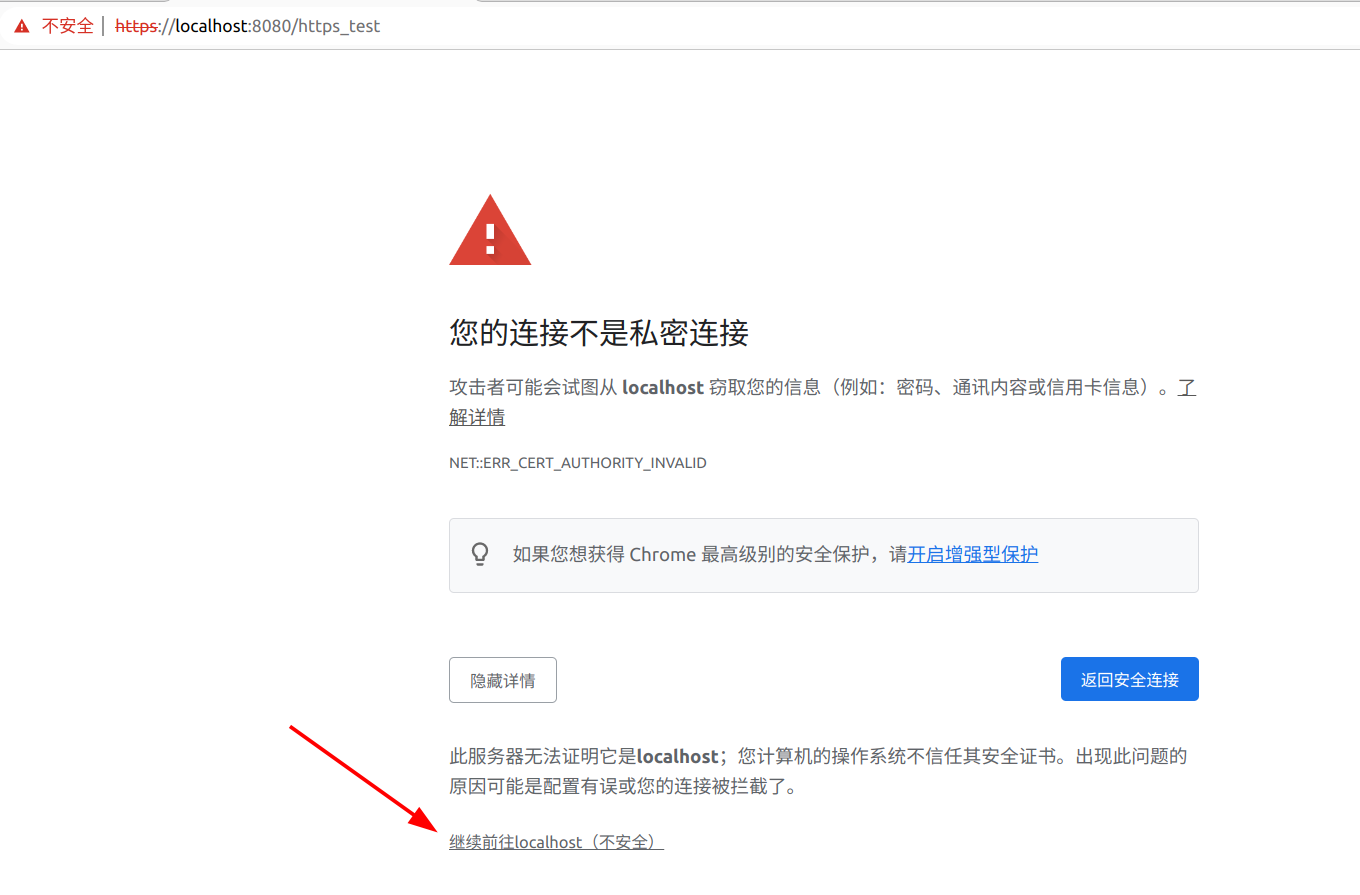
由于是使用的测试证书,所以浏览器会出现上面的提醒,此处忽略即可。如果是正式环境购买的证书,一般不会出现这个提醒。

接口安全认证
Gin框架中可以使用 RestGate 中间件实现客户端到服务端接口请求的安全认证,文档:https://github.com/pjebs/restgate
静态认证
所谓静态认证,就是直接将认证信息写在代码中,实现起来比较简单。代码如下:
import (
	"fmt"
	"github.com/gin-gonic/gin"
	"github.com/pjebs/restgate"
	"github.com/unrolled/secure"
	"net/http"
)
func main() {
	r := gin.Default()

	//静态安全认证
	r.Use(authMiddlewareStatic())
	r.GET("/auth1", func(c *gin.Context) {
		c.JSON(http.StatusOK, gin.H{
			"code":   http.StatusOK,
			"result": "验证通过",
		})
	})

	//开启HTTPS服务
	path := "/home/rx/go/gin-demo/CA/"              //证书的路径
	r.RunTLS(":8080", path+"ca.crt", path+"ca.key") //开启HTTPS服务
}

func authMiddlewareStatic() gin.HandlerFunc {
	return func(c *gin.Context) {
		gate := restgate.New("X-Auth-Key",
			"X-Auth-Secret",
			restgate.Static, //静态验证
			restgate.Config{
				Key:                []string{"admin", "zhangsan"},
				Secret:             []string{"admin_pwd", "123456"},
				HTTPSProtectionOff: false, //如果是http服务,则这里使用true
			})
		nextCalled := false
		nextAdapter := func(http.ResponseWriter, *http.Request) {
			nextCalled = true
			c.Next()
		}
		gate.ServeHTTP(c.Writer, c.Request, nextAdapter)
		if nextCalled == false {
			c.AbortWithStatus(401)
		}
	}
}
上面代码中
restgate.Config{}中的Key和Secret里面保存了可以认证通过的信息。
接下来,直接打开浏览器访问 https://localhost:8080/auth1 是不会通过的。
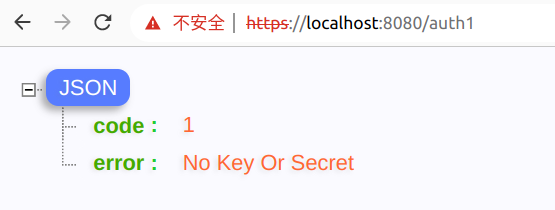
使用postman,在 Headers 部分填写 X-Auth-Key和X-Auth-Secret,分别输入上面设定好的key和secret。

动态认证
由于上面的静态认证方式将认证信息写在代码中,如果需要变动则要改代码,因此可以使用动态认证,就是将认证信息写在数据库中。代码如下:
import (
	"database/sql"
	"fmt"
	"github.com/gin-gonic/gin"
	_ "github.com/go-sql-driver/mysql"
	"github.com/pjebs/restgate"
	"github.com/unrolled/secure"
	"net/http"
)
func authMiddlewareDatabase() gin.HandlerFunc {
	return func(c *gin.Context) {
		gate := restgate.New("X-Auth-key",
			"X-Auth-Secret",
			restgate.Database,
			restgate.Config{
				DB:                 db,
				TableName:          "auth",             //数据表名
				Key:                []string{"key"},    //key对应的字段名
				Secret:             []string{"secret"}, //secret对应的字段名
				HTTPSProtectionOff: true,
			})
		nextCalled := false
		nextAdapter := func(http.ResponseWriter, *http.Request) {
			nextCalled = true
			c.Next()
		}
		gate.ServeHTTP(c.Writer, c.Request, nextAdapter)
		if nextCalled == false {
			c.AbortWithStatus(401)
		}
	}
}

var db *sql.DB

func init() {
	db, _ = SqlDB()
}
func SqlDB() (*sql.DB, error) {
	DB_TYPE := "mysql"
	DB_HOST := "localhost"
	DB_PORT := "3306"
	DB_USER := "root"
	DB_NAME := "gin_demo"
	DB_PASSWORD := "123456"
	openString := DB_USER + ":" + DB_PASSWORD + "@tcp(" + DB_HOST + ":" + DB_PORT + ")/" + DB_NAME
	db, err := sql.Open(DB_TYPE, openString)
	return db, err
}
其中数据库语句如下:
CREATE TABLE `auth` (
  `id` int(11) NOT NULL AUTO_INCREMENT,
  `key` varchar(255) NOT NULL DEFAULT '',
  `secret` varchar(255) NOT NULL DEFAULT '',
  PRIMARY KEY (`id`)
) ENGINE=InnoDB DEFAULT CHARSET=utf8mb4;

INSERT INTO `gin_demo`.`auth`(`id`, `key`, `secret`) VALUES (1, 'admin', 'admin_pwd');
运行方式和上面的一致,只要数据表中的key和secret能对应上,就可以验证通过。
源代码:https://gitee.com/rxbook/gin-demo


 5万+
5万+

 被折叠的 条评论
为什么被折叠?
被折叠的 条评论
为什么被折叠?
 到【灌水乐园】发言


