


Blazor WebAssembly是什么
首先来说说WebAssembly是什么,WebAssembly是一个可以使C#,Java,Golang等静态强类型编程语言,运行在浏览器中的标准,浏览器厂商基于此标准实现执行引擎。
在实现了WebAssembly标准引擎之后,浏览器中可以执行由其他语言编译成的wasm模块。使用强类型编程语言的好处显而易见:
可以选择更多的语言,编写前端逻辑
静态编程语言编译成的字节码,相对于JS这种脚本语言执行效率更高
可以使用静态编程语言生态中的强大类库
Blazor WebAssembly是dotnet版本的WebAssembly实现,微软将dotnet运行时编译成dotnet.wasm模块,我们的程序编译出来的dll文件运行在此模块上。
需要注意的是,Blazor WebAssembly是一个完完全全的前端框架,只是逻辑代码不再使用JS编写,而是使用C#编写。
Grpc Web是什么
Grpc是一种与语言无关的的高性能远程过程调用(RPC)框架。Grpc有以下优点
现代高性能轻量级 RPC 框架。
协定优先 API 开发,默认使用协议缓冲区,允许与语言无关的实现。
可用于多种语言的工具,以生成强类型服务器和客户端。
支持客户端、服务器和双向流式处理调用。
使用 Protobuf 二进制序列化减少对网络的使用。
而Grpc Web是Grpc的前端实现版本,可以使浏览器应用直接与Grpc交互。
有了Grpc Web,我们可以直接在Blazor WebAssembly中调用Grpc Server,而不用再通过传统的Http请求方法调用。
代码演示
GrpcServer
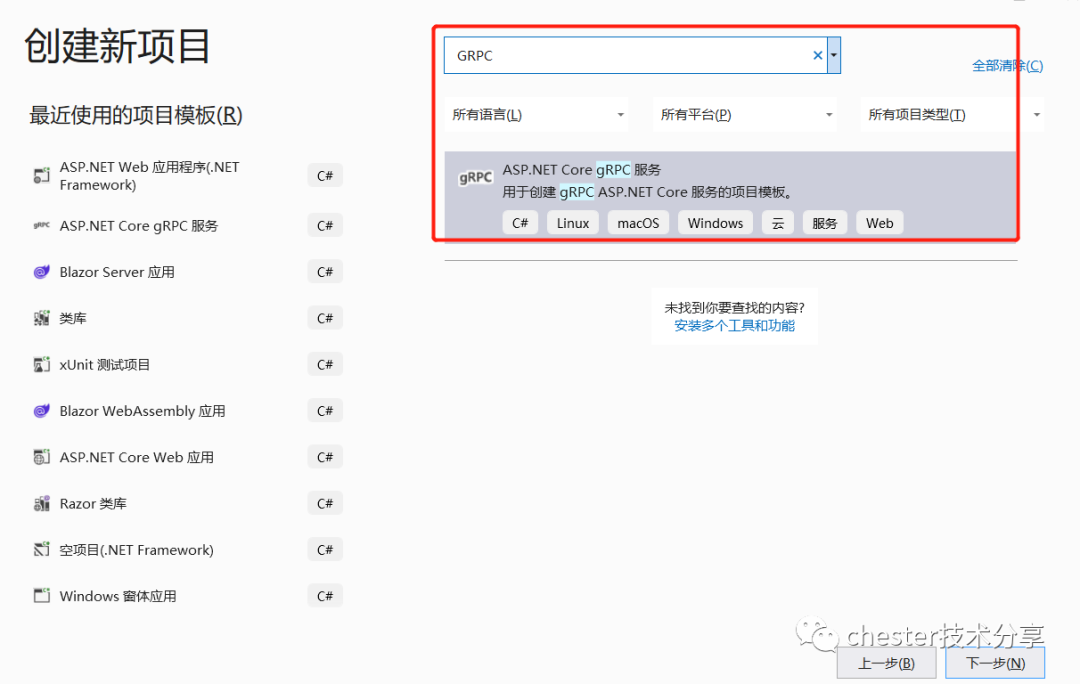
首先需要新建一个Grpc Server
然后为其引入 Grpc.AspNetCore.Web Nuget包,并开启grpc web

app.UseGrpcWeb(); // Must be added between UseRouting and UseEndpoints// Configure the HTTP request pipeline.app.MapGrpcService<GreeterService>().EnableGrpcWeb();之后我们需要为Grpc Server开启跨域设置,允许跨域访问
app.Use(async (context, next) =>{
    context.Response.Headers.Add("Access-Control-Allow-Credentials", "true");
    context.Response.Headers.Add("Access-Control-Allow-Headers", "*");
    context.Response.Headers.Add("Access-Control-Allow-Methods", "PUT,POST,GET,DELETE,OPTIONS,HEAD,PATCH");
    context.Response.Headers.Add("Access-Control-Allow-Origin", "*");
    context.Response.Headers.Add("Access-Control-Max-Age", "100000");
    context.Response.Headers.Add("Access-Control-Expose-Headers", "Grpc-Status,Grpc-Message,Grpc-Encoding,Grpc-Accept-Encoding");
    if (context.Request.Method.ToUpper() == "OPTIONS")
    {        return;
    }    // Do work that can write to the Response.
    await next.Invoke();    // Do logging or other work that doesn't write to the Response.});
最终Program.cs的代码如下
using GrpcService2.Services;var builder = WebApplication.CreateBuilder(args);


builder.Services.AddGrpc();var app = builder.Build();
app.Use(async (context, next) =>{
    context.Response.Headers.Add("Access-Control-Allow-Credentials", "true");
    context.Response.Headers.Add("Access-Control-Allow-Headers", "*");
    context.Response.Headers.Add("Access-Control-Allow-Methods", "PUT,POST,GET,DELETE,OPTIONS,HEAD,PATCH");
    context.Response.Headers.Add("Access-Control-Allow-Origin", "*");
    context.Response.Headers.Add("Access-Control-Max-Age", "100000");
    context.Response.Headers.Add("Access-Control-Expose-Headers", "Grpc-Status,Grpc-Message,Grpc-Encoding,Grpc-Accept-Encoding");    if (context.Request.Method.ToUpper() == "OPTIONS")
    {        return;
    }    await next.Invoke();
});


app.UseGrpcWeb();
app.MapGrpcService<GreeterService>().EnableGrpcWeb();


app.MapGet("/", () => "Communication with gRPC endpoints must be made through a gRPC client. To learn how to create a client, visit: https://go.microsoft.com/fwlink/?linkid=2086909");


app.Run();
Blazor WebAssembly
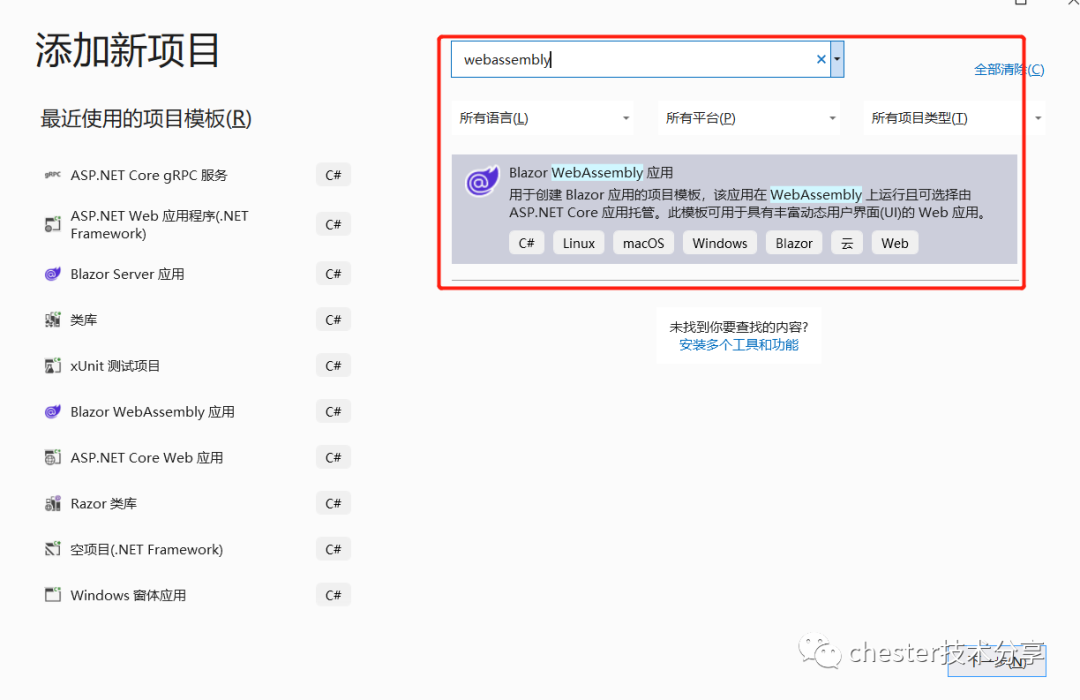
现在新建一个WebAssembly项目
为其引入以下nuget包
<ItemGroup>
    <PackageReference Include="Google.Protobuf" Version="3.20.1" />
    <PackageReference Include="Grpc.Net.Client" Version="2.46.0" />
    <PackageReference Include="Grpc.Net.Client.Web" Version="2.46.0" />
    <PackageReference Include="Grpc.Tools" Version="2.46.1">
      <IncludeAssets>runtime; build; native; contentfiles; analyzers; buildtransitive</IncludeAssets>
      <PrivateAssets>all</PrivateAssets>
    </PackageReference>
  </ItemGroup>
在其项目文件中包含进proto文件
<ItemGroup>
    <Protobuf Include="..\GrpcService2\Protos\*.proto" GrpcServices="Client" />
  </ItemGroup>
然后将GrpcClient注入容器
builder.Services.AddScoped(p =>
{
    var channel = GrpcChannel.ForAddress("https://localhost:7033/", new GrpcChannelOptions
    {
        HttpHandler = new GrpcWebHandler(new HttpClientHandler())
    });
    var client = new GrpcService2.Greeter.GreeterClient(channel);
    return client;
});
修改Index.razor,让其访问grpc server
@page "/"
@inject GrpcService2.Greeter.GreeterClient GreeterClient


<div>grpc web response @Message</div>


@code {
    public string Message { get; set; }
    protected override async Task OnInitializedAsync()
    {
        var reply = await GreeterClient.SayHelloAsync(new GrpcService2.HelloRequest { Name = "test" });
        Message = reply.Message;
    }
}
最终效果如下
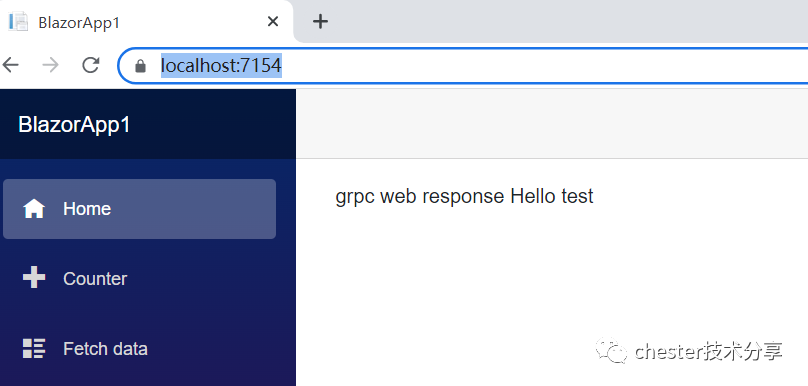
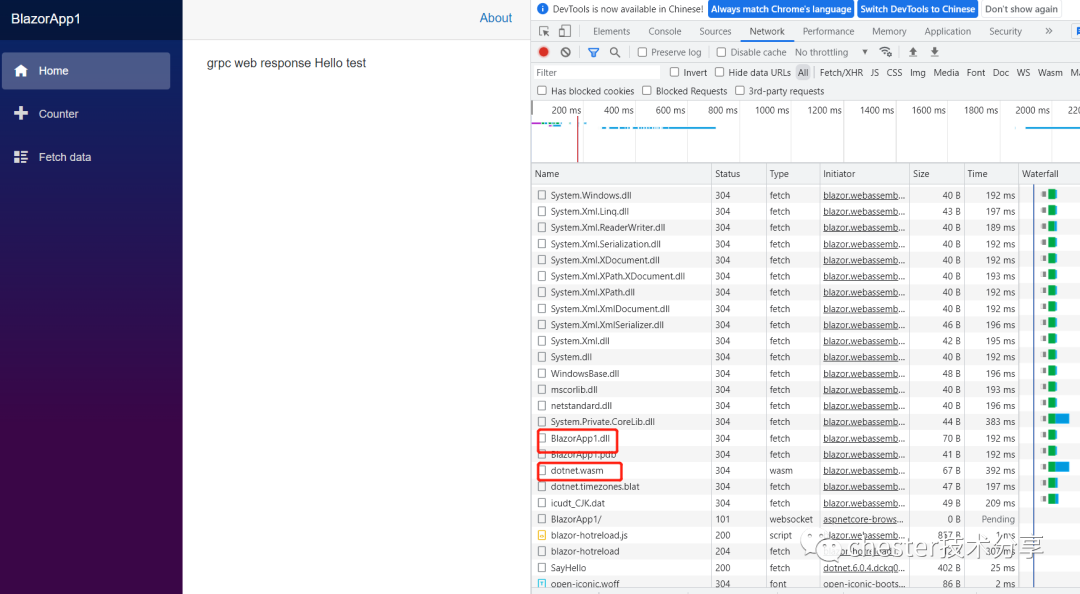
可以看到整个请求/渲染过程,使用的是C#代码编写的逻辑,没用到js,原理是因为,blazor webassembly将我们的dotnet运行时,与我们的代码编译后的程序集,运行在了基于webassembly标准实现的浏览器引擎中。
并且可以看到基于Grpc Web的请求响应体都使用的压缩过的二进制形式。效率相对更高


webassembly难道是未来?难道未来的某一天要和js say goodbye了吗?


 732
732


 被折叠的 条评论
为什么被折叠?
被折叠的 条评论
为什么被折叠?
 到【灌水乐园】发言


