


LAMP版本组合:
Apache 2.2 +Mysql 5.5 + php 5.4
Apache 2.4 +Mysql 5.6 + php 5.6
环境信息:
192.168.241.134 LAP
192.168.241.133 Mysql_master
192.168.241.135 Mysql_slave
安装apache
| 1、 安装wget、gcc、lynx(httpd2.4在centos6上安装依赖包) yum -y install wget gcc gcc-c++ expat expat-devel openssl-devel lynx libxml2 libxml2-devel gd gd-devel 2、 安装apr(由于httpd2.4需要apr1.4版本及以上) wget -c -P /src http://mirror.bit.edu.cn/apache/apr/apr-1.6.3.tar.gz tar zxvf /src/apr-1.6.3.tar.gz -C /src cd /src/apr-1.6.3 ./configure --prefix=/usr/local/apr make&&make install 3、 安装apr-util(由于httpd2.4需要apr1.4版本及以上) wget -c -P /src http://mirror.bit.edu.cn/apache/apr/apr-util-1.6.1.tar.gz tar zxvf /src/apr-util-1.6.1.tar.gz -C /src cd /src/apr-util-1.6.1 ./configure --prefix=/usr/local/apr-util --with-apr=/usr/local/apr make&&make install 4、 安装pcre wget -c -P /src https://ftp.pcre.org/pub/pcre/pcre-8.41.tar.gz tar zxvf /src/pcre-8.41.tar.gz -C /src cd /src/pcre-8.41 ./configure --prefix=/usr/local/pcre make&&make install 5、 安装httpd(源码安装) wget -c -P /src https://mirrors.tuna.tsinghua.edu.cn/apache//httpd/httpd-2.4.28.tar.gz 或 wget -c -P /src http://mirrors.sohu.com/apache/httpd-2.4.28.tar.gz tar zxvf /src/httpd-2.4.28.tar.gz -C /src cd /src/httpd-2.4.28 ./configure --prefix=/usr/local/apache --enable-so --enable-rewrite --enable-ssl --with-apr=/usr/local/apr --with-apr-util=/usr/local/apr-util --with-pcre=/usr/local/pcre --with-zlib --enable-modules=most --enable-mpms-shared=all --with-mpm=worker --enable-so 开启动态库 --enable-rewrite 开启rewrite规则 --enable-ssl 启用https --enable-cgi 支持cgi机制(能够让静态web服务器能够解析动态请求的一个协议) --with-zlib 支持数据包压缩 --with-pcre 支持正则表达式 --enable-modules=most 启用的模块 --enable-mpms-shared=all 以共享方式编译的模块 --with-mpm=prefork 指明httpd的工作方式为prefork
make make install |
配置apache为系统服务
| cp /usr/local/apache/bin/apachectl /etc/init.d/httpd 编辑vim /etc/init.d/httpd在#!/bin/sh下添加以下配置: #chkconfig: 2345 70 70 #description:apache
chkconfig –add httpd 这样就可以使用systemctl start|stop|status httpd.service 命令启动|停止|状态 |
安装PHP
| wget -c -P /src http://mirrors.sohu.com/php/php-5.6.30.tar.gz tar zxvf /src/php-5.6.30.tar.gz –C /src cd /src/php-5.6.30 ./configure --prefix=/usr/local/php --with-config-file-path=/usr/local/php/etc --with-apxs2=/usr/local/apache/bin/apxs --with-mysql=mysqlnd --with-mysqli=mysqlnd --with-pdo-mysql=mysqlnd --enable-bcmath --enable-mbstring --enable-sockets --with-gd --with-jpeg-dir --with-freetype-dir(php与mysql分开部署) ./configure --prefix=/usr/local/php --with-config-file-path=/usr/local/php/etc --with-apxs2=/usr/local/apache/bin/apxs --with-mysql=/usr/local/mysql --enable-bcmath --enable-mbstring --enable-sockets --with-gd --with-jpeg-dir --with-freetype-dir(php与mysql部署一起) make make install |
Apache+PHP源码整合
为了能让Apache发布PHP页面,需将PHP安装完成后的libphp5.so模块与Apache进行整合,编辑httpd.conf文件,加入如下代码:
| LoadModule php5_module modules/libphp5.so AddType application/x-httpd-php .php DirectoryIndex index.php index.htm index.html |
Apache+PHP页面测试
在/usr/local/apache/htdocs/目录下创建index.php测试页面,执行如下命令:
cat > /usr/local/apache/htdocs/index.php << EOF
> <?php phpinfo()?>
> EOF
重启apache后,能成功访问php页面则为OK。
安装Mysql、配置主从
前提:两台mysql能正常运行
Master配置:
| 1、在/etc/my.cnf 中的[mysqld]添加以下内容 server-id = 1 log-bin = mysql-bin 保存后重启Mysql server mysqld restart 2、创建tongbu用户及密码并设置权限,提供给slave来读取mysql-log文件的内容以及位置 grant replication slave on *.* to 'tongbu'@'%' identified by '123456'; flush privilege; 3、查看master状态 show master status; |
Slave配置:
| 1、 在/etc/my.cnf中的[mysqld]添加以下内容 server-id = 2 2、 Slave指定Master IP、用户名、密码、bin-log文件名以及position位置 change master to master_host='192.168.111.128',master_user='tongbu',master_password='123456',master_log_file='mysql-bin.000028',master_log_pos=257; 3、 启动slave,然后查看状态,IO、SQL线程为yes,表示正常 start slave; show slave status; Slave_IO_Running: Yes Slave_SQL_Running: Yes |
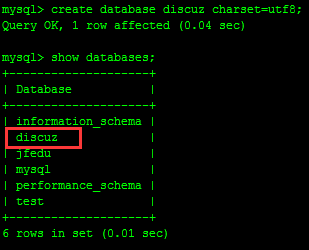
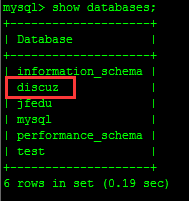
测试mysql主从是否同步
| Master侧: create database discuz charset=utf8; show databases; Slave侧: show databases; |
数据库授权:
grantall on discuz.* to discuz@'%' identifiedby 'discuz';
flushprivileges;
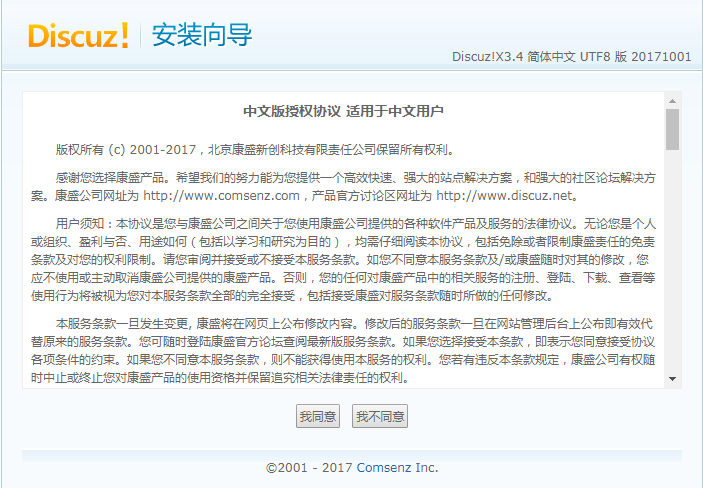
Discuz PHP论坛安装
| wget -c -P /src http://download.comsenz.com/DiscuzX/3.4/Discuz_X3.4_SC_UTF8.zip cd /src unzip Discuz_X3.4_SC_UTF8.zip cp -a /src/upload/* /usr/local/apache/htdocs/ cd /usr/local/apache/htdocs 修改data uc_server confg uc_client权限 chmod 757 -R data/ uc_server/ config/ uc_client/ 然后直接访问apache地址http://192.168.241.134 |
选择“我同意”
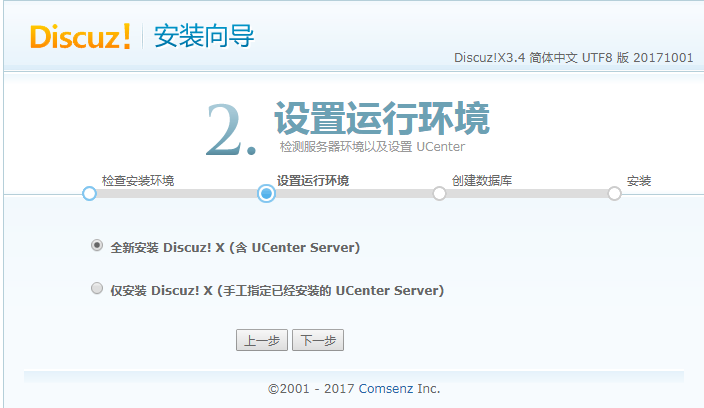
选择“全新安装”
配置数据库和管理员账号密码

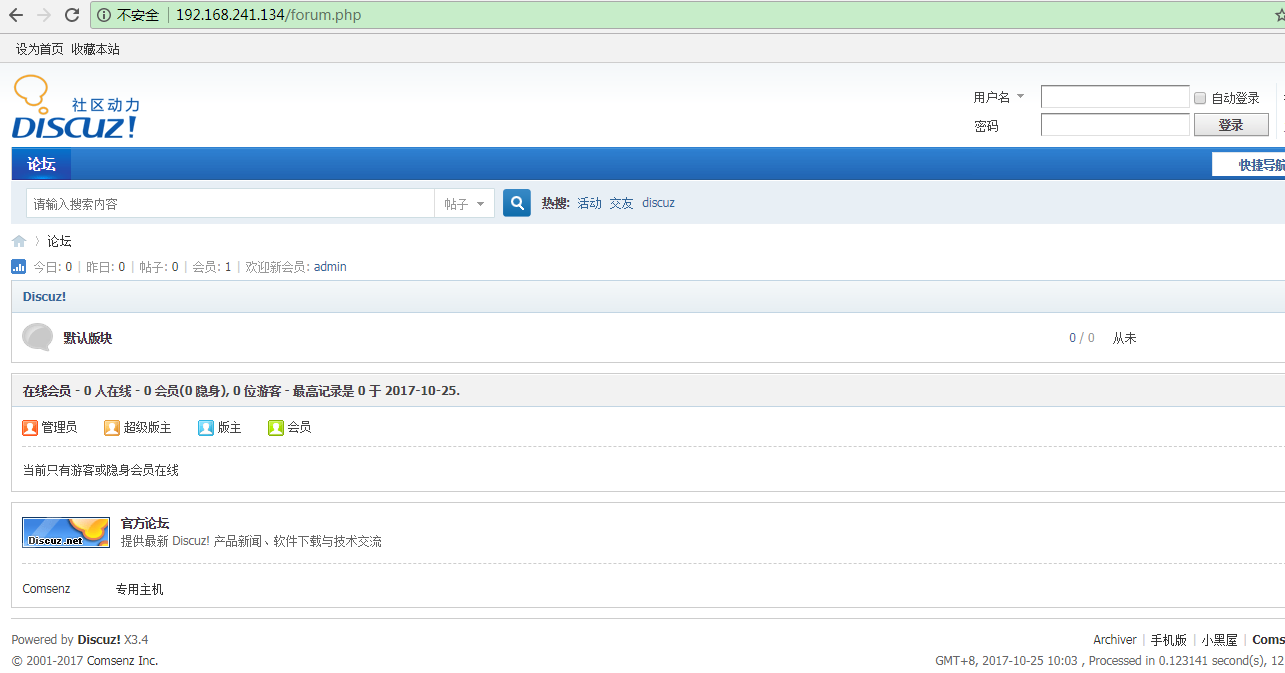
显示以下界面表示论坛发布成功


 809
809

 被折叠的 条评论
为什么被折叠?
被折叠的 条评论
为什么被折叠?
 到【灌水乐园】发言


