


前言
在深度学习中的语义分割任务中,像素值大小代表种类,例如0为背景, 1 , 2 , 3 , . . . n 1,2,3,...n 1,2,3,...n代表了各个种类。因此如果下载的二分类语义分割数据集图像是 0 , 255 0,255 0,255的二值图像的话,就需要存成 0 , 1 0,1 0,1图像进行训练
代码
from PIL import Image
import numpy as np
import os

if __name__ == '__main__':
    work_dir = "Test_GroundTruth" # 图像所处文件夹
    file_names = os.listdir(work_dir)
    for file_name in file_names:
        # print(file_name) # ISIC_0000000_Segmentation.png
        file_path = os.path.join(work_dir,file_name)

        image = Image.open(file_path)
        img = np.array(image)
        img[img==255] = 1

        # 重新保存
        image = Image.fromarray(img,'L')
        new_name = file_name[:-4]
        new_name = new_name.strip("_Segmentation") # 文件名处理成和图像一样的名字

        image.save(f'{new_name}.png')
cpp参考
#include<opencv2/opencv.hpp>

using namespace std;
using namespace cv;

int main()
{
	Mat img = imread(
		"E:/download/custom_dataset/labels_0-255/ISIC_0000000_segmentation_0.jpg",0);
	cout << img.size << endl;
	cout << img.channels() << endl; // [256,256,1]
	/*imshow("w", img);
	waitKey();*/

	for (int j = 0; j < img.rows; j++) {
		uchar* p = img.ptr<uchar>(j);
		for (int i = 0; i < img.cols; i++) {
				if (int(p[i]) != 0) {
					p[i] = 1;
			}
		}
	}

	imshow("w", img);
	waitKey();
	imwrite("re.png", img);

	return 0;
}
结果
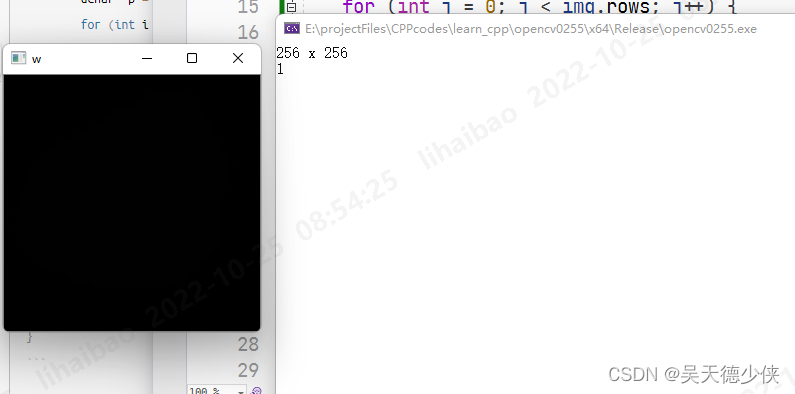
显示
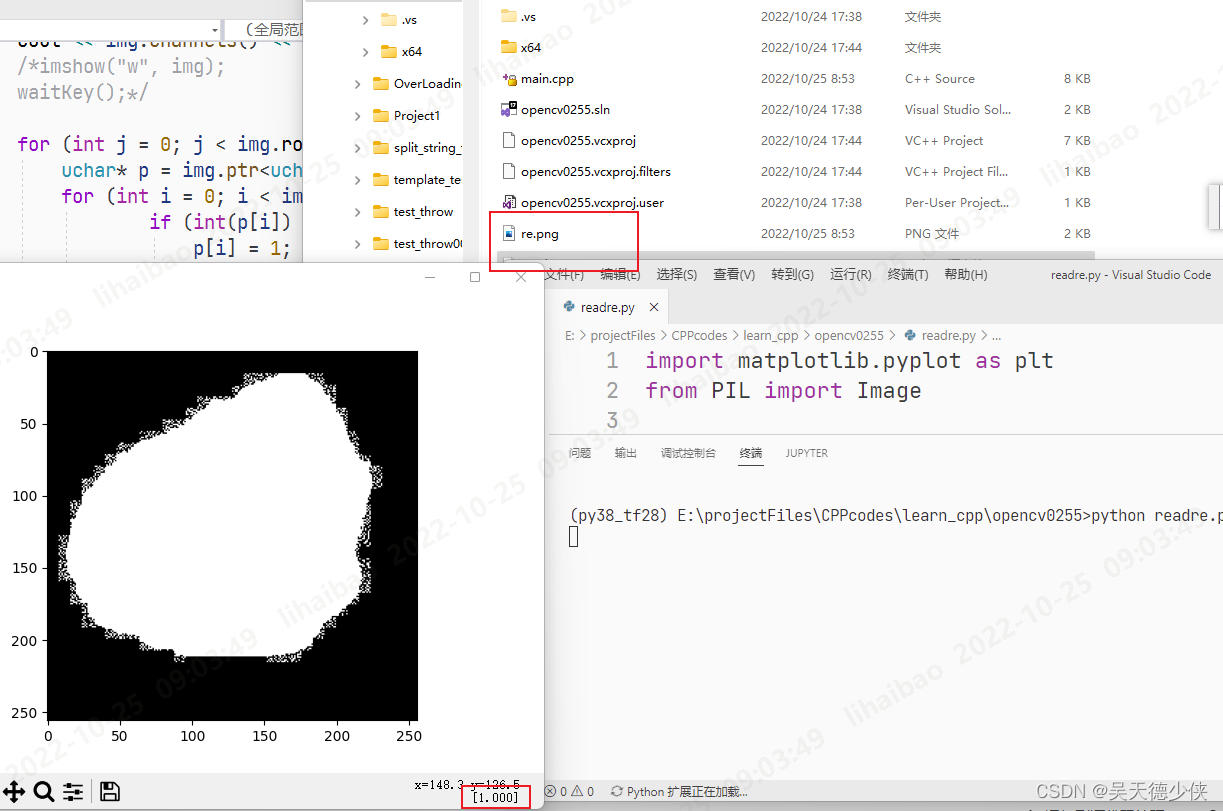
因为opencv的显示不能自动放缩,所以看起来是全黑的,这个时候我们用python的matplotlib包来显示保存下来的文件看看
import matplotlib.pyplot as plt
from PIL import Image

if __name__ == '__main__':
    re = Image.open('re.png')
    plt.imshow(re,cmap='gray')
    plt.show()


 568
568


 被折叠的 条评论
为什么被折叠?
被折叠的 条评论
为什么被折叠?
 到【灌水乐园】发言


