


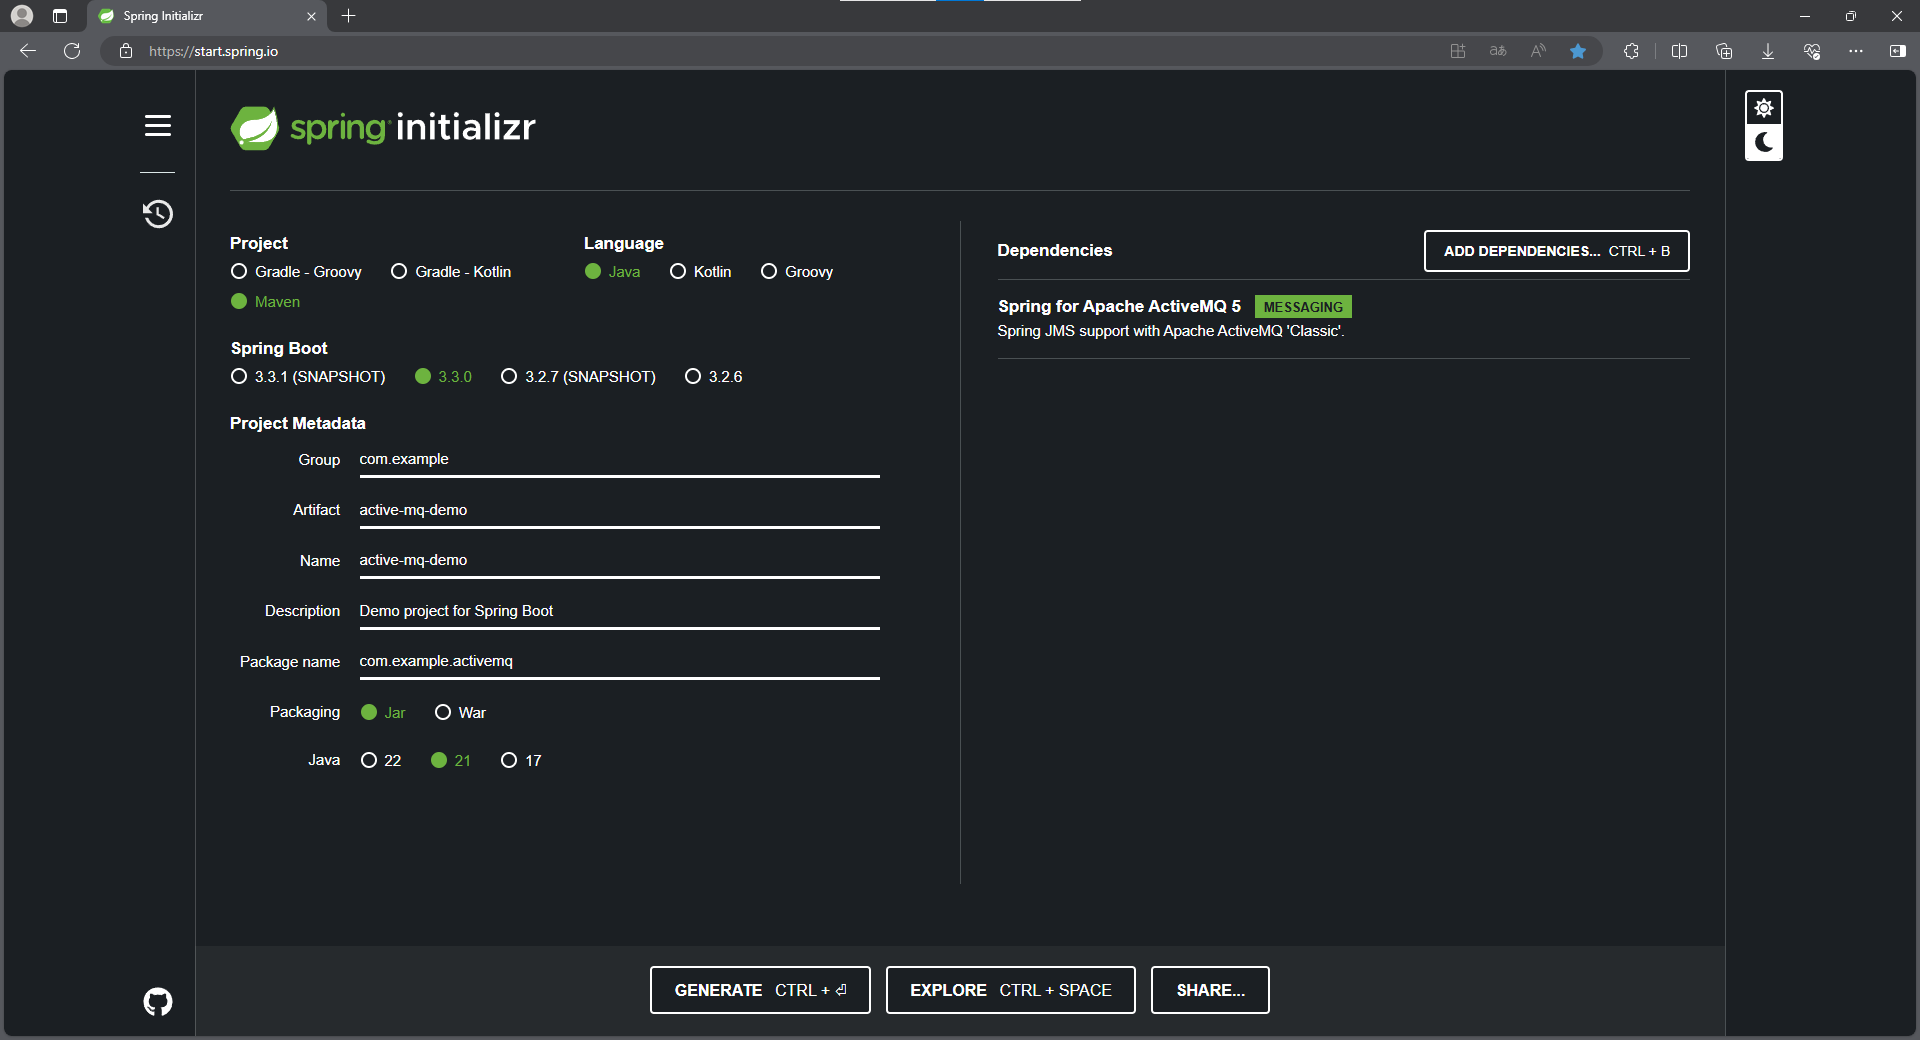
一、项目配置版本
- SpringBoot版本:3.3.0
- JDK版本:21
二、创建项目
三、依赖
        <dependency>
            <groupId>org.springframework.boot</groupId>
            <artifactId>spring-boot-starter-activemq</artifactId>
        </dependency>
四、yml配置
配置代码
spring:
  active-mq:
    broker-url: tcp://localhost:61616
    user: admin
    password: admin
#  jms:
#    # 默认目标类型是否为主题:true 表示默认目标类型是主题(使用发布/订阅模式),false 表示默认目标类型是队列(使用点对点模式)
#    pub-sub-domain: true
默认目标类型是否为主题
可以通过 pub-sub-domain ,配置默认情况下目标类型;如果没有配置,默认使用队列模式发送和接收消息。
队列模式和主题模式的区别:
- 队列(使用点对点模式),一个消息,只会被一个消费者消费;
- 主题(使用发布/订阅模式),一个消息,可以被订阅该主题的多个消费者消费;
ActiveMQ支持使用Java代码,为每个生产者和消费者单独配置目标类型;
五、目标(Destination)常量
目标(Destination)常量,定义队列或主题的名字。
package com.example.activemq.constant;

public class QueueDestination {

    public static final String TEST_QUEUE_1 = "Test.Queue1";

    public static final String TEST_QUEUE_2 = "Test.Queue2";

}
package com.example.activemq.constant;

public class TopicDestination {

    public static final String TEST_TOPIC_1 = "Test.Topic1";

    public static final String TEST_TOPIC_2 = "Test.Topic2";

}
六、队列(Queue):默认目标类型
队列(Queue)生产者
package com.example.activemq.producer;

import com.example.activemq.constant.QueueDestination;
import org.springframework.jms.core.JmsMessagingTemplate;
import org.springframework.stereotype.Component;

/**
 * 队列消息生产者
 * <p>
 * 用于发送消息到指定的JMS队列
 */
@Component
public class QueueProducer {

    /**
     * JmsMessagingTemplate 用于消息的发送,它封装了消息转换和发送的逻辑
     */
    private final JmsMessagingTemplate jmsMessagingTemplate;

    public QueueProducer(JmsMessagingTemplate jmsMessagingTemplate) {
        this.jmsMessagingTemplate = jmsMessagingTemplate;
    }

    /**
     * 发送消息到指定的队列
     *
     * @param message 要发送的消息内容
     */
    public void send(String message) {
        // 调用 JmsMessagingTemplate 的 convertAndSend 方法,将消息发送到指定队列。
        jmsMessagingTemplate.convertAndSend(QueueDestination.TEST_QUEUE_1, message);
    }

}
生产者发送消息
package com.example.activemq.producer;

import org.junit.jupiter.api.Test;
import org.springframework.beans.factory.annotation.Autowired;
import org.springframework.boot.test.context.SpringBootTest;

/**
 * 队列消息生产者测试
 */
@SpringBootTest
class QueueProducerTest {

    @Autowired
    private QueueProducer producer;

    @Test
    void testSendToQueue() {
        producer.send("Hello ActiveMQ, queue message");
    }

}
队列(Queue)消费者
package com.example.activemq.consumer;

import com.example.activemq.constant.QueueDestination;
import lombok.extern.slf4j.Slf4j;
import org.springframework.jms.annotation.JmsListener;
import org.springframework.stereotype.Component;

@Slf4j
@Component
public class QueueConsumer {

    @JmsListener(destination = QueueDestination.TEST_QUEUE_1)
    private void receive(String message) {
        log.info("队列消费者,接收消息: {}", message);
    }

}
消息日志
2024-06-05T22:21:24.834+08:00 INFO 15640 — [active-mq-consumer] [ntContainer#0-1] c.e.activemq.consumer.QueueConsumer : 队列消费者,接收消息: Hello ActiveMQ, queue message
ActiveMQ控制台效果

七、主题(Topic):默认目标类型
配置默认目标类型
将上面配置模块中的 pub-sub-domain 设置为 true,则默认目标类型使用发布/订阅模式。
spring:
  jms:
    # 默认目标类型是否为主题:true 表示默认目标类型是主题(使用发布/订阅模式),false 表示默认目标类型是队列(使用点对点模式)
    pub-sub-domain: true
主题(Topic)生产者
package com.example.activemq.producer;

import com.example.activemq.constant.TopicDestination;
import org.springframework.jms.core.JmsMessagingTemplate;
import org.springframework.stereotype.Component;

/**
 * 主题消息生产者
 * <p>
 * 用于发送消息到指定的JMS主题
 */
@Component
public class TopicProducer {

    /**
     * JmsMessagingTemplate 用于消息的发送,它封装了消息转换和发送的逻辑
     */
    private final JmsMessagingTemplate jmsMessagingTemplate;

    public TopicProducer(JmsMessagingTemplate jmsMessagingTemplate) {
        this.jmsMessagingTemplate = jmsMessagingTemplate;
    }

    /**
     * 发送消息到指定的主题
     *
     * @param message 要发送的消息内容
     */
    public void send(String message) {
        // 调用 JmsMessagingTemplate 的 convertAndSend 方法,将消息发送到指定主题。
        jmsMessagingTemplate.convertAndSend(TopicDestination.TEST_TOPIC_1, message);
    }

}
生产者发送消息
package com.example.activemq.producer;

import org.junit.jupiter.api.Test;
import org.springframework.beans.factory.annotation.Autowired;
import org.springframework.boot.test.context.SpringBootTest;

/**
 * 主题消息生产者测试
 */
@SpringBootTest
class TopicProducerTest {

    @Autowired
    private TopicProducer producer;

    @Test
    void testSendToTopic() {
        producer.send("Hello ActiveMQ, topic message");
    }

}
主题(Topic)消费者
package com.example.activemq.consumer;

import com.example.activemq.constant.TopicDestination;
import lombok.extern.slf4j.Slf4j;
import org.springframework.jms.annotation.JmsListener;
import org.springframework.stereotype.Component;

@Slf4j
@Component
public class TopicConsumer {

    @JmsListener(destination = TopicDestination.TEST_TOPIC_1)
    private void receive(String message) {
        log.info("主题消费者,接收消息: {}", message);
    }

}
接收消息的日志
2024-06-05T23:51:46.026+08:00 INFO 8584 — [active-mq-consumer] [ntContainer#3-1] c.e.activemq.consumer.TopicConsumer : 主题消费者,接收消息: Hello ActiveMQ, topic message
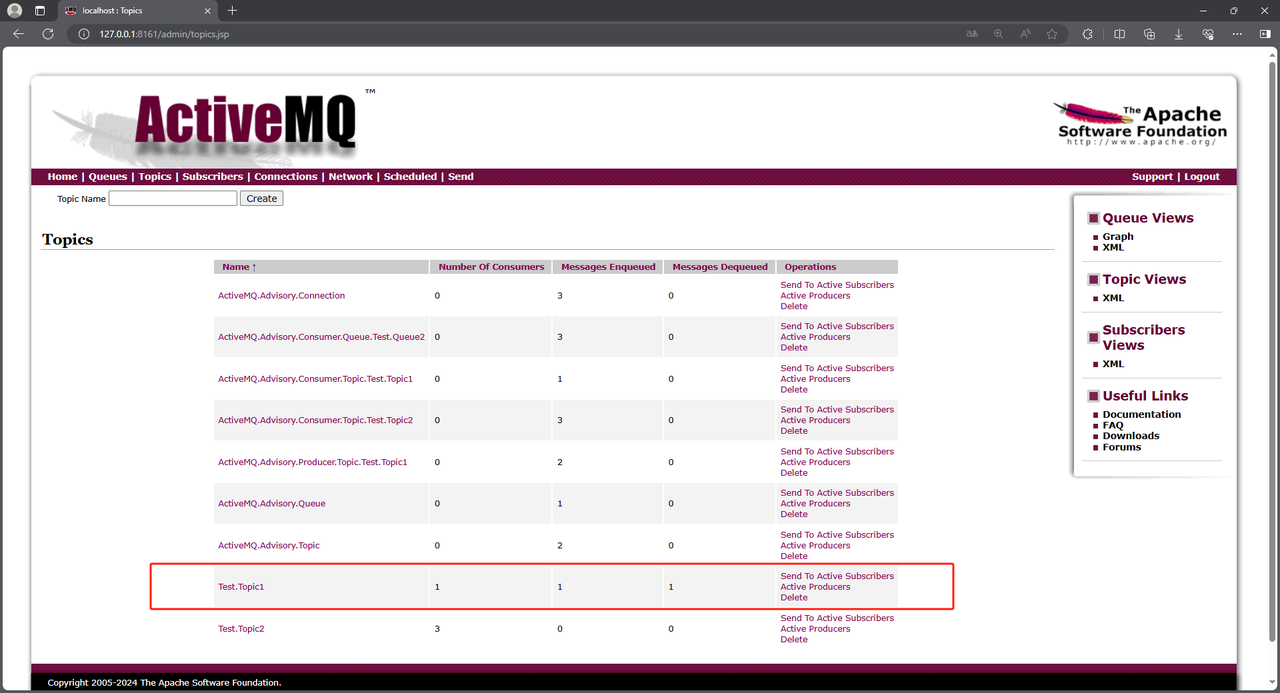
ActiveMQ控制台效果
八、自定义配置队列和主题
SpringBoot 集成 ActiveMQ,不同的生产者可以是不同的模式;比如一个生产者是发送队列消息,一个生产者发送主题消息。同样的,不同的消费者也可以是不同的模式;比如一个消费者是接收队列消息,一个消费者接收主题消息。
此时,可以使用Java代码配置队列(默认模式)或主题;此时可以不在 yml 中配置 pub-sub-domain。
生产者
配置
package com.example.activemq.config;

import com.example.activemq.constant.QueueDestination;
import com.example.activemq.constant.TopicDestination;
import jakarta.jms.Queue;
import jakarta.jms.Topic;
import org.apache.activemq.command.ActiveMQQueue;
import org.apache.activemq.command.ActiveMQTopic;
import org.springframework.context.annotation.Bean;
import org.springframework.context.annotation.Configuration;

@Configuration
public class JmsConfig {

    @Bean
    public Queue queue() {
        return new ActiveMQQueue(QueueDestination.TEST_QUEUE_2);
    }

    @Bean
    public Topic topic() {
        return new ActiveMQTopic(TopicDestination.TEST_TOPIC_2);
    }

}
生产者代码
package com.example.activemq.producer;

import jakarta.jms.Queue;
import org.springframework.jms.core.JmsMessagingTemplate;
import org.springframework.stereotype.Component;

/**
 * 队列消息生产者
 */
@Component
public class QueueMessageProducer {

    private final Queue queue;
    private final JmsMessagingTemplate jmsMessagingTemplate;

    public QueueMessageProducer(Queue queue, JmsMessagingTemplate jmsMessagingTemplate) {
        this.queue = queue;
        this.jmsMessagingTemplate = jmsMessagingTemplate;
    }

    public void send(String message) {
        jmsMessagingTemplate.convertAndSend(queue, message);
    }

}
package com.example.activemq.producer;

import jakarta.jms.Topic;
import org.springframework.jms.core.JmsMessagingTemplate;
import org.springframework.stereotype.Component;

/**
 * 主题消息生产者
 */
@Component
public class TopicMessageProducer {

    private final Topic topic;
    private final JmsMessagingTemplate jmsMessagingTemplate;

    public TopicMessageProducer(Topic topic, JmsMessagingTemplate jmsMessagingTemplate) {
        this.topic = topic;
        this.jmsMessagingTemplate = jmsMessagingTemplate;
    }

    public void send(String message) {
        jmsMessagingTemplate.convertAndSend(topic, message);
    }

}
生产者发送消息
package com.example.activemq.producer;

import org.junit.jupiter.api.Test;
import org.springframework.beans.factory.annotation.Autowired;
import org.springframework.boot.test.context.SpringBootTest;

/**
 * 队列消息生产者测试
 */
@SpringBootTest
class QueueMessageProducerTest {

    @Autowired
    private QueueMessageProducer producer;

    /**
     * 发送多个队列消息
     */
    @Test
    void testSendToQueueMultiple() {
        for (int i = 0; i < 10; i++) {
            producer.send("Hello ActiveMQ, queue message " + i);
        }
    }

}
package com.example.activemq.producer;

import org.junit.jupiter.api.Test;
import org.springframework.beans.factory.annotation.Autowired;
import org.springframework.boot.test.context.SpringBootTest;

/**
 * 主题消息生产者测试
 */
@SpringBootTest
class TopicMessageProducerTest {

    @Autowired
    private TopicMessageProducer producer;

    /**
     * 发送多个主题消息
     */
    @Test
    void testSendToTopicMultiple() {
        for (int i = 0; i < 2; i++) {
            producer.send("Hello ActiveMQ, topic message " + i);
        }
    }

}
消费者
配置
package com.example.activemq.config;

import jakarta.jms.ConnectionFactory;
import org.springframework.context.annotation.Bean;
import org.springframework.context.annotation.Configuration;
import org.springframework.jms.config.DefaultJmsListenerContainerFactory;
import org.springframework.jms.config.JmsListenerContainerFactory;

@Configuration
public class JmsConfig {

    @Bean
    public JmsListenerContainerFactory<?> jmsListenerContainerQueue(ConnectionFactory activeMQConnectionFactory) {
        DefaultJmsListenerContainerFactory bean = new DefaultJmsListenerContainerFactory();
        bean.setPubSubDomain(false); // 设置为队列模式(点对点模式)
        bean.setConnectionFactory(activeMQConnectionFactory);
        return bean;
    }

    @Bean
    public JmsListenerContainerFactory<?> jmsListenerContainerTopic(ConnectionFactory activeMQConnectionFactory) {
        DefaultJmsListenerContainerFactory bean = new DefaultJmsListenerContainerFactory();
        bean.setPubSubDomain(true); // 设置为发布/订阅模式(主题模式)
        bean.setConnectionFactory(activeMQConnectionFactory);
        return bean;
    }

}
消费者代码
package com.example.activemq.consumer;

import com.example.activemq.constant.QueueDestination;
import lombok.SneakyThrows;
import lombok.extern.slf4j.Slf4j;
import org.springframework.jms.annotation.JmsListener;
import org.springframework.stereotype.Component;

@Slf4j
@Component
public class QueueMessageConsumer {

    @SneakyThrows
    @JmsListener(destination = QueueDestination.TEST_QUEUE_2, containerFactory = "jmsListenerContainerQueue")
    public void receive1(String message) {
        log.info("队列消费者-1,接收消息: {}", message);
        Thread.sleep(1000);
    }

    @SneakyThrows
    @JmsListener(destination = QueueDestination.TEST_QUEUE_2, containerFactory = "jmsListenerContainerQueue")
    public void receive2(String message) {
        log.info("队列消费者-2,接收消息: {}", message);
        Thread.sleep(1000);
    }

    @SneakyThrows
    @JmsListener(destination = QueueDestination.TEST_QUEUE_2, containerFactory = "jmsListenerContainerQueue")
    public void receive3(String message) {
        log.info("队列消费者-3,接收消息: {}", message);
        Thread.sleep(1000);
    }

}
package com.example.activemq.consumer;

import com.example.activemq.constant.TopicDestination;
import lombok.SneakyThrows;
import lombok.extern.slf4j.Slf4j;
import org.springframework.jms.annotation.JmsListener;
import org.springframework.stereotype.Component;

@Slf4j
@Component
public class TopicMessageConsumer {

    @SneakyThrows
    @JmsListener(destination = TopicDestination.TEST_TOPIC_2, containerFactory = "jmsListenerContainerTopic")
    public void receive1(String message) {
        log.info("主题消费者-1,接收消息: {}", message);
        Thread.sleep(1000);
    }

    @SneakyThrows
    @JmsListener(destination = TopicDestination.TEST_TOPIC_2, containerFactory = "jmsListenerContainerTopic")
    public void receive2(String message) {
        log.info("主题消费者-2,接收消息: {}", message);
        Thread.sleep(1000);
    }

    @SneakyThrows
    @JmsListener(destination = TopicDestination.TEST_TOPIC_2, containerFactory = "jmsListenerContainerTopic")
    public void receive3(String message) {
        log.info("主题消费者-3,接收消息: {}", message);
        Thread.sleep(1000);
    }

}
接收结果
队列接收结果
2024-06-06T19:12:04.256+08:00  INFO 12064 --- [active-mq-consumer] [ntContainer#1-1] c.e.a.consumer.QueueMessageConsumer      : 队列消费者-2,接收消息: Hello ActiveMQ, queue message 0
2024-06-06T19:12:04.259+08:00  INFO 12064 --- [active-mq-consumer] [ntContainer#3-1] c.e.a.consumer.QueueMessageConsumer      : 队列消费者-1,接收消息: Hello ActiveMQ, queue message 1
2024-06-06T19:12:04.284+08:00  INFO 12064 --- [active-mq-consumer] [ntContainer#2-1] c.e.a.consumer.QueueMessageConsumer      : 队列消费者-3,接收消息: Hello ActiveMQ, queue message 2
2024-06-06T19:12:05.278+08:00  INFO 12064 --- [active-mq-consumer] [ntContainer#1-1] c.e.a.consumer.QueueMessageConsumer      : 队列消费者-2,接收消息: Hello ActiveMQ, queue message 3
2024-06-06T19:12:05.278+08:00  INFO 12064 --- [active-mq-consumer] [ntContainer#3-1] c.e.a.consumer.QueueMessageConsumer      : 队列消费者-1,接收消息: Hello ActiveMQ, queue message 4
2024-06-06T19:12:05.291+08:00  INFO 12064 --- [active-mq-consumer] [ntContainer#2-1] c.e.a.consumer.QueueMessageConsumer      : 队列消费者-3,接收消息: Hello ActiveMQ, queue message 5
2024-06-06T19:12:06.293+08:00  INFO 12064 --- [active-mq-consumer] [ntContainer#3-1] c.e.a.consumer.QueueMessageConsumer      : 队列消费者-1,接收消息: Hello ActiveMQ, queue message 7
2024-06-06T19:12:06.293+08:00  INFO 12064 --- [active-mq-consumer] [ntContainer#2-1] c.e.a.consumer.QueueMessageConsumer      : 队列消费者-3,接收消息: Hello ActiveMQ, queue message 8
2024-06-06T19:12:06.294+08:00  INFO 12064 --- [active-mq-consumer] [ntContainer#1-1] c.e.a.consumer.QueueMessageConsumer      : 队列消费者-2,接收消息: Hello ActiveMQ, queue message 6
2024-06-06T19:12:07.310+08:00  INFO 12064 --- [active-mq-consumer] [ntContainer#1-1] c.e.a.consumer.QueueMessageConsumer      : 队列消费者-2,接收消息: Hello ActiveMQ, queue message 9
主题接收结果
2024-06-06T19:57:55.141+08:00  INFO 12064 --- [active-mq-consumer] [ntContainer#4-1] c.e.a.consumer.TopicMessageConsumer      : 主题消费者-2,接收消息: Hello ActiveMQ, topic message 0
2024-06-06T19:57:55.141+08:00  INFO 12064 --- [active-mq-consumer] [ntContainer#6-1] c.e.a.consumer.TopicMessageConsumer      : 主题消费者-1,接收消息: Hello ActiveMQ, topic message 0
2024-06-06T19:57:55.141+08:00  INFO 12064 --- [active-mq-consumer] [ntContainer#5-1] c.e.a.consumer.TopicMessageConsumer      : 主题消费者-3,接收消息: Hello ActiveMQ, topic message 0
2024-06-06T19:57:56.143+08:00  INFO 12064 --- [active-mq-consumer] [ntContainer#6-1] c.e.a.consumer.TopicMessageConsumer      : 主题消费者-1,接收消息: Hello ActiveMQ, topic message 1
2024-06-06T19:57:56.143+08:00  INFO 12064 --- [active-mq-consumer] [ntContainer#4-1] c.e.a.consumer.TopicMessageConsumer      : 主题消费者-2,接收消息: Hello ActiveMQ, topic message 1
2024-06-06T19:57:56.150+08:00  INFO 12064 --- [active-mq-consumer] [ntContainer#5-1] c.e.a.consumer.TopicMessageConsumer      : 主题消费者-3,接收消息: Hello ActiveMQ, topic message 1
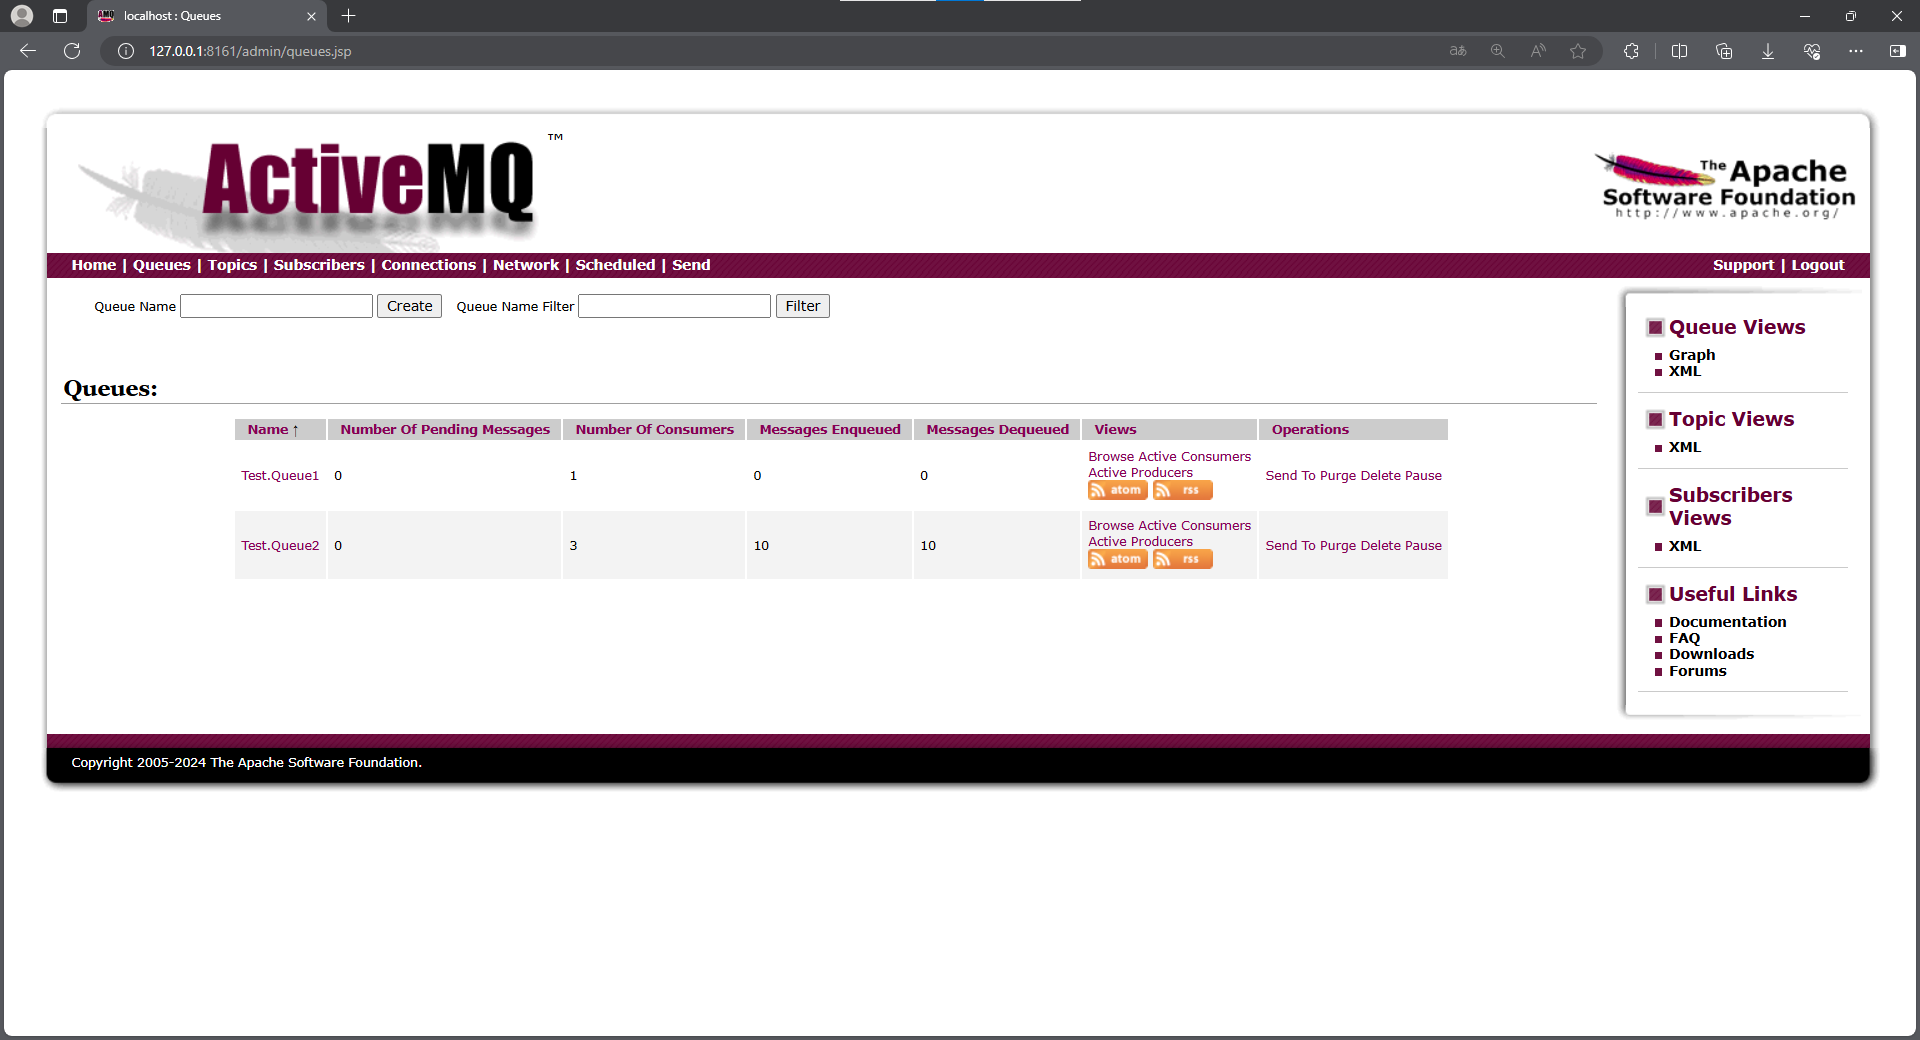
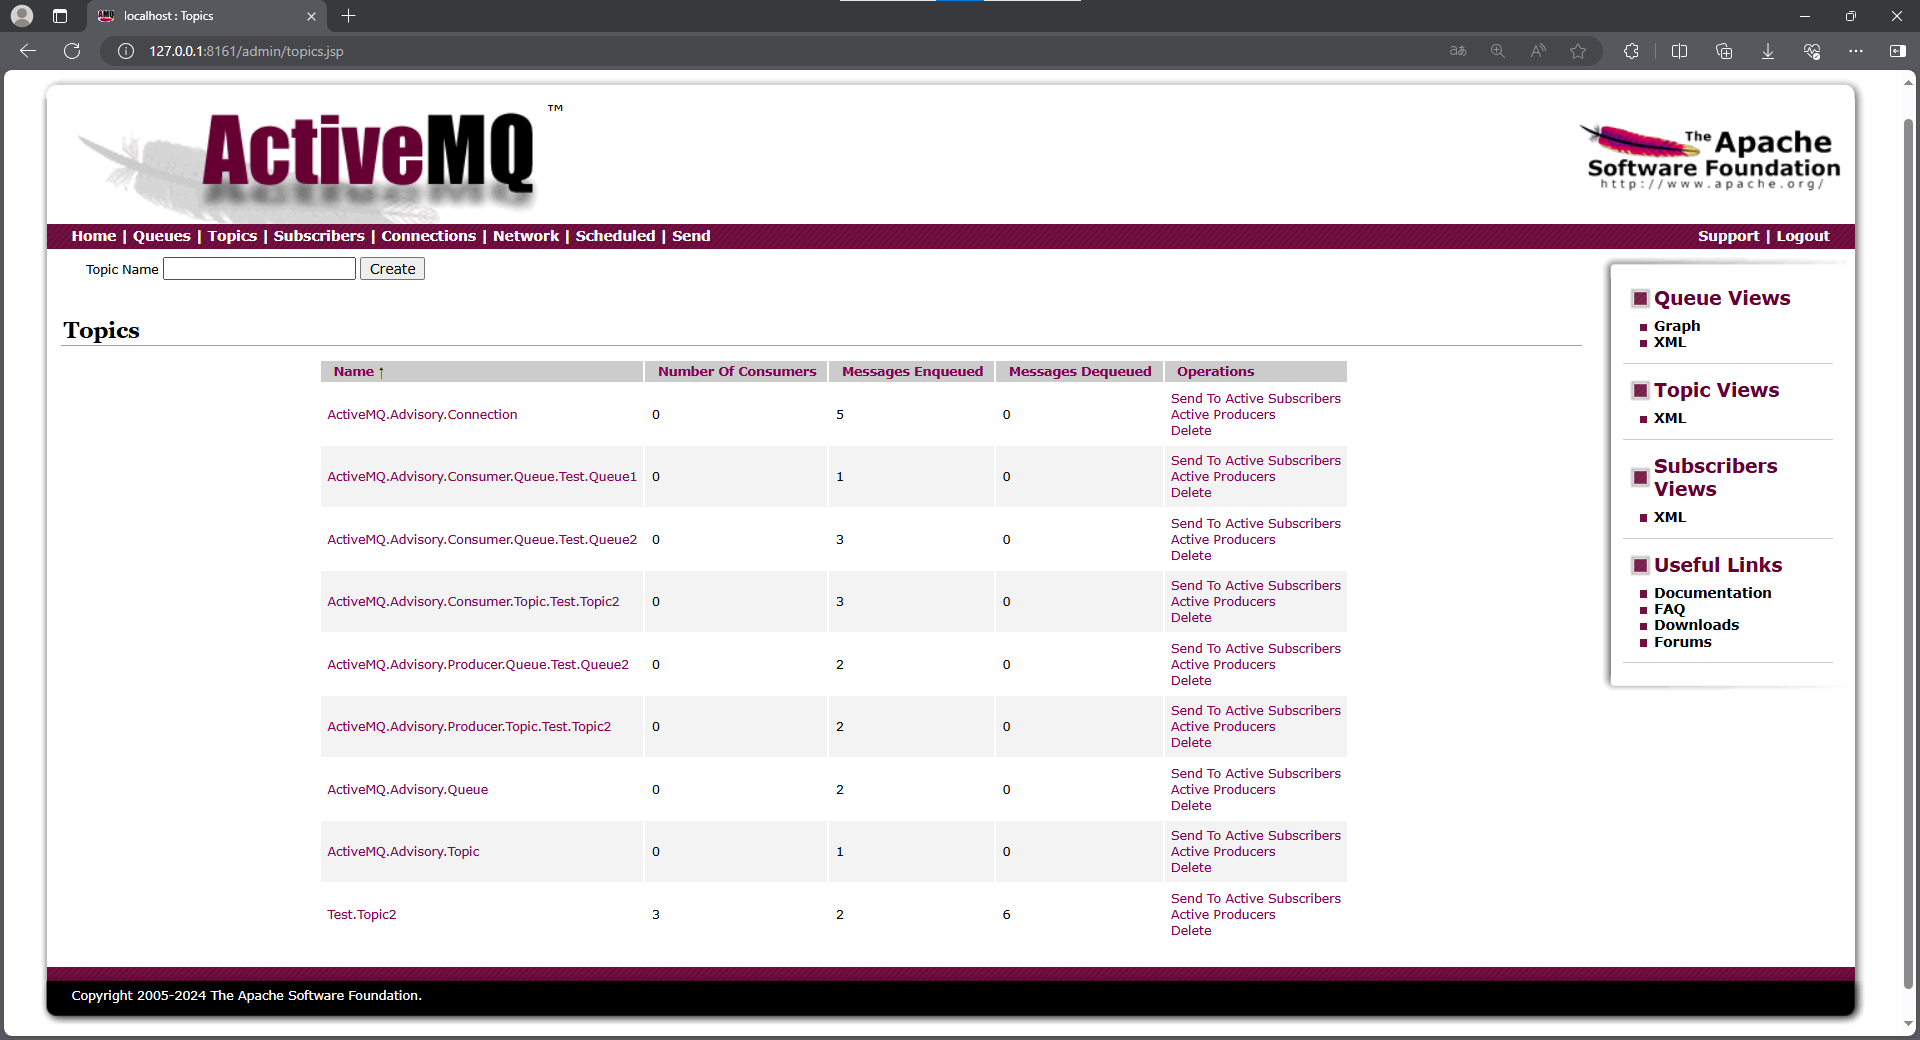
ActiveMQ控制台效果
队列- 控制台效果
主题-控制台效果


 1006
1006

 被折叠的 条评论
为什么被折叠?
被折叠的 条评论
为什么被折叠?
 到【灌水乐园】发言


