


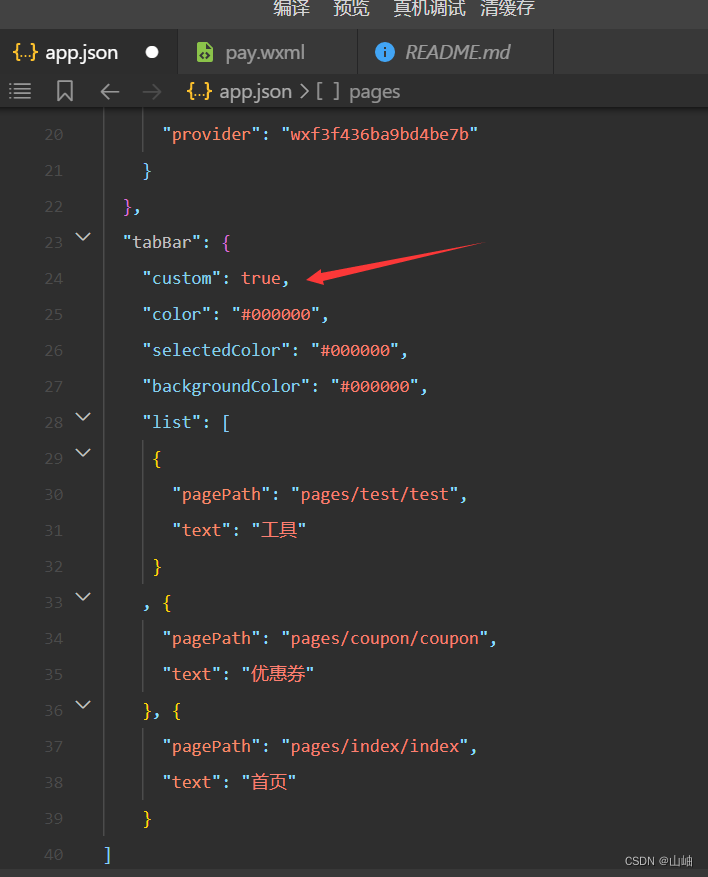
一、在 app.json 中的 tabBar 项指定 custom 字段,同时其余 tabBar 相关配置也补充完整。
二、添加 tabBar 代码文件
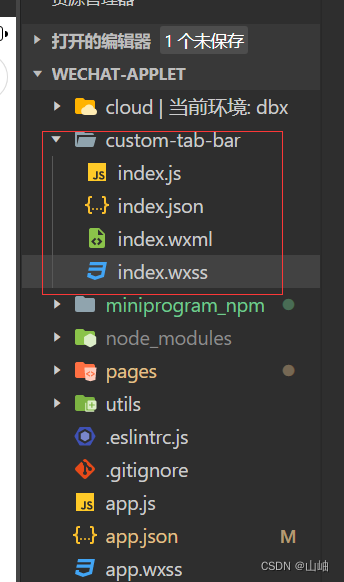
在代码根目录(page同级目录)下添加入口文件:
custom-tab-bar/index.js
custom-tab-bar/index.json
custom-tab-bar/index.wxml
custom-tab-bar/index.wxss
注意:名称不可改
3. 编写 tabBar 代码
custom-tab-bar/index.wxml
<!--custom-tab-bar/index/index.wxml-->
<van-tabbar  active-color="#409EFF"  inactive-color="#000"  active="{{ active }}" bind:change="onChange">
  <van-tabbar-item wx:for="{{ list }}" wx:key="index" icon="{{ item.icon }}">{{
    item.text
  }}</van-tabbar-item>
</van-tabbar>
custom-tab-bar/index.js
// custom-tab-bar/index/index.js
Component({
    data: {
        active: 0,
		list: [
            {
                icon:"setting-o",
                text:"设置",
                url:"/pages/test/test"
            },
			{
				icon: 'friends-o',
				text: '测试',
				url: '/pages/coupon/coupon'
			},
			{
				icon: 'home-o',
				text: '关于',
				url: '/pages/index/index'
			},

		]
    },

	methods: {
		onChange(event) {
			this.setData({ active: event.detail });
			wx.switchTab({
				url: this.data.list[event.detail].url
			});
		},

		init() {
			const page = getCurrentPages().pop();
			this.setData({
				active: this.data.list.findIndex(item => item.url === `/${page.route}`)
			});
		}
	}
});
pages/index/index.js
 onShow(){
	this.getTabBar().init();
  },
注意:如需实现 tab 选中态,要在当前页面下,通过 getTabBar 接口获取组件实例,并调用 setData 更新选中态
效果图:


 1万+
1万+


 被折叠的 条评论
为什么被折叠?
被折叠的 条评论
为什么被折叠?
 到【灌水乐园】发言


