


springboot项目作为静态文件服务器
springboot默认文件作用
使用 spring initialzr 创建 spring boot 项目
https://start.spring.io/
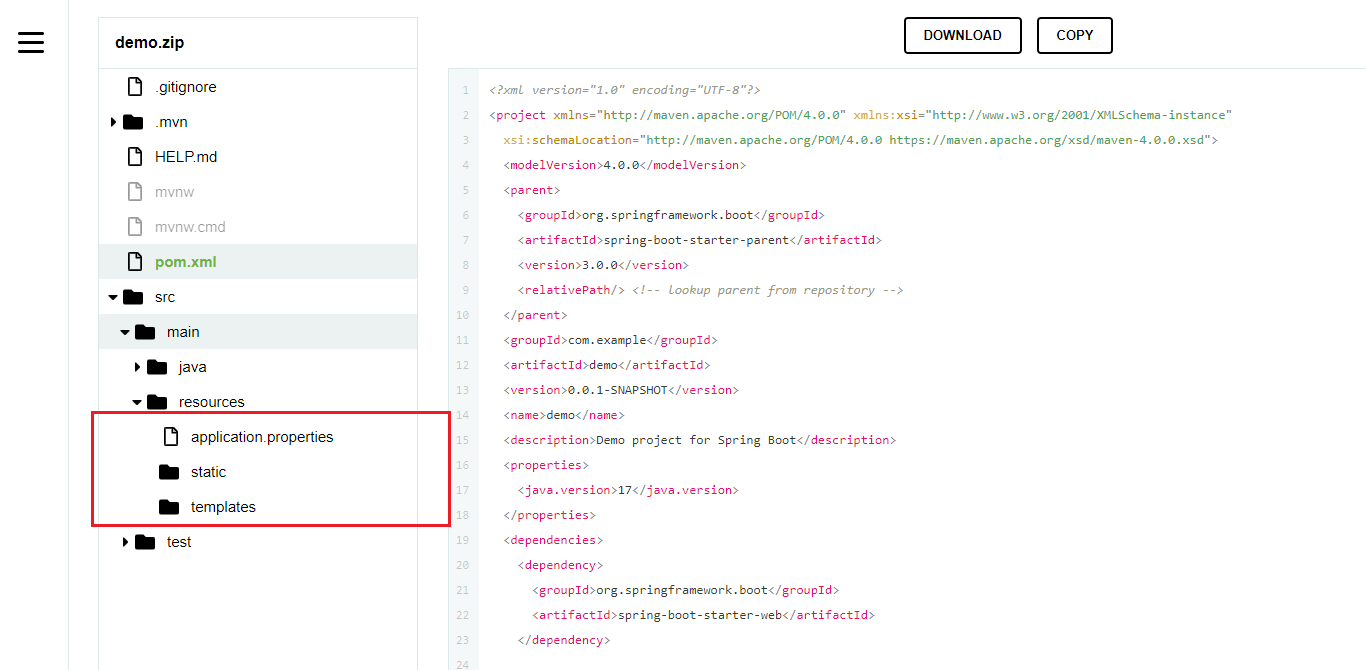
static 存放静态资源
template 存放模板页面 , 例如 thymeleaf
自定义静态文件存放目录
springboot 自动装配 , 默认静态资源的目录是 static
默认还有其它目录
classpath:/META-INF/resources/
classpath:/resources/classpath:/static/
classpath:/public/
源码
ResourceProperties.java
	private static final String[] CLASSPATH_RESOURCE_LOCATIONS = { "classpath:/META-INF/resources/",
			"classpath:/resources/", "classpath:/static/", "classpath:/public/" };

	/**
	 * Locations of static resources. Defaults to classpath:[/META-INF/resources/,
	 * /resources/, /static/, /public/].
	 */
	private String[] staticLocations = CLASSPATH_RESOURCE_LOCATIONS;
....
我们可以自定义
application.properties
spring.resources.static-locations=classpath:/custom/

如图存放的静态资源
测试
引入依赖
<dependencies>
    <dependency>
        <groupId>org.springframework.boot</groupId>
        <artifactId>spring-boot-starter-web</artifactId>
    </dependency>
</dependencies>
新建测试 controller
HelloController.java
package com.example.controller;

import org.springframework.beans.factory.annotation.Value;
import org.springframework.web.bind.annotation.GetMapping;
import org.springframework.web.bind.annotation.RestController;

import javax.servlet.http.HttpServletResponse;
import java.io.File;
import java.io.IOException;
import java.net.URL;
import java.util.Arrays;
import java.util.List;
import java.util.stream.Collectors;

@RestController
public class HelloController {

    private static final String STATIC_FILE = "custom";

    @Value("${server.port}")
    private String port;
    @GetMapping({"/file","/"})
    public String hello(HttpServletResponse response) throws IOException {
        List<String> staticFile = getStaticFile();
        StringBuilder sb = new StringBuilder("");
        for (String s : staticFile) {
            sb.append("<a href=http://"+"localhost:"+port+"/"+s+">");
            sb.append(s);
            sb.append("</a>");
            sb.append("<hr>");
        }
        return sb.toString();
    }

    public List<String> getStaticFile() {
        URL aStatic = this.getClass().getClassLoader().getResource(STATIC_FILE);
        String filePath = aStatic.getFile();
        File file = new File(filePath);
        File[] files = file.listFiles();
        List<String> staticFileList = Arrays.asList(files).stream().map(File::getName).collect(Collectors.toList());
        return staticFileList;
    }
}
测试页面
[外链图片转存失败,源站可能有防盗链机制,建议将图片保存下来直接上传(img-xvRBpVgd-1670335291009)(D:\my-note\typora-picture\image-20221206215521470.png)]
可以查看图片
[外链图片转存失败,源站可能有防盗链机制,建议将图片保存下来直接上传(img-FdC5jrPK-1670335291010)(D:\my-note\typora-picture\image-20221206215534399.png)]
可以下载资源

使用方式
- 静态资源放在静态文件目录
- springboot 项目打jar直接部署即可


 1557
1557


 被折叠的 条评论
为什么被折叠?
被折叠的 条评论
为什么被折叠?
 到【灌水乐园】发言


