


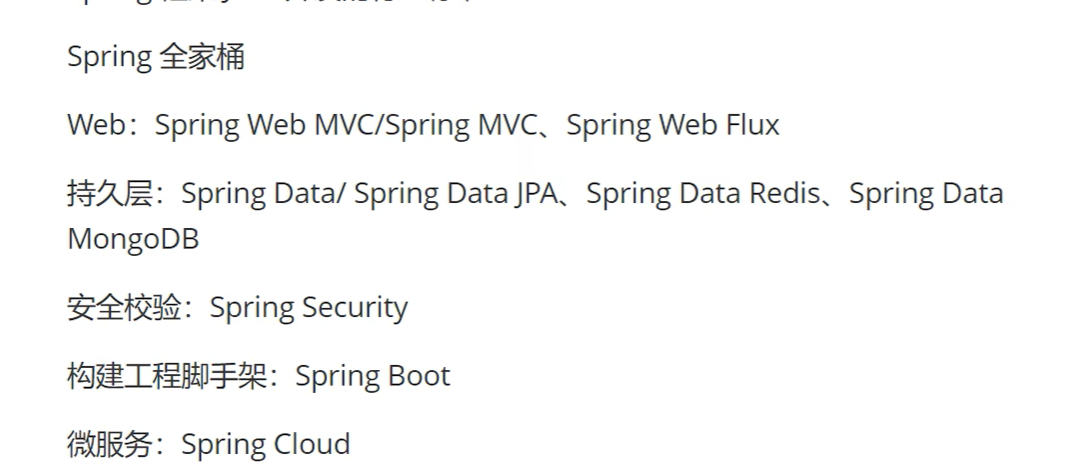
1 Spring框架
Java开发的行业标准
2 IoC
控制反转,将对象的创建进行反转,常规情况下,对象是开发者手动创建的,使用IoC开发者不再需要创建对象,而是由IoC容器根据需求自动创建项目所需的对象
不用Ioc,所有对象开发者自己创建
使用Ioc,对象不用开发者创建,而是交给Spring框架来完成
1.pom.xml
        <dependency>
            <groupId>org.springframework</groupId>
            <artifactId>spring-context</artifactId>
            <version>5.3.31</version>
        </dependency>
基于XML和基于注解(更多使用)两种方式
基于XML:开发者把需要的对象在xml中进行配置,Spring框架读取这个配置文件,根据配置文件的内容来创建对象
<?xml version="1.0" encoding="UTF-8"?>
<beans xmlns="http://www.springframework.org/schema/beans"
       xmlns:xsi="http://www.w3.org/2001/XMLSchema-instance"
       xmlns:context="http://www.springframework.org/schema/context"
       xmlns:aop="http://www.springframework.org/schema/aop"
       xmlns:p="http://www.springframework.org/schema/p"
       xsi:schemaLocation="http://www.springframework.org/schema/beans
           http://www.springframework.org/schema/beans/spring-beans.xsd
           http://www.springframework.org/schema/context
           http://www.springframework.org/schema/context/spring-context.xsd
           http://www.springframework.org/schema/aop
           http://www.springframework.org/schema/aop/spring-aop-4.3.xsd">

      <bean class="com.showy.ioc.DataConfig" id="config">
            <property name="driverName" value="Driver"></property>
            <property name="url" value="localhost:8080"></property>
            <property name="userName" value="root"></property>
            <property name="password" value="123456"></property>
      </bean>

</beans>
package com.showy.ioc;/*
 * @author SHOWY
 */

import org.springframework.context.ApplicationContext;
import org.springframework.context.support.ClassPathXmlApplicationContext;

public class Test {
    public static void main(String[] args) {
//        DataConfig dataConfig = new DataConfig();
//        dataConfig.setUrl("localhost:8080");
//        dataConfig.setDriverName("com.mysql.jdbc.Driver");
//        dataConfig.setUserName("root");
//        dataConfig.setPassword("123456");
        ApplicationContext context = new ClassPathXmlApplicationContext("spring.xml");
        System.out.println(context.getBean("config"));
    }
}
基于注解
1.通过配置类
通过用一个java类替代xml文件,把在xml中配置的内容放到配置类中
package com.showy.configuration;/*
 * @author SHOWY
 */

import com.showy.ioc.DataConfig;
import org.springframework.context.annotation.Bean;
import org.springframework.context.annotation.Configuration;

@Configuration
public class BeanConfiguration {

     @Bean(value = "config")
     public DataConfig getDataConfig() {
          DataConfig dataConfig = new DataConfig();
          dataConfig.setUrl("localhost:8080");
          dataConfig.setDriverName("com.mysql.jdbc.Driver");
          dataConfig.setUserName("root");
          dataConfig.setPassword("123456");
          return dataConfig;
     }
}
package com.showy.ioc;/*
 * @author SHOWY
 */

import com.showy.configuration.BeanConfiguration;
import org.springframework.context.ApplicationContext;
import org.springframework.context.annotation.AnnotationConfigApplicationContext;
import org.springframework.context.support.ClassPathXmlApplicationContext;

public class Test {
    public static void main(String[] args) {
//        DataConfig dataConfig = new DataConfig();
//        dataConfig.setUrl("localhost:8080");
//        dataConfig.setDriverName("com.mysql.jdbc.Driver");
//        dataConfig.setUserName("root");
//        dataConfig.setPassword("123456");
//        ApplicationContext context = new ClassPathXmlApplicationContext("spring.xml");
//        System.out.println(context.getBean("config"));
          ApplicationContext context = new AnnotationConfigApplicationContext(BeanConfiguration.class);
          System.out.println(context.getBean(DataConfig.class));
          System.out.println("config");

     ApplicationContext context = new    AnnotationConfigApplicationContext("com.showy.configuration");
            System.out.println("config");

    }
}
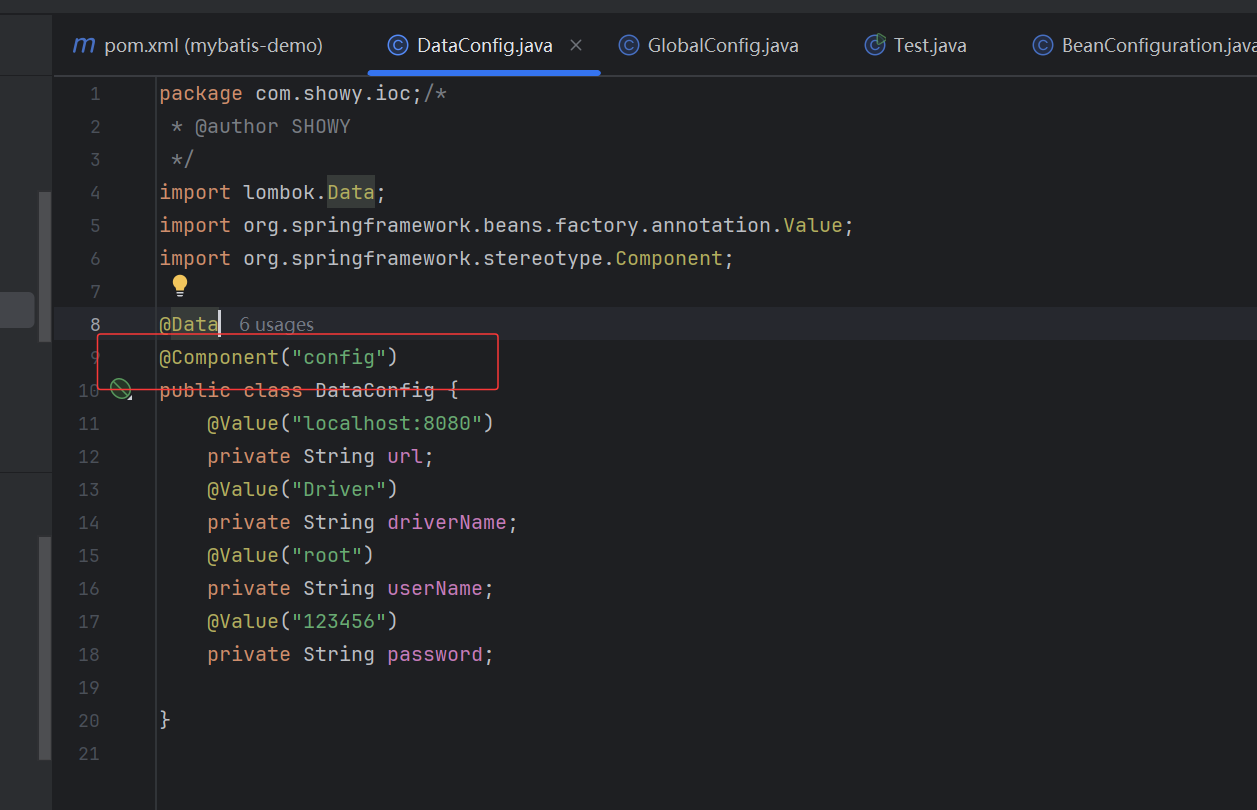
2.扫包+注解
更简单不再依赖于配置类和XML文件,而是在目标类添加注解创建
package com.showy.ioc;/*
 * @author SHOWY
 */

import com.showy.configuration.BeanConfiguration;
import org.springframework.context.ApplicationContext;
import org.springframework.context.annotation.AnnotationConfigApplicationContext;
import org.springframework.context.support.ClassPathXmlApplicationContext;

public class Test {
    public static void main(String[] args) {
//        DataConfig dataConfig = new DataConfig();
//        dataConfig.setUrl("localhost:8080");
//        dataConfig.setDriverName("com.mysql.jdbc.Driver");
//        dataConfig.setUserName("root");
//        dataConfig.setPassword("123456");
//        ApplicationContext context = new ClassPathXmlApplicationContext("spring.xml");
//        System.out.println(context.getBean("config"));

        //通过配置类
//          ApplicationContext context = new AnnotationConfigApplicationContext(BeanConfiguration.class);
//          System.out.println(context.getBean(DataConfig.class));
//          System.out.println("config");

//           ApplicationContext context = new AnnotationConfigApplicationContext("com.showy.configuration");
//           System.out.println("config");

            ApplicationContext context = new AnnotationConfigApplicationContext("com.showy.ioc");
            System.out.println(context.getBean(DataConfig.class));
    }
}
package com.showy.ioc;/*
 * @author SHOWY
 */
import lombok.Data;
import org.springframework.beans.factory.annotation.Value;
import org.springframework.stereotype.Component;

@Data
@Component
public class DataConfig {
    @Value("localhost:8080")
    private String url;
    @Value("Driver")
    private String driverName;
    @Value("root")
    private String userName;
    @Value("123456")
    private String password;

}
补:自动创建对象,完成依赖注入
package com.showy.ioc;/*
 * @author SHOWY
 */

import lombok.Data;
import org.springframework.beans.factory.annotation.Autowired;
import org.springframework.beans.factory.annotation.Value;
import org.springframework.stereotype.Component;

@Data
@Component
public class GlobalConfig {
    @Value("8080")
    private String port;

    @Value("/")
    private String path;

    @Autowired
    private DataConfig dataConfig;
}
@Autowired注解通过类型进行注入,如果通过名称取值,通过@Qualifier完成名称的映射
package com.showy.ioc;/*
 * @author SHOWY
 */

import lombok.Data;
import org.springframework.beans.factory.annotation.Autowired;
import org.springframework.beans.factory.annotation.Qualifier;
import org.springframework.beans.factory.annotation.Value;
import org.springframework.stereotype.Component;

@Data
@Component
public class GlobalConfig {
    @Value("8080")
    private String port;

    @Value("/")
    private String path;

    @Autowired
    @Qualifier("config")
    private DataConfig dataConfig;
}
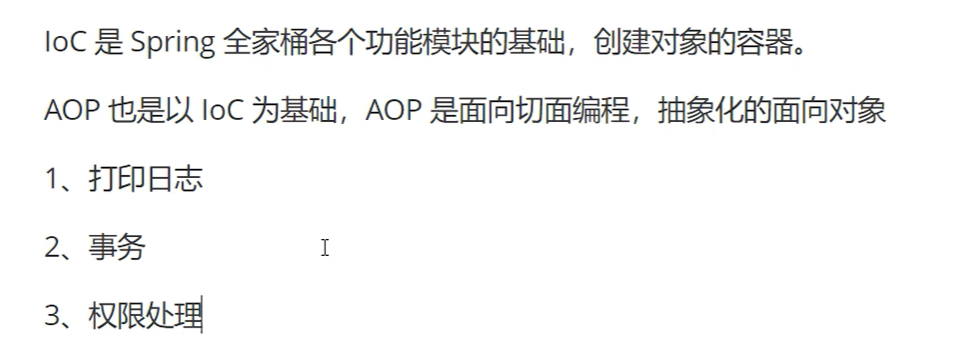
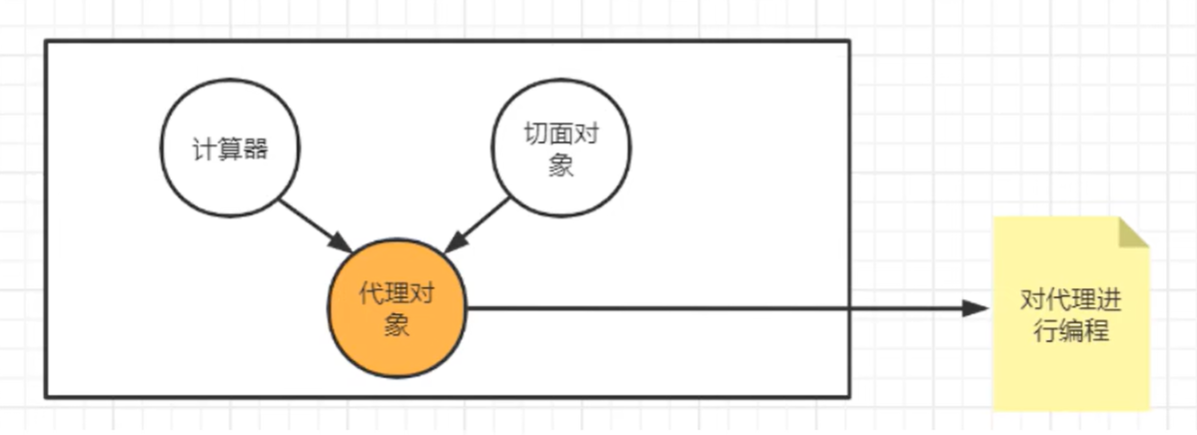
3 AOP
面向切面编程,是一种抽象化的面向对象编程,是面向对象编程的一种补充
打印日志例子
业务代码和打印日志耦合起来
不同的方法相同的位置抽象成一个对象
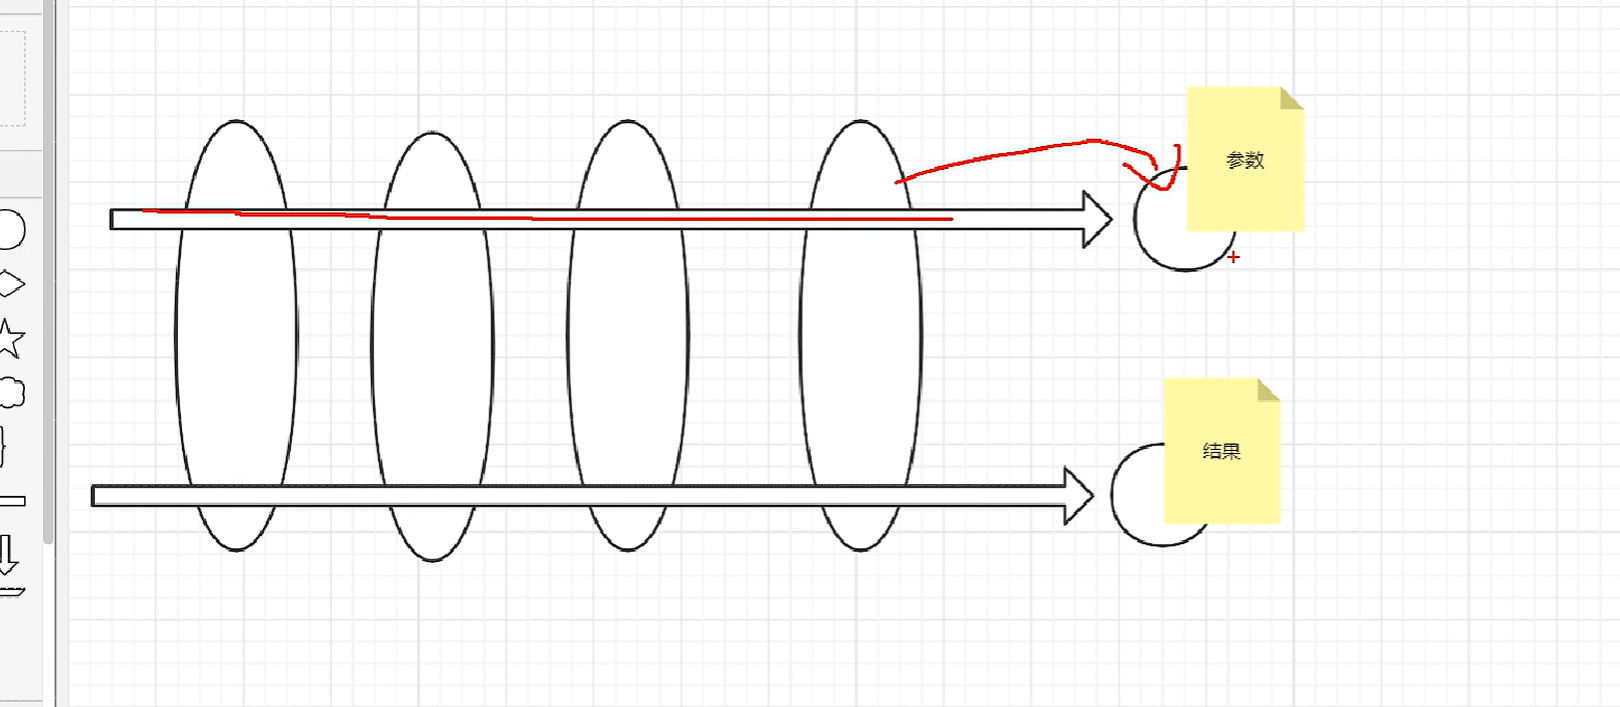
计算器方法中,日志和业务混在一起,AOP就是将日志代码全部抽象出去统一处理,计算器方法中只保留核心业务代码,底层使用动态代理机制
做到业务核心代码和非业务代码的解耦合
1 创建切面类
package com.showy.com.showy.aop;/*
 * @author SHOWY
 */

import org.aspectj.lang.JoinPoint;
import org.aspectj.lang.annotation.AfterReturning;
import org.aspectj.lang.annotation.Aspect;
import org.aspectj.lang.annotation.Before;
import org.springframework.stereotype.Component;

import java.util.Arrays;

@Component
@Aspect//说明它是一个切面
public class LoggerAspect {
    @Before("execution(public int com.showy.com.showy.aop.calImpl.*(..))")
    public void before(JoinPoint joinPoint){
        String name = joinPoint.getSignature().getName();
        System.out.println(name + "方法的参数是" + Arrays.toString(joinPoint.getArgs()));
    }

    //这里注意必须输出return才能拿到这个result
    //用value去映射方法,用returning去绑定result
    @AfterReturning(value = "execution(public int com.showy.com.showy.aop.calImpl.*(..))",returning = "result")
    public void after(JoinPoint joinPoint, Object result){
        String name = joinPoint.getSignature().getName();
        System.out.println(name + "方法的参数是" + result);
    }
}
2.实现类添加component注解
package com.showy.com.showy.aop;/*
 * @author SHOWY
 */


import org.springframework.stereotype.Component;

@Component
public class calImpl implements Cal{
    @Override
    public int add(int num1, int num2) {
//        System.out.println("add方法的参数是[" + num1 + "," + num2 + "]");
        int result = num1 + num2;
//        System.out.println("add方法的结果是" + result);
        return result;

    }

    @Override
    public int sub(int num1, int num2) {
//        System.out.println("sub方法的参数是[" + num1 + "," + num2 + "]");
        int result = num1 - num2;
//        System.out.println("sub方法的结果是" + result);
        return result;
    }

    @Override
    public int mul(int num1, int num2) {
//        System.out.println("mul方法的参数是[" + num1 + "," + num2 + "]");
        int result = num1 * num2;
//        System.out.println("mul方法的结果是" + result);
        return result;
    }

    @Override
    public int div(int num1, int num2) {
//        System.out.println("div方法的参数是[" + num1 + "," + num2 + "]");
        int result = num1 / num2;
//        System.out.println("div方法的结果是" + result);
        return result;
    }
}
3.配置自动扫包 开启自动生成代理对象
//spring.xml
<?xml version="1.0" encoding="UTF-8"?>
<beans xmlns="http://www.springframework.org/schema/beans"
       xmlns:xsi="http://www.w3.org/2001/XMLSchema-instance"
       xmlns:context="http://www.springframework.org/schema/context"
       xmlns:aop="http://www.springframework.org/schema/aop"
       xmlns:p="http://www.springframework.org/schema/p"
       xsi:schemaLocation="http://www.springframework.org/schema/beans
           http://www.springframework.org/schema/beans/spring-beans.xsd
           http://www.springframework.org/schema/context
           http://www.springframework.org/schema/context/spring-context.xsd
           http://www.springframework.org/schema/aop
           http://www.springframework.org/schema/aop/spring-aop-4.3.xsd">

<!--      <bean class="com.showy.ioc.DataConfig" id="config">-->
<!--            <property name="driverName" value="Driver"></property>-->
<!--            <property name="url" value="localhost:8080"></property>-->
<!--            <property name="userName" value="root"></property>-->
<!--            <property name="password" value="123456"></property>-->
<!--      </bean>-->
      <!--自动扫包-->
      <context:component-scan base-package="com.showy.com.showy.aop"></context:component-scan>

      <!--开启自动生成代理-->
      <aop:aspectj-autoproxy></aop:aspectj-autoproxy>

</beans>
4.使用
package com.showy.com.showy.aop;/*
 * @author SHOWY
 */

import org.springframework.context.ApplicationContext;
import org.springframework.context.support.ClassPathXmlApplicationContext;

public class Test {
    public static void main(String[] args) {
        ApplicationContext context = new ClassPathXmlApplicationContext("spring.xml");
        Cal bean = context.getBean(Cal.class);
        System.out.println(bean.add(8, 4));
        System.out.println(bean.sub(8, 4));
        System.out.println(bean.mul(8, 4));
        System.out.println(bean.div(8, 4));

    }
}


 2685
2685

 被折叠的 条评论
为什么被折叠?
被折叠的 条评论
为什么被折叠?
 到【灌水乐园】发言


