


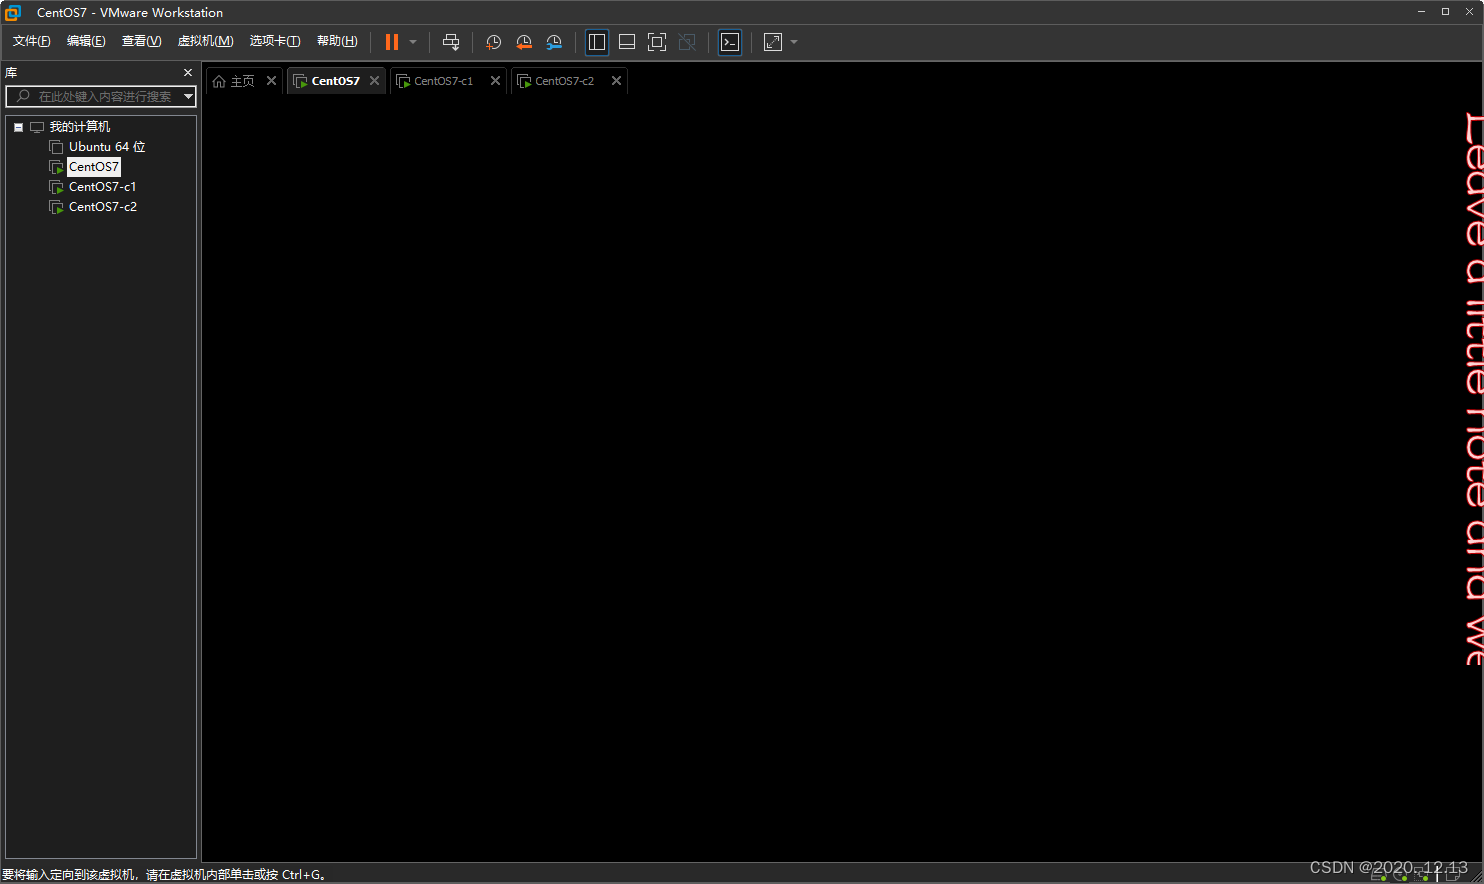
虚拟机准备3台Linux系统
k8s集群安装
每一台机器需要安装以下内容:
docker:容器运行环境
kubelet:控制机器中所有资源
bubelctl:命令行
kubeladm:初始化集群的工具
Docker安装
安装一些必要的包,yum-util 提供yum-config-manager功能,另两个是devicemapper驱动依赖
#yum install -y yum-utils
yum install -y yum-utils device-mapper-persistent-data lvm2
添加dcoker仓库
yum-config-manager --add-repo http://download.docker.com/linux/centos/docker-ce.repo(中央仓库)

yum-config-manager --add-repo http://mirrors.aliyun.com/docker-ce/linux/centos/docker-ce.repo(阿里仓库)
选择一个版本并安装:yum install -y docker-ce-版本号
yum install -y docker-ce-20.10.7 docker-ce-cli-20.10.7 containerd.io-1.4.6
既要现在启动也要开机启动
systemctl enable docker --now
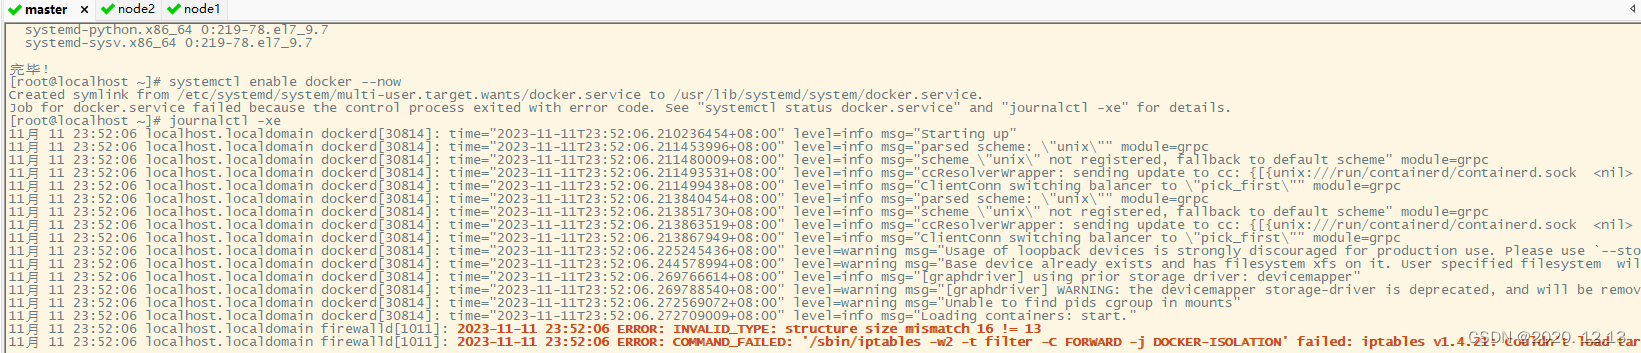
有可能出现如下问题
Job for docker.service failed because the control process exited with error code. See "systemctl status docker.service" and "journalctl -xe" for details.
通过systemctl status docker.service和journalctl -xe查看问题
[root@localhost docker]# systemctl status docker.service
● docker.service - Docker Application Container Engine
   Loaded: loaded (/usr/lib/systemd/system/docker.service; enabled; vendor preset: disabled)
   Active: failed (Result: start-limit) since 六 2023-11-11 23:34:34 CST; 15s ago
     Docs: https://docs.docker.com
  Process: 33144 ExecStart=/usr/bin/dockerd -H fd:// --containerd=/run/containerd/containerd.sock (code=exited, status=1/FAILURE)
 Main PID: 33144 (code=exited, status=1/FAILURE)

11月 11 23:34:32 localhost.localdomain systemd[1]: docker.service: main process exited, code=exited, status=1/FAILURE
11月 11 23:34:32 localhost.localdomain systemd[1]: Failed to start Docker Application Container Engine.
11月 11 23:34:32 localhost.localdomain systemd[1]: Unit docker.service entered failed state.
11月 11 23:34:32 localhost.localdomain systemd[1]: docker.service failed.
11月 11 23:34:34 localhost.localdomain systemd[1]: docker.service holdoff time over, scheduling restart.
11月 11 23:34:34 localhost.localdomain systemd[1]: Stopped Docker Application Container Engine.
11月 11 23:34:34 localhost.localdomain systemd[1]: start request repeated too quickly for docker.service
11月 11 23:34:34 localhost.localdomain systemd[1]: Failed to start Docker Application Container Engine.
11月 11 23:34:34 localhost.localdomain systemd[1]: Unit docker.service entered failed state.
11月 11 23:34:34 localhost.localdomain systemd[1]: docker.service failed.
[root@localhost docker]# journalctl -xe
--
-- Unit docker.service has finished shutting down.
11月 11 23:34:32 localhost.localdomain systemd[1]: Starting Docker Application Container Engine...
-- Subject: Unit docker.service has begun start-up
-- Defined-By: systemd
-- Support: http://lists.freedesktop.org/mailman/listinfo/systemd-devel
--
-- Unit docker.service has begun starting up.
11月 11 23:34:32 localhost.localdomain dockerd[33144]: unable to configure the Docker daemon with file /etc/docker/daemon.json: invalid character '"' after object key:value pair
11月 11 23:34:32 localhost.localdomain systemd[1]: docker.service: main process exited, code=exited, status=1/FAILURE
11月 11 23:34:32 localhost.localdomain systemd[1]: Failed to start Docker Application Container Engine.
或者
[root@localhost ~]# journalctl -xe
11月 11 23:52:06 localhost.localdomain dockerd[30814]: time="2023-11-11T23:52:06.210236454+08:00" level=info msg="Starting up"
11月 11 23:52:06 localhost.localdomain dockerd[30814]: time="2023-11-11T23:52:06.211453996+08:00" level=info msg="parsed scheme: \"unix\"" module=grpc
11月 11 23:52:06 localhost.localdomain dockerd[30814]: time="2023-11-11T23:52:06.211480009+08:00" level=info msg="scheme \"unix\" not registered, fallback to default scheme" module=grpc
11月 11 23:52:06 localhost.localdomain dockerd[30814]: time="2023-11-11T23:52:06.211493531+08:00" level=info msg="ccResolverWrapper: sending update to cc: {[{unix:///run/containerd/containerd.sock  <nil>
11月 11 23:52:06 localhost.localdomain dockerd[30814]: time="2023-11-11T23:52:06.211499438+08:00" level=info msg="ClientConn switching balancer to \"pick_first\"" module=grpc
11月 11 23:52:06 localhost.localdomain dockerd[30814]: time="2023-11-11T23:52:06.213840454+08:00" level=info msg="parsed scheme: \"unix\"" module=grpc
11月 11 23:52:06 localhost.localdomain dockerd[30814]: time="2023-11-11T23:52:06.213851730+08:00" level=info msg="scheme \"unix\" not registered, fallback to default scheme" module=grpc
11月 11 23:52:06 localhost.localdomain dockerd[30814]: time="2023-11-11T23:52:06.213863519+08:00" level=info msg="ccResolverWrapper: sending update to cc: {[{unix:///run/containerd/containerd.sock  <nil>
11月 11 23:52:06 localhost.localdomain dockerd[30814]: time="2023-11-11T23:52:06.213867949+08:00" level=info msg="ClientConn switching balancer to \"pick_first\"" module=grpc
11月 11 23:52:06 localhost.localdomain dockerd[30814]: time="2023-11-11T23:52:06.225245436+08:00" level=warning msg="Usage of loopback devices is strongly discouraged for production use. Please use `--sto
11月 11 23:52:06 localhost.localdomain dockerd[30814]: time="2023-11-11T23:52:06.244578994+08:00" level=warning msg="Base device already exists and has filesystem xfs on it. User specified filesystem  wil
11月 11 23:52:06 localhost.localdomain dockerd[30814]: time="2023-11-11T23:52:06.269766614+08:00" level=info msg="[graphdriver] using prior storage driver: devicemapper"
11月 11 23:52:06 localhost.localdomain dockerd[30814]: time="2023-11-11T23:52:06.269788540+08:00" level=warning msg="[graphdriver] WARNING: the devicemapper storage-driver is deprecated, and will be remov
11月 11 23:52:06 localhost.localdomain dockerd[30814]: time="2023-11-11T23:52:06.272569072+08:00" level=warning msg="Unable to find pids cgroup in mounts"
11月 11 23:52:06 localhost.localdomain dockerd[30814]: time="2023-11-11T23:52:06.272709009+08:00" level=info msg="Loading containers: start."
11月 11 23:52:06 localhost.localdomain firewalld[1011]: 2023-11-11 23:52:06 ERROR: INVALID_TYPE: structure size mismatch 16 != 13
11月 11 23:52:06 localhost.localdomain firewalld[1011]: 2023-11-11 23:52:06 ERROR: COMMAND_FAILED: '/sbin/iptables -w2 -t filter -C FORWARD -j DOCKER-ISOLATION' failed: iptables v1.4.21: Couldn't load tar

                                                         Try `iptables -h' or 'iptables --help' for more information.
问题产生原因如下:json格式问题

防火墙问题:参考链接
解决方法
进入目录:
cd /etc/docker
看看有没有文件daemon.json,没有的话创建
touch daemon.json
编辑
vi daemon.json
{
	"storage-driver": "devicemapper",
        "iptables": false
}
重新启动:既要现在启动也要开机启动
systemctl enable docker --now
配置镜像加速器
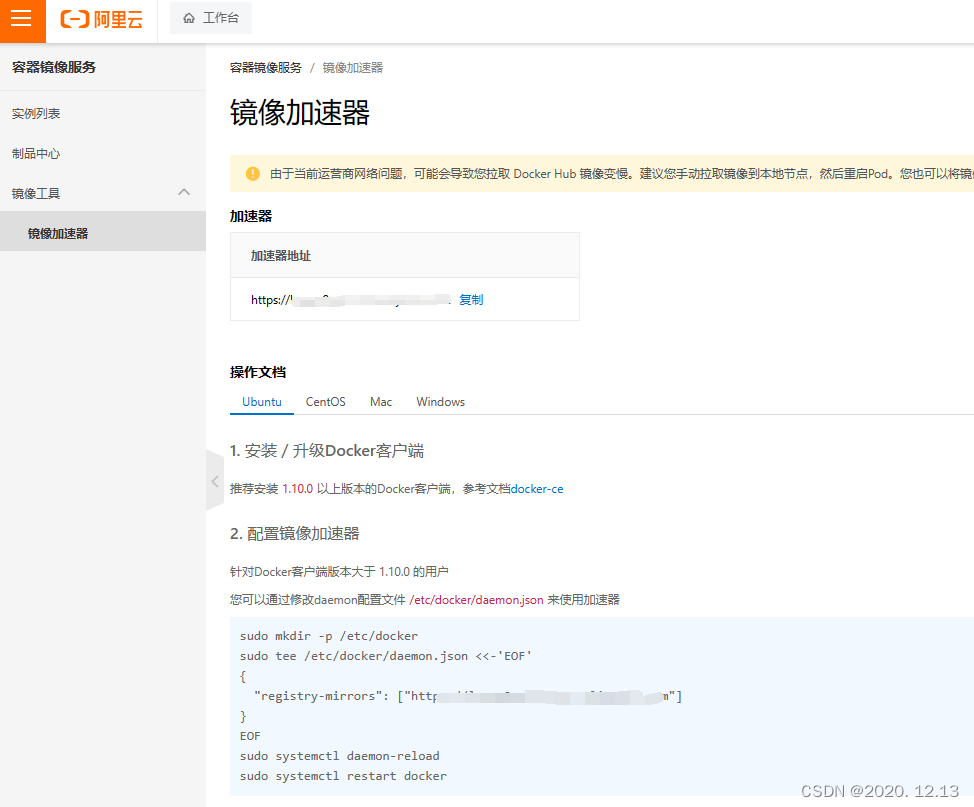
sudo mkdir -p /etc/docker
sudo tee /etc/docker/daemon.json <<-'EOF'
{
  "registry-mirrors": ["你的阿里云镜像加速器地址"],
  "exec-opts": ["native.cgroupdriver=systemd"],
  "log-driver": "json-file",
  "log-opts": {
	"max-size": "100m"
  },
  "storage-driver": "overlay2"
}
EOF
sudo systemctl daemon-reload
sudo systemctl restart docker
但是上面会覆盖之前写的/etc/docker/daemon.json配置导致和之前一样的错误,而"storage-driver": "overlay2"会导致报错
failed to start daemon: error initializing graphdriver: overlay2: the backing xfs filesystem is formatted without d_type support, which leads to inco
所以暂时先把"storage-driver": "overlay2"这一行删除,重新执行如下命令:
sudo mkdir -p /etc/docker
sudo tee /etc/docker/daemon.json <<-'EOF'
{
  "storage-driver": "devicemapper",
  "iptables": false,
  "registry-mirrors": ["你的阿里云镜像加速器地址"],
  "exec-opts": ["native.cgroupdriver=systemd"],
  "log-driver": "json-file",
  "log-opts": {
	"max-size": "100m"
  }
}
EOF
sudo systemctl daemon-reload
sudo systemctl restart docker
这一问题通过这一操作,暂时解决。
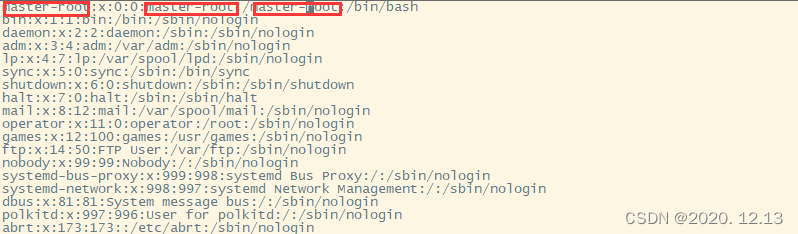
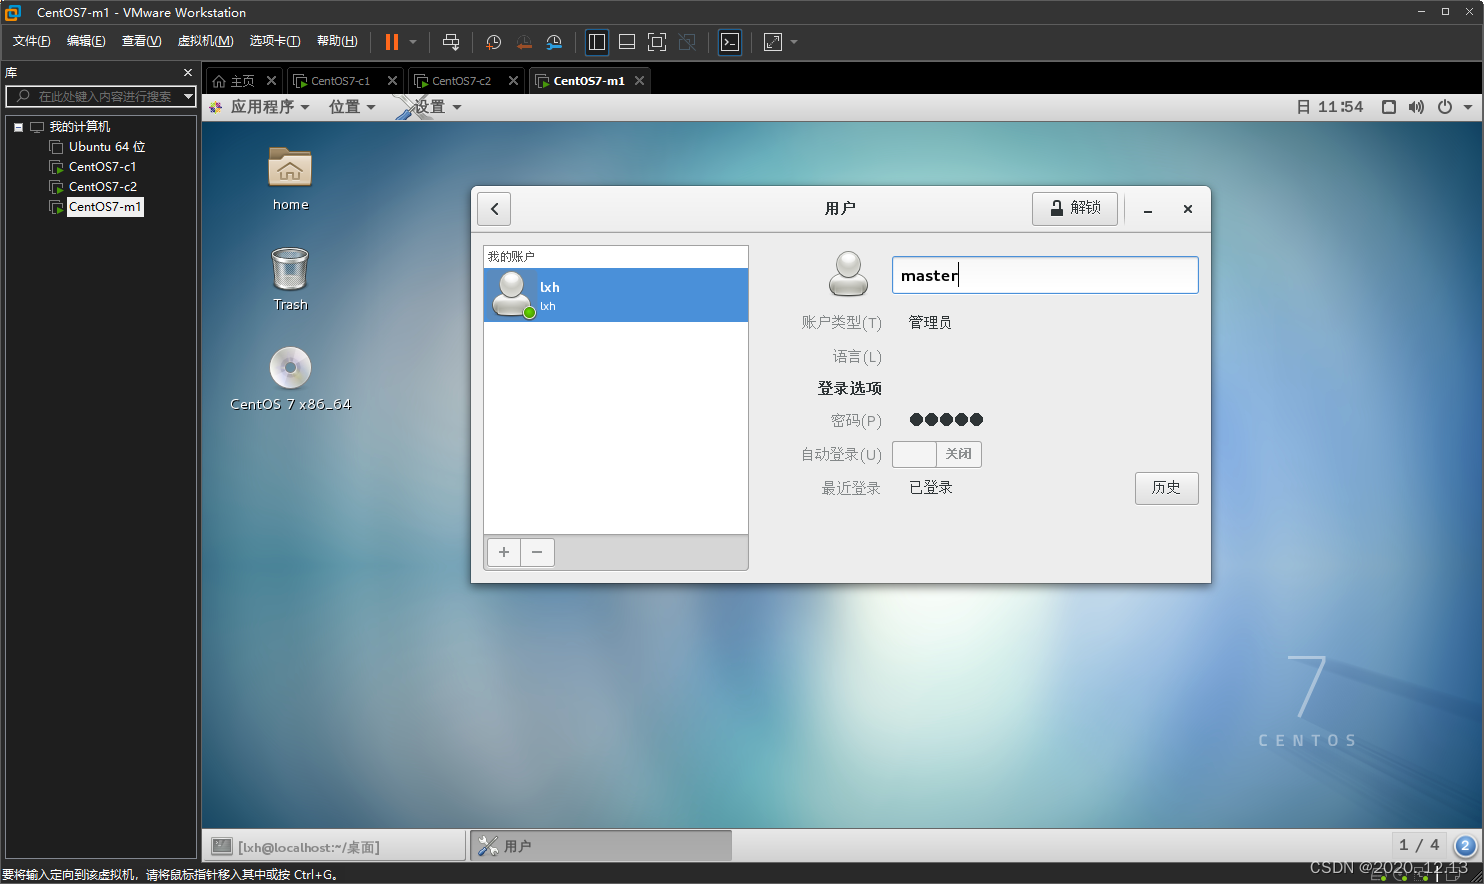
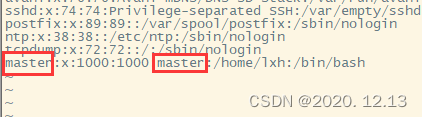
修改各节点名称,方便secureCRT观察是哪个节点
vi /etc/passwd
vi /etc/shadow

无法保存退出,采用强制退出(需root权限参考链接)

:wq!
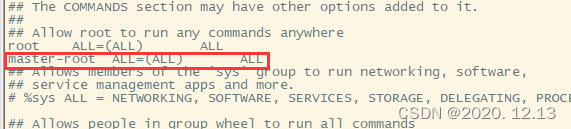
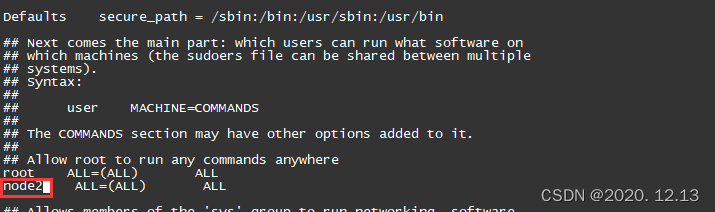
vi /etc/sudoers
同上需要强制保存退出。
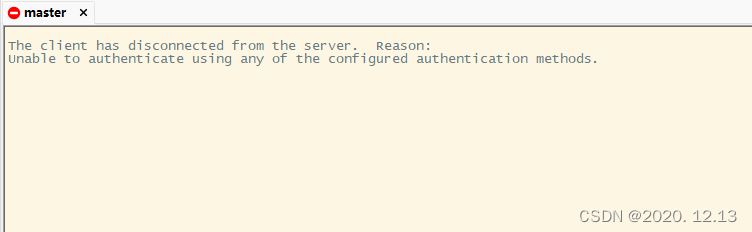
修改之后连接不上!
查找原因,参考链接
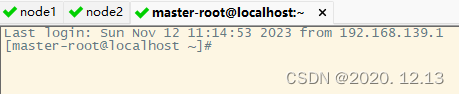
Last login: Sun Nov 12 10:11:12 2023 from 192.168.139.1
Could not chdir to home directory /master-root: No such file or directory
-bash-4.2# vi /etc/passwd
-bash-4.2#
但是虚拟机开机有问题,因此这种方法先不用,先不使用root账户,修改各个机器的普通用户名。
修改之后普通用户连接不上,但是root可以连接上
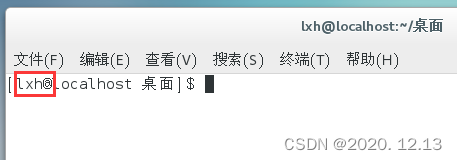
观察之后发现控制台中的用户名还没有被修改过来
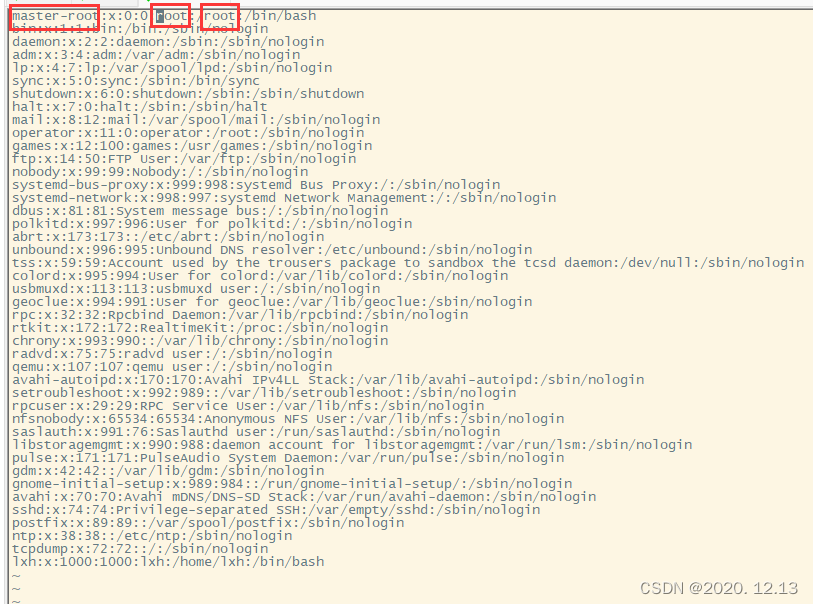
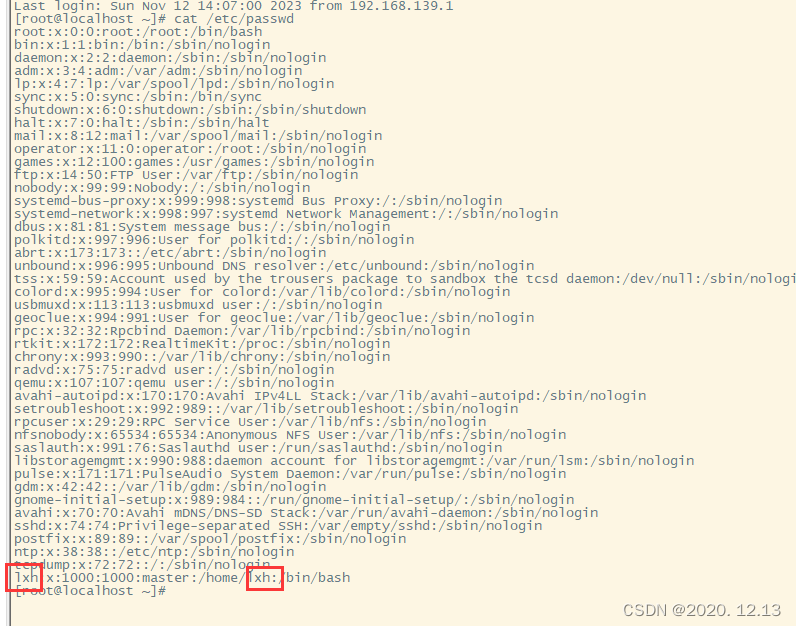
查看文件:cat /etc/passwd,发现这些地方没有改
修改之后发现虚拟机登不上了,提示密码错误。
vi /etc/shadow

这时候可以登录了,但是登陆成功又返回到登录界面!
最终解决
修改用户名2个需要修改的地方
vi /etc/passwd
vi /etc/shadow

vi /etc/sudoers
从以上可以推测出前面修改root用户名的错误的原因,也可以得到有效解决!
修改用户名完成。
看看docker,出现如下错误:
[node2@localhost ~]$ docker ps
Got permission denied while trying to connect to the Docker daemon socket at unix:///var/run/docker.sock: Get http://%2Fvar%2Frun%2Fdocker.sock/v1.24/containers/json: dial unix /var/run/docker.sock: connect: permission denied
以上命令只需要如下操作,即可
[node2@localhost ~]$ sudo gpasswd -a $USER docker
正在将用户“node2”加入到“docker”组中
[node2@localhost ~]$ newgrp docker
[node2@localhost ~]$ docker ps
Got permission denied while trying to connect to the Docker daemon socket at unix:///var/run/docker.sock: Get http://%2Fvar%2Frun%2Fdocker.sock/v1.24/containers/json: dial unix /var/run/docker.sock: connect: permission denied
[node2@localhost ~]$ sudo groupadd docker
[sudo] password for node2:
groupadd:“docker”组已存在
[node2@localhost ~]$ sudo gpasswd -a $USER docker
正在将用户“node2”加入到“docker”组中
[node2@localhost ~]$ newgrp docker
[node2@localhost ~]$ docker ps
Cannot connect to the Docker daemon at unix:///var/run/docker.sock. Is the docker daemon running?
[node2@localhost ~]$ sudo service docker restart
Redirecting to /bin/systemctl restart  docker.service
Job for docker.service failed because start of the service was attempted too often. See "systemctl status docker.service" and "journalctl -xe" for details.
To force a start use "systemctl reset-failed docker.service" followed by "systemctl start docker.service" again.
[node2@localhost ~]$ systemctl status docker.service
● docker.service - Docker Application Container Engine
   Loaded: loaded (/usr/lib/systemd/system/docker.service; enabled; vendor preset: disabled)
   Active: failed (Result: start-limit) since 日 2023-11-12 15:12:31 CST; 1min 16s ago
     Docs: https://docs.docker.com
  Process: 10231 ExecStart=/usr/bin/dockerd -H fd:// --containerd=/run/containerd/containerd.sock (code=exited, status=1/FAILURE)
 Main PID: 10231 (code=exited, status=1/FAILURE)
[node2@localhost ~]$ journalctl -xe
Hint: You are currently not seeing messages from other users and the system.
      Users in the 'systemd-journal' group can see all messages. Pass -q to
      turn off this notice.
No journal files were opened due to insufficient permissions.
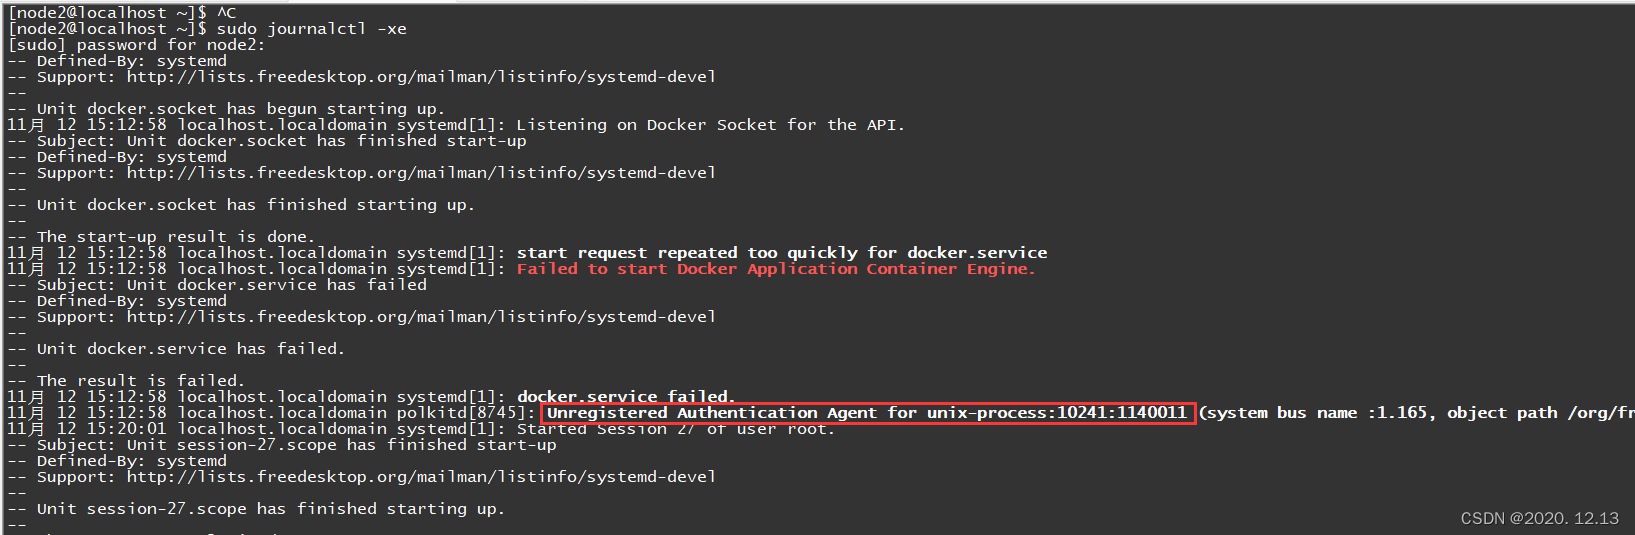
发现是之前的问题,重新执行以下前面的配置阿里云镜像加速器命令就可以了。
设置主机名,防止机器之间重复
hostnamectl set-hostname 主机名

关闭交换分区
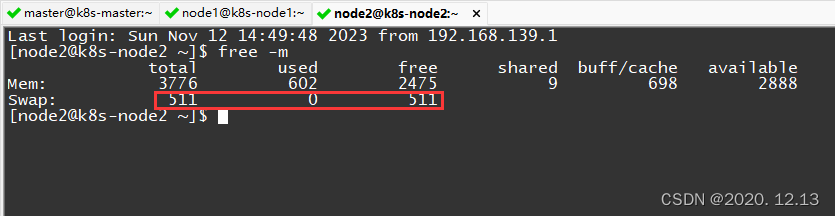
下面是一些安全设置
# 查看 交换分区
free -m

# 将 SELinux 设置为 permissive 模式(相当于将其禁用)  第一行是临时禁用,第二行是永久禁用
setenforce 0
sed -i 's/^SELINUX=enforcing$/SELINUX=permissive/' /etc/selinux/config

# 关闭swap;第一行是临时禁用,第二行是永久禁用
swapoff -a
sed -ri 's/.*swap.*/#&/' /etc/fstab

# 允许 iptables 检查桥接流量 (K8s 官方要求)
cat <<EOF | sudo tee /etc/modules-load.d/k8s.conf
br_netfilter
EOF
cat <<EOF | sudo tee /etc/sysctl.d/k8s.conf
net.bridge.bridge-nf-call-ip6tables = 1
net.bridge.bridge-nf-call-iptables = 1
EOF

# 让配置生效
sysctl --system
安装k8s三大件
安装 kubelet、kebeadm、kubectl;注意版本 (1.20.9)
# 配置 k8s 的 yum 源地址
cat <<EOF | sudo tee /etc/yum.repos.d/kubernetes.repo
[kubernetes]
name=Kubernetes
baseurl=http://mirrors.aliyun.com/kubernetes/yum/repos/kubernetes-el7-x86_64
enabled=1
gpgcheck=0
repo_gpgcheck=0
gpgkey=http://mirrors.aliyun.com/kubernetes/yum/doc/yum-key.gpg
   http://mirrors.aliyun.com/kubernetes/yum/doc/rpm-package-key.gpg
EOF
# 安装 kubelet、kubeadm、kubectl
yum install -y kubelet-1.20.9 kubeadm-1.20.9 kubectl-1.20.9 --disableexcludes=kubernetes

# 启动kubelet
systemctl enable --now kubelet

# 查看 kubelet 状态:一会停止 一会运行。 这个状态是对的,kubelet 等待 kubeadm 发号指令。
systemctl status kubelet
下载镜像
# 配置镜像,生成 images.sh
sudo tee ./images.sh <<-'EOF'
#!/bin/bash
images=(
kube-apiserver:v1.20.9
kube-proxy:v1.20.9
kube-controller-manager:v1.20.9
kube-scheduler:v1.20.9
coredns:1.7.0
etcd:3.4.13-0
pause:3.2
)
for imageName in ${images[@]} ; do
docker pull registry.cn-hangzhou.aliyuncs.com/lfy_k8s_images/$imageName
done
EOF

# 拉取镜像
chmod +x ./images.sh && ./images.sh
初始化主节点第一步
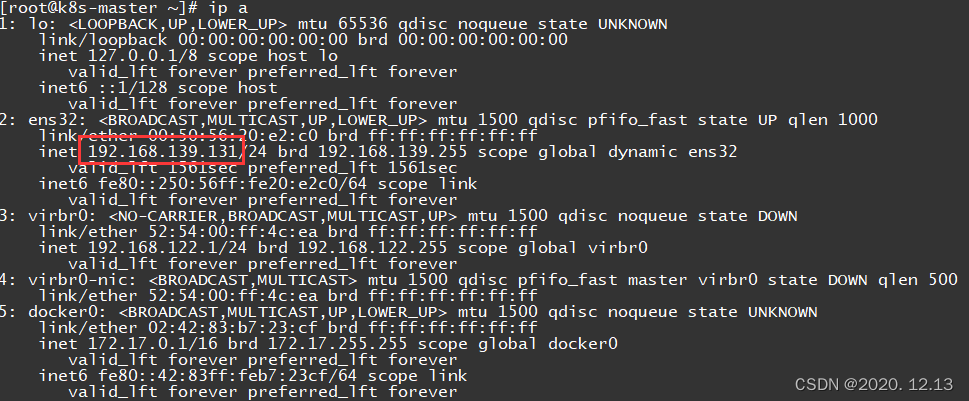
# 所有机器添加 master 域名映射,以下 IP 为 master 的 IP;
# 访问 cluster-endpoint 即 访问 192.168.139.131
echo "192.168.139.131  cluster-endpoint" >> /etc/hosts
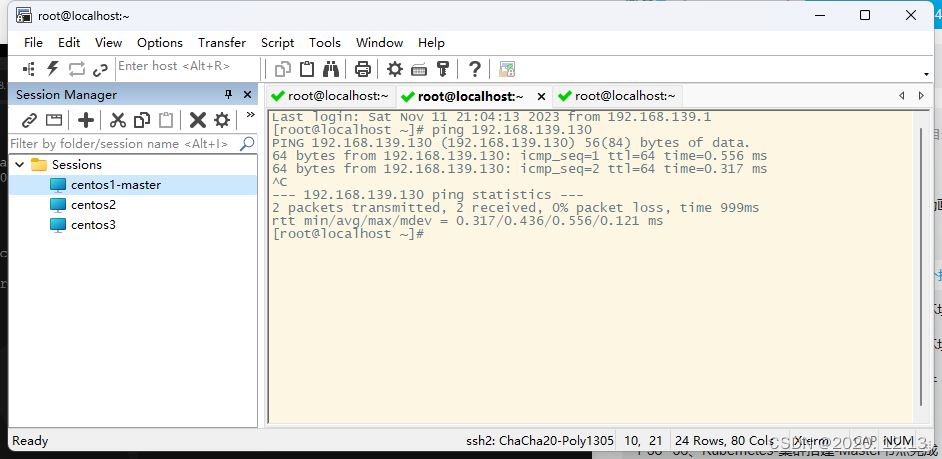
在其他节点上ping一下
ping cluster-endpoint
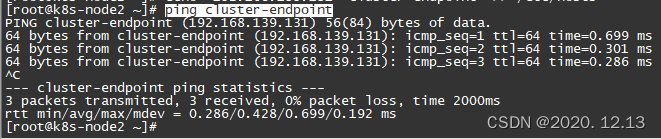
以上让所有节点知道了master节点在哪。
初始化主节点第二步
# 主节点初始化 (只在 master 服务器执行, 其他 node 不用)
# --apiserver-advertise-address: master 的 IP
# --control-plane-endpoint: master 的域名
# --service-cidr 和 --pod-network-cidr 是网络范围,雷神 建议不要改。要改的话 2 个cidr 和 vps(172.31.x.x) 的,3 个网络互相不能重叠;还要修改 calico.yaml的 IP(下图有写)。
kubeadm init \
--apiserver-advertise-address=192.168.139.131 \
--control-plane-endpoint=cluster-endpoint \
--image-repository registry.cn-hangzhou.aliyuncs.com/lfy_k8s_images \
--kubernetes-version v1.20.9 \
--service-cidr=10.96.0.0/16 \
--pod-network-cidr=10.244.0.0/16
参考链接:参考。
出现如下错误:
CGROUPS_FREEZER: enabled
CGROUPS_MEMORY: enabled
CGROUPS_PIDS: missing
CGROUPS_HUGETLB: enabled
        [WARNING SystemVerification]: this Docker version is not on the list of validated versions: 20.10.7. Latest validated version: 19.03
        [WARNING Hostname]: hostname "k8s-master" could not be reached
        [WARNING Hostname]: hostname "k8s-master": lookup k8s-master on 192.168.139.2:53: no such host
error execution phase preflight: [preflight] Some fatal errors occurred:
        [ERROR SystemVerification]: missing required cgroups: pids
[preflight] If you know what you are doing, you can make a check non-fatal with `--ignore-preflight-errors=...`
To see the stack trace of this error execute with --v=5 or higher
[root@k8s-master ~]# cd /boot/
[root@k8s-master boot]# ls
config-3.10.0-327.el7.x86_64                             initramfs-3.10.0-327.el7.x86_64.img       System.map-3.10.0-327.el7.x86_64
grub                                                     initramfs-3.10.0-327.el7.x86_64kdump.img  vmlinuz-0-rescue-5e285834986d407b84e8ba7a4b2e2a83
grub2                                                    initrd-plymouth.img                       vmlinuz-3.10.0-327.el7.x86_64
initramfs-0-rescue-5e285834986d407b84e8ba7a4b2e2a83.img  symvers-3.10.0-327.el7.x86_64.gz
[root@k8s-master boot]# vi config-3.10.0-327.el7.x86_64


升级内核
rpm --import https://www.elrepo.org/RPM-GPG-KEY-elrepo.org
rpm -Uvh http://www.elrepo.org/elrepo-release-7.0-2.el7.elrepo.noarch.rpm
yum --disablerepo="*" --enablerepo="elrepo-kernel" list available
yum --enablerepo=elrepo-kernel install kernel-ml
cp /etc/default/grub  /etc/default/grub_bak
vi /etc/default/grub
grub2-mkconfig -o /boot/grub2/grub.cfg
 systemctl enable docker.service
reboot
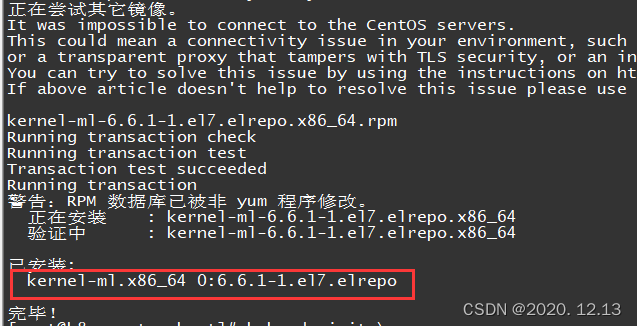
重新执行,初始化主节点成功!
kubeadm init \
--apiserver-advertise-address=192.168.139.131 \
--control-plane-endpoint=cluster-endpoint \
--image-repository registry.aliyuncs.com/google_containers \
--kubernetes-version v1.20.9 \
--service-cidr=10.96.0.0/12 \
--pod-network-cidr=10.244.0.0/16

Your Kubernetes control-plane has initialized successfully!

To start using your cluster, you need to run the following as a regular user:

  mkdir -p $HOME/.kube
  sudo cp -i /etc/kubernetes/admin.conf $HOME/.kube/config
  sudo chown $(id -u):$(id -g) $HOME/.kube/config

Alternatively, if you are the root user, you can run:

  export KUBECONFIG=/etc/kubernetes/admin.conf

You should now deploy a pod network to the cluster.
Run "kubectl apply -f [podnetwork].yaml" with one of the options listed at:
  https://kubernetes.io/docs/concepts/cluster-administration/addons/

You can now join any number of control-plane nodes by copying certificate authorities
and service account keys on each node and then running the following as root:

  kubeadm join cluster-endpoint:6443 --token 99sc8r.rv1dsi2mgvhqshvb \
    --discovery-token-ca-cert-hash sha256:0fe5bf32c6f0f818d91fbf6c096fb275e6d21776a9d462e5fce3a12c08a5f745 \
    --control-plane

Then you can join any number of worker nodes by running the following on each as root:

kubeadm join cluster-endpoint:6443 --token 99sc8r.rv1dsi2mgvhqshvb \
    --discovery-token-ca-cert-hash sha256:0fe5bf32c6f0f818d91fbf6c096fb275e6d21776a9d462e5fce3a12c08a5f745
按照提示,然后依次运行如下命令
mkdir -p $HOME/.kube
sudo cp -i /etc/kubernetes/admin.conf $HOME/.kube/config
sudo chown $(id -u):$(id -g) $HOME/.kube/config
[root@k8s-master ~]# kubectl get nodes
NAME         STATUS     ROLES                  AGE   VERSION
k8s-master   NotReady   control-plane,master   14m   v1.20.9
NotReady,是因为还需要部署网络插件把节点之间的网络打通
安装网络组件
master运行
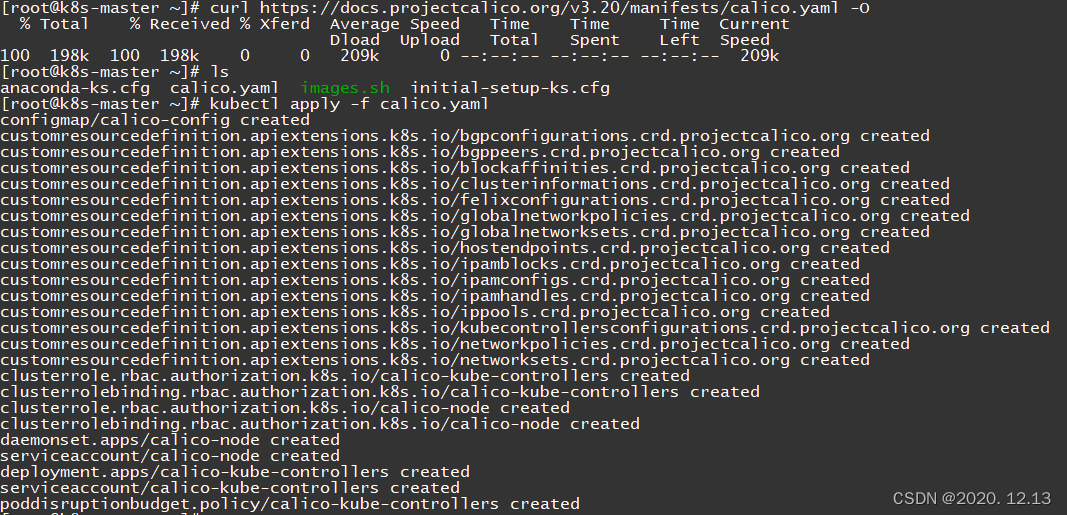
# 下载 calico.yaml
curl https://docs.projectcalico.org/manifests/calico.yaml -O

# 加载配置
kubectl apply -f calico.yaml
出现问题:
[root@k8s-master ~]# curl https://docs.projectcalico.org/manifests/calico.yaml -O
  % Total    % Received % Xferd  Average Speed   Time    Time     Time  Current
                                 Dload  Upload   Total   Spent    Left  Speed
  0     0    0     0    0     0      0      0 --:--:-- --:--:-- --:--:--     0
curl: (60) The certificate issuer's certificate has expired.  Check your system date and time.
More details here: http://curl.haxx.se/docs/sslcerts.html

curl performs SSL certificate verification by default, using a "bundle"
 of Certificate Authority (CA) public keys (CA certs). If the default
 bundle file isn't adequate, you can specify an alternate file
 using the --cacert option.
If this HTTPS server uses a certificate signed by a CA represented in
 the bundle, the certificate verification probably failed due to a
 problem with the certificate (it might be expired, or the name might
 not match the domain name in the URL).
If you'd like to turn off curl's verification of the certificate, use
 the -k (or --insecure) option.
解决办法:参考博客
sudo yum install ca-certificates
sudo update-ca-trust extract

出现错误:
[root@k8s-master ~]# kubectl apply -f calico.yaml
error: error validating "calico.yaml": error validating data: invalid object to validate; if you choose to ignore these errors, turn validation off with --validate=false
解决办法:参考博客
只需要换一个版本就行了,执行下面这条命令,再执行文件就不会报错了
curl https://docs.projectcalico.org/v3.20/manifests/calico.yaml -O
如果修改了 初始化主节点中的--pod-network-cidr=192.168.0.0/16
将 calico.yaml 的配置, # 去掉,IP 写 改的 IP,参考链接。这里我忘记把注释#去掉了,下文会提到!
sed -i "s#192\.168\.0\.0/16#10.244.0.0/16#" calico.yaml
[root@k8s-master ~]# cat calico.yaml | grep "192.168"
[root@k8s-master ~]# cat calico.yaml | grep "10.244.0.0/16"
            #   value: "10.244.0.0/16"
查看集群中的所有资源
kubectl get pod -A
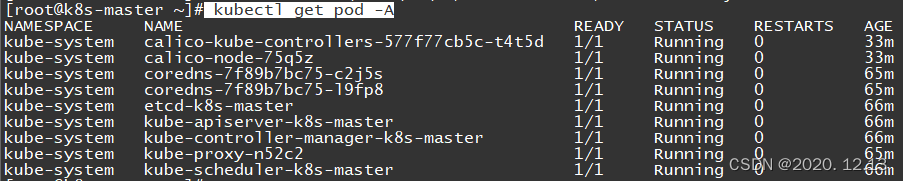
网络组件配置好后,STATUS变为Ready
[root@k8s-master ~]# kubectl get nodes
NAME         STATUS   ROLES                  AGE   VERSION
k8s-master   Ready    control-plane,master   70m   v1.20.9
Worker节点加入集群
更具之前的提示内容,在worker节点运行:
kubeadm join cluster-endpoint:6443 --token 99sc8r.rv1dsi2mgvhqshvb \
    --discovery-token-ca-cert-hash sha256:0fe5bf32c6f0f818d91fbf6c096fb275e6d21776a9d462e5fce3a12c08a5f745
出现和之前一样的错误,即升级内核。
之后重新运行以上命令,但是一直卡在那,是因为防火墙的原因,用firewall-cmd --state查看一下防火墙状态。
firewall-cmd --state
关闭防火墙,参考文章
systemctl stop firewalld.service
但以上关闭防火墙还是不能解决我的问题,在命令之后加上--v=5查看日志:

[root@k8s-node2 ~]# kubeadm join cluster-endpoint:6443 --token 8lc3nb.vszlli4xic9w2ueh     --discovery-token-ca-cert-hash sha256:0fe5bf32c6f0f818d91fbf6c096fb275e6d21776a9d462e5fce3a12c08a5f745  --v=5
I1113 22:38:32.855410   14399 join.go:395] [preflight] found NodeName empty; using OS hostname as NodeName
I1113 22:38:32.855757   14399 initconfiguration.go:104] detected and using CRI socket: /var/run/dockershim.sock
[preflight] Running pre-flight checks
I1113 22:38:32.855857   14399 preflight.go:90] [preflight] Running general checks
I1113 22:38:32.855990   14399 checks.go:249] validating the existence and emptiness of directory /etc/kubernetes/manifests
I1113 22:38:32.856034   14399 checks.go:286] validating the existence of file /etc/kubernetes/kubelet.conf
I1113 22:38:32.856044   14399 checks.go:286] validating the existence of file /etc/kubernetes/bootstrap-kubelet.conf
I1113 22:38:32.856072   14399 checks.go:102] validating the container runtime
I1113 22:38:32.965468   14399 checks.go:128] validating if the "docker" service is enabled and active
I1113 22:38:33.042133   14399 checks.go:335] validating the contents of file /proc/sys/net/bridge/bridge-nf-call-iptables
I1113 22:38:33.042272   14399 checks.go:335] validating the contents of file /proc/sys/net/ipv4/ip_forward
I1113 22:38:33.042302   14399 checks.go:649] validating whether swap is enabled or not
I1113 22:38:33.042558   14399 checks.go:376] validating the presence of executable conntrack
I1113 22:38:33.042648   14399 checks.go:376] validating the presence of executable ip
I1113 22:38:33.042722   14399 checks.go:376] validating the presence of executable iptables
I1113 22:38:33.042857   14399 checks.go:376] validating the presence of executable mount
I1113 22:38:33.042899   14399 checks.go:376] validating the presence of executable nsenter
I1113 22:38:33.042919   14399 checks.go:376] validating the presence of executable ebtables
I1113 22:38:33.042934   14399 checks.go:376] validating the presence of executable ethtool
I1113 22:38:33.042981   14399 checks.go:376] validating the presence of executable socat
I1113 22:38:33.042996   14399 checks.go:376] validating the presence of executable tc
I1113 22:38:33.043007   14399 checks.go:376] validating the presence of executable touch
I1113 22:38:33.043022   14399 checks.go:520] running all checks
        [WARNING SystemVerification]: this Docker version is not on the list of validated versions: 20.10.7. Latest validated version: 19.03
I1113 22:38:33.144313   14399 checks.go:406] checking whether the given node name is reachable using net.LookupHost
I1113 22:38:35.196501   14399 checks.go:618] validating kubelet version
I1113 22:38:35.248496   14399 checks.go:128] validating if the "kubelet" service is enabled and active
I1113 22:38:35.254997   14399 checks.go:201] validating availability of port 10250
I1113 22:38:35.255319   14399 checks.go:286] validating the existence of file /etc/kubernetes/pki/ca.crt
I1113 22:38:35.255346   14399 checks.go:432] validating if the connectivity type is via proxy or direct
I1113 22:38:35.255381   14399 join.go:465] [preflight] Discovering cluster-info
I1113 22:38:35.255403   14399 token.go:78] [discovery] Created cluster-info discovery client, requesting info from "cluster-endpoint:6443"
I1113 22:38:35.256704   14399 token.go:215] [discovery] Failed to request cluster-info, will try again: Get "https://cluster-endpoint:6443/api/v1/namespaces/kube-public/configmaps/cluster-info?timeout=10s": dial tcp 192.168.139.131:6443: connect: no route to host
I1113 22:38:41.255239   14399 token.go:215] [discovery] Failed to request cluster-info, will try again: Get "https://cluster-endpoint:6443/api/v1/namespaces/kube-public/configmaps/cluster-info?timeout=10s": dial tcp 192.168.139.131:6443: connect: no route to host
相似问题:参考链接,没有解决我的问题
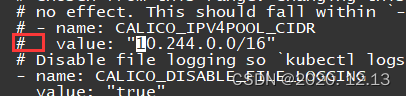
突然发现之前的“#”没有去除,通过字符串查找10.244.0.0/16,把#号去掉

这个前面的#也要去掉,后来才发现!

[root@k8s-master ~]# cat calico.yaml | grep "192.168"
[root@k8s-master ~]# cat calico.yaml | grep "10.244.0.0/16"
            #   value: "10.244.0.0/16"
[root@k8s-master ~]# vi calico.yaml
[root@k8s-master ~]# cat calico.yaml | grep "10.244.0.0/16"
              value: "10.244.0.0/16"
[root@k8s-master ~]#
然后重新执行,master重新产生token:参考链接1、参考链接2
kubectl apply -f calico.yaml
kubeadm token create --print-join-command

woker节点加入:

回到master 中查看:
[root@k8s-master ~]# kubectl get nodes
NAME         STATUS     ROLES                  AGE     VERSION
k8s-master   Ready      control-plane,master   2d1h    v1.20.9
k8s-node1    Ready      <none>                 3m49s   v1.20.9
k8s-node2    NotReady   <none>                 119s    v1.20.9
[root@k8s-master ~]#
节点部署完成!
文章参考链接:参考链接。


 1300
1300


 被折叠的 条评论
为什么被折叠?
被折叠的 条评论
为什么被折叠?
 到【灌水乐园】发言


