


使用Spring Initializr生成最初的项目
官方网站:https://start.spring.io/ 提供了spring boot项目maven和gradle方式的构建,使用ant的选手们去厕所哭吧,这是来至官方的歧视。
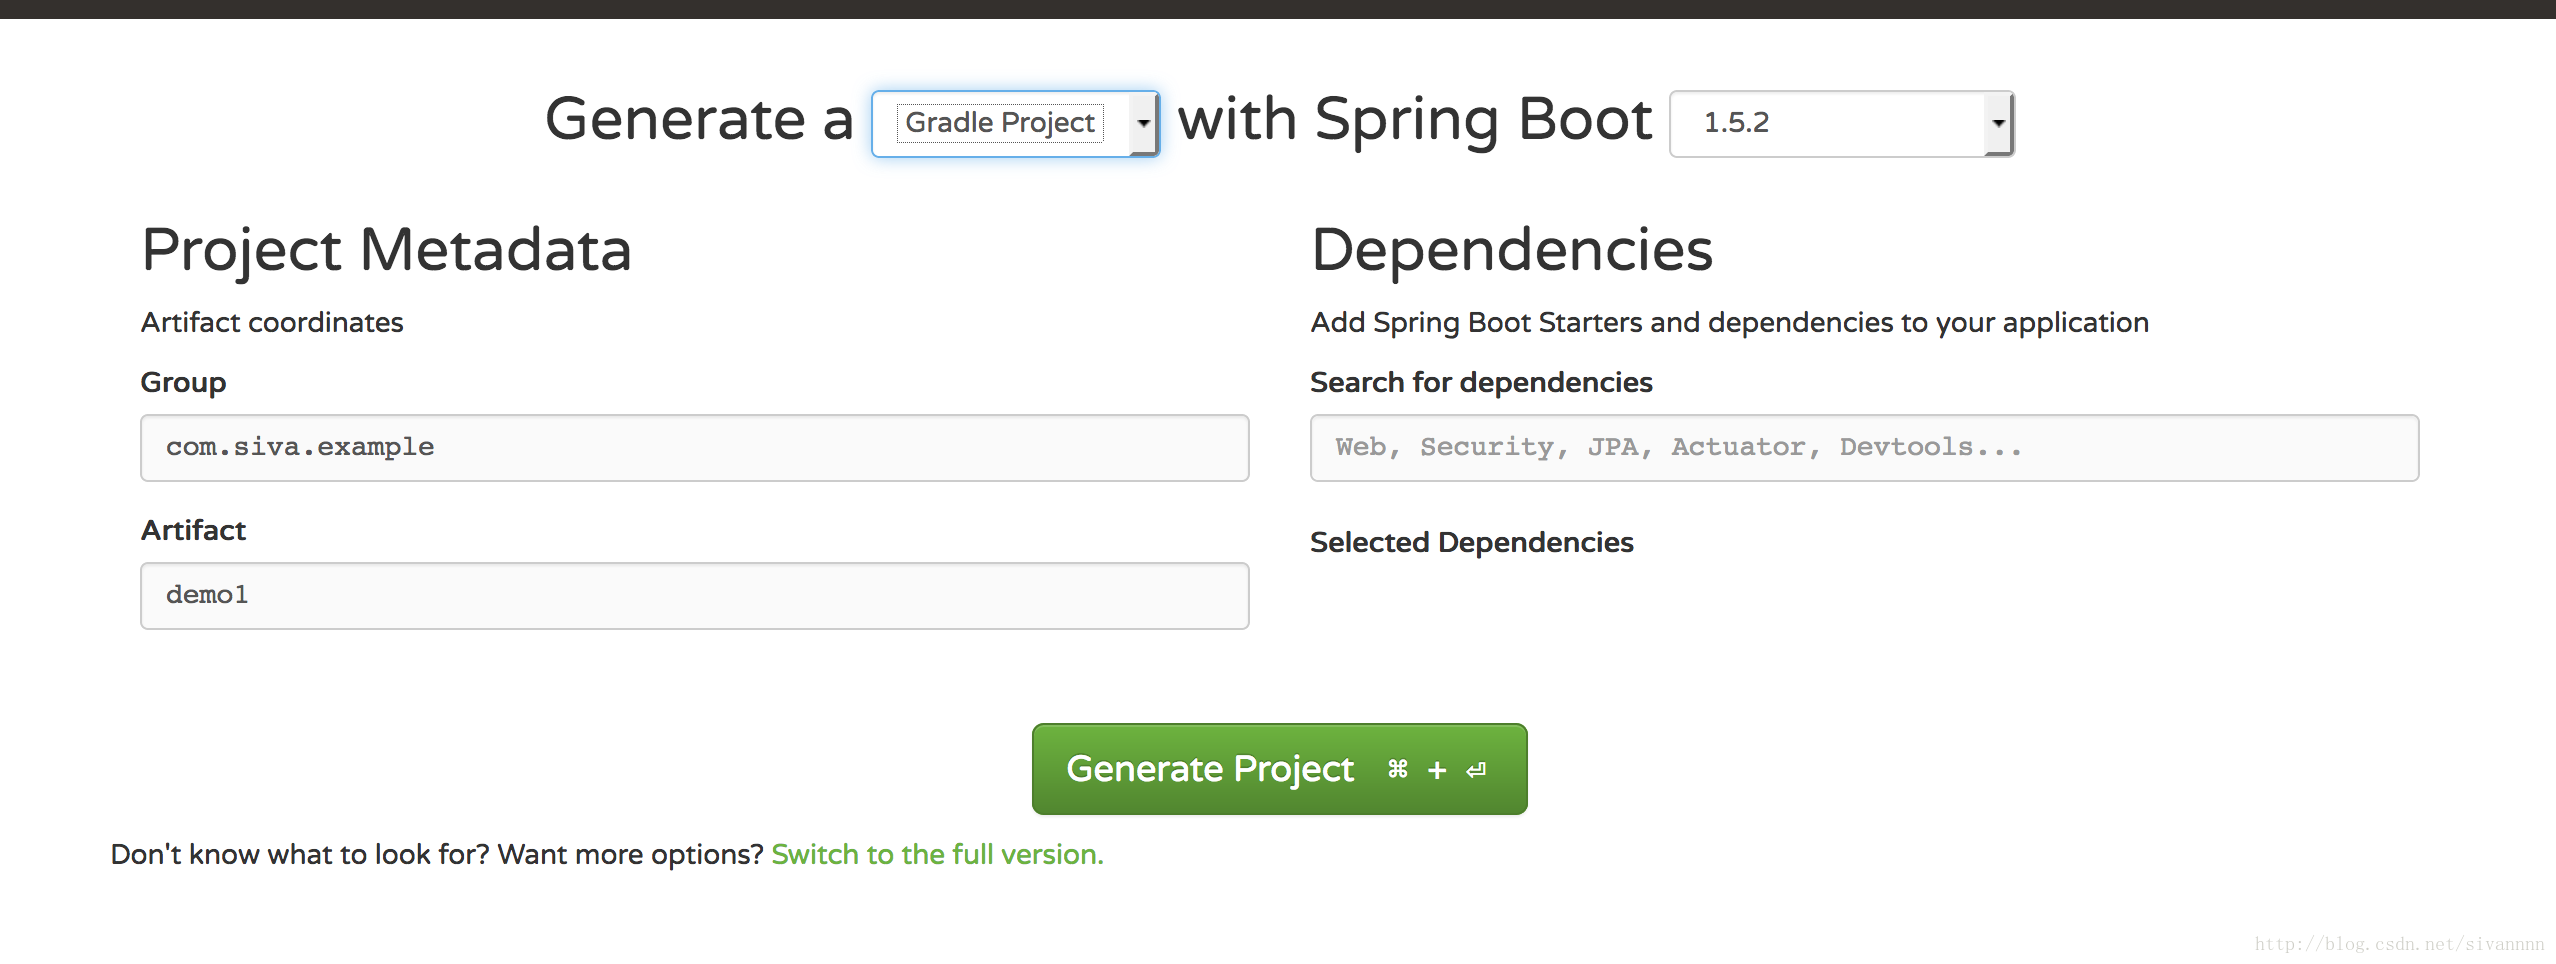
该项目包含:
1.程序启动入口,XXApplication.java文件,如下所示:
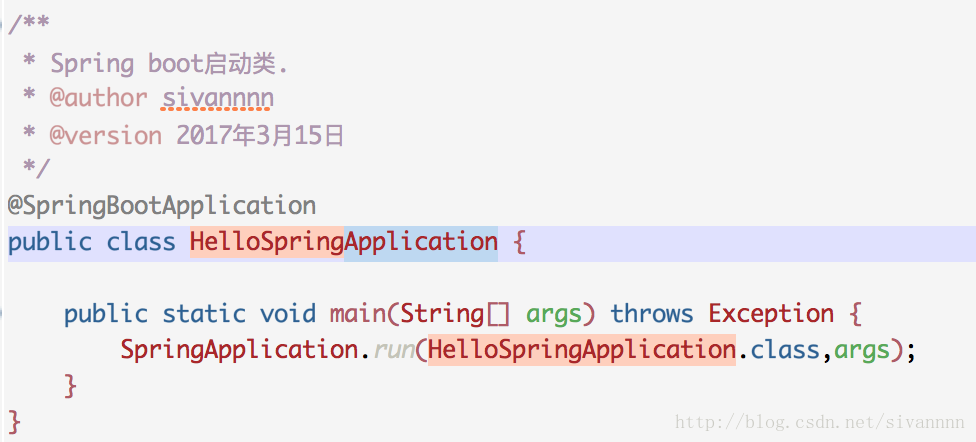
该文件需要放在项目目录最上层,不能放在根目录下。命名不能是Application。
2.位于src/main/resources下的程序配置文件application.properties
3.一个什么都不能干的单元测试文件。
总体来说没有什么用,接下来还是自己干吧!
gradle父配置
在父目录build.gradle下,引入spring boot开发插件,及所有子项目都会用到的测试模块spring-boot-starter-test
buildscript {
    ext {
        springBootVersion = '1.5.2.RELEASE'
    }
    repositories {
        mavenCentral()
    }
    dependencies {
        classpath("org.springframework.boot:spring-boot-gradle-plugin:${springBootVersion}")
    }
}

allprojects {
    apply plugin: 'eclipse'
    version = '0.0.1-SNAPSHOT'
}

subprojects {

    apply plugin: 'java'
    apply plugin: 'org.springframework.boot'

    sourceCompatibility = 1.8

    repositories {
        maven { url 'http://maven.aliyun.com/nexus/content/groups/public' }
    }

    dependencies {
        testCompile("org.springframework.boot:spring-boot-starter-test")
    }
}
在子项目中引入web模块,即spring-boot-starter-web
dependencies {
    compile("org.springframework.boot:spring-boot-starter-web")
}
Rest服务
创建的类一定不能在启动类的上级目录,否则Spring无法扫描到该文件,你会懵逼的发现程序启动正常,但你的服务访问不到。
文件内容:
@RestController
public class HelloSpringBootController {

    @RequestMapping("/hello")
    public String helloSpringBoot() {
        return "hello Spring boot";
    }
}
@RestController = @Controller + @ResponseBody
启动该程序,就可以通过浏览器http://localhost:8080/hello下,看到结果了。
测试用例
好的,据说每一个类生来就会有它的测试用例,我们来编写上面那货的测试用例。
一般来说,测试用户放在src/test/main中,类响应的目录位置,在类型后加上Test即可。
Spring提供有MockMvc方法,用于模拟http请求,进行测试
@RunWith(SpringJUnit4ClassRunner.class)
@SpringBootTest
public class HelloSpringBootControllerTest {

    private MockMvc mvc;

    @Before
    public void befor() {
        mvc = MockMvcBuilders.standaloneSetup(new HelloSpringBootController()).build();
    }

    @Test
    public void helloSpringBootControllerTest() throws Exception {
        mvc.perform(get("/hello"))
            .andExpect(status().isOk())
            .andExpect(content().string(equalTo("hello Spring boot")));
    }
}
跑一次,没有异常。搞定收工!
参考:http://docs.spring.io/spring-boot/docs/1.5.2.RELEASE/reference/htmlsingle/


 1916
1916

 被折叠的 条评论
为什么被折叠?
被折叠的 条评论
为什么被折叠?
 到【灌水乐园】发言


