


许多管理平台都会对用户进行权限的管理,最近做了一个根据用户权限显示导航栏的功能。记录一下下
0. 准备
功能开发的前提是前后端对于每一个页面路由有一个对应的且唯一的key(前端将这个key存在路由对象的meta.index中),前端获取到有权限路由的key之后通过addRoute将这些路由加入路由配置中。
1. 路由列表
在前端路由配置文件中,先不要将要判断权限的路由加入配置。在这里我们只需要将登录和根的路由加进配置,将需要判断的路由先写在一个候选数组中。
// 一开始加入路由配置的路由
const routes = [
    {
        path: '/login',
        name: 'Login',
        component: Login
    },
    {
        path: '/',
        name: 'layout',
        component: Home,
        children: []
    }
]
// 将要加入的候选路由
export const candidateRoutes = [
    {
        path: '/firstPage',
        name: 'firstPage',
        component: FirstPage,
        meta: {
            title: '首页',
            icon: '',
            index: 1,
        }
    },
    {
        path: '/systemManager',
        name: 'systemManager',
        component: SecondView,
        meta: {
            title: '系统管理',
            icon: '',
            index: 10
        },
        children: [
            {
                path: '/systemManager/roleManager',
                component: RoleManager,
                name: 'roleManager',
                meta: {
                    title: '角色管理',
                    icon: '',
                    index: 11
                }
            },
            {
                path: '/systemManager/userManager',
                component: SecondView,
                name: 'userManager',
                meta: {
                    title: '用户管理',
                    icon: '',
                    index: 12
                },
                children: [
                    {
                        path: '/systemManager/userManager/userManager',
                        component: UserManager,
                        meta: {
                            title: '用户管理',
                            index: 121
                        }
                    },
                    {
                        path: '/systemManager/userManager/userManager11',
                        component: Demo2,
                        meta: {
                            title: '用户管理1',
                            index: 122
                        }
                    }
                ]
            },

        ]
    },
    {
        path: '/demo',
        name: 'demo',
        meta: {
            title: 'demo',
            icon: '',
            index: 3
        },
        children: [
            {
                path: '/demo/demo1',
                component: Demo1,
                name: 'demo1',
                meta: {
                    title: 'demo1',
                    icon: '',
                    index: 31
                }
            },
            {
                path: '/demo/demo2',
                component: Demo2,
                name: 'demo2',
                meta: {
                    title: 'demo2',
                    icon: '',
                    index: 32
                }
            }
        ]
    }

]
2. 获取有权限的路由
在用户登录的时候,接口返回该用户的权限路由,前端将其存在sessionStroage中。
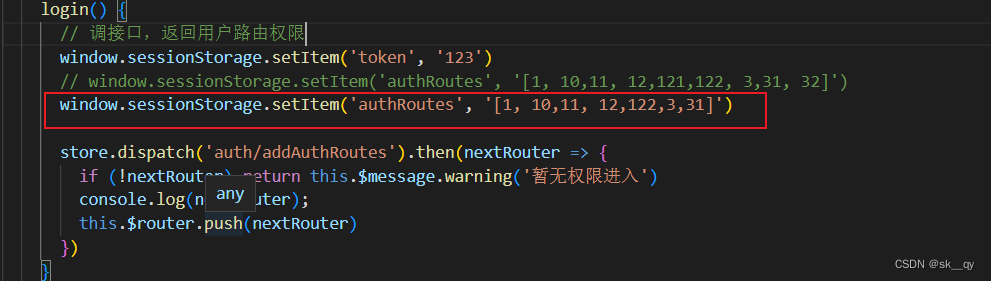
login() {
      // 调接口,返回用户路由权限
      window.sessionStorage.setItem('token', '123')
      window.sessionStorage.setItem('authRoutes', '[1, 10,11, 12,121,122, 3,31, 32]')

      store.dispatch('auth/addAuthRoutes').then(nextRouter => {
        if (!nextRouter) return this.$message.warning('暂无权限进入')
        console.log(nextRouter);
        this.$router.push(nextRouter)
      })
    }
3. 路由加入配置
开始执行将具有权限的路由加入配置的方法。方法写在了vuex的store中
addAuthRoutes(context: { commit: (arg0: string, arg1: { path: any; name: any; meta: any; component: any; }[]) => void; }) {
            const authRoutes = window.sessionStorage.getItem('authRoutes')
            if (!authRoutes || (authRoutes && !JSON.parse(authRoutes).length)) return null
            const authRouteList = JSON.parse(authRoutes)
            const routeAuth = (routerList: any[], fatherRoute: any, firstLevel = false) => {
                const authList: { path: any; name: any; meta: any; component: any; }[] = []
                routerList.forEach((r: AddItem) => {
                    if (!r.meta || !r.meta.index || !authRouteList.includes(r.meta.index)) return
                    const addItem: AddItem = {
                        path: r.path,
                        name: r.name,
                        meta: r.meta,
                        component: r.component,
                    }

                    if (!addItem.childList) addItem.childList = [] // 用来保存子孙路由
                    addItem.childList.push(addItem.path)
                    if (r.children && r.children.length) {
                        const authChildren = routeAuth(r.children, addItem)
                        if (authChildren) {
                            addItem.children = authChildren
                            addItem.redirect = authChildren[0].path
                        }
                    }
                    if (fatherRoute) {
                        if (!fatherRoute.childList) fatherRoute.childList = []
                        fatherRoute.childList = fatherRoute.childList.concat(addItem.childList) // 将自己的childList加进父路由已保存的childList
                    }
                    // @ts-ignore
                    firstLevel && router.addRoute('layout', addItem)
                    authList.push(addItem)
                })
                return authList
            }

            const addRoutes = routeAuth(candidateRoutes,null, true)
            console.log(addRoutes, '! !!!!!!!!!!!!!!!!!!!');
            context.commit('setHomeRoutes', addRoutes)

            return addRoutes[0]
        }
这个方法主要做了两件事:
- 递归将有权限的路由加入路由配置
- 在所有的父路由中加入childList字段保存他下边所有的子孙路由(这个将在渲染导航栏时用到)
- 最终返回有权限列表中第一个一级路由,如果没有说明无权进入系统
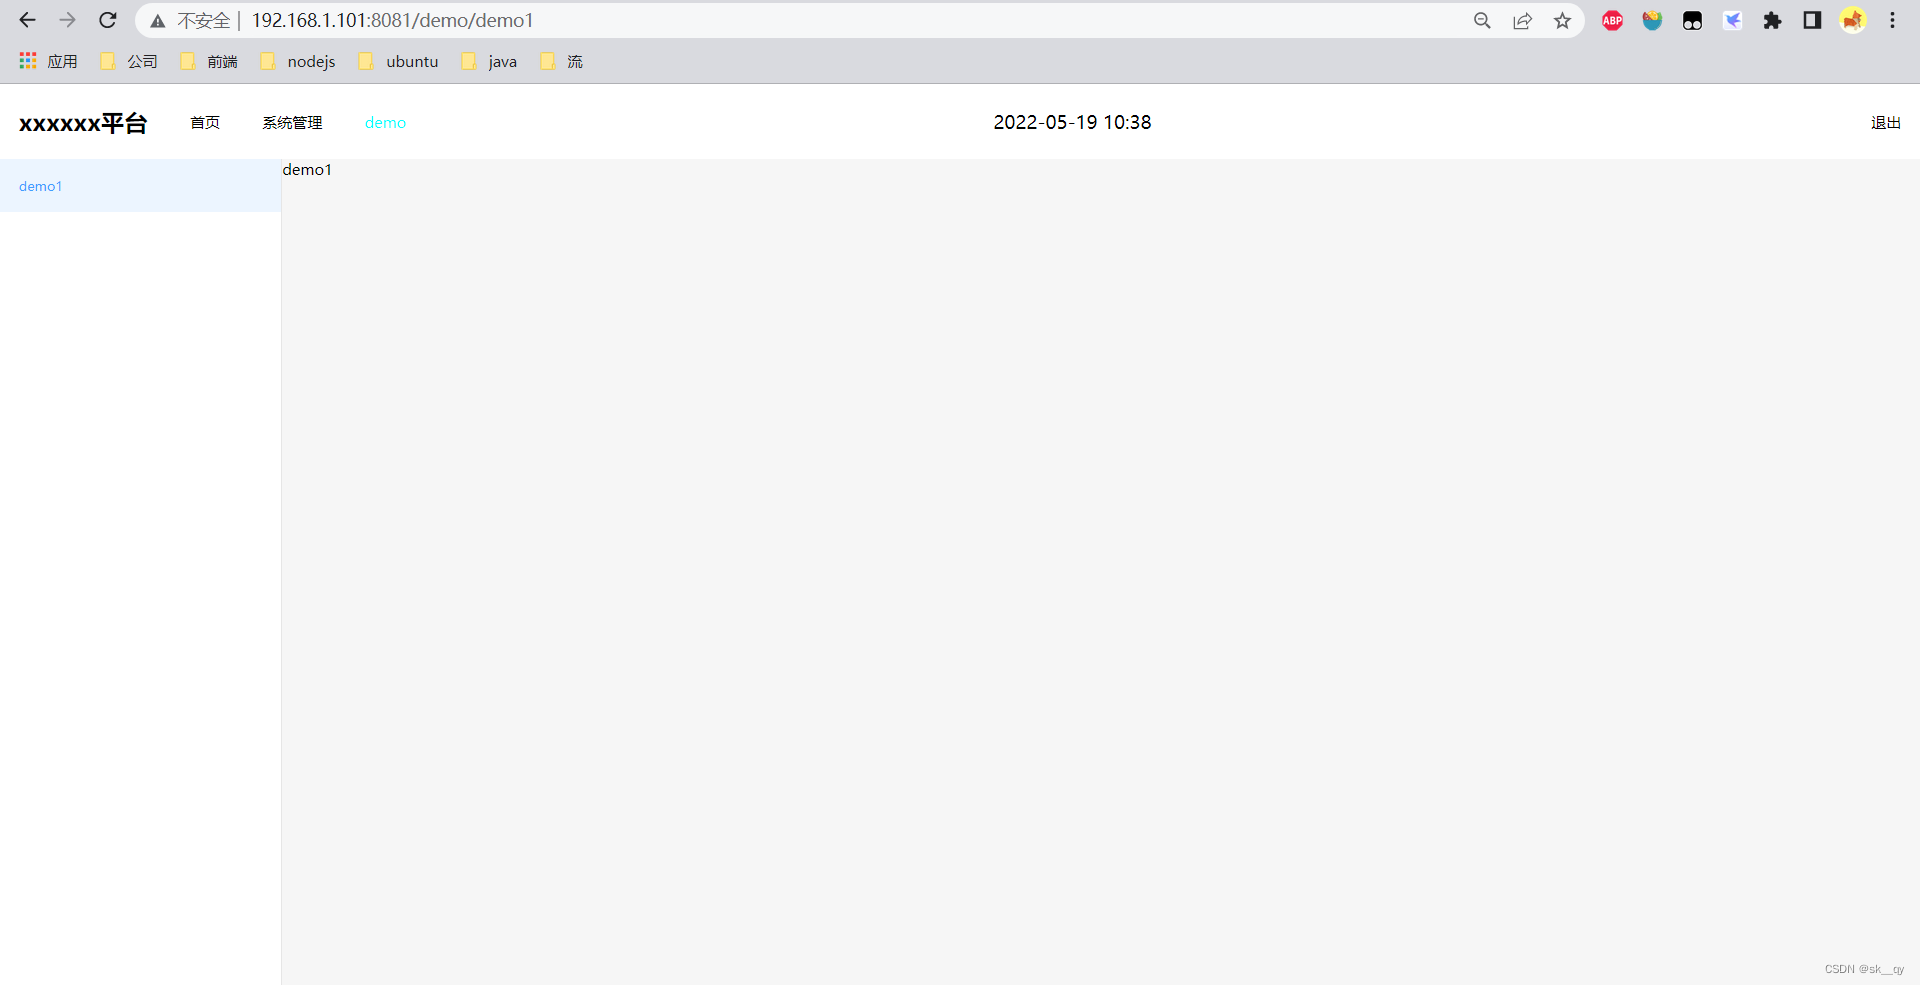
4. 导航栏的显示
这里我用了上导航栏加侧边栏的形式,上导航栏通过循环一级路由进行渲染,侧边栏通过store中的一个方法获取当前一级导航栏下所有的路由进行的渲染。childList字段主要用来选中了子路由,对父路由的导航显示激活状态。*
这里以前直接用indexOf判断路由的字符串,但是有时候可能不同父路由的子路由包含相同的字符串,可能会出现错误。*
setSecondLevelRoutes(state: { secondLevelRoutes: never[]; homeRoutes: any[] }, path: string) {
            if (!path) return state.secondLevelRoutes = []
            const fatherRoute = state.homeRoutes.find((r: { path: string }) => r.path === '/' + path.split('/')[1])
            if (!fatherRoute || !fatherRoute.children || !fatherRoute.children.length) return state.secondLevelRoutes = []
            state.secondLevelRoutes = fatherRoute.children
            state.secondLevelRoutes.forEach((s: any) => {
                s.root = fatherRoute
            })
        }
5. 刷新页面时
刷新页面,配置的路由信息会重置,所以需要重新执行addRoute方法进行路由的添加。这个我写在了路由导航守卫中。这里需要区分,是刷新后进入的界面还是点击导航切换的路由。所以设置了一个变量routeFresh: boolean来区分。刷新页面,这个变量会重置为初始状态,所以需要我们判断完routeFresh是初始状态进行操作之后将他变为false。
// 路由的导航守卫, 注意最后一定要执行next(),否则页面无法跳转
router.beforeEach((to: { path: any; query: any; meta?: {} | undefined }, from: any, next: (arg0: { path: string } | undefined) => void) => {
    const {path, query, meta = {}} = to
    // 这里只是演示没有token(登录的时候存在了window.sessionStorage中)跳回login页面,还有好多配置可以自己加
    const token = window.sessionStorage.getItem('token')
    if (!token && path !== '/login') {
        next({path: '/login'})
    } else {
        if (routeFresh) {
            store.dispatch('auth/addAuthRoutes').then(res => {
                if (!res) {
                    // 无权限进入系统
                    window.sessionStorage.clear()
                    // window.location.reload()
                    // @ts-ignore
                    next({path: '/login', replace: true})
                }
                routeFresh = false
                store.commit('auth/setSecondLevelRoutes', path)
                if (token && path === '/') {
                    next({path: res.path})
                } else {
                    // @ts-ignore
                    next({...to, replace: true})
                }
            })
        } else {
            store.commit('auth/setSecondLevelRoutes', path)
            // @ts-ignore
            next();
        }
    }
})
6. 检验
我们将login函数中的121和32去掉,页面中对应的用户管理和demo2页面就不会再渲染。
7. 结束
到现在,大致流程已经ok啦。代码上传到了github上,可能会有大大小小的bug,需要一起来不断地完善奥!
git地址: https://github.com/zsk003/authRoute.git


 2037
2037


 被折叠的 条评论
为什么被折叠?
被折叠的 条评论
为什么被折叠?
 到【灌水乐园】发言


