


三、pycuda
3.1 安装pycuda
方法一:
先明确自己服务器上的Python解释器和CUDA的版本
然后在这个网站https://www.lfd.uci.edu/~gohlke/pythonlibs/#pycuda上下载pycuda的安装文件
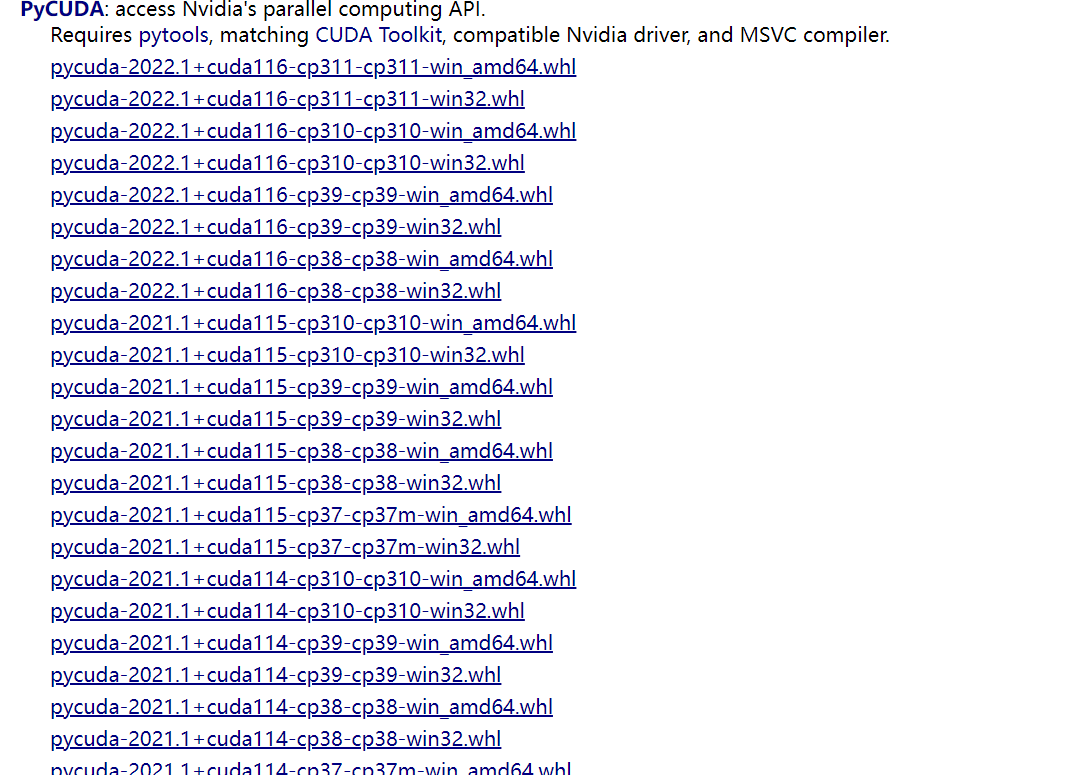
找到pycuda
如:pycuda‑2020.1+cuda101‑cp37‑cp37m‑win_amd64.whl
pycuda‑2020.1表示pycuda版本为 2020.1
cuda101表示对应cuda版本为10.1
cp37表示Python解释器版本为3.7
找到对应的版本即可,这里可以不下载,用pip命令下载安装
pip install pycuda‑2020.1+cuda101‑cp37‑cp37m‑win_amd64.whl
方法二:
pip install pycuda -i https://mirror.baidu.com/pypi/simple
这样就装好了!
3.2 pycuda使用
3.2.1 显存的分配和赋值
(1) Global Memory
PyCUDA 分配全局内容的函数如下:
pycuda.driver.mem_alloc(bytes)
除了该函数,PyCUDA 还提供了接口,能够根据已有 numpy.ndarray 分配空间, 并将内容拷贝到显存:
pycuda.driver.to_device(buffer)
将显存数据传回 numpy.ndarray 的函数是
pycuda.driver.from_device(devptr, shape, dtype, order="C")
一个简单的例子:
import pycuda.driver as cuda
import pycuda.autoinit
import pycuda.gpuarray as gpuarray
from pycuda.compiler import SourceModule

import numpy as np

x = np.arange(4, dtype=np.float32)
d_x = cuda.to_device(x)
x2 = cuda.from_device(d_x, shape=4, dtype=np.float32)
print(x2)
输出结果为:
(base) D:\Working\pycuda_study>python ex_00.py
[0. 1. 2. 3.]
(2) CUDA cudaArray
与 CUDA 中 cudaArray 对应的 python 类是 class pycuda.driver.Array(descriptor)
3.2.2 kernel 函数调用
PyCUDA 提供了 pycuda.compiler.SourceModule 类用于 CUDA C kernel 函数的编译、链接和调用。
CUDA C kernel 函数被封装为 class pycuda.driver.Function,该类提供了 prepare(arg_types, shared=None, texrefs=[]) 函数用于设置 kernel 函数的参数类型,并注册纹理参考为该函数使用。prepare 的 arg_types 支持字符串格式的设置。
- i:int
- f:float32
- P :指针,如: float *
3.2.3 pycuda例子
例子1:
import pycuda.autoinit
from pycuda.compiler import SourceModule
kernel_code = r"""
__global__ void hello_from_gpu(void)
{
    printf("Hello World from the GPU!\n");
}
"""
mod = SourceModule(kernel_code)
hello_from_gpu = mod.get_function("hello_from_gpu")
hello_from_gpu(block=(1,1,1))
如果你的CUDA环境没有问题,那么下面内容将会输出在你的屏幕。
Hello World from the GPU!
说明:
参考:https://zhuanlan.zhihu.com/p/125598914
逐行讲解例子1中的代码
第一部分
我们将Python声明字符串内容取出,单独讲解。
__global__ void hello_from_gpu(void)
{
    printf("Hello World from the GPU!\n");
}
__global__是一个CUDA的关键字,它出现在一个函数的前面,限定这是一个CUDA核函数(kernel function),而不是C++中的函数。除此外定义函数的方式与C语言无异,这里不再赘述。
第二部分
下面我们来关注核函数的执行。
hello_from_gpu(block=(1,1,1))
请注意,上面核函数的参数列表是void,而我们在Python中调用该函数时却给予了一个参数block,该参数的格式必须是一个长度为3元组,而且元组元素的类型为int。那这三个参数是什么意义呢,让我们来实践一下。
我们先来尝试修改如下参数。
hello_from_gpu(block=(3,1,1))
你将看到的结果。
Hello World from the GPU!
Hello World from the GPU!
Hello World from the GPU!
该函数被执行了3遍!!!
再来尝试一下这个。
hello_from_gpu(block=(3,4,1))
还有这个。
hello_from_gpu(block=(3,4,5))
你可以分别可以看到12行输出与60行输出!
我想你一定发现了,核函数的执行次数就是里面的数字的乘积。那么你可能要有一个疑问并行(3,4,5)为什么不直接写60呢?这是由于并行经常被用于处理2D、3D问题,这样写参数就很方便。
大家工作学习中是用numba更多,还是pycuda更多呢?
参考:
http://www.gimoo.net/t/1811/5bef70fa0f4ae.html


 1444
1444


 被折叠的 条评论
为什么被折叠?
被折叠的 条评论
为什么被折叠?
 到【灌水乐园】发言


