


1 新建工程和配置


点击完成,此时pom.xml 已经产生,但是需要修改 thymeleaf的版本到3.0,否则导致网页无法访问
pom.xml
<?xml version="1.0" encoding="UTF-8"?>
<project xmlns="http://maven.apache.org/POM/4.0.0" xmlns:xsi="http://www.w3.org/2001/XMLSchema-instance"
         xsi:schemaLocation="http://maven.apache.org/POM/4.0.0 https://maven.apache.org/xsd/maven-4.0.0.xsd">
    <modelVersion>4.0.0</modelVersion>
    <parent>
        <groupId>org.springframework.boot</groupId>
        <artifactId>spring-boot-starter-parent</artifactId>
        <version>2.2.0.RELEASE</version>
        <relativePath/> <!-- lookup parent from repository -->
    </parent>
    <groupId>com.demo</groupId>
    <artifactId>reid</artifactId>
    <version>0.0.1-SNAPSHOT</version>
    <name>reid</name>
    <description>Demo project for Spring Boot</description>

    <properties>
        <java.version>1.8</java.version>
        <thymeleaf.version>3.0.11.RELEASE</thymeleaf.version>
        <thymeleaf-layout-dialect.version>2.1.1</thymeleaf-layout-dialect.version>
    </properties>

    <dependencies>
        <dependency>
            <groupId>org.springframework.boot</groupId>
            <artifactId>spring-boot-starter-thymeleaf</artifactId>
        </dependency>
        <dependency>
            <groupId>org.springframework.boot</groupId>
            <artifactId>spring-boot-starter-web</artifactId>
        </dependency>

        <dependency>
            <groupId>org.springframework.boot</groupId>
            <artifactId>spring-boot-starter-test</artifactId>
            <scope>test</scope>
            <exclusions>
                <exclusion>
                    <groupId>org.junit.vintage</groupId>
                    <artifactId>junit-vintage-engine</artifactId>
                </exclusion>
            </exclusions>
        </dependency>
    </dependencies>

    <build>
        <plugins>
            <plugin>
                <groupId>org.springframework.boot</groupId>
                <artifactId>spring-boot-maven-plugin</artifactId>
            </plugin>
        </plugins>
    </build>

</project>
修改的片段:
  <properties>
        <java.version>1.8</java.version>
        <thymeleaf.version>3.0.11.RELEASE</thymeleaf.version>
        <thymeleaf-layout-dialect.version>2.1.1</thymeleaf-layout-dialect.version>
  </properties>
2 修改属性文件application.properties 为application.yaml , yaml 层次清晰更好维护阅读
指定端口号和模板位置等等
application.yaml
server:
  port: 8086

spring:
  thymeleaf:
    cache: false
    prefix: classpath:/templates/
    mode: HTML5
    suffix: .html
3 在上述yaml 中我们指定了html的位置在templates ,现在我们在template 添加一个thymeleaf 模板
hello.html
<!DOCTYPE html>
<html xmlns="http://www.w3.org/1999/xhtml"
      xmlns:th="http://www.thymeleaf.org" xmlns:layout="http://www.ultraq.net.nz/thymeleaf/layout">
<head>
    <meta charset="UTF-8">
    <title>thymeleaf</title>
</head>
<body>
<h1 th:text="${message}"></h1>
</body>
</html>
4 在代码增加一个简单的Controller,并实现逻辑
HelloWorldController.java
package com.demo.reid;
import org.springframework.stereotype.Controller;
import org.springframework.web.bind.annotation.RequestMapping;
import org.springframework.ui.ModelMap;
@Controller
public class HelloWorldController {
@RequestMapping("/helloworld")
public String testThymeleaf(ModelMap modelMap){
modelMap.addAttribute("message", "This a hello world example");
return "hello";
}
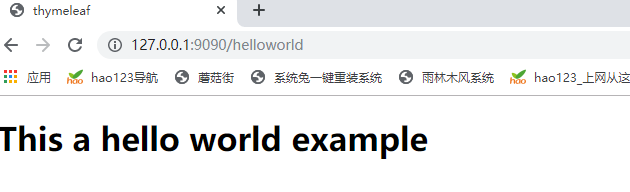
}5 运行

根据配置访问:
http://127.0.0.1:9090/helloworld


 628
628


 被折叠的 条评论
为什么被折叠?
被折叠的 条评论
为什么被折叠?
 到【灌水乐园】发言


