


1.Redis下载
官网地址:https://redis.io/download/
或服务器命令下载:
curl -O https://download.redis.io/releases/redis-7.0.14.tar.gz
下载好tar包上传到相应服务器上面
2.安装编译所需依赖组件
注:Redis使用C语言编的,如果操作系统没有C语言环境,需要提前安装
yum -y install gcc automake autoconf libtool make libevent-devel libevent python3
3.解压并进行编译安装
解压:
tar xzf redis-7.0.14.tar.gz
执行make命令进行编译
make

安装(指定目录):
先创建指定目录:
mkdir -p /home/app/redis
然后安装(这里通过PREFIX参数指定安装目录):
make install PREFIX=/home/app/redis

安装成功后进入安装目录,会在指定目录生成一个bin文件夹

redis-benchmark:redis性能测试工具
redis-check-aof :AOF文件修复工具
redis-check-rdb: RDB文件修复工具
redis-cli :命令行工具
redis-sentinel: 集群管理工具
redis-server: 服务进程指令
4.修改参数
先在redis目录下新增data logs conf文件夹
redis]# mkdir data logs conf
然后conf文件夹编辑redis.conf文件并保存:
redis]# vim conf/redis.conf
直接复制以下配置进行粘贴即可:
bind 0.0.0.0
protected-mode no
port 6379
tcp-backlog 511
timeout 0
tcp-keepalive 300
daemonize yes
supervised no
pidfile /var/run/redis_6379.pid
loglevel notice
logfile /home/app/redis/redis.log
databases 16
always-show-logo yes
save 900 1
save 300 10
save 60 10000
stop-writes-on-bgsave-error yes
rdbcompression yes
rdbchecksum yes
dbfilename dump.rdb
rdb-del-sync-files no
dir /home/app/redis/data
replica-serve-stale-data yes
replica-read-only yes
repl-diskless-sync no
repl-diskless-sync-delay 5
repl-diskless-load disabled
repl-disable-tcp-nodelay no
replica-priority 100
acllog-max-len 128
requirepass redis
lazyfree-lazy-eviction no
lazyfree-lazy-expire no
lazyfree-lazy-server-del no
replica-lazy-flush no
lazyfree-lazy-user-del no
oom-score-adj no
oom-score-adj-values 0 200 800
appendonly yes
appendfilename "appendonly.aof"
appendfsync everysec
no-appendfsync-on-rewrite no
auto-aof-rewrite-percentage 100
auto-aof-rewrite-min-size 64mb
aof-load-truncated yes
aof-use-rdb-preamble yes
lua-time-limit 5000
slowlog-log-slower-than 10000
slowlog-max-len 128
latency-monitor-threshold 0
notify-keyspace-events ""
hash-max-ziplist-entries 512
hash-max-ziplist-value 64
list-max-ziplist-size -2
list-compress-depth 0
set-max-intset-entries 512
zset-max-ziplist-entries 128
zset-max-ziplist-value 64
hll-sparse-max-bytes 3000
stream-node-max-bytes 4096
stream-node-max-entries 100
activerehashing yes
client-output-buffer-limit normal 0 0 0
client-output-buffer-limit replica 256mb 64mb 60
client-output-buffer-limit pubsub 32mb 8mb 60
hz 10
dynamic-hz yes
aof-rewrite-incremental-fsync yes
rdb-save-incremental-fsync yes
jemalloc-bg-thread yes
5.启动
在redis文件夹下执行以下命令:
./bin/redis-server ./conf/redis.conf
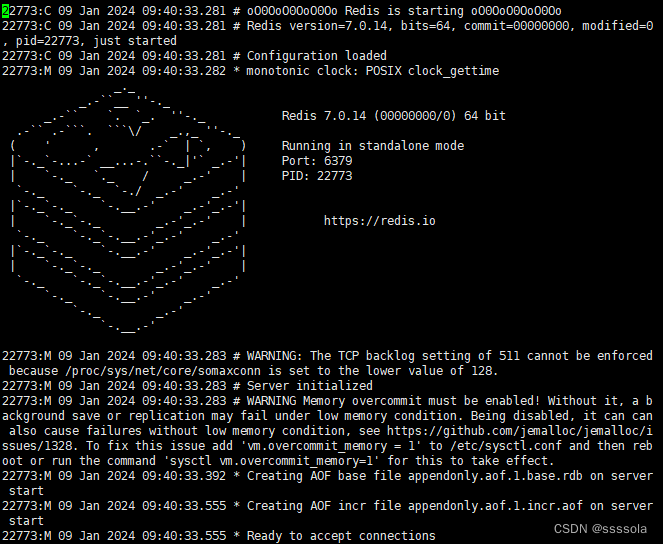
如上图所示,启动成功
查看进程:
ps -ef | grep redis


 696
696

 被折叠的 条评论
为什么被折叠?
被折叠的 条评论
为什么被折叠?
 到【灌水乐园】发言


