


1. 快速体验入门
1.1 通过从 CDN 加载 CKEditor 来快速体验
-
效果如下:
-
demo代码如下:
<!DOCTYPE html> <html> <head> <meta charset="utf-8"> <title>CKEditor</title> <!-- <script src="https://cdn.ckeditor.com/4.22.1/standard/ckeditor.js"></script> --> <script src="https://cdn.ckeditor.com/4.22.1/full-all/ckeditor.js"></script> </head> <body> <textarea name="editor1"></textarea> <script> CKEDITOR.replace( 'editor1' ); </script> </body> </html> -
简单说明:
- 特别版 CKEditor 4 LTS(“长期支持”)以商业条款(“扩展支持模式”)提供,适用于任何希望扩大安全更新和关键错误修复覆盖范围的人。
- 开源:根据开源许可条款,您可以继续使用 CKEditor 4.22.1 及更低版本。但请注意,开源版本不再附带任何安全更新,因此您的应用程序将面临风险。
- CKEditor 4 的 URL 结构如下:
<script src="https://cdn.ckeditor.com/ckeditor5/[version.number]/[distribution]/ckeditor.js"></script>- basic - 基本预设
- standard - 标准预设
- standard-all - 标准预设以及 CKSource* 创建的所有其他插件
- full - 完整预设
- full-all - 完整预设以及 CKSource* 创建的所有其他插件
- 预设中未包含的插件需要启用
config.extraPlugins。
-
参考官网:
https://cdn.ckeditor.com/.
1.2 从官方网站下载软件包
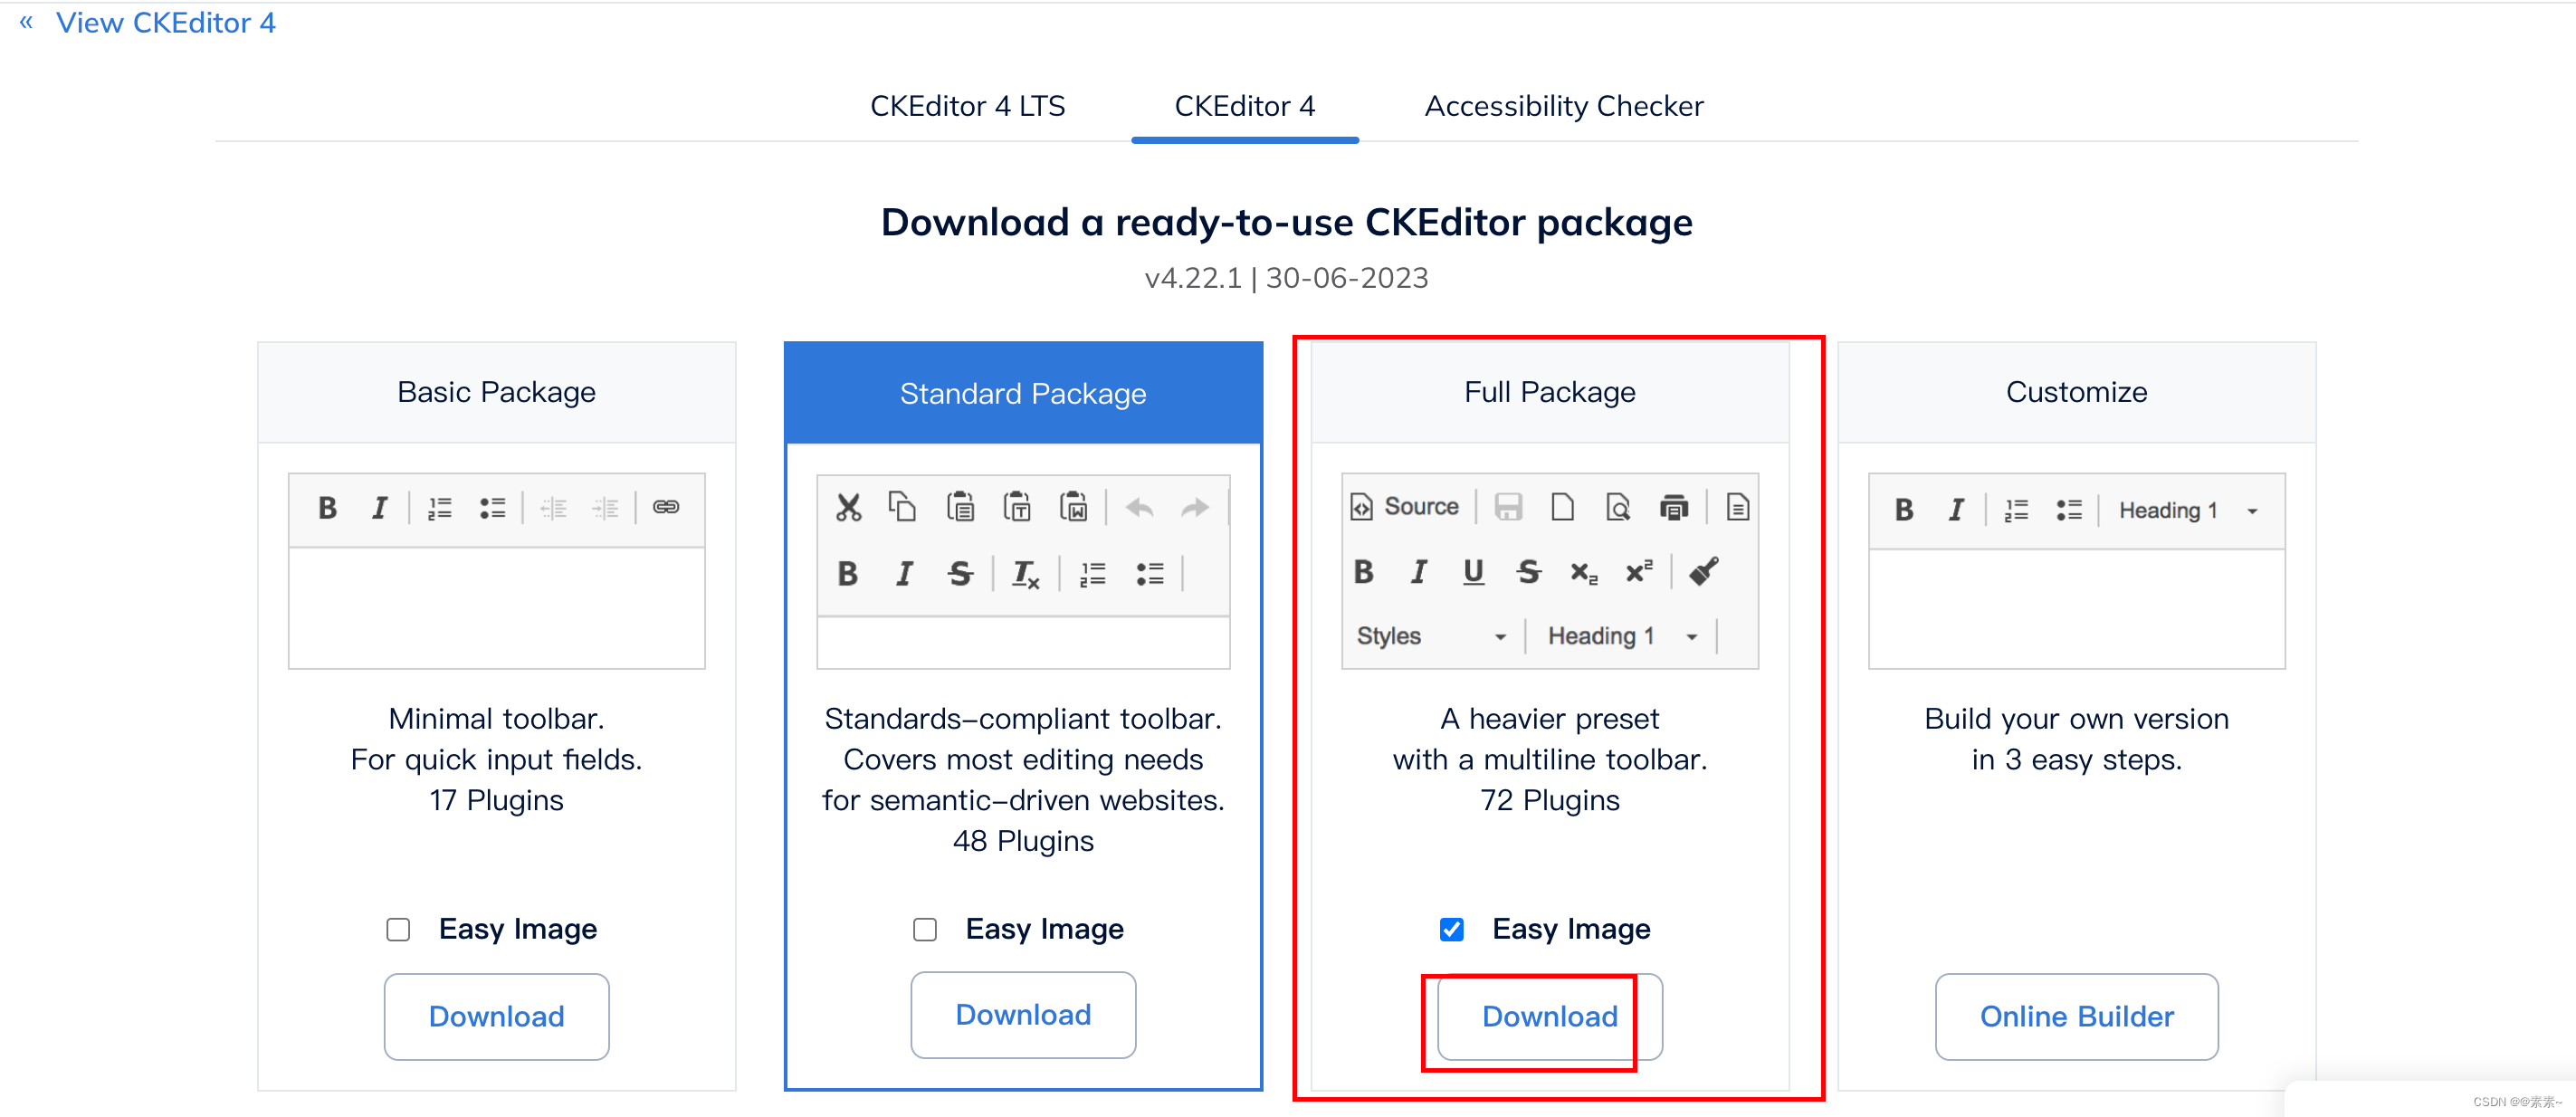
1.2.1 官网下载

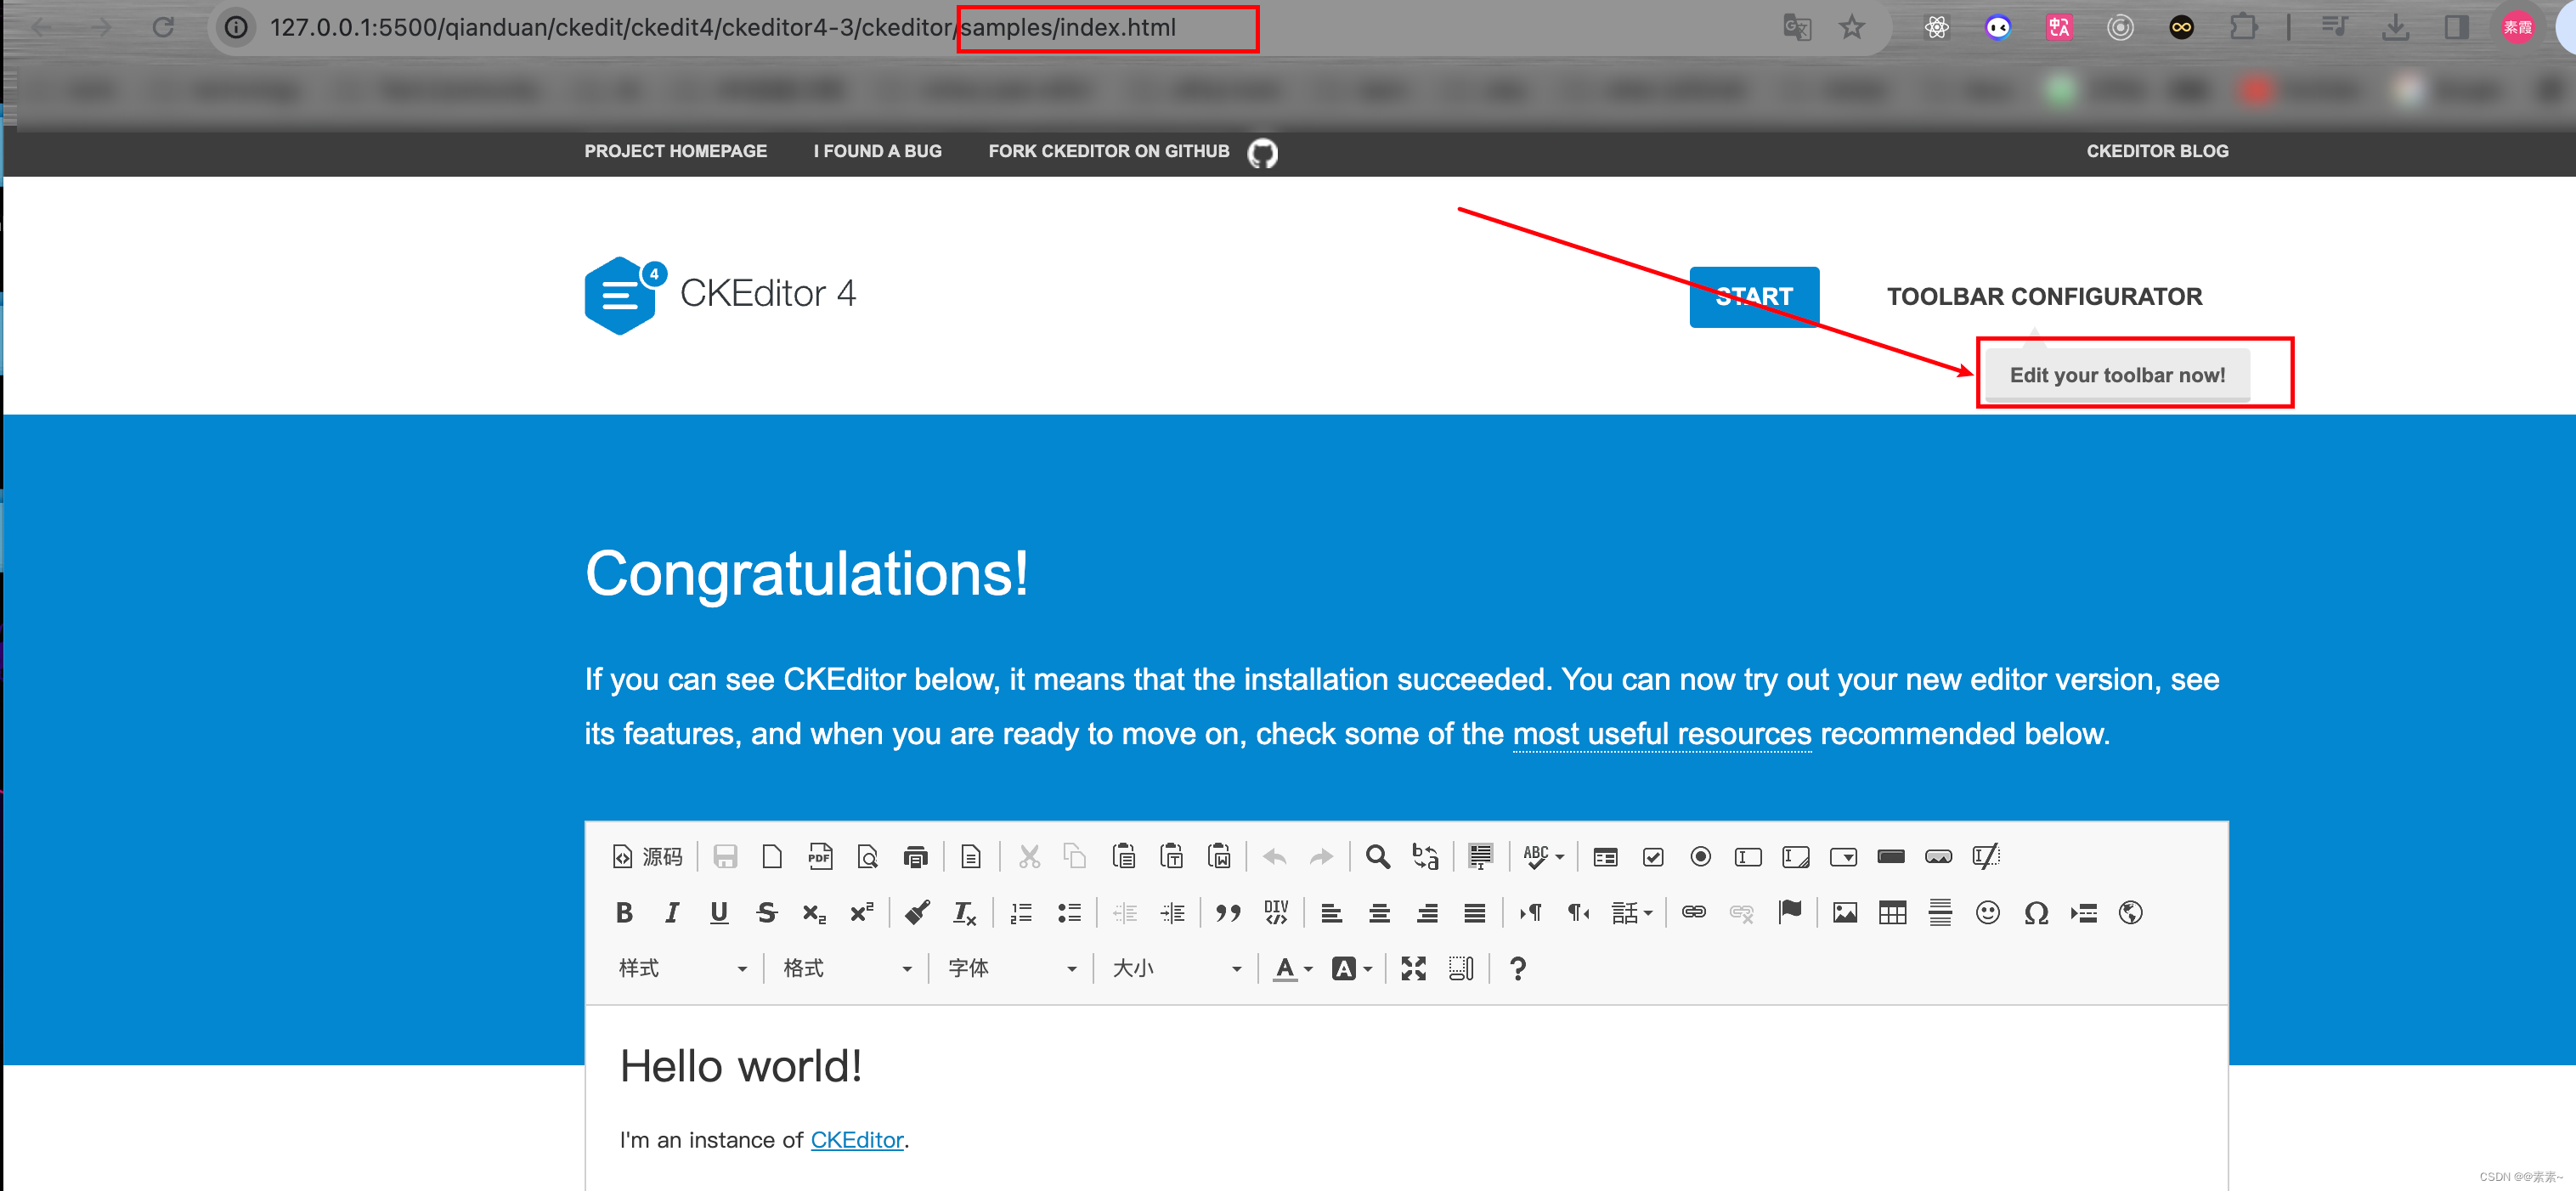
1.2.2 解压、简单使用(自带index页面示例)
- 下载完成之后,解压即可使用:
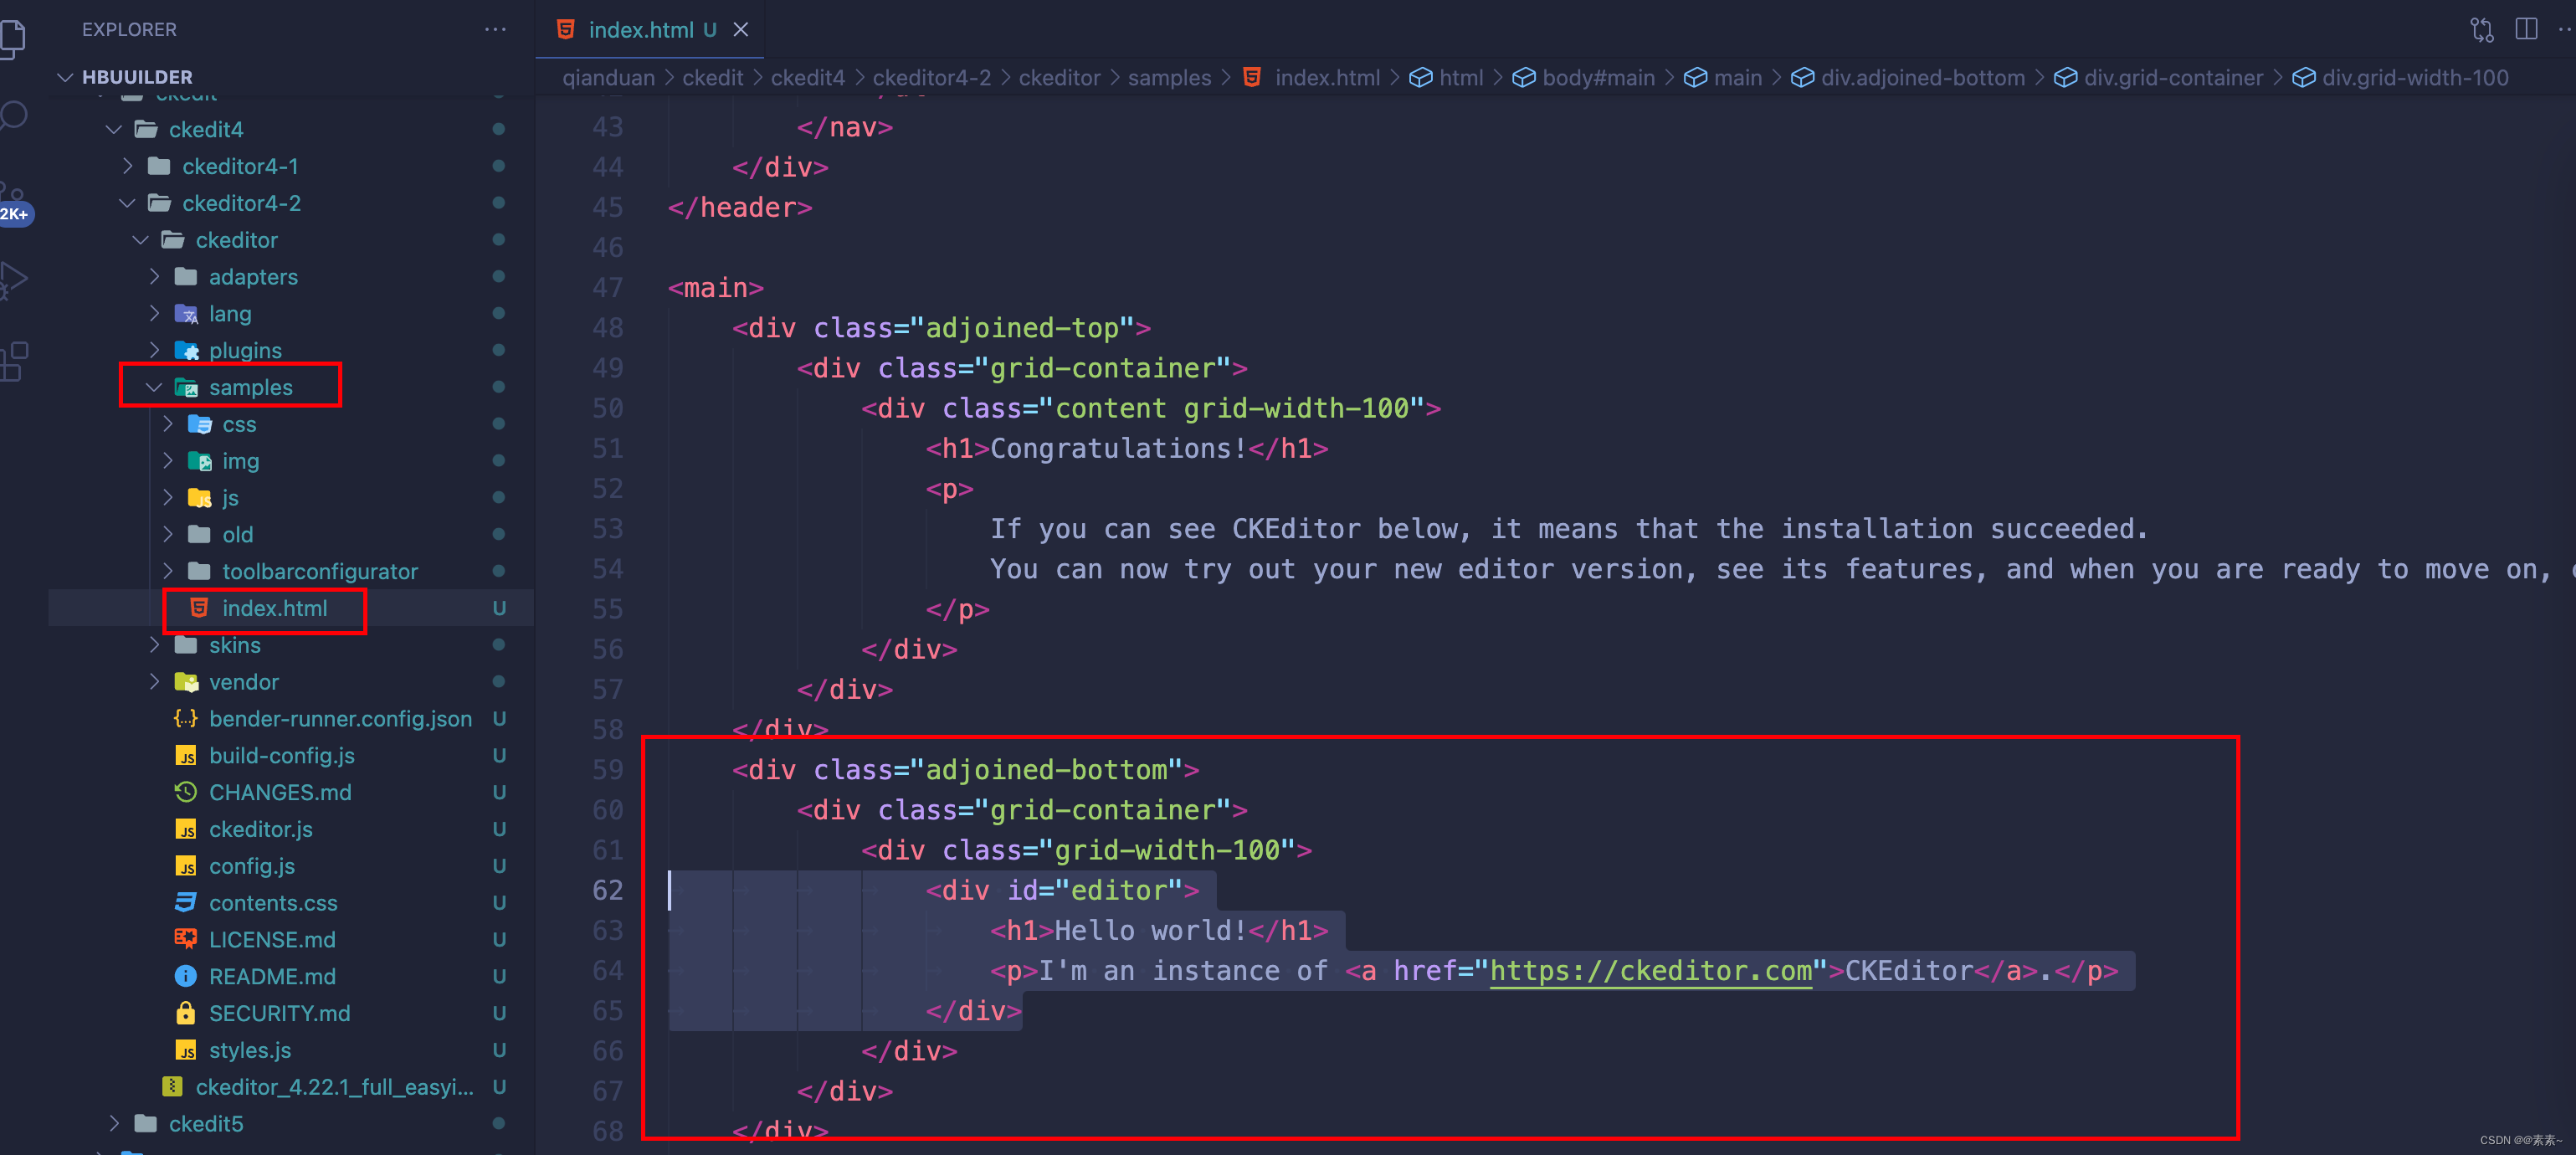
- 打开
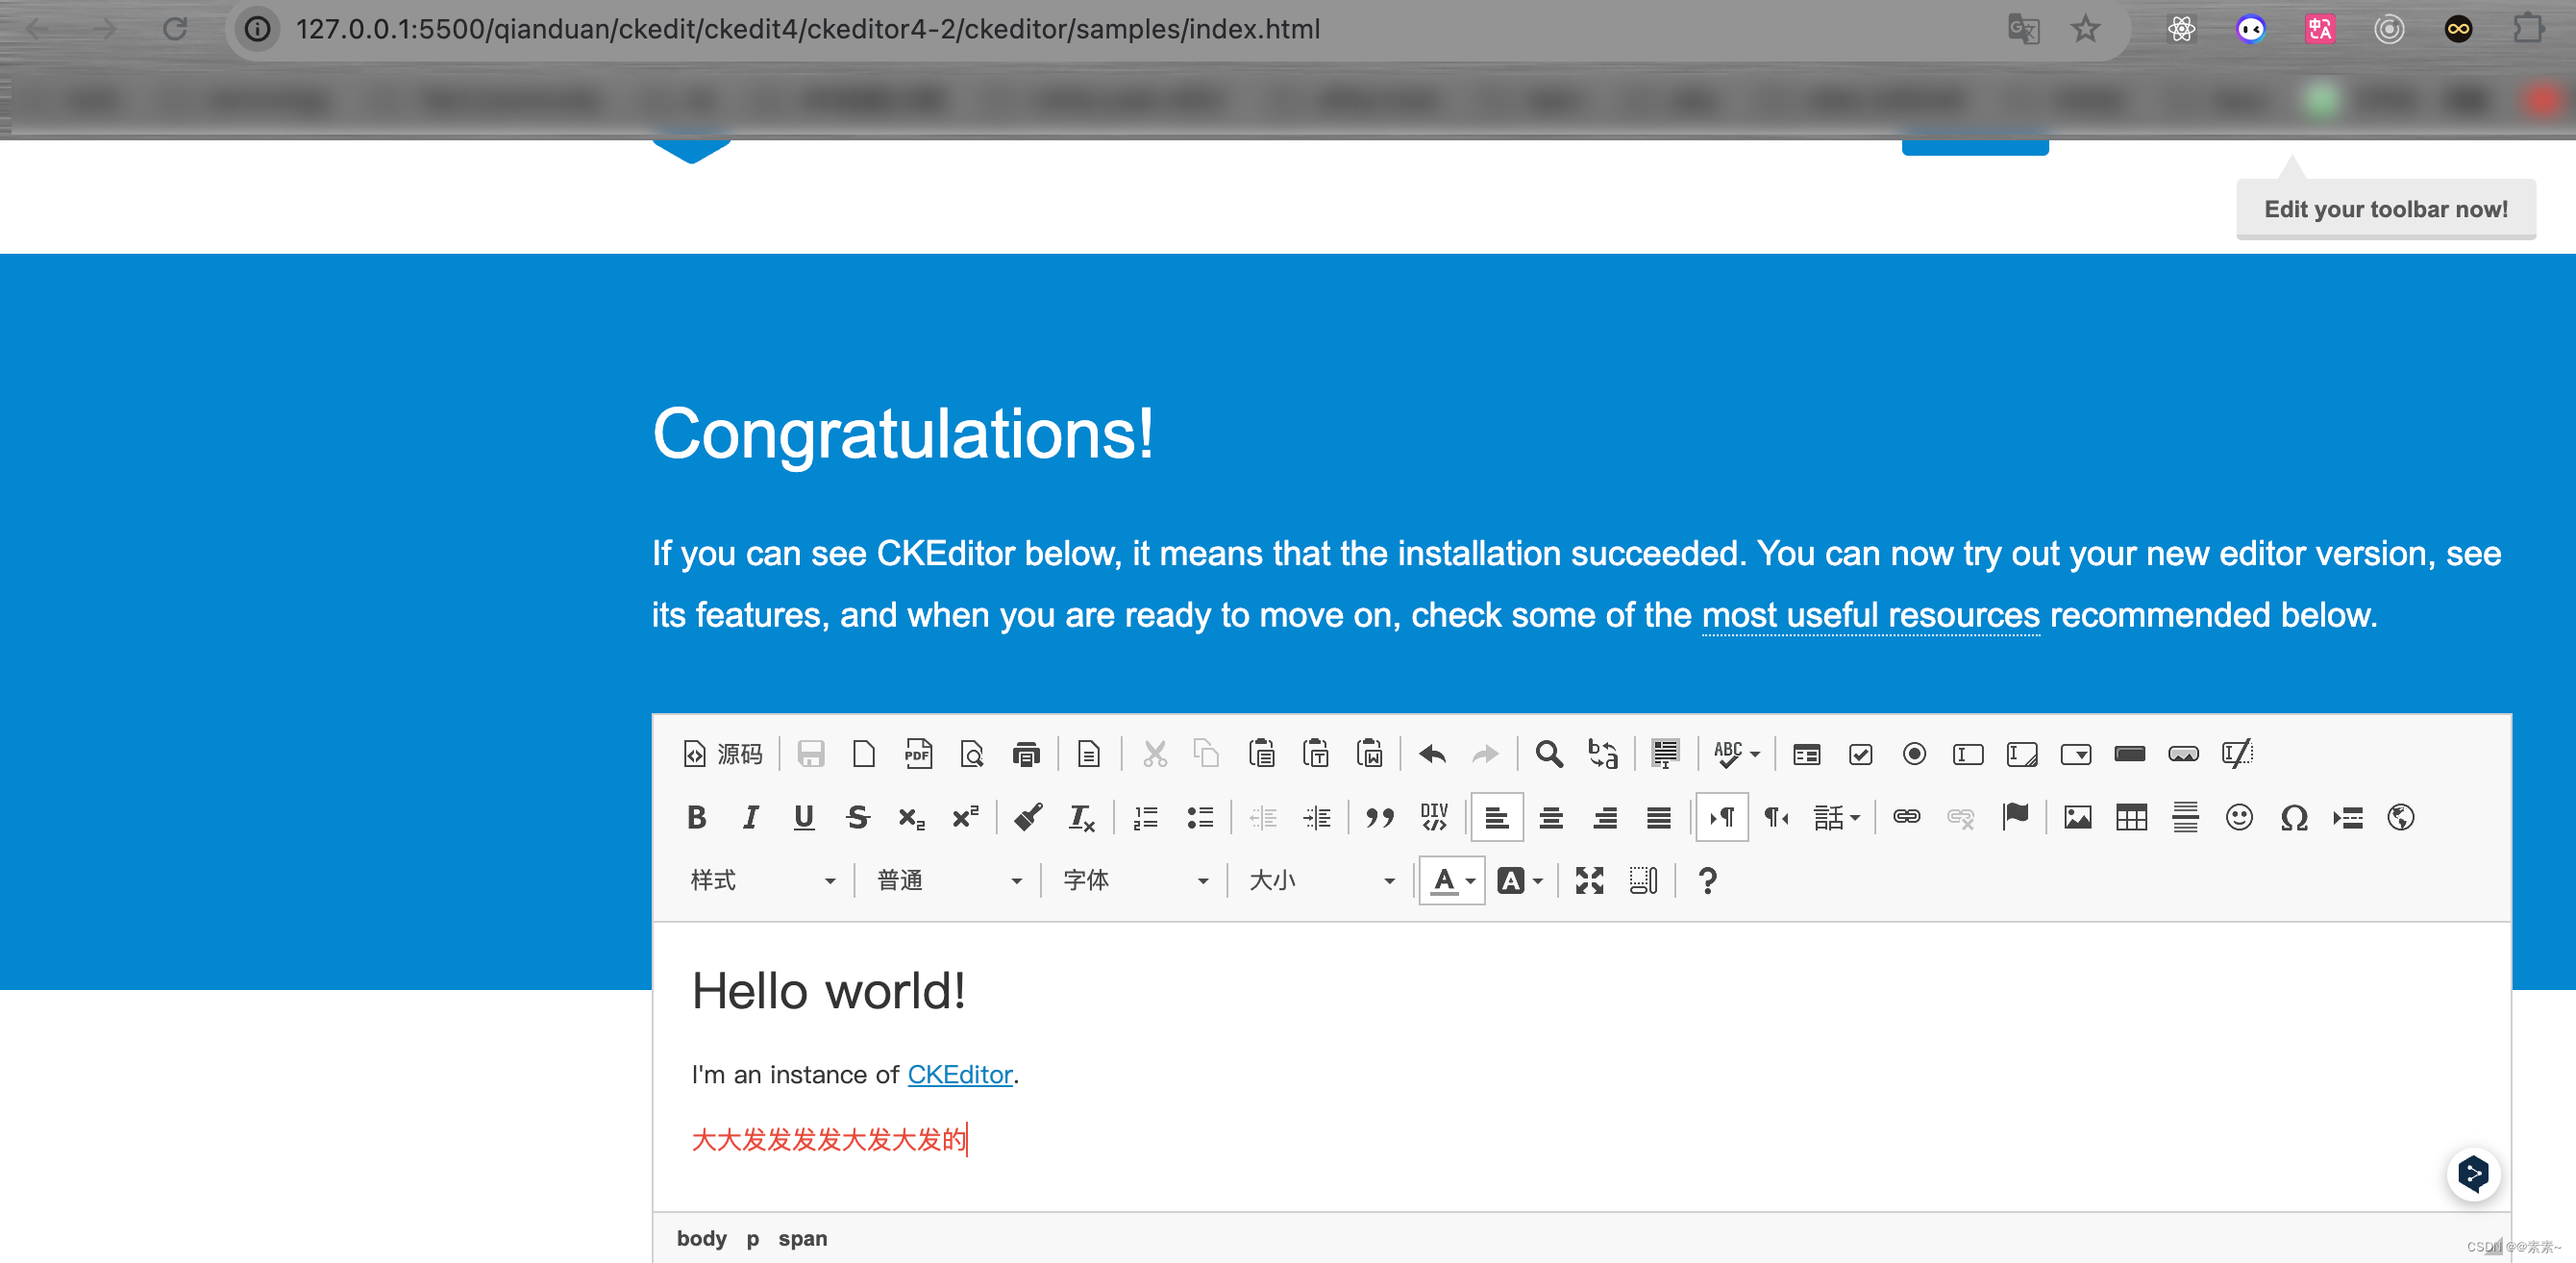
samples下的index.html看效果,如下:
1.2.3 将 CKEditor 4 添加到自己的页面
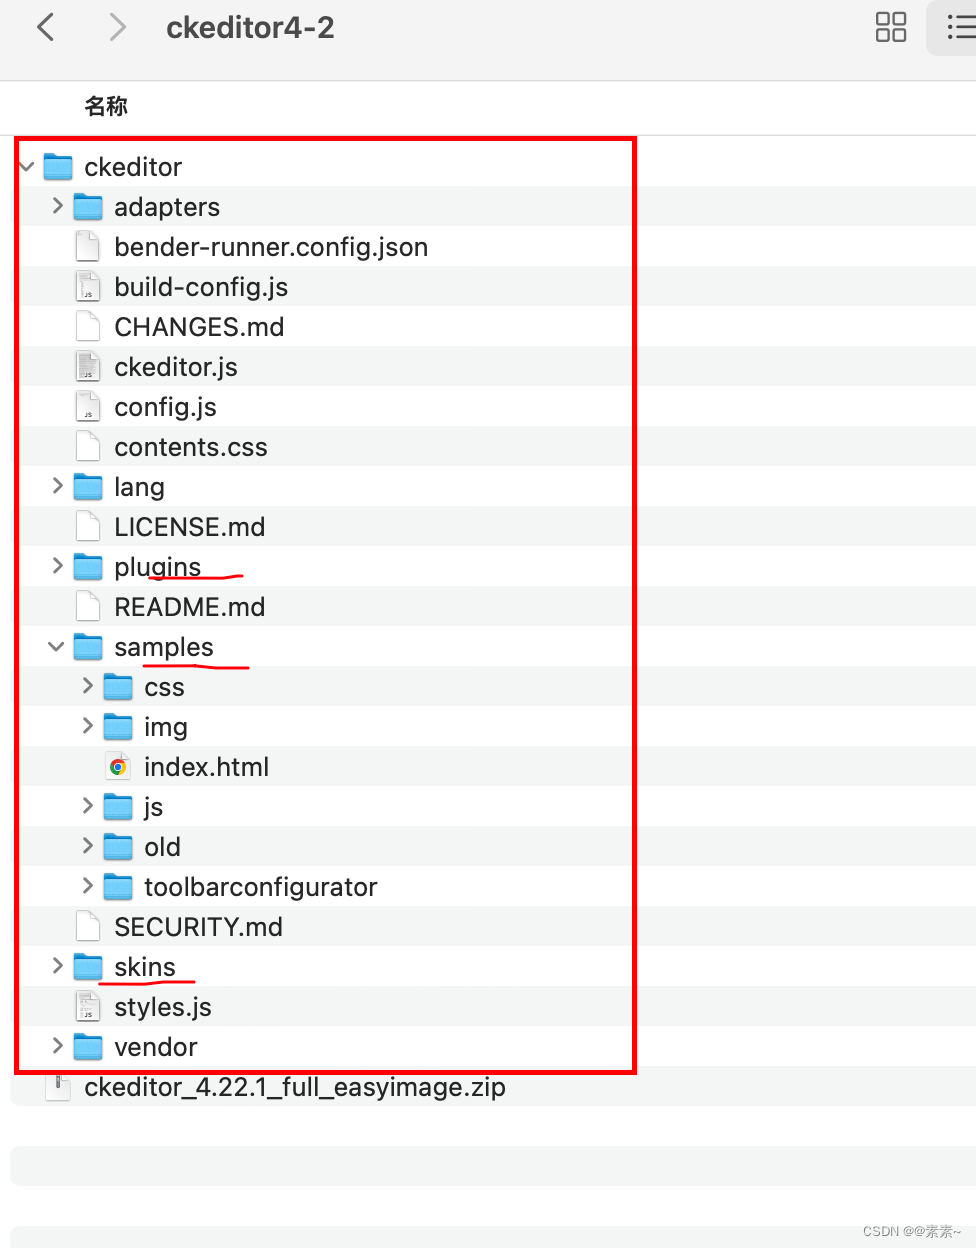
1.2.3.1 目录结构
- 如下:

1.2.3.2 效果
- 如下:

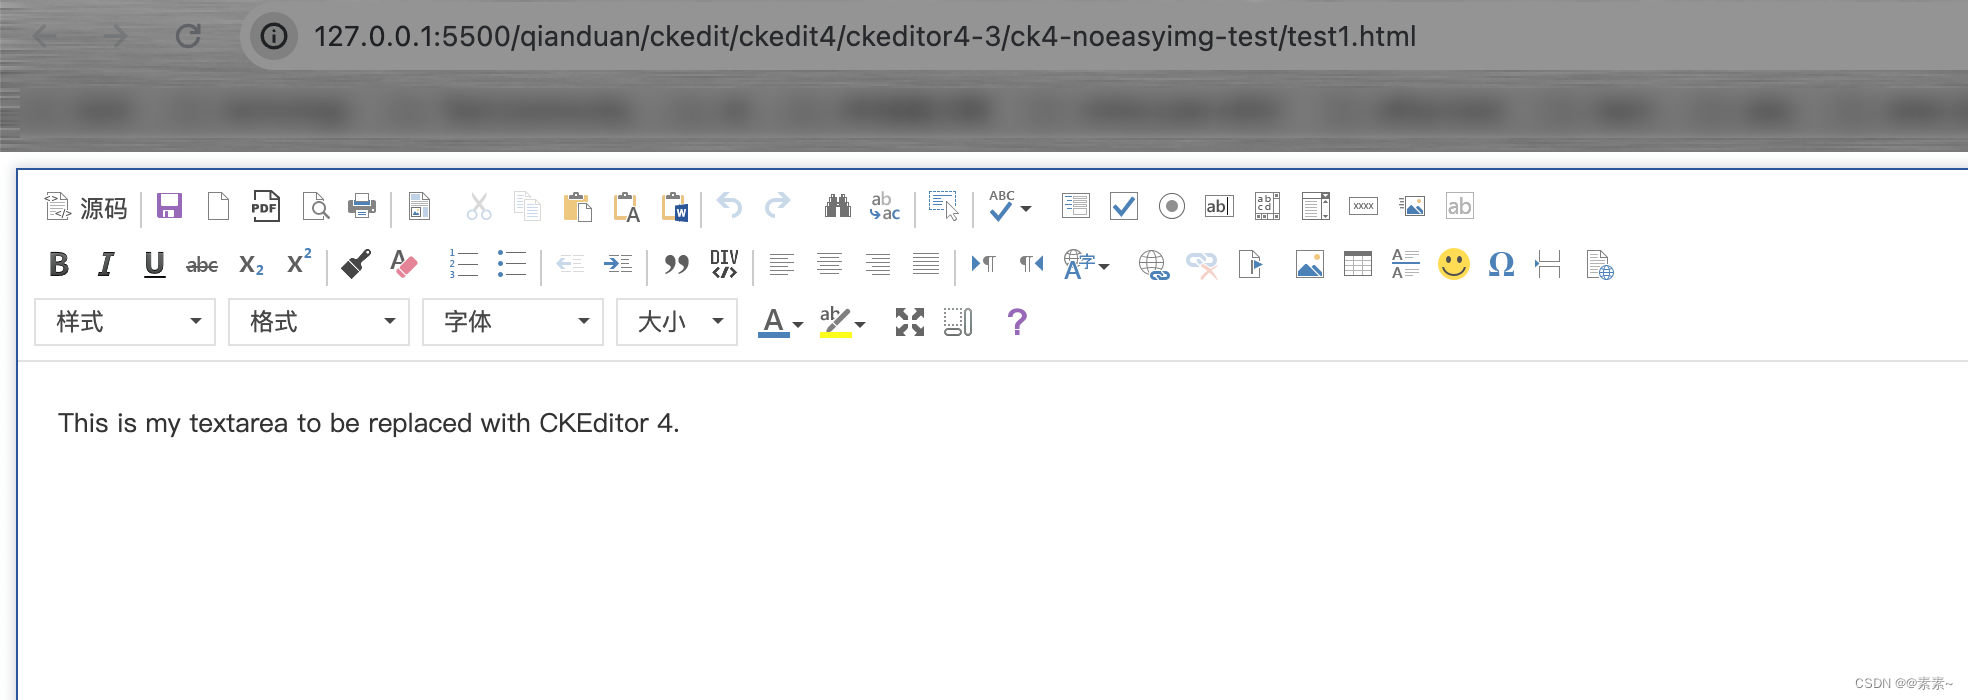
1.2.3.3 页面例子
- 如下:
<!DOCTYPE html>
<html lang="en">
    <head>
        <meta charset="utf-8">
        <title>A Simple Page with CKEditor 4</title>
        <!-- Make sure the path to CKEditor is correct. -->
        <script src="../ckeditor/ckeditor.js"></script>
    </head>
    <body>
        <form>
            <textarea name="editor1" id="editor1" rows="10" cols="80">
                This is my textarea to be replaced with CKEditor 4.
            </textarea>
            <script>
                // Replace the <textarea id="editor1"> with a CKEditor 4
                // instance, using default configuration.
                CKEDITOR.replace( 'editor1' );
            </script>
        </form>
    </body>
</html>
1.2.4 关于下载时是否选择Easy Image
1.2.4.1 对比
- 不妨都下载下来对比看一下效果:
- 下载的zip包含 Easy Image 的,效果如下:
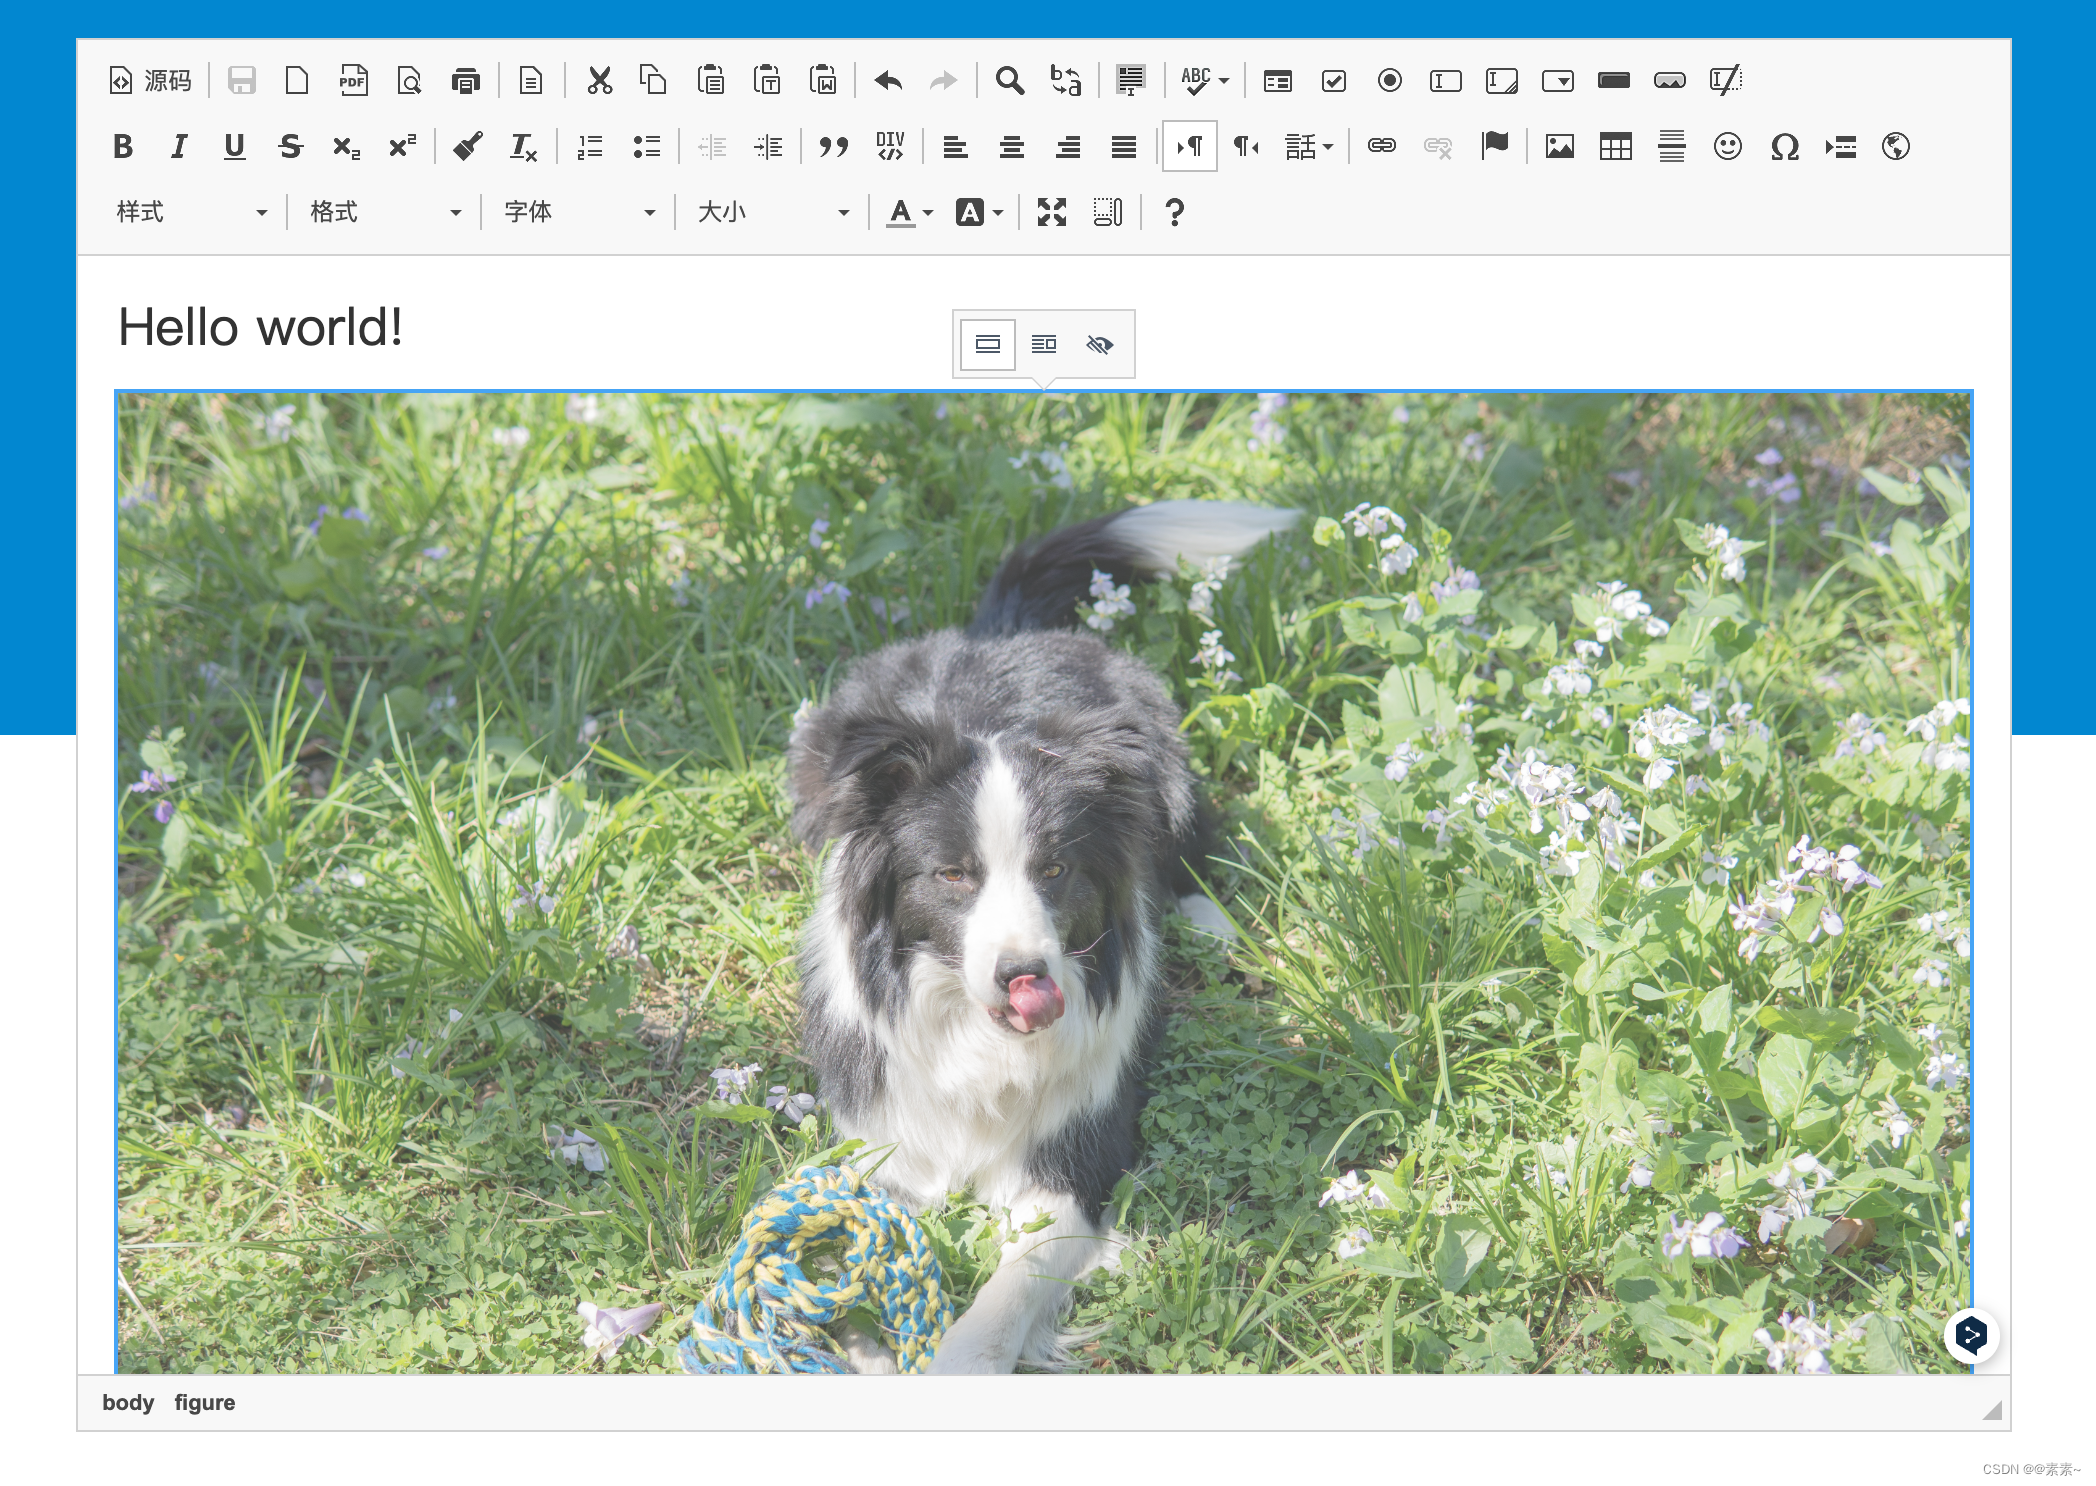
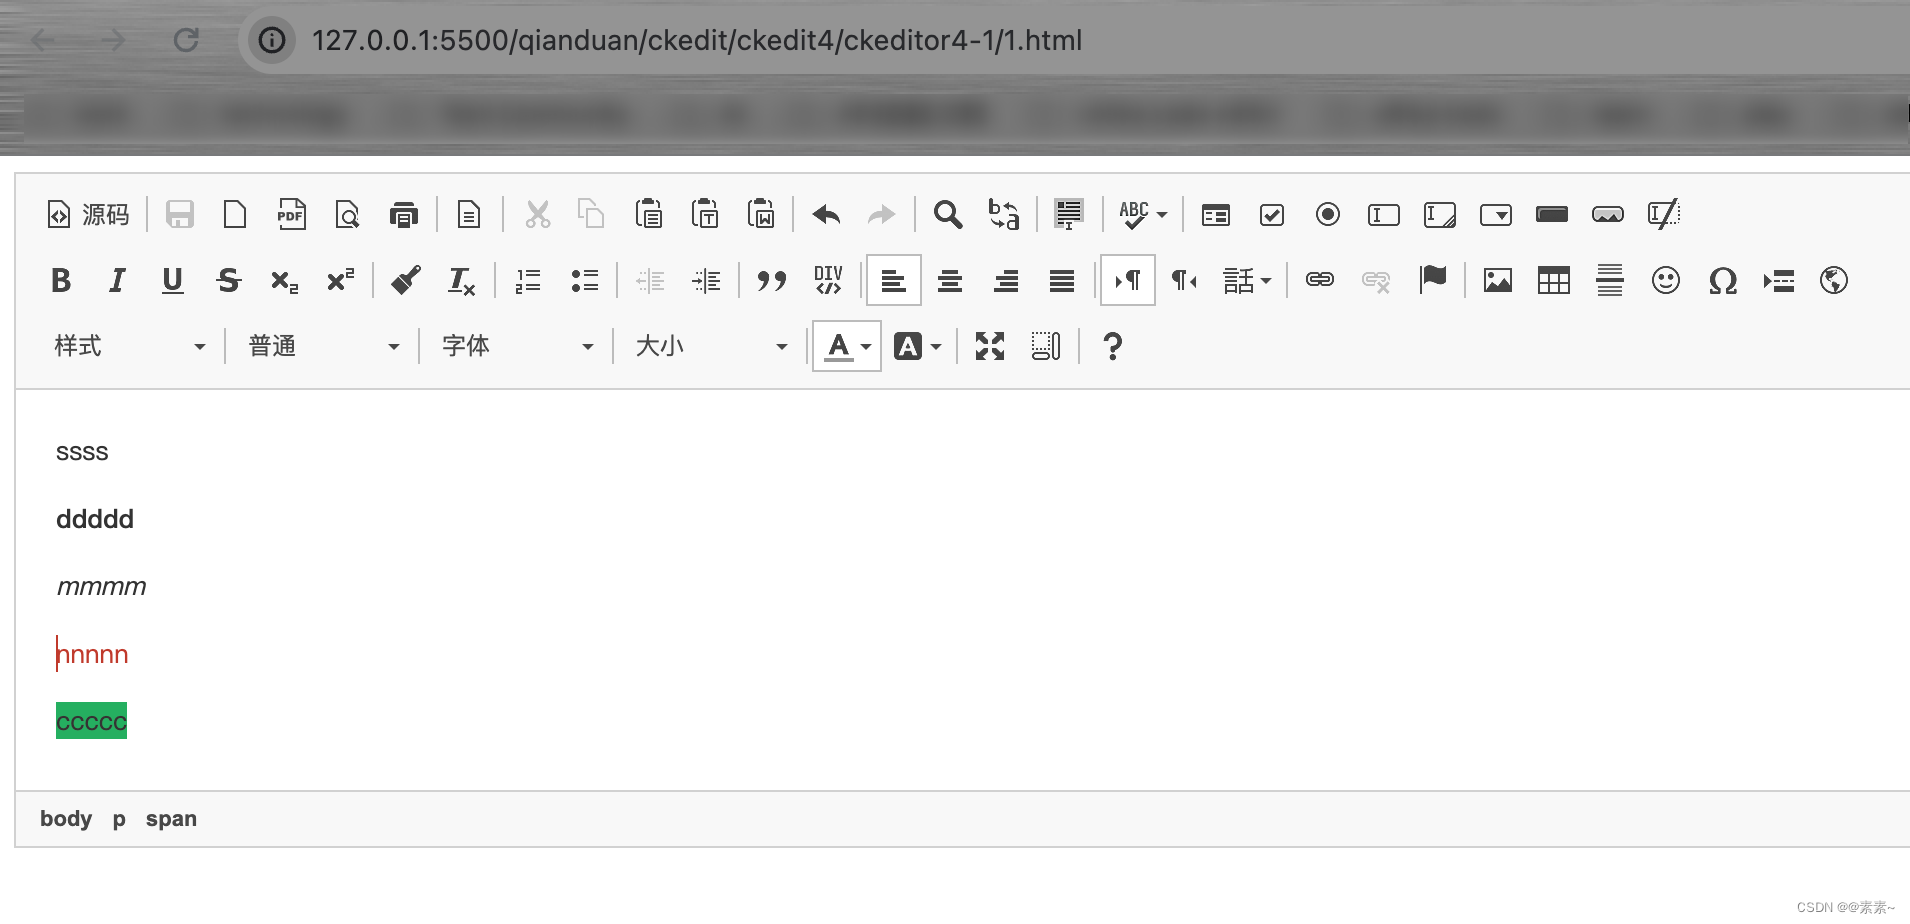
- 下载的zip不包含 Easy Image 的,效果如下:
- 下载的zip包含 Easy Image 的,效果如下:
- 总结:
没有对比就没有伤害,哪个好用看出来了吧,可问题是不是哪个好用就能用的,继续了解一下吧……
1.2.4.2 关于Easy Image
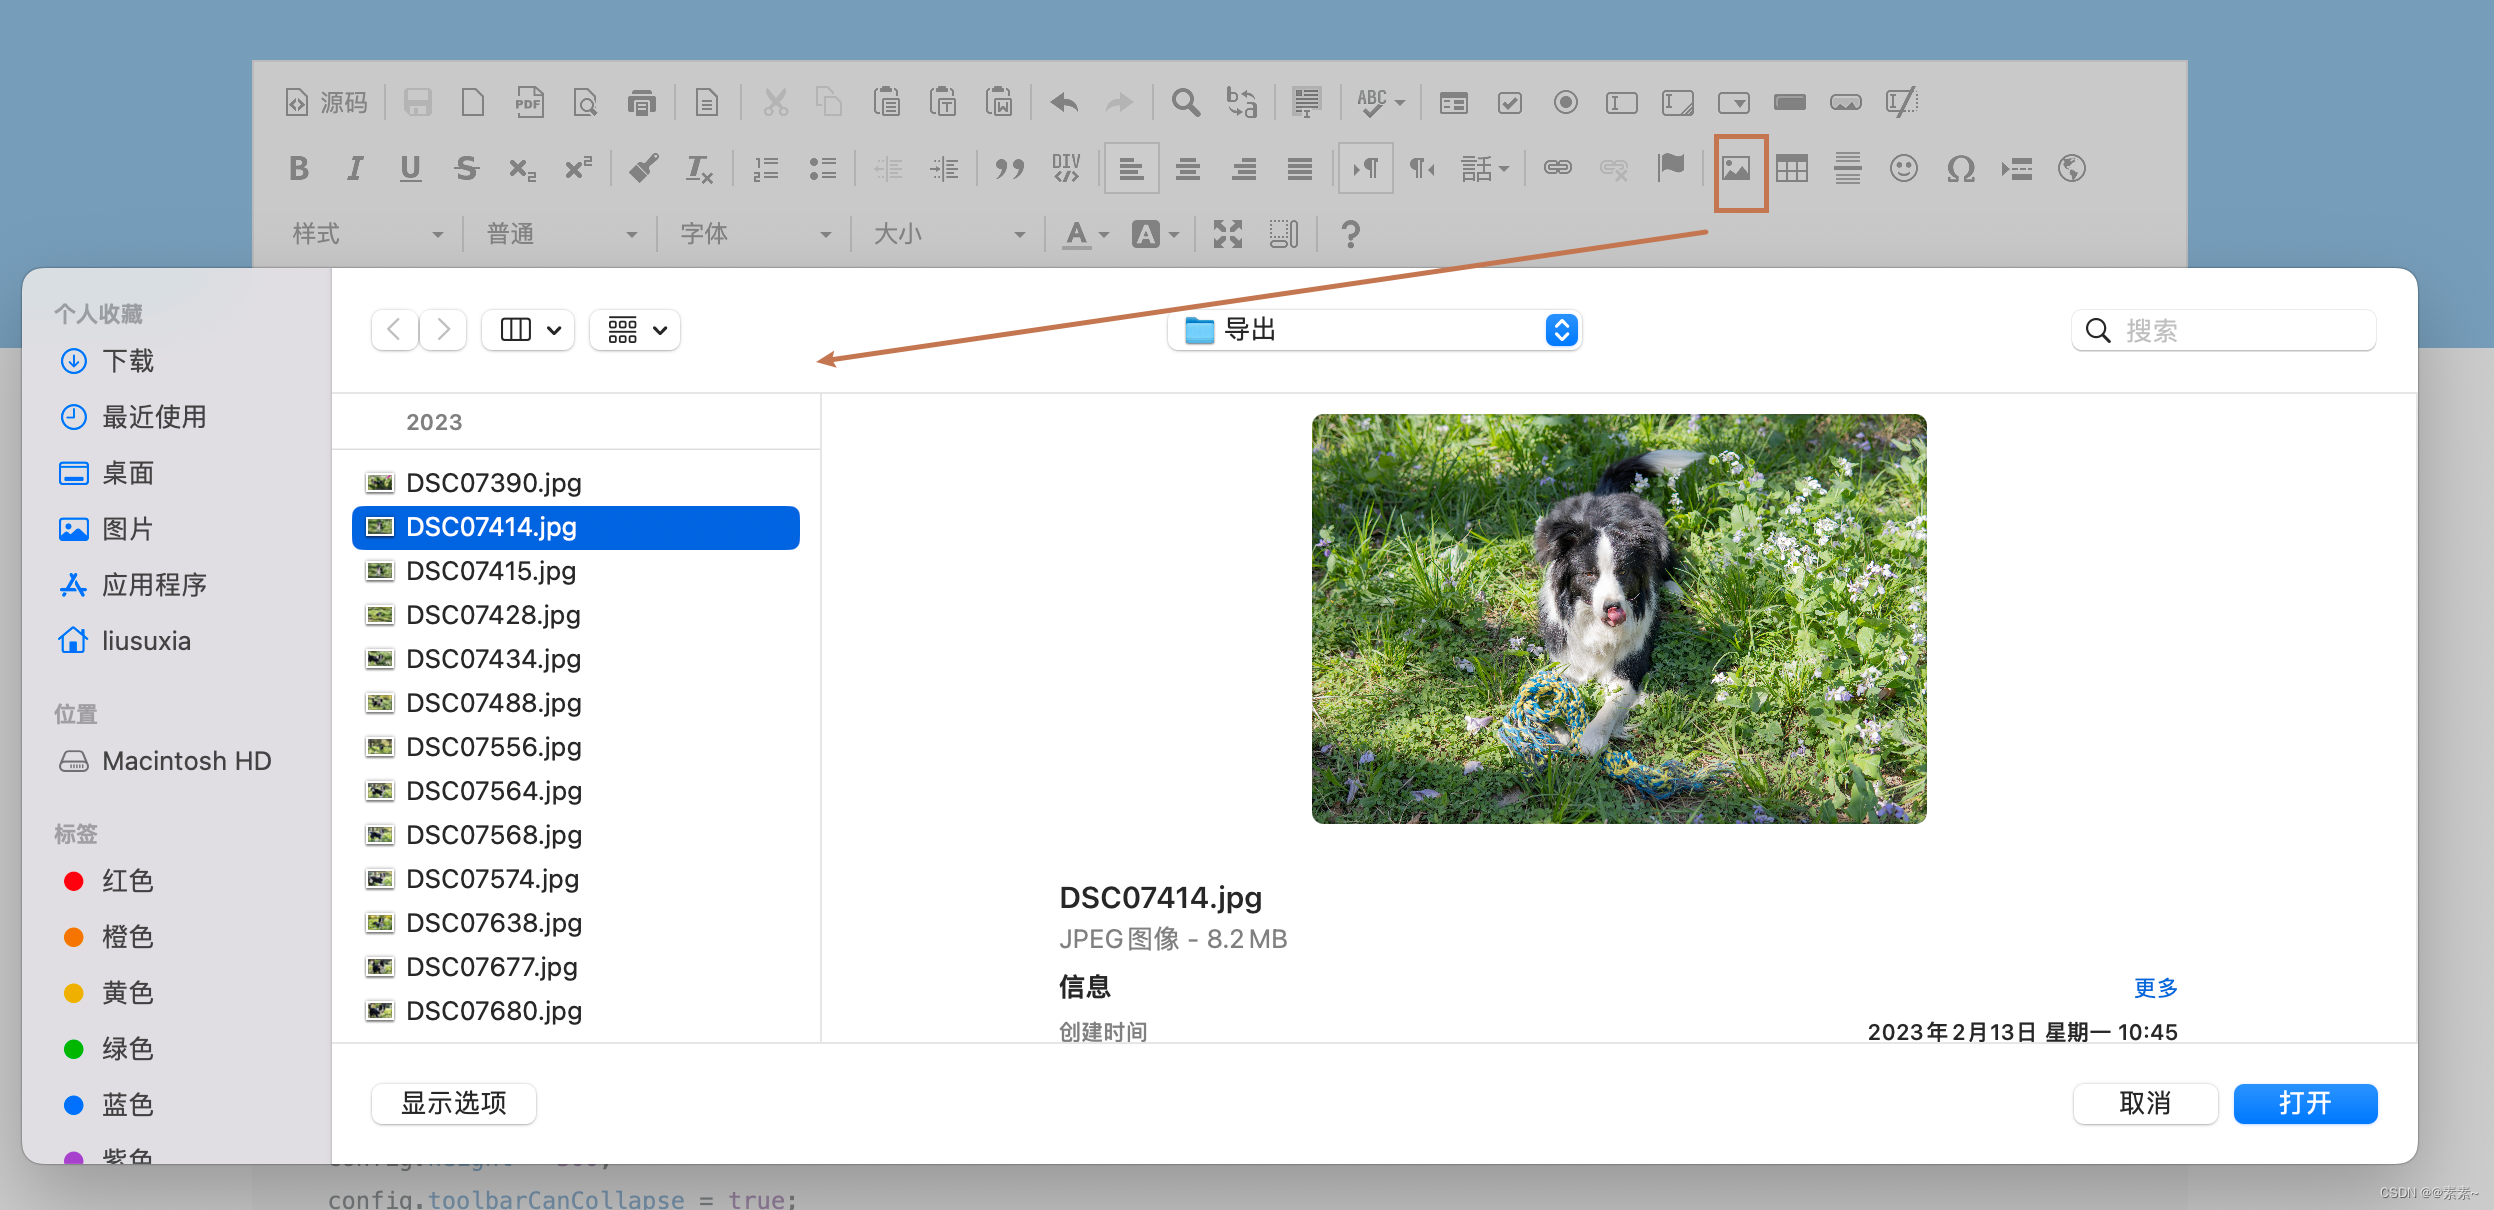
- 看完下面的再做决定下载时到底勾选Easy Image不?
- 所以接下来我们使用的都是
ckeditor_4.22.1_full.zip(不含Easy Image),关于上传图片的,后续再单独介绍。
2. 工具栏的配置
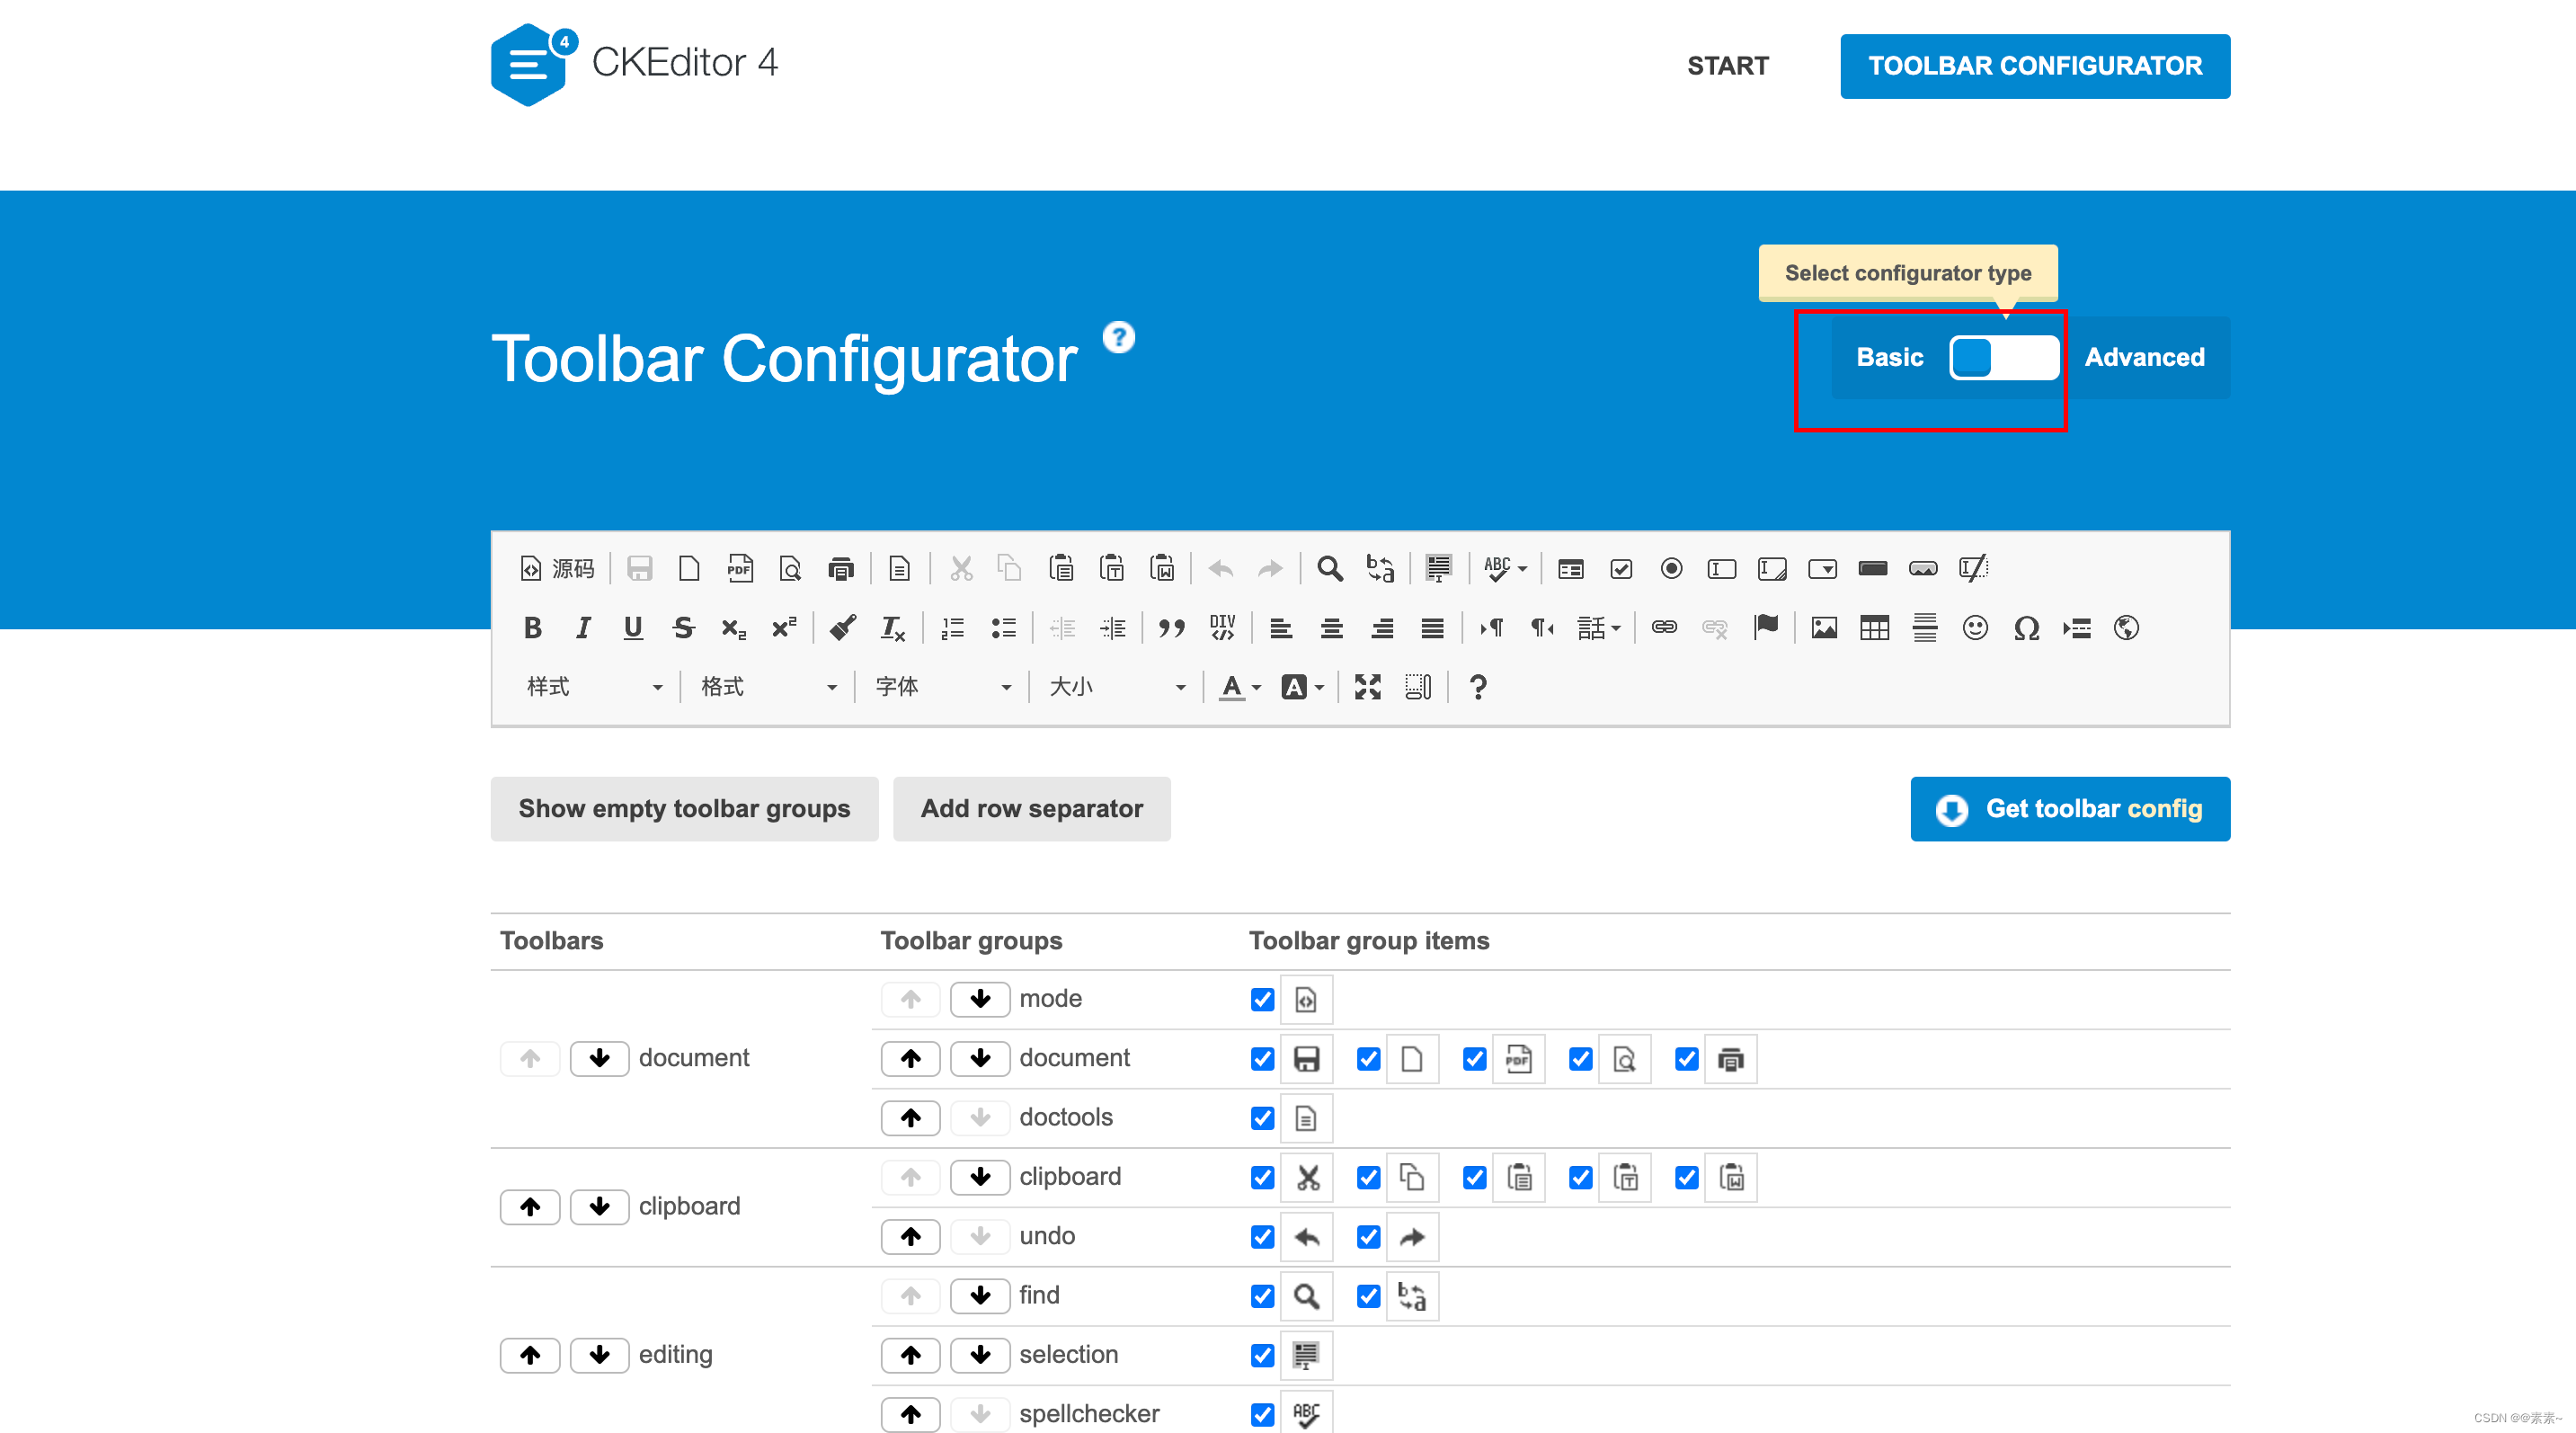
2.1 打开示例页面
- 如下:

2.2 在自己项目中配置工具栏
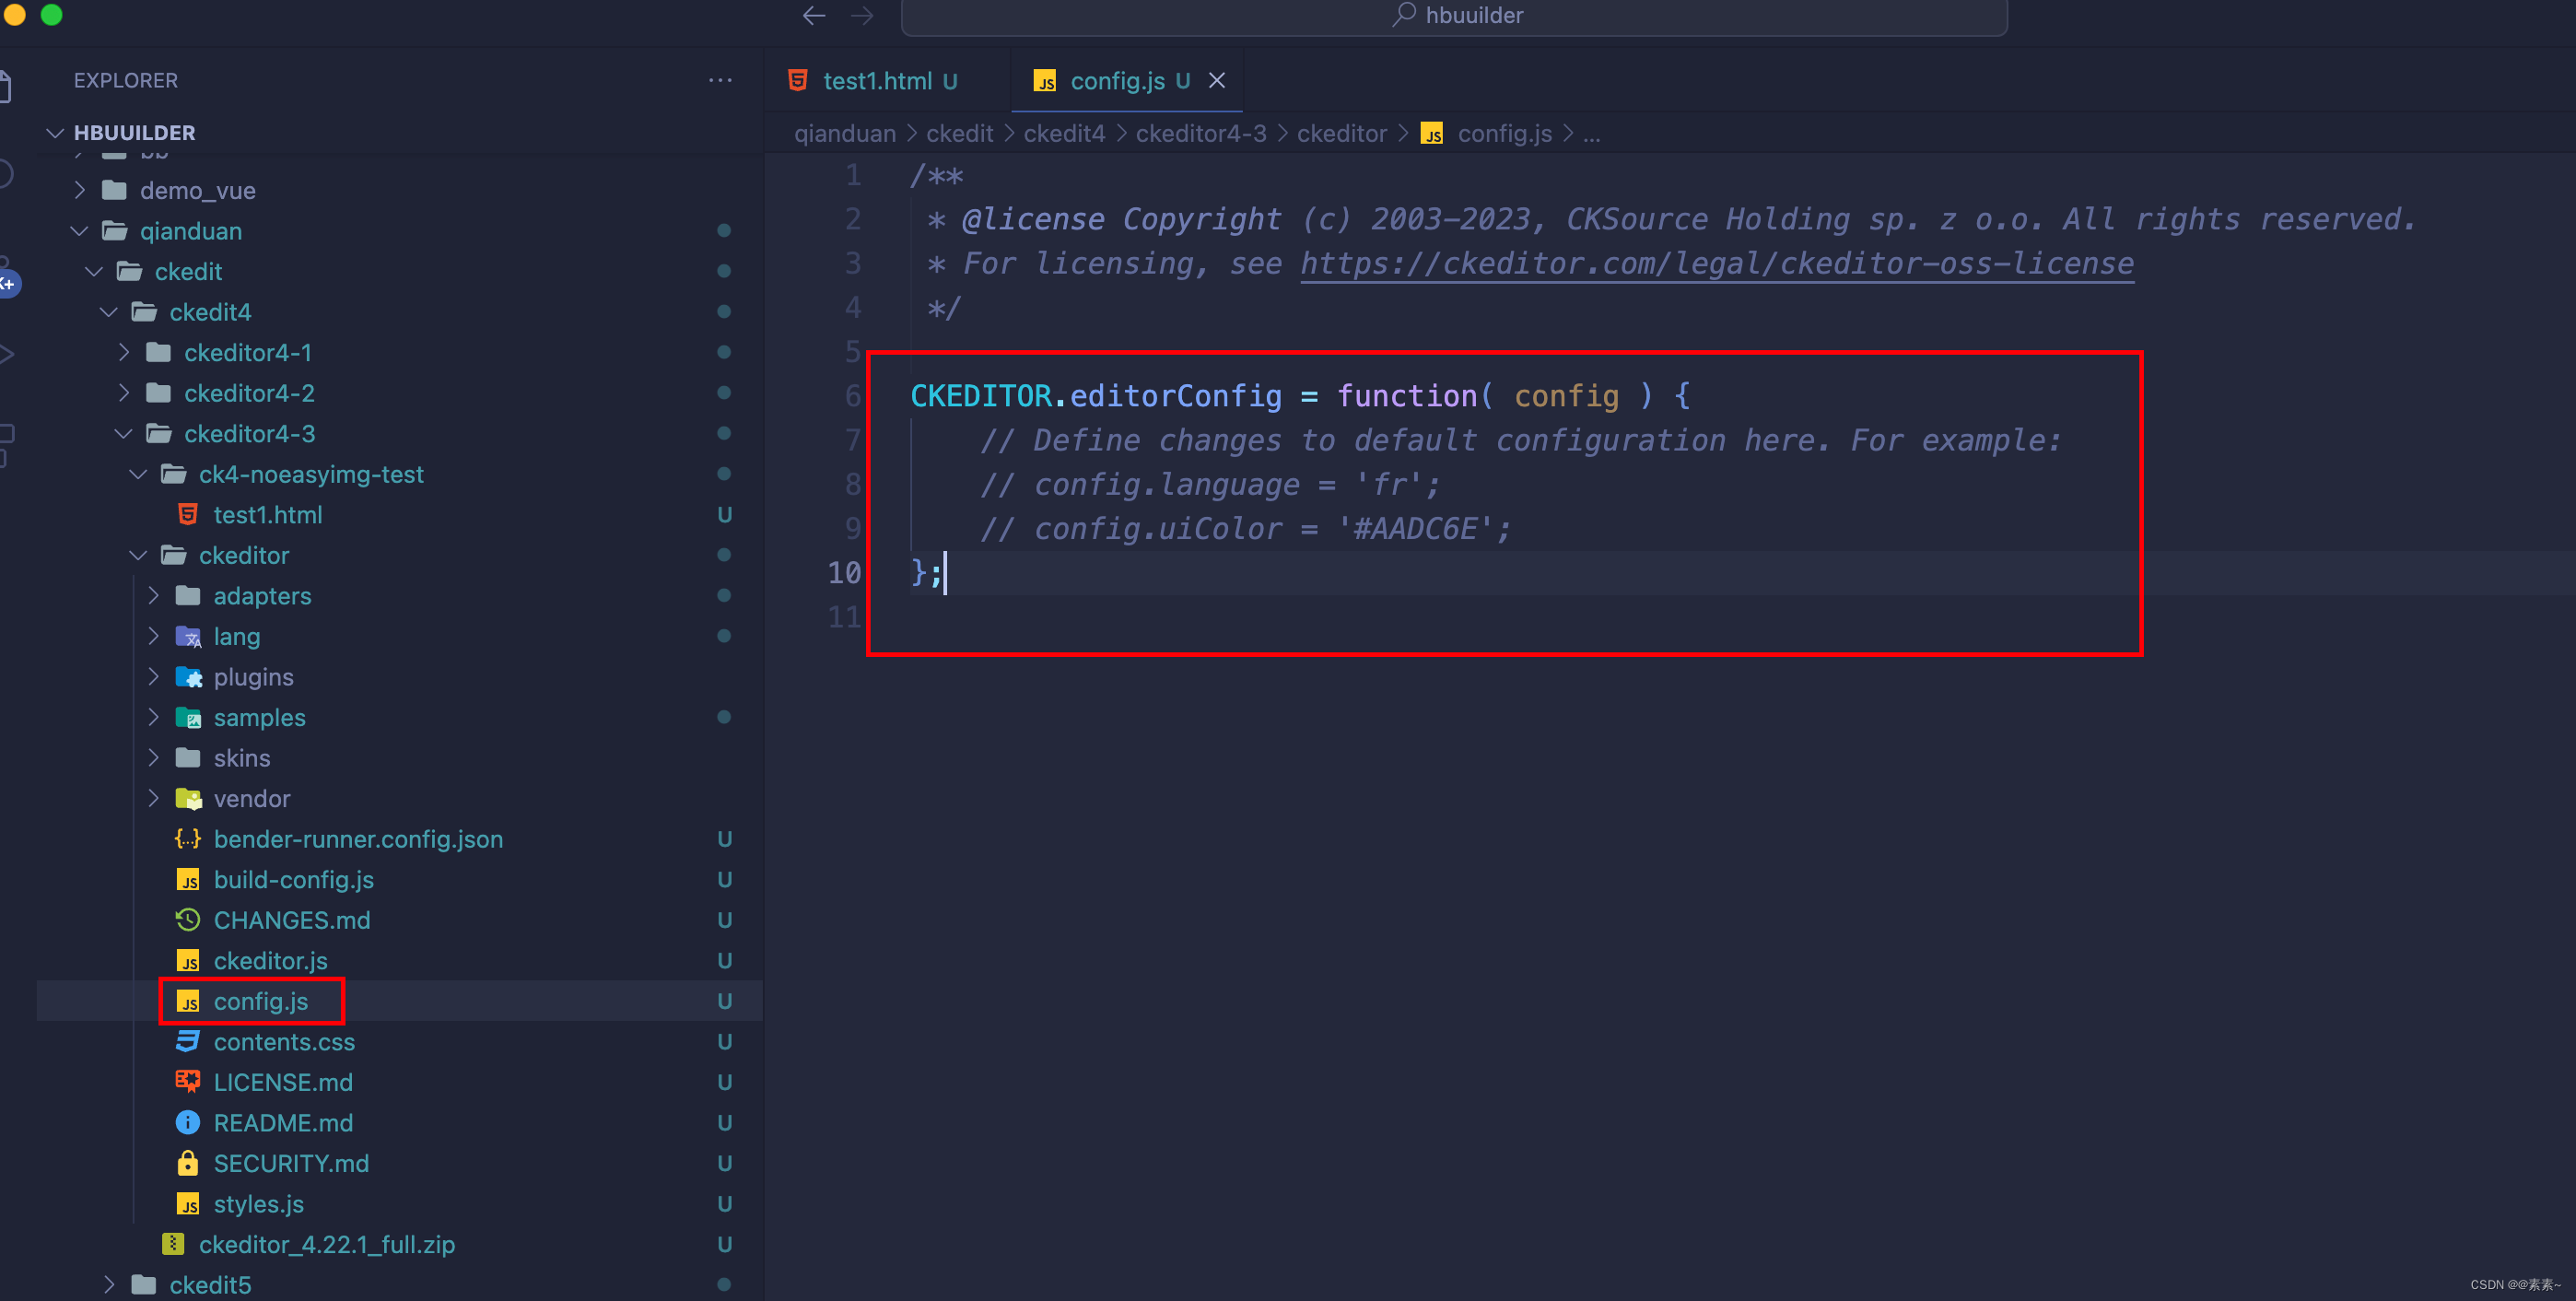
2.2.1 默认配置
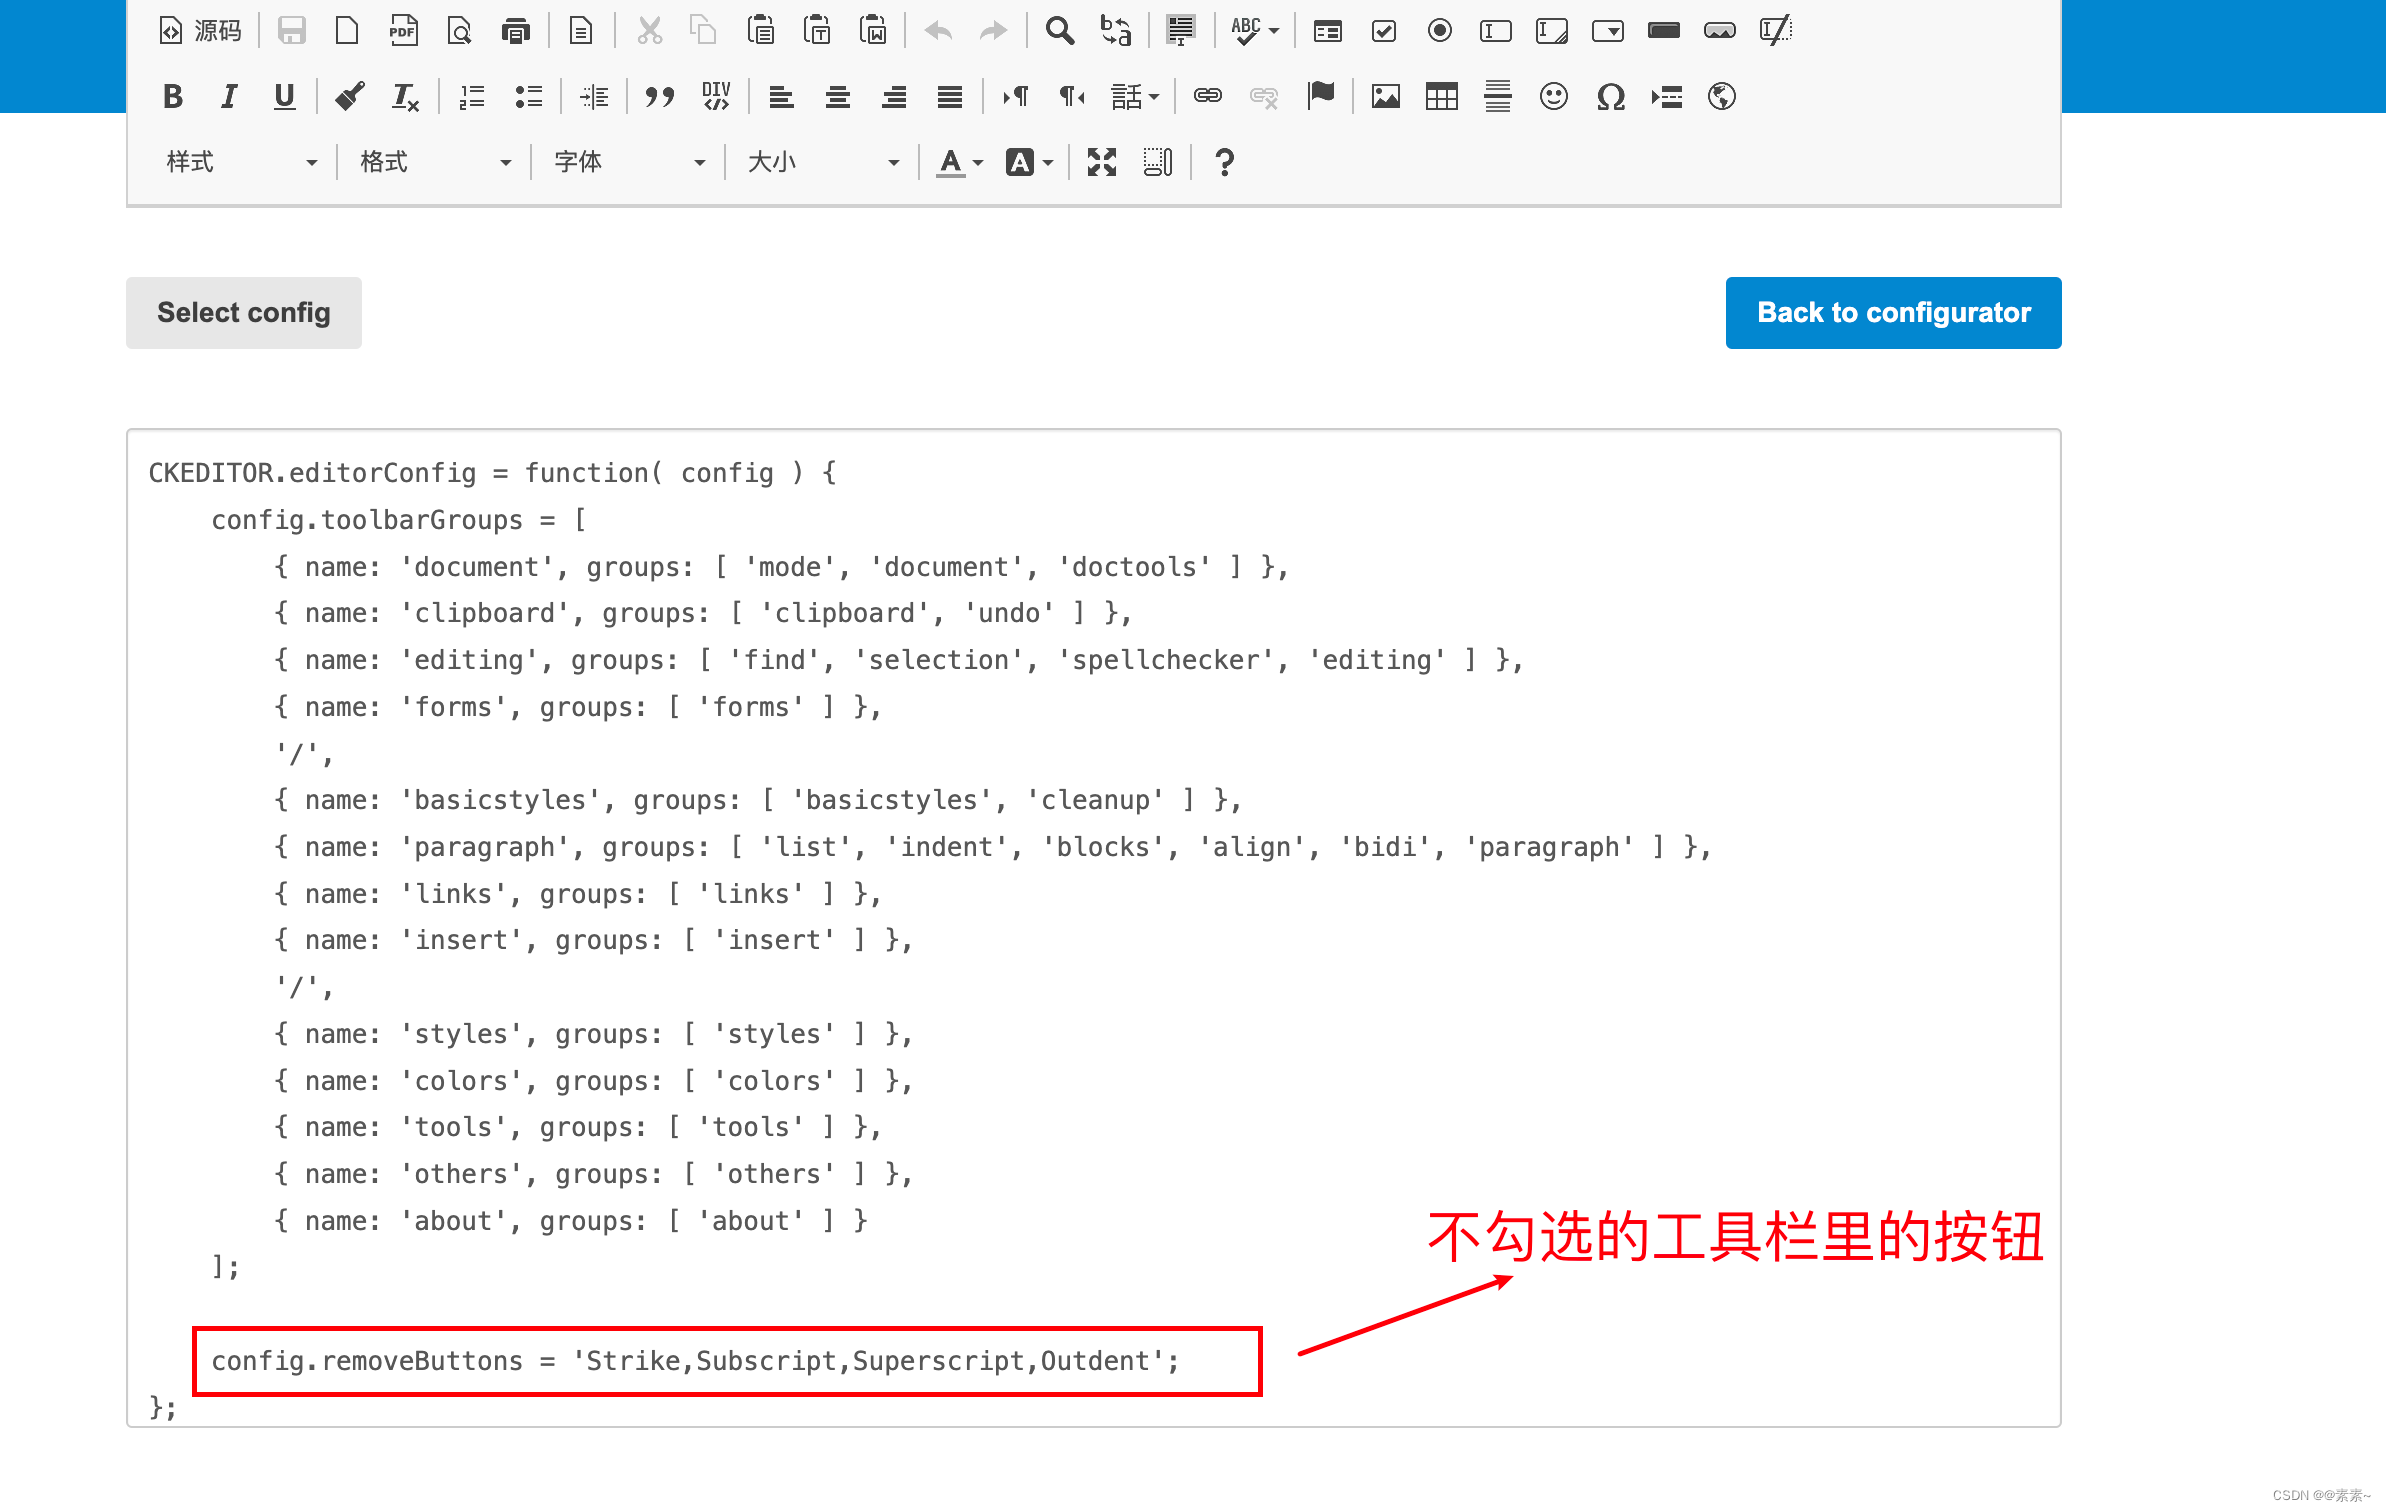
- 如未做任何配置,默认配置如下(
config.js的配置):
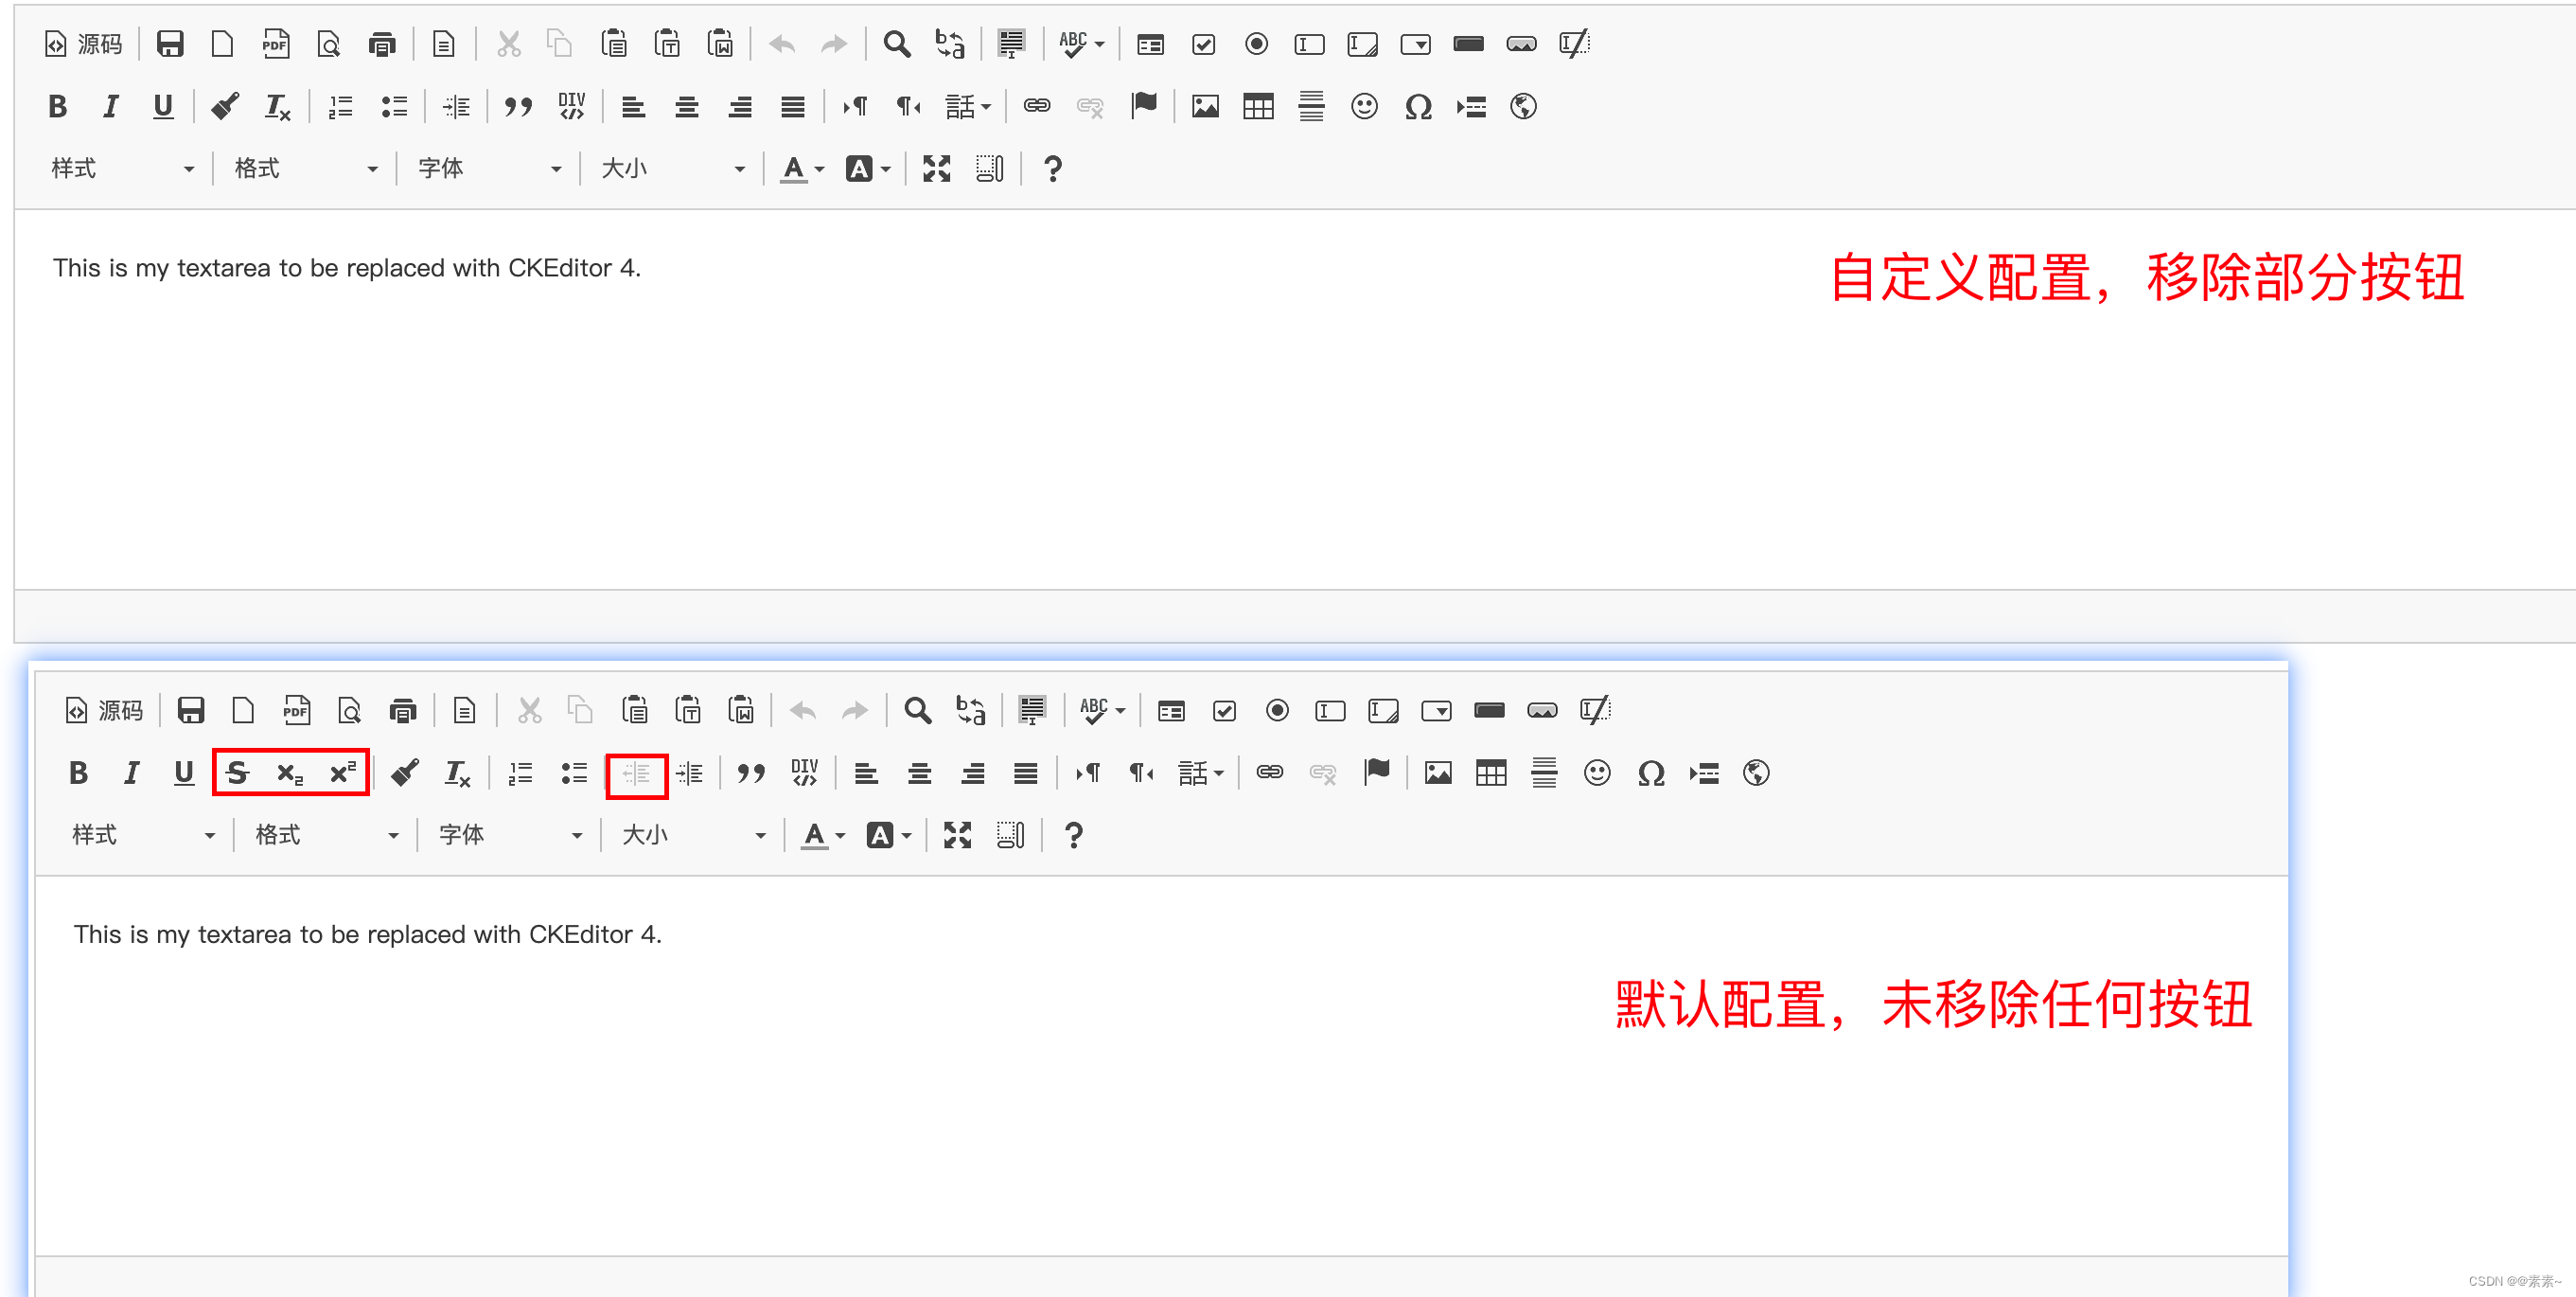
2.2.2 自定义配置(基本配置)
- 只需将上面手动配置工具栏之后生成的配置代码拷贝一下即可,如下:
/** * @license Copyright (c) 2003-2023, CKSource Holding sp. z o.o. All rights reserved. * For licensing, see https://ckeditor.com/legal/ckeditor-oss-license */ CKEDITOR.editorConfig = function( config ) { // Define changes to default configuration here. For example: // config.language = 'fr'; // config.uiColor = '#AADC6E'; // 1. 工具栏配置组 config.toolbarGroups = [ { name: 'document', groups: [ 'mode', 'document', 'doctools' ] }, { name: 'clipboard', groups: [ 'clipboard', 'undo' ] }, { name: 'editing', groups: [ 'find', 'selection', 'spellchecker', 'editing' ] }, { name: 'forms', groups: [ 'forms' ] }, '/', { name: 'basicstyles', groups: [ 'basicstyles', 'cleanup' ] }, { name: 'paragraph', groups: [ 'list', 'indent', 'blocks', 'align', 'bidi', 'paragraph' ] }, { name: 'links', groups: [ 'links' ] }, { name: 'insert', groups: [ 'insert' ] }, '/', { name: 'styles', groups: [ 'styles' ] }, { name: 'colors', groups: [ 'colors' ] }, { name: 'tools', groups: [ 'tools' ] }, { name: 'others', groups: [ 'others' ] }, { name: 'about', groups: [ 'about' ] } ]; // 2. 工具栏中移除不需要的按钮工具 config.removeButtons = 'Strike,Subscript,Superscript,Outdent'; }; - 看效果:
2.2.3 自定义配置(高级配置)
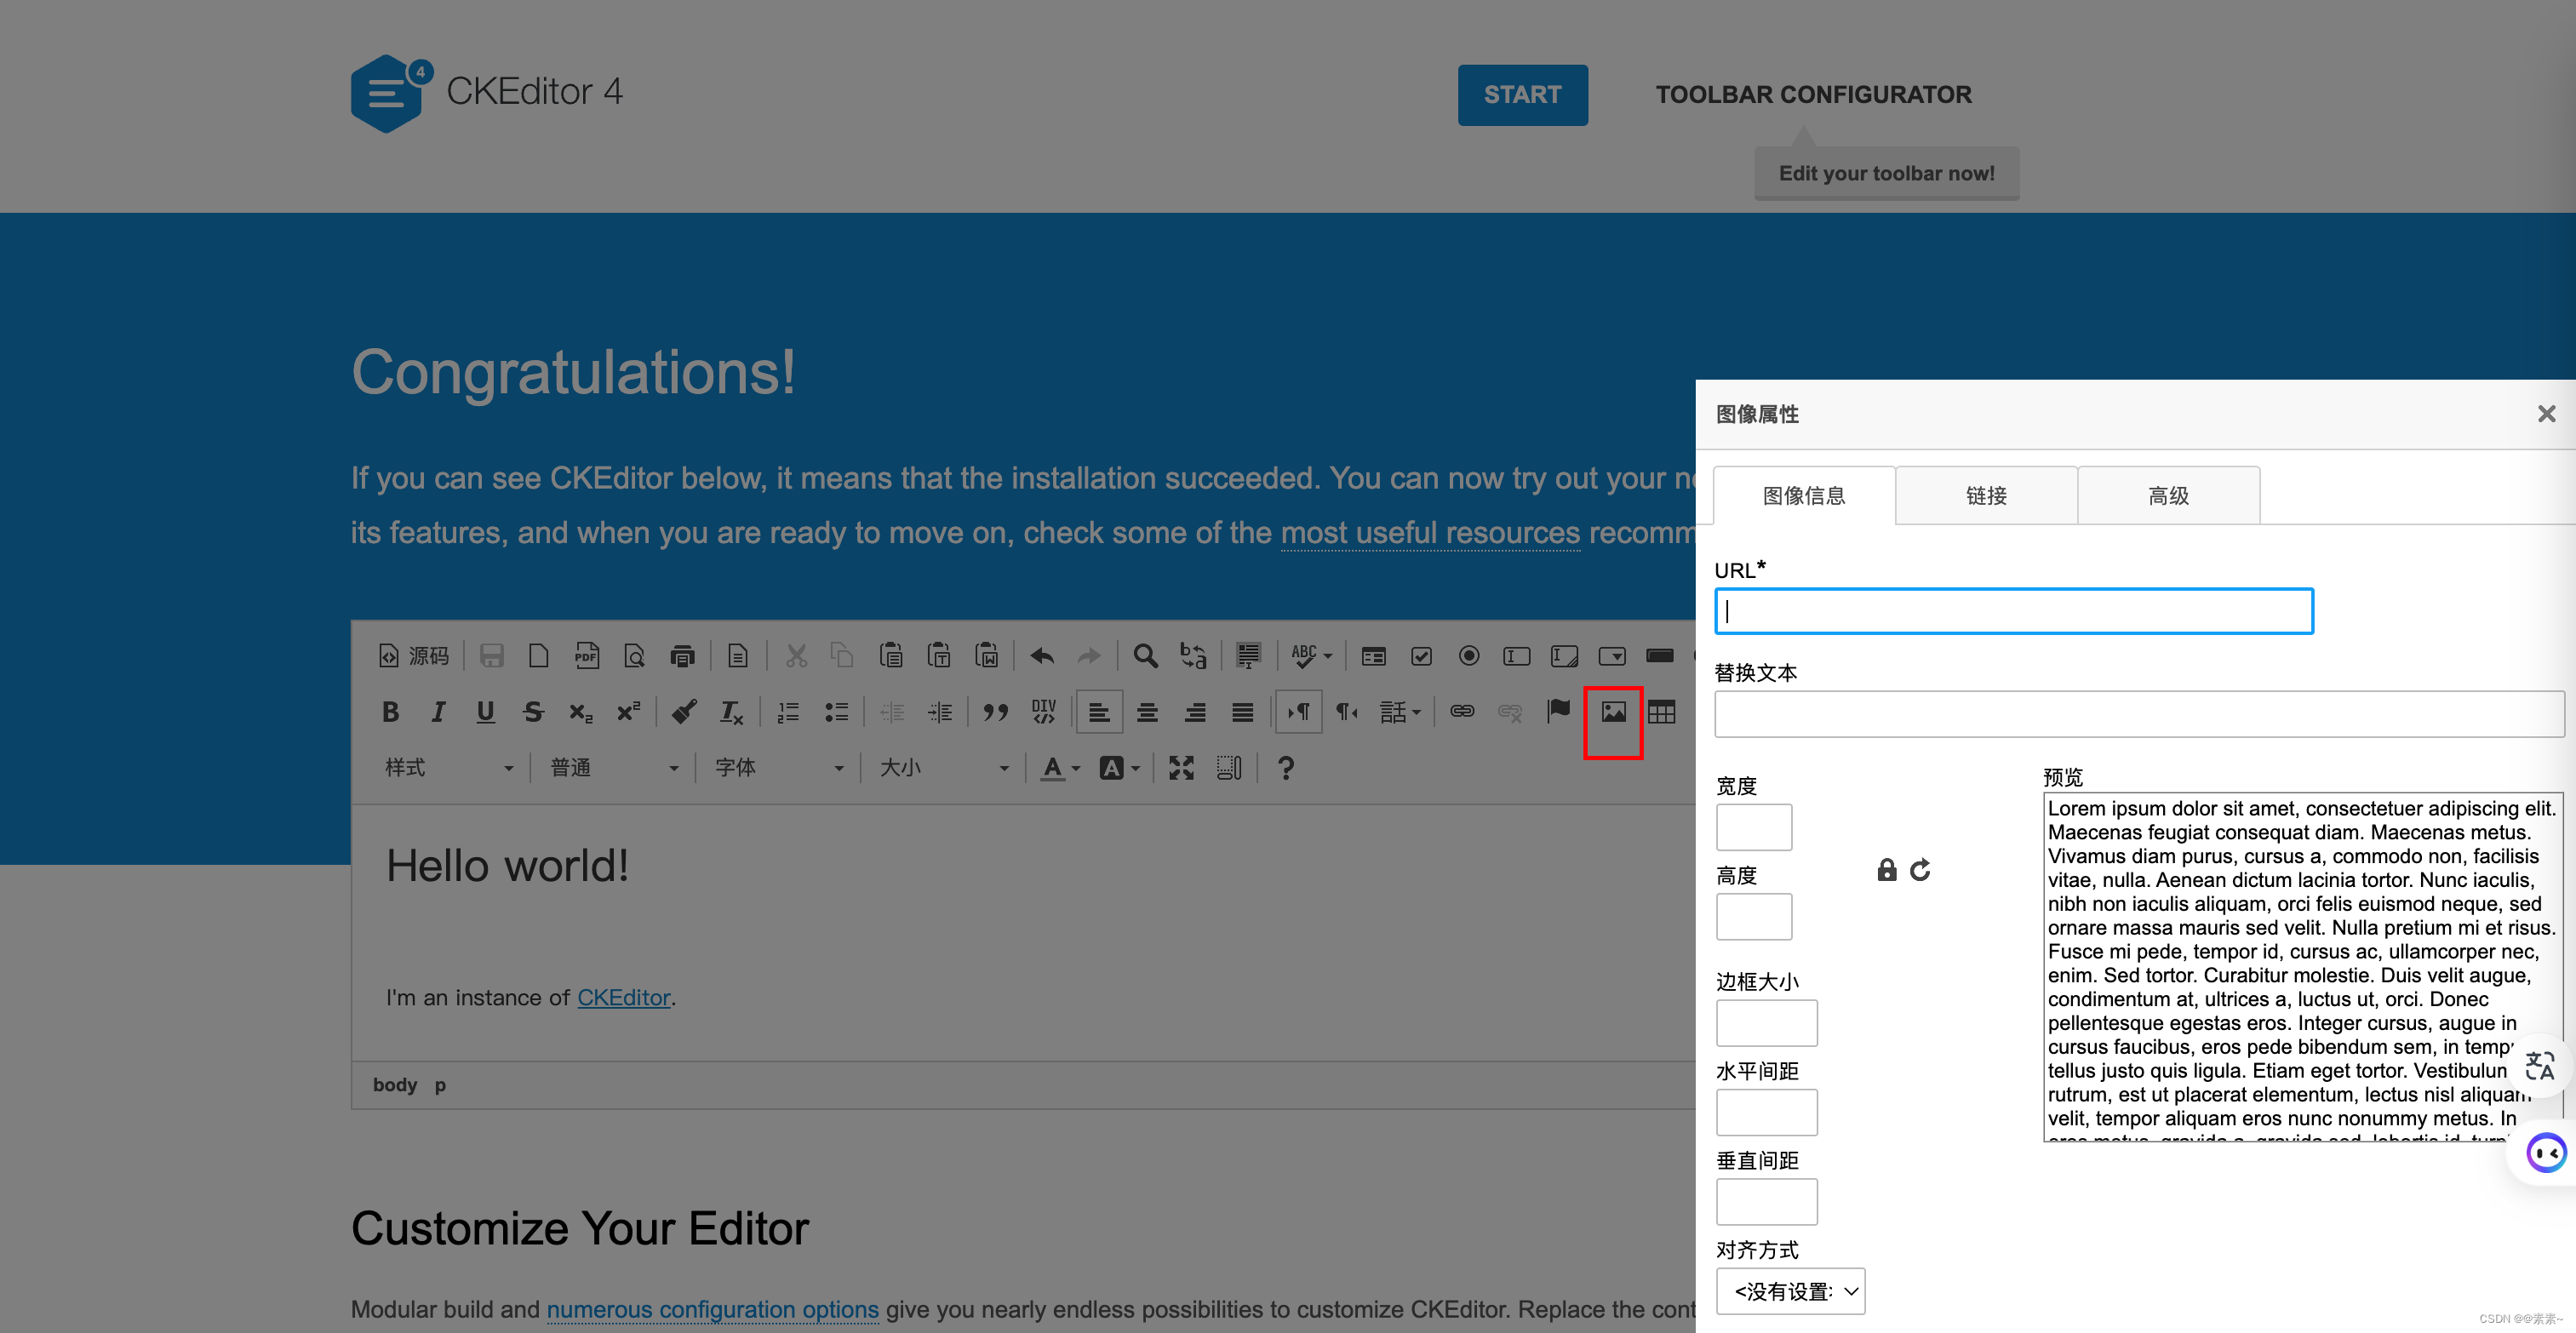
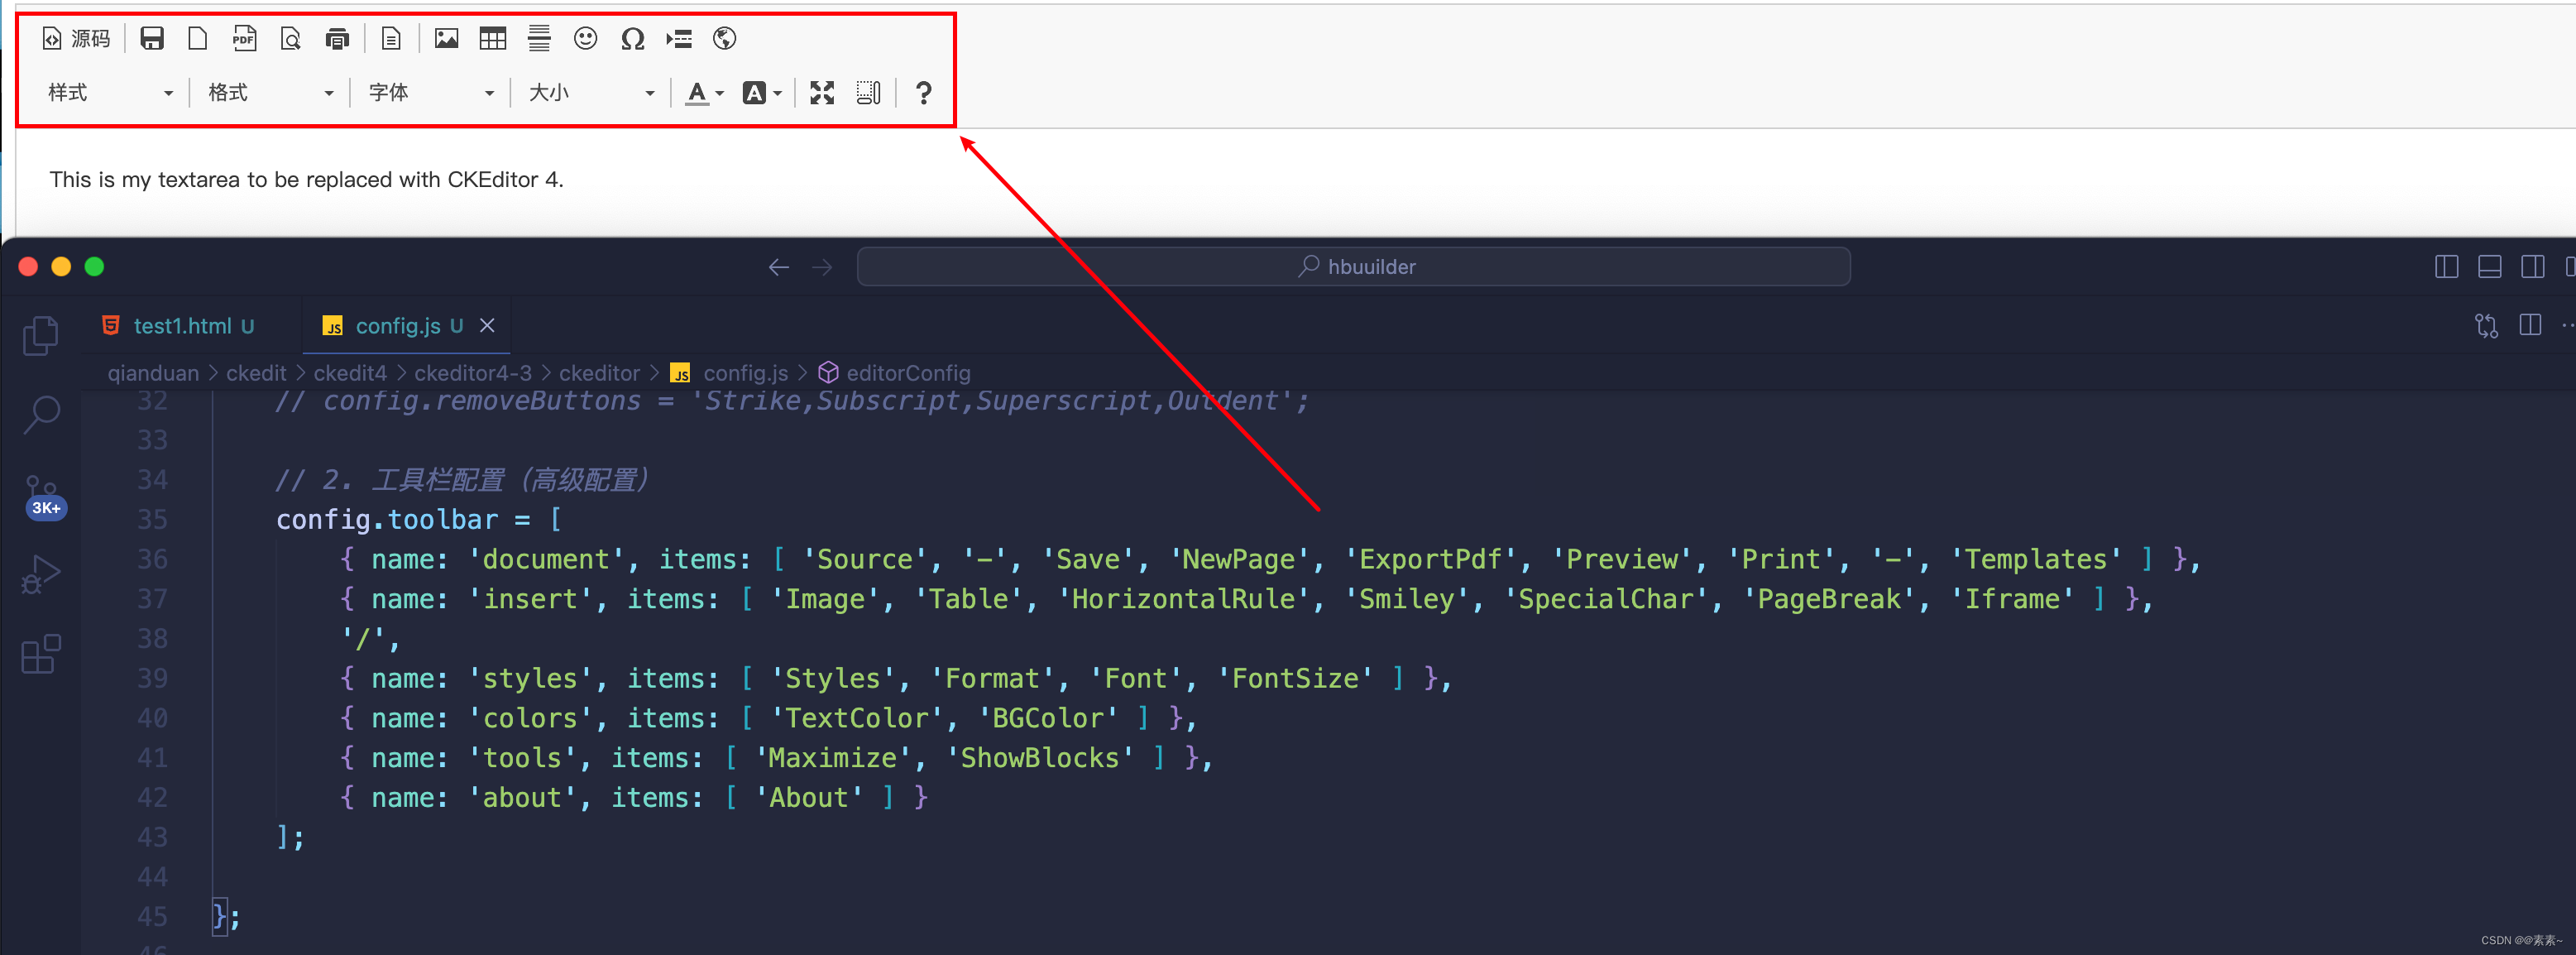
- 在示例页面点击【高级配置】按钮,查看配置如下:
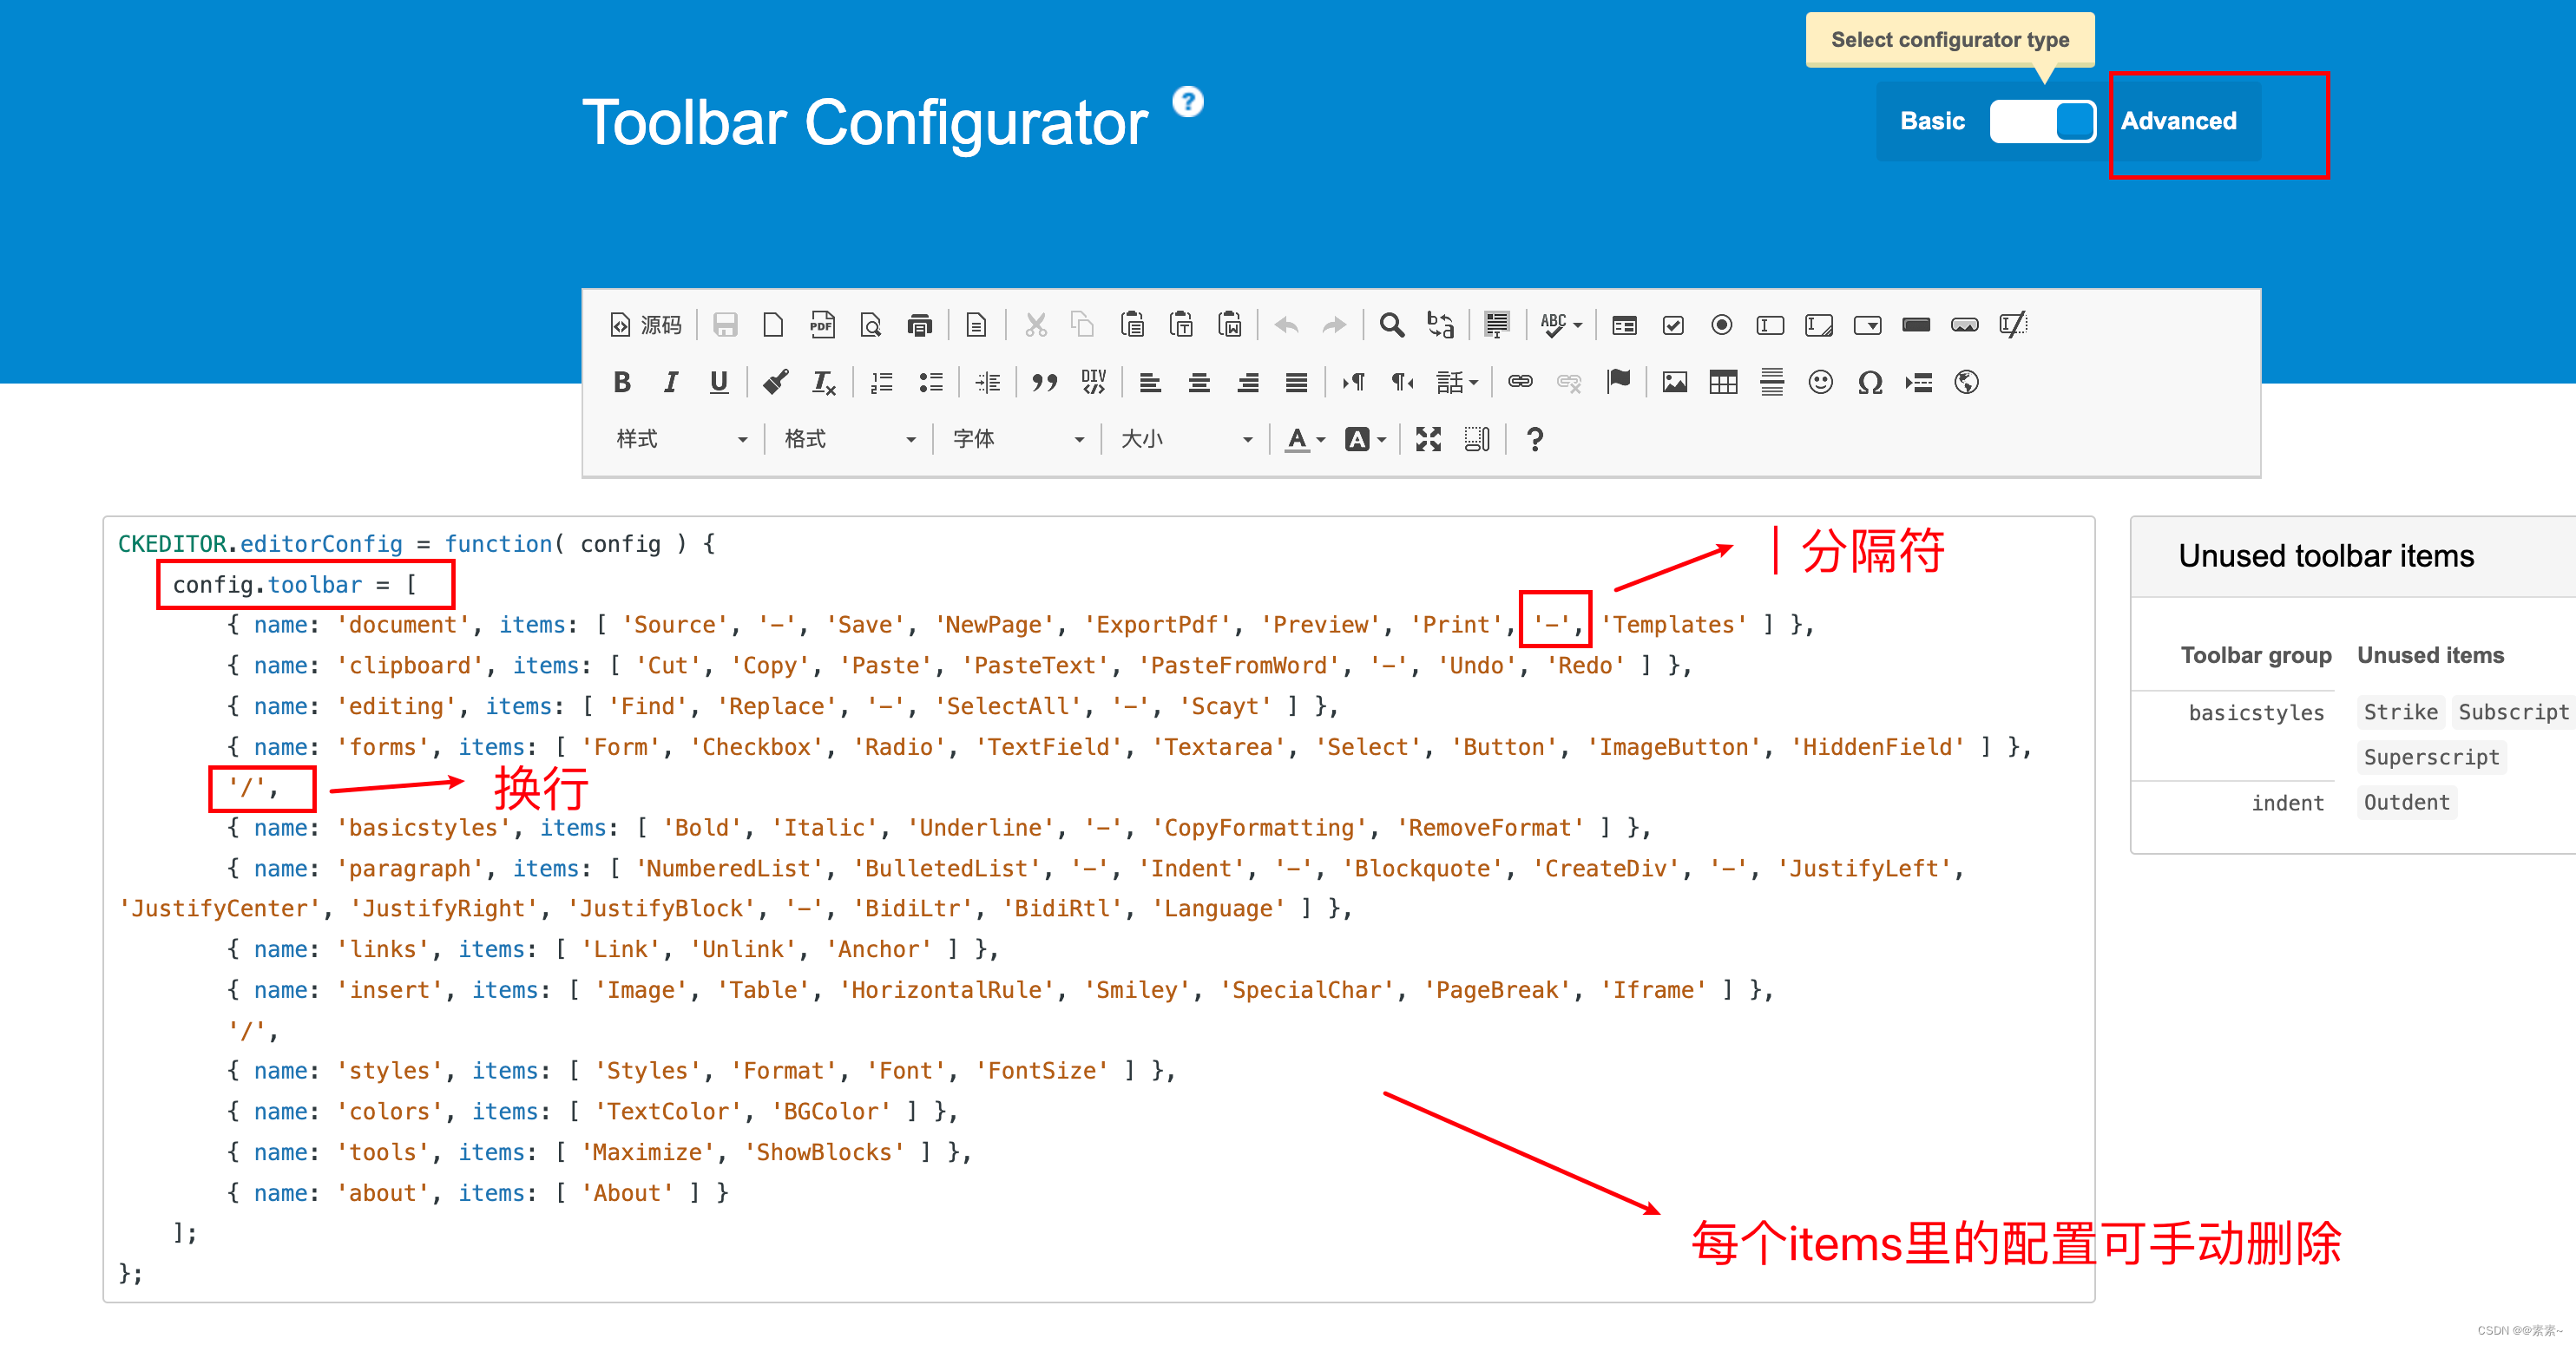
- 简单看个配置例子,如下:
- 完整高级配置代码如下:
CKEDITOR.editorConfig = function( config ) { config.toolbar = [ { name: 'document', items: [ 'Source', '-', 'Save', 'NewPage', 'ExportPdf', 'Preview', 'Print', '-', 'Templates' ] }, { name: 'clipboard', items: [ 'Cut', 'Copy', 'Paste', 'PasteText', 'PasteFromWord', '-', 'Undo', 'Redo' ] }, { name: 'editing', items: [ 'Find', 'Replace', '-', 'SelectAll', '-', 'Scayt' ] }, { name: 'forms', items: [ 'Form', 'Checkbox', 'Radio', 'TextField', 'Textarea', 'Select', 'Button', 'ImageButton', 'HiddenField' ] }, '/', { name: 'basicstyles', items: [ 'Bold', 'Italic', 'Underline', 'Strike', 'Subscript', 'Superscript', '-', 'CopyFormatting', 'RemoveFormat' ] }, { name: 'paragraph', items: [ 'NumberedList', 'BulletedList', '-', 'Outdent', 'Indent', '-', 'Blockquote', 'CreateDiv', '-', 'JustifyLeft', 'JustifyCenter', 'JustifyRight', 'JustifyBlock', '-', 'BidiLtr', 'BidiRtl', 'Language' ] }, { name: 'links', items: [ 'Link', 'Unlink', 'Anchor' ] }, { name: 'insert', items: [ 'Image', 'Table', 'HorizontalRule', 'Smiley', 'SpecialChar', 'PageBreak', 'Iframe' ] }, '/', { name: 'styles', items: [ 'Styles', 'Format', 'Font', 'FontSize' ] }, { name: 'colors', items: [ 'TextColor', 'BGColor' ] }, { name: 'tools', items: [ 'Maximize', 'ShowBlocks' ] }, { name: 'about', items: [ 'About' ] } ]; }; - 更多关于工具栏的配置,请参考下如下地址:
https://ckeditor.com/docs/ckeditor4/latest/examples/toolbar.html.
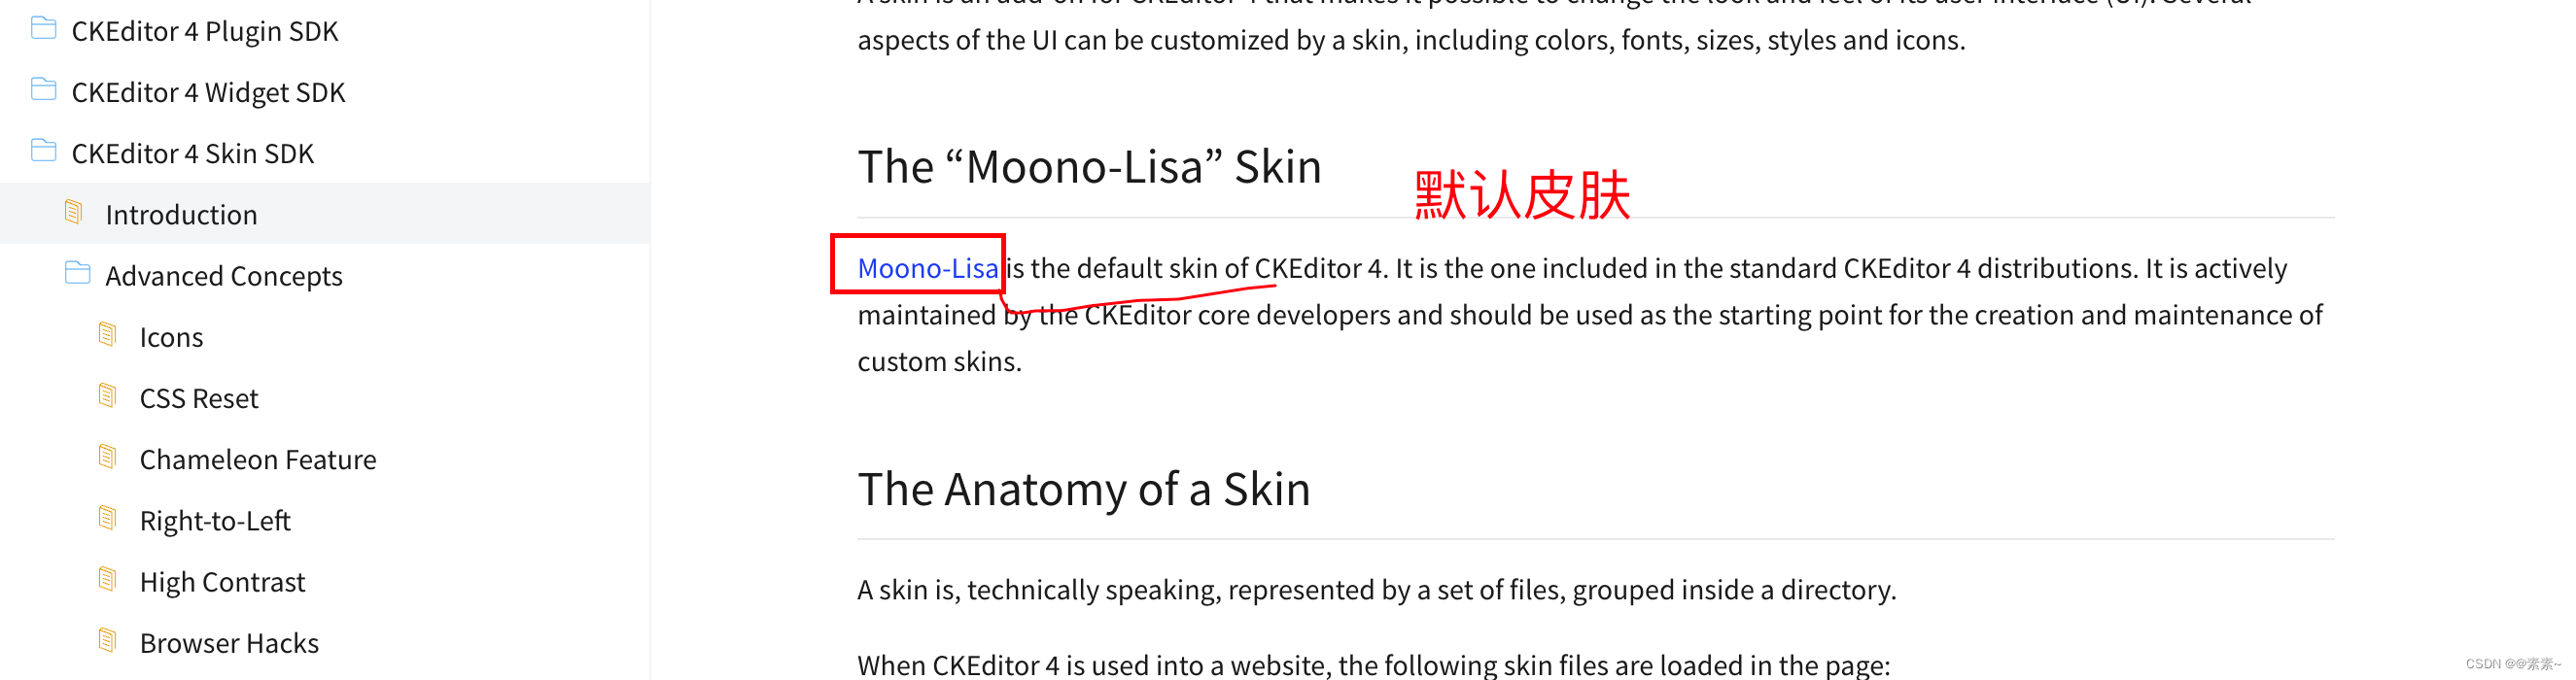
3. 切换皮肤
3.1 默认皮肤
- 如下:
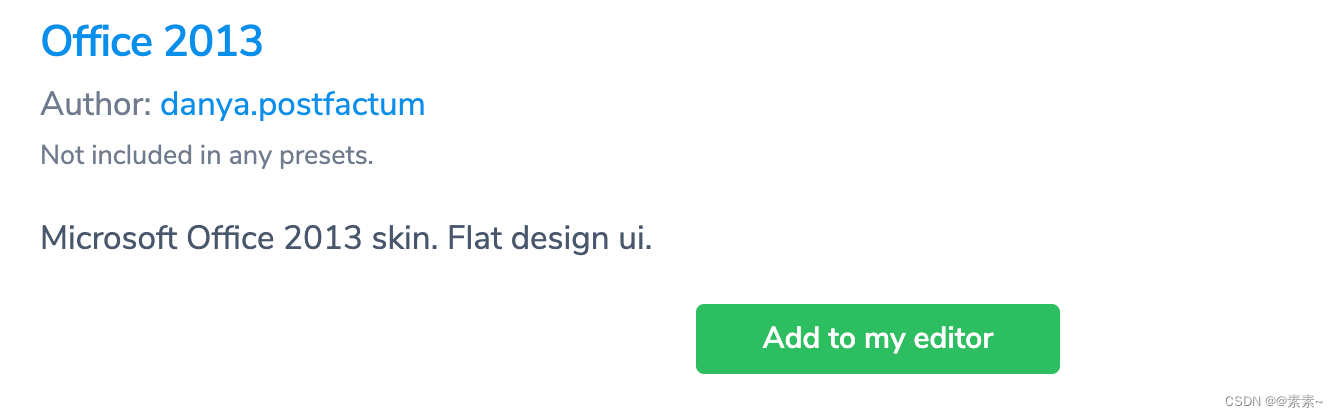
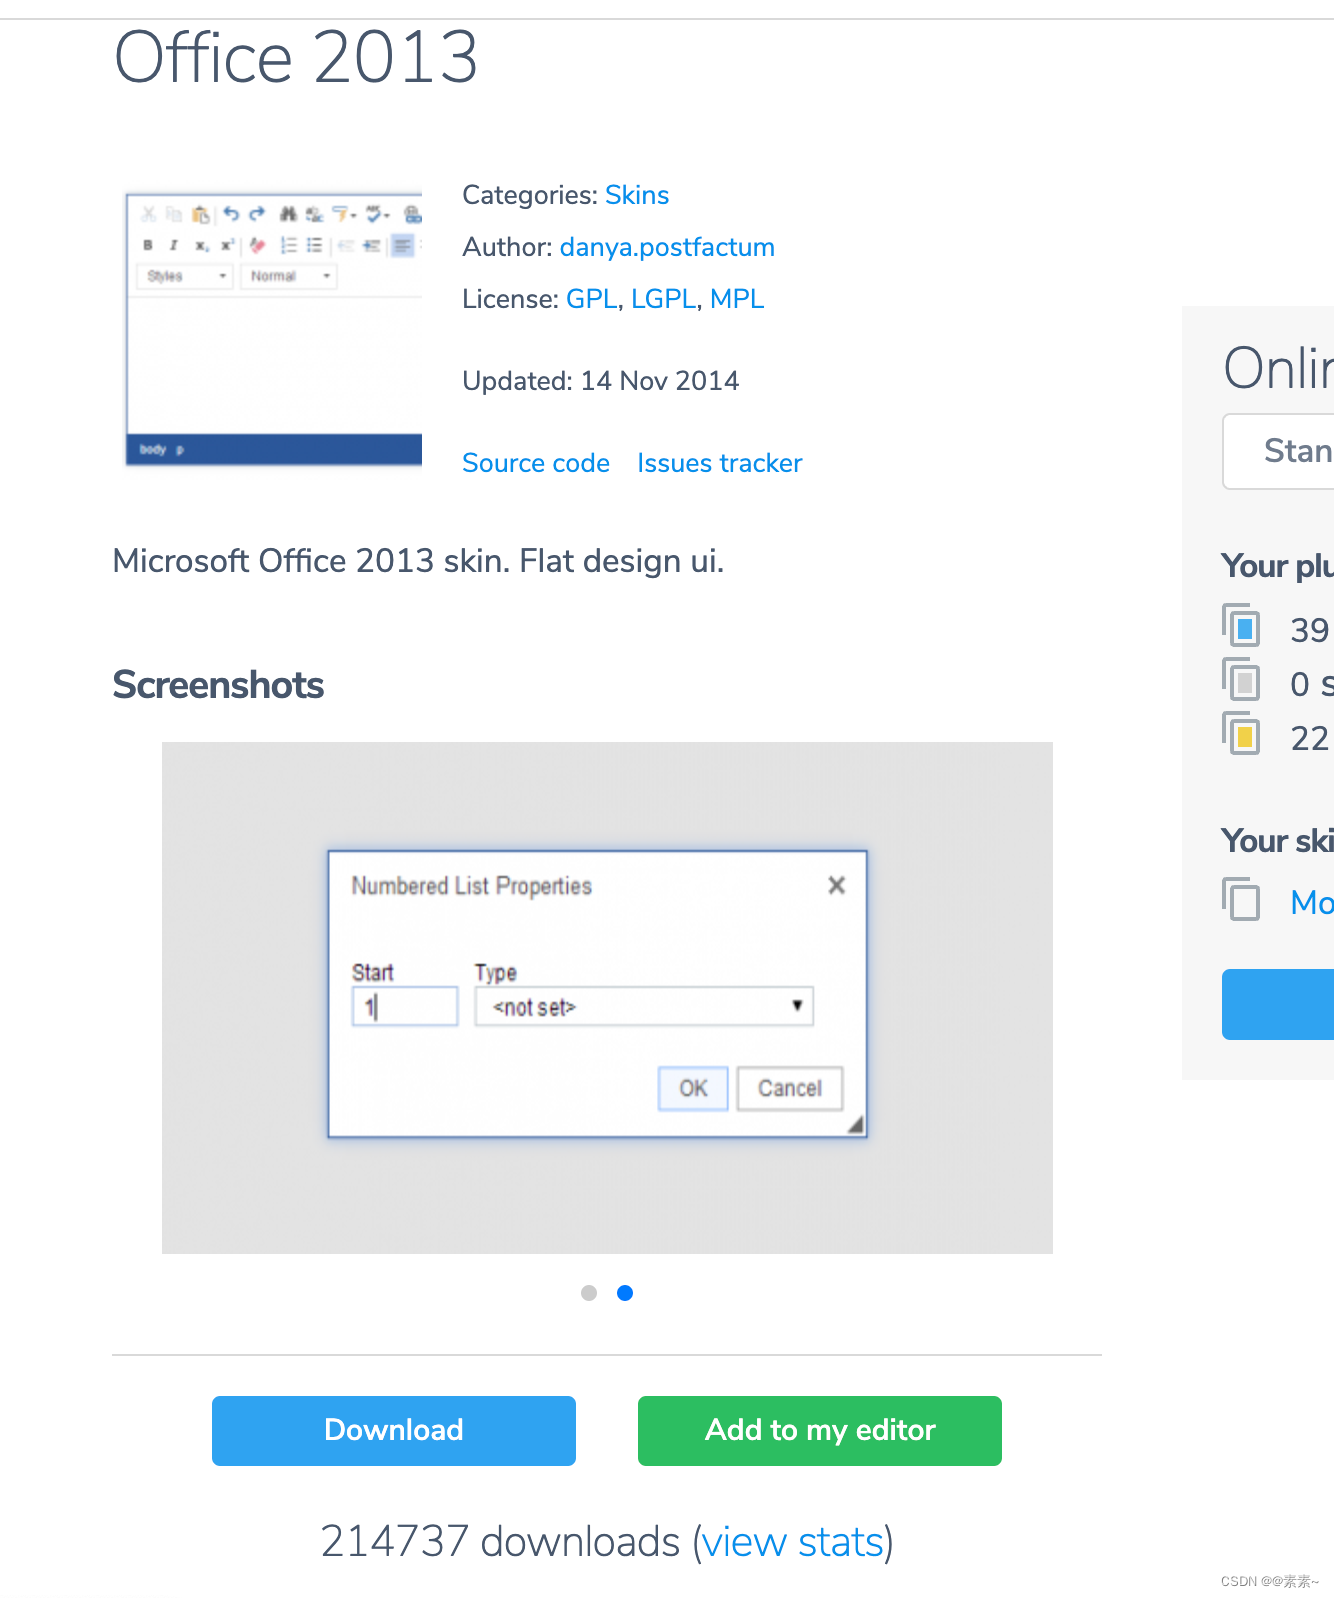
3.2 下载新皮肤
- 链接如下:
https://ckeditor.com/cke4/addons/skins/all?sort_by=field_custom_downloads_value&sort_order=DESC. - 比如,下载一个熟悉的皮肤:
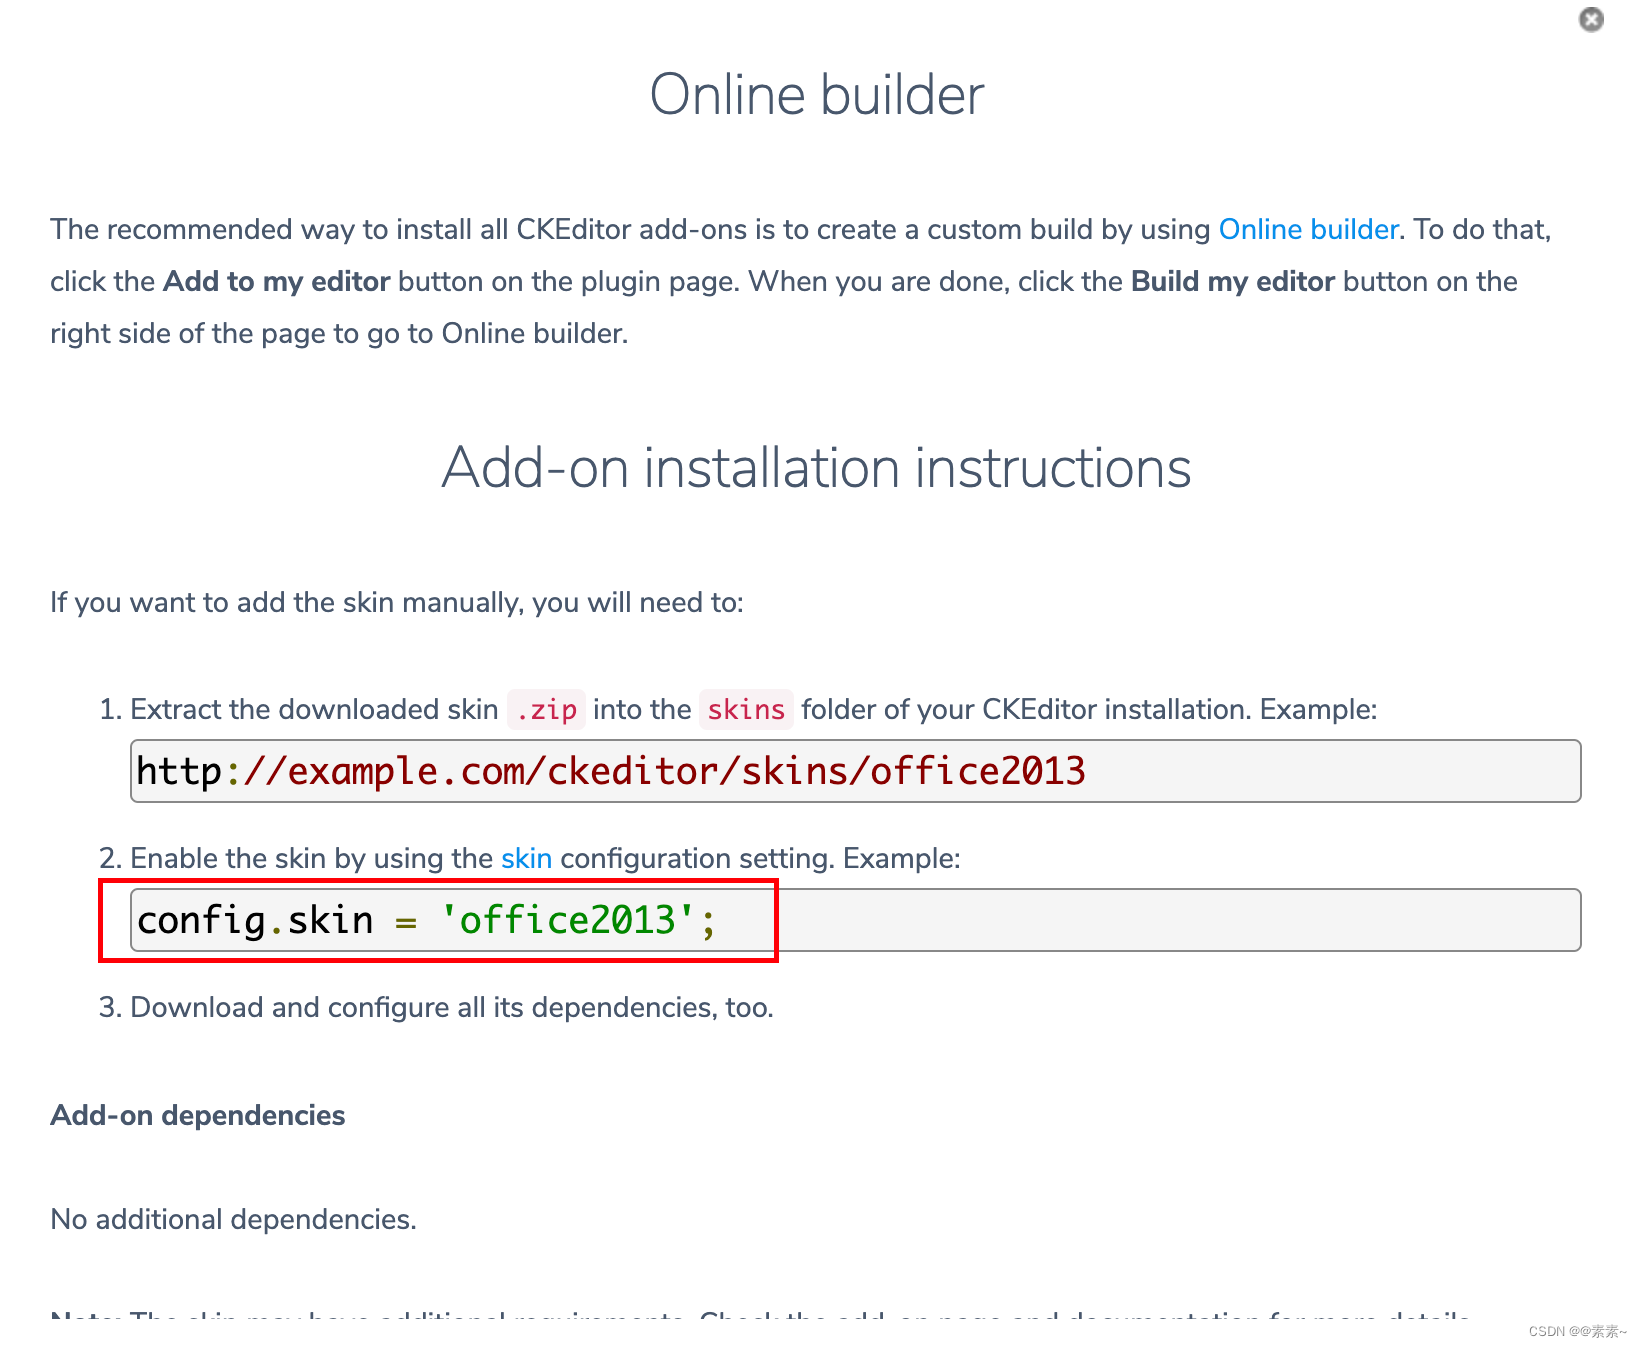
3.3 设置新皮肤
- 下载之后,解压、放入
skins目录下即可,如下:
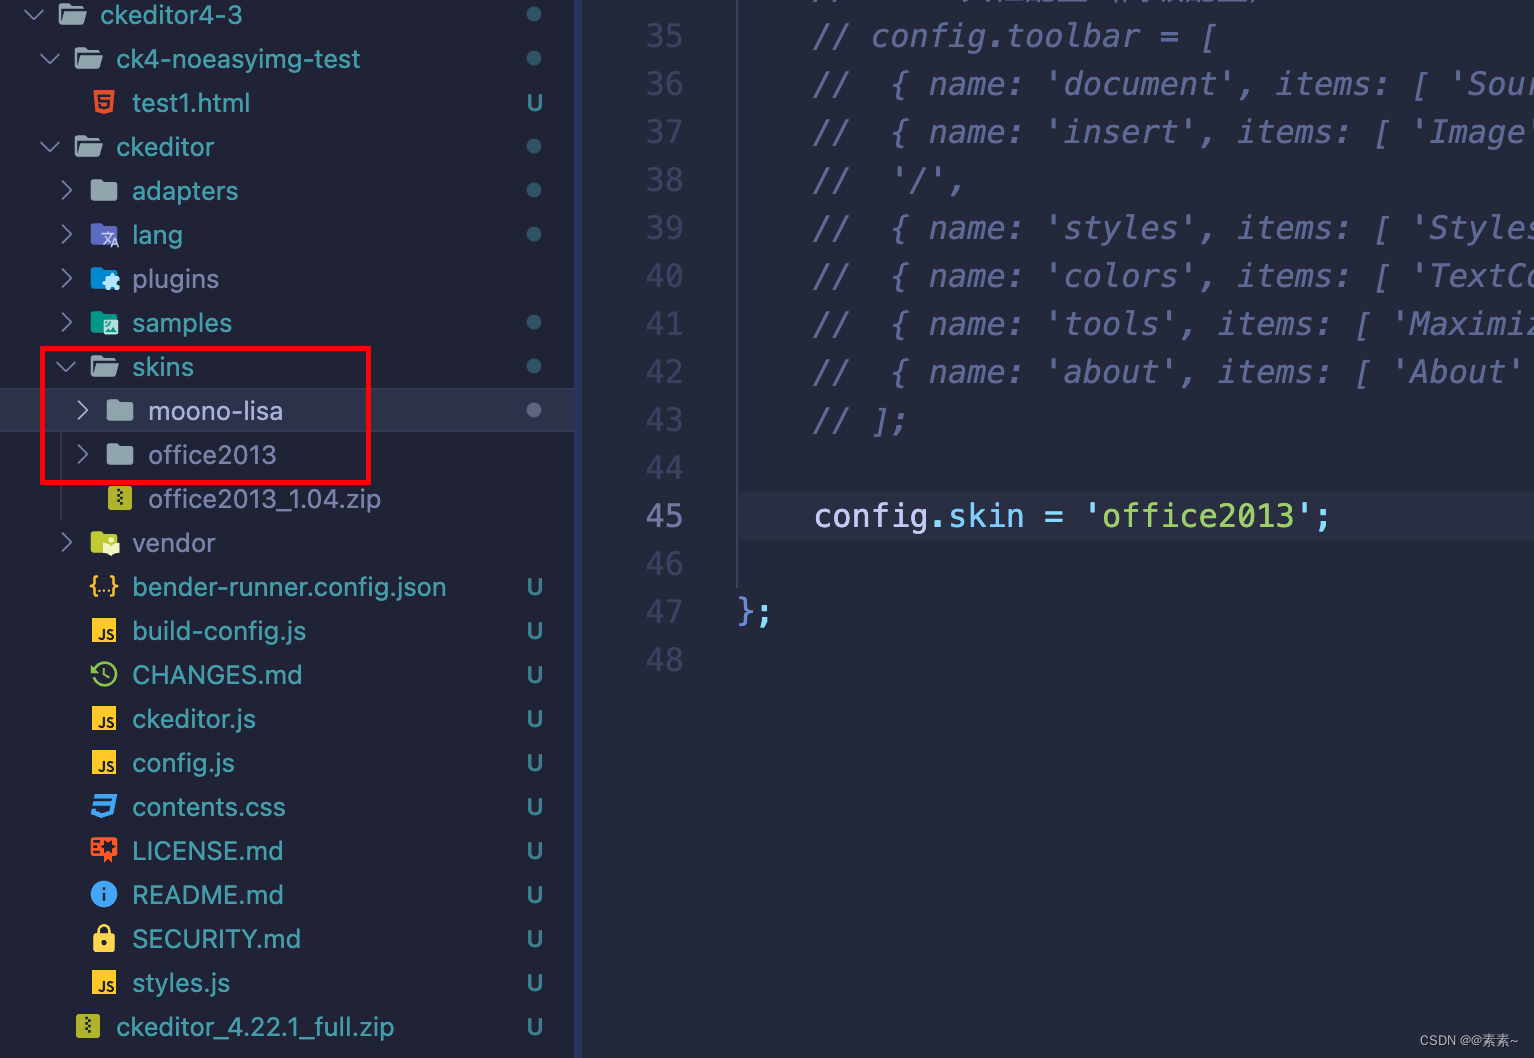
- 配置新皮肤:
config.skin = 'office2013'; - 看效果:


 750
750

 被折叠的 条评论
为什么被折叠?
被折叠的 条评论
为什么被折叠?
 到【灌水乐园】发言


