


这里以windows为例:
1.下载nginx。http://nginx.org/en/download.html 选择稳定版本的,也就是 nginx/Windows-1.12.0这个版本的。
2.下载完之后把压缩包解压到磁盘,这里我选择放在e盘。如图:
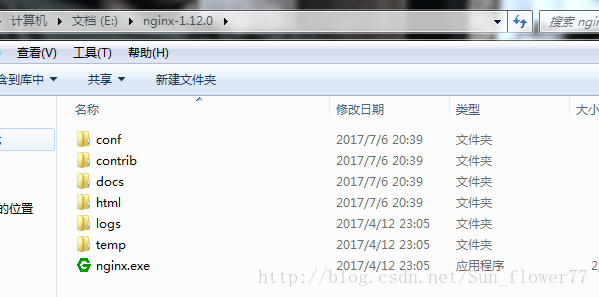
3.打开nginx.exe文件,用浏览器访问127.0.0.1,出现以下界面说明一切都按照预想的在进行,可以进行配置了
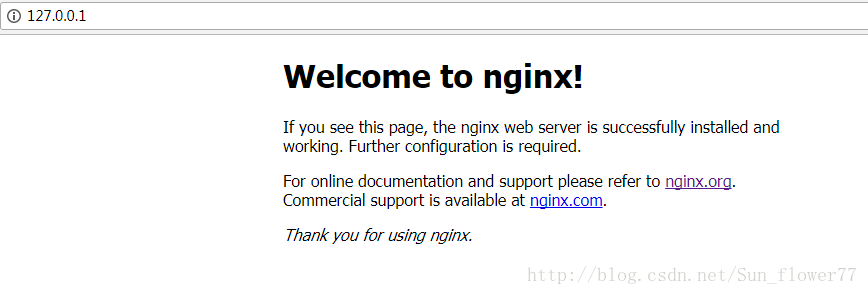
4.打开conf下的nginx.conf文件,会出现一堆看不懂的东西,先不用去管他,找到server那一段。
server {
        listen       80;
        server_name  localhost;

        #charset koi8-r;

        #access_log  logs/host.access.log  main;

        location / {
            root   html;
            index  index.html index.htm;
        }

        #error_page  404              /404.html;

        # redirect server error pages to the static page /50x.html
        #
        error_page   500 502 503 504  /50x.html;
        location = /50x.html {
            root   html;
        }

        # proxy the PHP scripts to Apache listening on 127.0.0.1:80
        #
        #location ~ \.php$ {
        #    proxy_pass   http://127.0.0.1;
        #}

        # pass the PHP scripts to FastCGI server listening on 127.0.0.1:9000
        #
        #location ~ \.php$ {
        #    root           html;
        #    fastcgi_pass   127.0.0.1:9000;
        #    fastcgi_index  index.php;
        #    fastcgi_param  SCRIPT_FILENAME  /scripts$fastcgi_script_name;
        #    include        fastcgi_params;
        #}

        # deny access to .htaccess files, if Apache's document root
        # concurs with nginx's one
        #
        #location ~ /\.ht {
        #    deny  all;
        #}
    }
listen指监听的端口;server_name指监听的ip;location / 那一段完全解释了我们第三步为什么在浏览器输入127.0.0.1或者localhost就能出现welcome to nginx界面的原因。现在我们模仿着新加两段代码。这样,对于http://127.0.0.1/static/main.html的请求,nginx就会把请求代理转发给http://192.168.31.1:8080/,请求也就变为http://192.168.31.1:8080/static/main.html。
同样对于http://127.0.0.1/dynamic/LoginAction的请求,nginx会把请求代理转发给http://127.0.0.1:4455/,请求也就变为
http://127.0.0.1:4455/dynamic/LoginAction
location /static/{
    proxy_pass http://192.168.31.1:8080;
}
location /dynamic/{
    proxy_pass http://127.0.0.1:4455;
}
5.点击保存之后,需要重启nginx。第一种方法:可以在任务管理器结束掉所有跟nginx相关的进程,然后再开启;第二种方法是用cmd进入到nginx的安装目录下,cd E:\nginx-1.12.0。然后nginx -s reload也是可以的。但是我觉得这两种办法都太麻烦了,第一种的麻烦程度是显而易见的,第二种的话每次配置完都需要进入到安装目录,然后reload。能不能,直接进入dos命令行,然后nginx -s reload。那就需要修改环境变量,后来我发现修改完之后,也是有各种路径错误,也就放弃了。最好的方法是写几个简单的脚本bat,一劳永逸。打开nginx:
@echo off
e:
cd E:\nginx-1.12.0
echo "nginx is starting..."
start "" "nginx.exe"
exit
关闭nginx
@echo off
e:
cd E:\nginx-1.12.0
tasklist | findstr /i "nginx.exe"
echo "nginx is stopping..."
rem nginx -s stop
TASKKILL /F /IM nginx.exe /T
重启nginx
@echo off
e:
cd E:\nginx-1.12.0
tasklist | findstr /i "nginx.exe"
echo "nginx is restarting..."
rem nginx -s stop
TASKKILL /F /IM nginx.exe /T
echo "restart ok"
start "" "nginx.exe"
exit 


 9443
9443


 被折叠的 条评论
为什么被折叠?
被折叠的 条评论
为什么被折叠?
 到【灌水乐园】发言


