


通过Maven创建springboot项目
1.创建maven项目 通过file-new-project新建maven项目
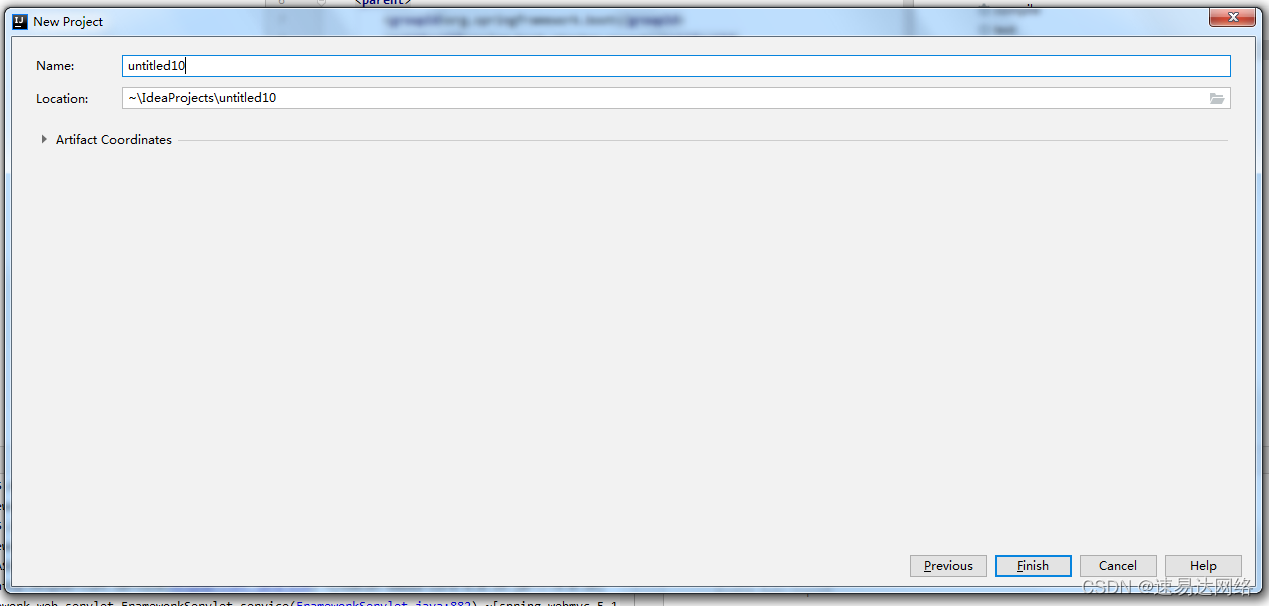
 2.next进入到下一步,填写项目名称和路径,点击完成。
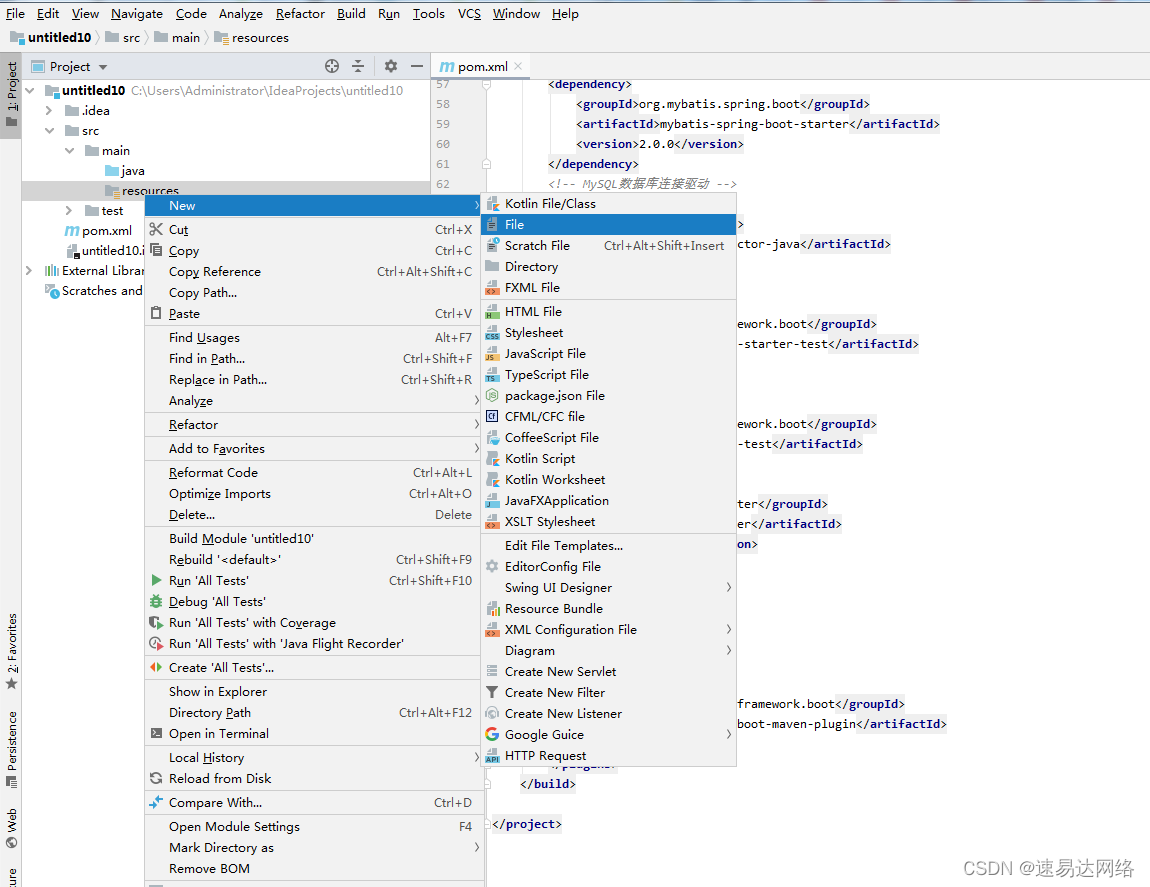
3.配置pom.xml文件引入依赖文件,点击import change,等待依赖下载完成。
<?xml version="1.0" encoding="UTF-8"?>
<project xmlns="http://maven.apache.org/POM/4.0.0"
         xmlns:xsi="http://www.w3.org/2001/XMLSchema-instance"
         xsi:schemaLocation="http://maven.apache.org/POM/4.0.0 http://maven.apache.org/xsd/maven-4.0.0.xsd">
    <modelVersion>4.0.0</modelVersion>
    <parent>
        <groupId>org.springframework.boot</groupId>
        <artifactId>spring-boot-starter-parent</artifactId>
        <version>2.1.3.RELEASE</version>
        <relativePath/> <!-- lookup parent from repository -->
    </parent>
    <groupId>org.example</groupId>
    <artifactId>untitled10</artifactId>
    <version>1.0-SNAPSHOT</version>
    <properties>
        <java.version>1.8</java.version>
    </properties>

    <dependencies>
        <dependency>
            <groupId>org.springframework.boot</groupId>
            <artifactId>spring-boot-starter-web</artifactId>
            <version> 2.3.1.RELEASE</version>
        </dependency>
        <dependency>
            <groupId>org.springframework.boot</groupId>
            <artifactId>spring-boot-starter-tomcat</artifactId>
            <scope>provided</scope>
        </dependency>

        <!-- Spring Data Redis依赖启动器 -->
        <dependency>
            <groupId>org.springframework.boot</groupId>
            <artifactId>spring-boot-starter-data-redis</artifactId>
            <version>3.0.3</version>
        </dependency>
        <dependency>
            <groupId>org.springframework.boot</groupId>
            <artifactId>spring-boot-starter-thymeleaf</artifactId>
        </dependency>


        <!-- Spring Data JPA依赖启动器 -->
        <dependency>
            <groupId>org.springframework.boot</groupId>
            <artifactId>spring-boot-starter-data-jpa</artifactId>
        </dependency>

        <!-- 阿里巴巴的Druid数据源依赖启动器 -->
        <dependency>
            <groupId>com.alibaba</groupId>
            <artifactId>druid-spring-boot-starter</artifactId>
            <version>1.1.10</version>
        </dependency>

        <!-- MyBatis依赖启动器 -->
        <dependency>
            <groupId>org.mybatis.spring.boot</groupId>
            <artifactId>mybatis-spring-boot-starter</artifactId>
            <version>2.0.0</version>
        </dependency>
        <!-- MySQL数据库连接驱动 -->
        <dependency>
            <groupId>mysql</groupId>
            <artifactId>mysql-connector-java</artifactId>
            <scope>runtime</scope>
        </dependency>
        <dependency>
            <groupId>org.springframework.boot</groupId>
            <artifactId>spring-boot-starter-test</artifactId>
            <scope>test</scope>
        </dependency>
        <dependency>
            <groupId>org.springframework.boot</groupId>
            <artifactId>spring-boot-test</artifactId>
        </dependency>
        <dependency>
            <groupId>org.junit.jupiter</groupId>
            <artifactId>junit-jupiter</artifactId>
            <version>RELEASE</version>
            <scope>compile</scope>
        </dependency>
    </dependencies>

    <build>
        <plugins>
            <plugin>
                <groupId>org.springframework.boot</groupId>
                <artifactId>spring-boot-maven-plugin</artifactId>
            </plugin>
        </plugins>
    </build>

</project>

4.进入resources点击右键new新建file文件application.properties全局配置文件
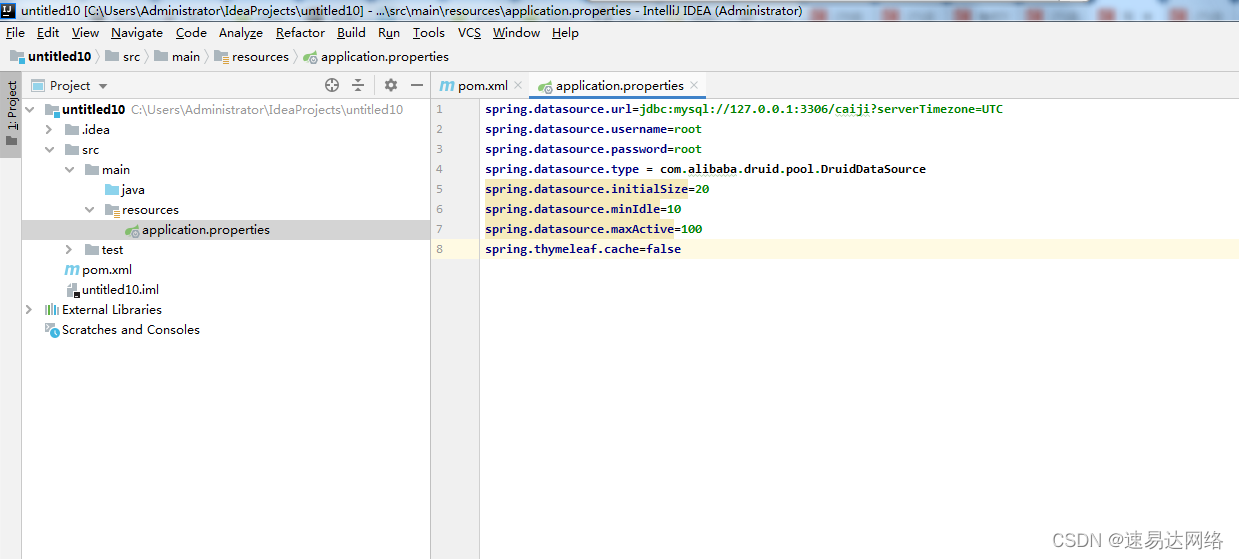
spring.datasource.url=jdbc:mysql://127.0.0.1:3306/caiji?serverTimezone=UTC spring.datasource.username=root spring.datasource.password=root spring.datasource.type = com.alibaba.druid.pool.DruidDataSource spring.datasource.initialSize=20 spring.datasource.minIdle=10 spring.datasource.maxActive=100 spring.thymeleaf.cache=false
5.java下面新建包com.sf再新建入口文件Demo,编写入口文件。
package com.sf;

import org.springframework.boot.SpringApplication;
import org.springframework.boot.autoconfigure.SpringBootApplication;

@SpringBootApplication
public class Demo {
    public static void main(String[] args){
        SpringApplication.run(Demo.class,args);
    }
}
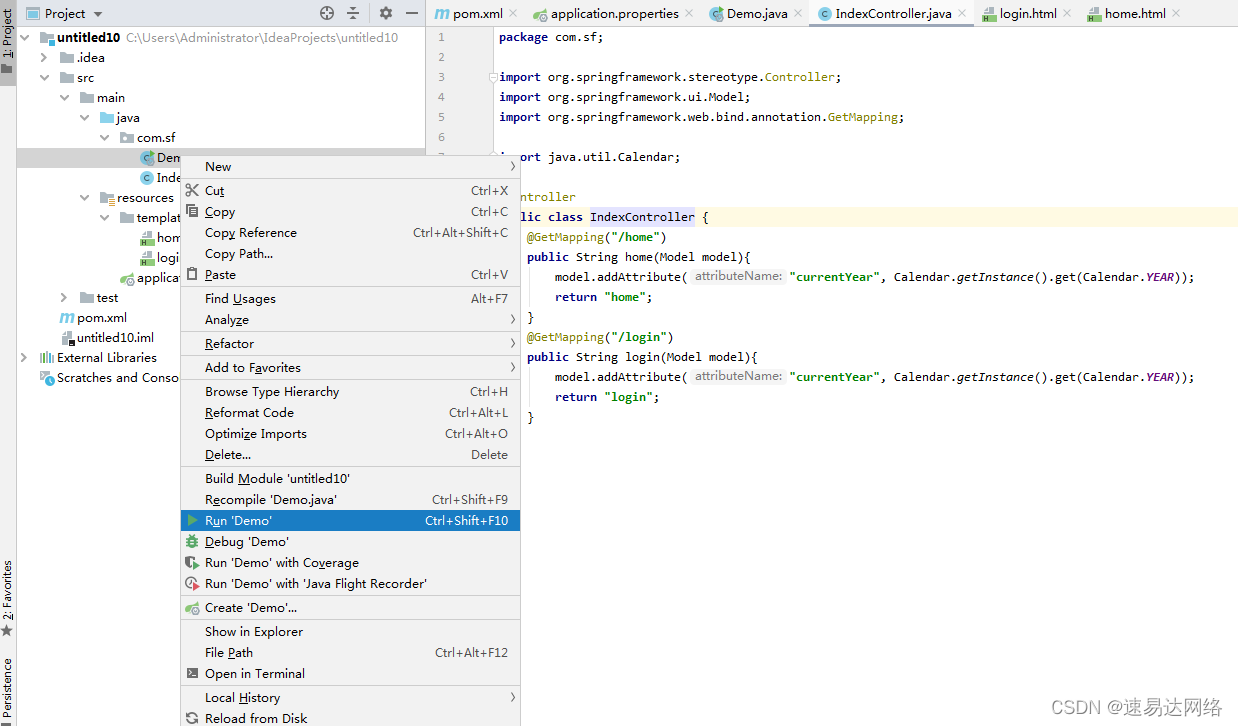
6.新建IndexController.java 编写两个路径文件。
package com.sf;

import org.springframework.stereotype.Controller;
import org.springframework.ui.Model;
import org.springframework.web.bind.annotation.GetMapping;

import java.util.Calendar;

@Controller
public class IndexController {
    @GetMapping("/home")
    public String home(Model model){
        model.addAttribute("currentYear", Calendar.getInstance().get(Calendar.YEAR));
        return "home";
    }
    @GetMapping("/login")
    public String login(Model model){
        model.addAttribute("currentYear", Calendar.getInstance().get(Calendar.YEAR));
        return "login";
    }
}
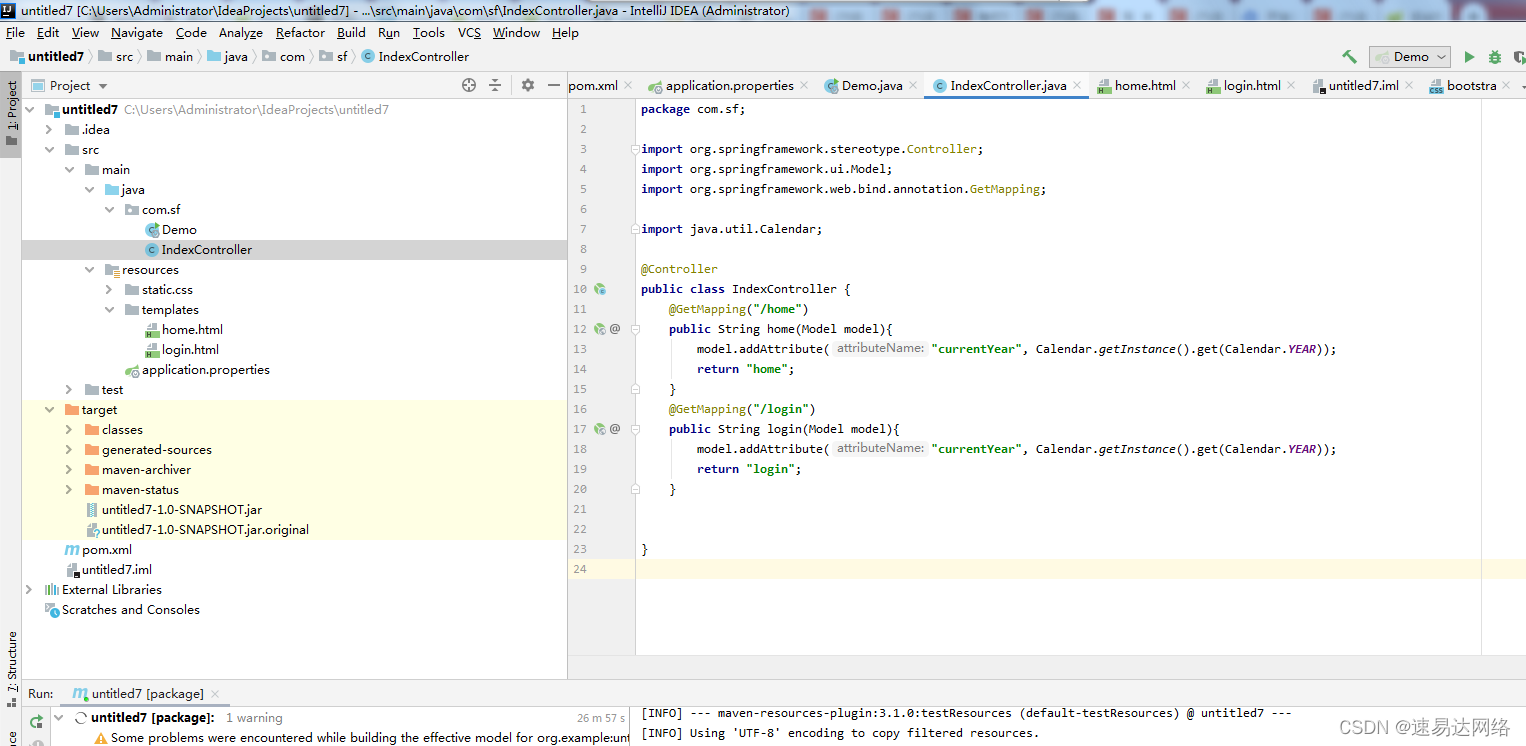 7.在resources文件夹下面细节文件夹templates,并在templates下面新建home.html和login.html文件。
home.html
<!DOCTYPE html>
<html lang="en" xmlns:th="http://www.thymeleaf.org">
<head>
    <meta http-equiv="Content-Type" content="text/html; charset=UTF-8">
    <meta name="viewport" content="width=device-width, initial-scale=1,shrink-to-fit=no">
    <title>首页</title>
    <link th:href="@{/login/css/bootstrap.min.css}" rel="stylesheet">
    <link th:href="@{/login/css/signin.css}" rel="stylesheet">
</head>
<body class="text-center">
home
</body>
</html>
login.html
<!DOCTYPE html>
<html lang="en" xmlns:th="http://www.thymeleaf.org">
<head>
<meta http-equiv="Content-Type" content="text/html; charset=UTF-8">
<meta name="viewport" content="width=device-width, initial-scale=1,shrink-to-fit=no">
<title>用户登录界面</title>
<link th:href="@{/login/css/bootstrap.min.css}" rel="stylesheet">
<link th:href="@{/login/css/signin.css}" rel="stylesheet">
</head>
<body class="text-center">
<!-- 用户登录form表单 -->
<form class="form-signin" th:action="@{/login}" method="post">
<h1 class="h3 mb-3 font-weight-normal">请登录</h1>
<input type="text" class="form-control" required="" autofocus="">
<input type="password" class="form-control" required="">
<div class="checkbox mb-3">
<label>
<input type="checkbox" value="remember-me"> [[记住我]]
</label>
</div>
<button class="btn btn-lg btn-primary btn-block" type="submit">登录</button>
<p class="mt-5 mb-3 text-muted">© <span th:text="${currentYear}">2018</span>-<span th:text="${currentYear}+1">2019</span></p>
</form>
</body>
</html>
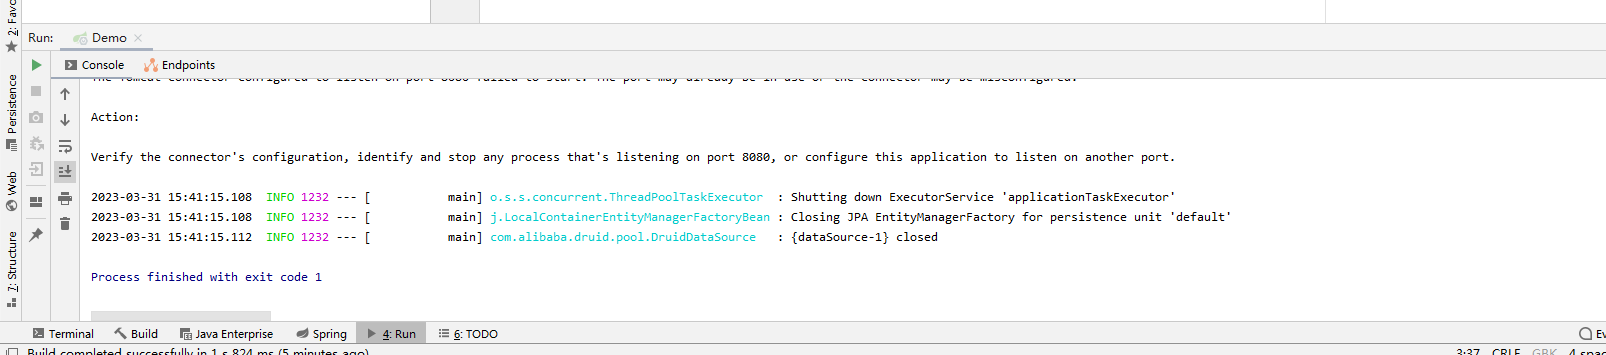
运行Demo
 看到下列图片代表运行成功
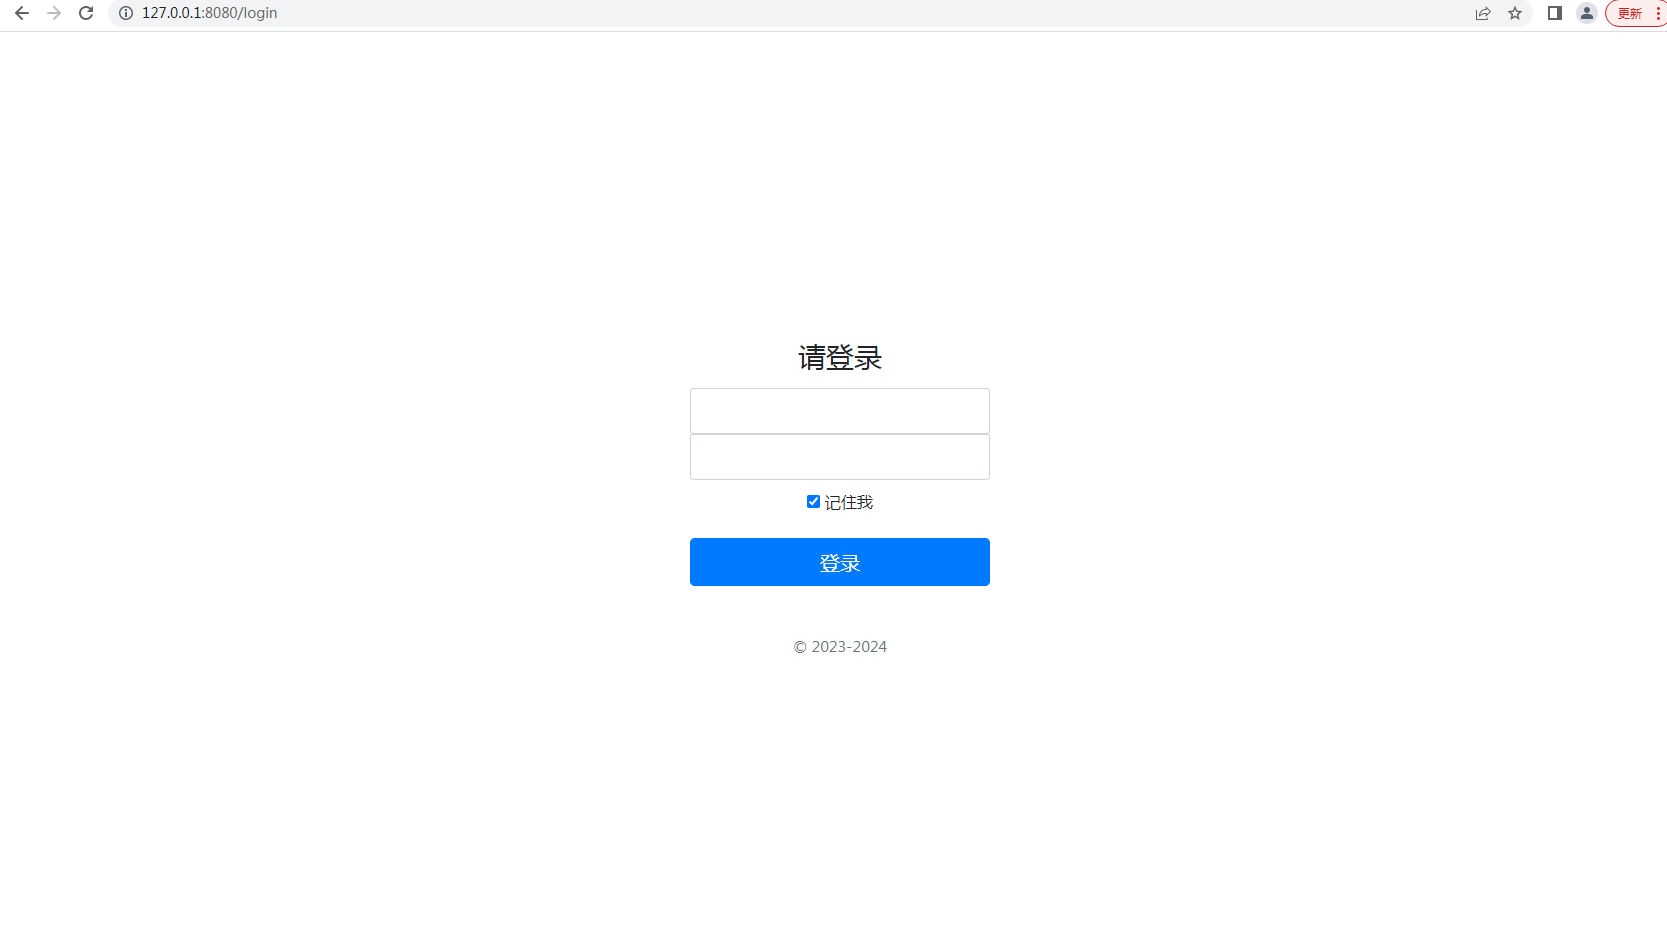
登录浏览器访问地址http://127.0.0.1:8080/login,http://127.0.0.1:8080/home就可以看到我们创建的网站


 5万+
5万+


 被折叠的 条评论
为什么被折叠?
被折叠的 条评论
为什么被折叠?
 到【灌水乐园】发言


