使用滤镜的步骤:
- 创建滤镜CIFilter对象
- 设置滤镜参数
- 输出结果
官方Guider:
官方链接
直接上代码:
UIImage *img = [UIImage imageNamed:@"dog"];

CGImageRef cgImg = [img CGImage];

CIImage *ciImg = [CIImage imageWithCGImage:cgImg];

CIContext *context = [CIContext contextWithOptions:nil];    //渲染上下文,GPU或者CPU来渲染,在ios中,nil参数代表GPU或CPU,可理解为CIContext为渲染引擎,即GPU或CPU

CIFilter *hueAdjust = [CIFilter filterWithName:@"CIHueAdjust"];   //CIFilter为滤镜

[hueAdjust setValue: ciImg forKey: kCIInputImageKey];

[hueAdjust setValue: @2.094f forKey: kCIInputAngleKey];

CIImage *result = [hueAdjust valueForKey: kCIOutputImageKey];

CGImageRef imgRef = [context createCGImage: result fromRect: CGRectMake(0, 0,  img.size.width * img.scale, img.size.height * img.scale)];

UIImage *tempImg = [UIImage imageWithCGImage:imgRef scale:2 orientation:UIImageOrientationUp];
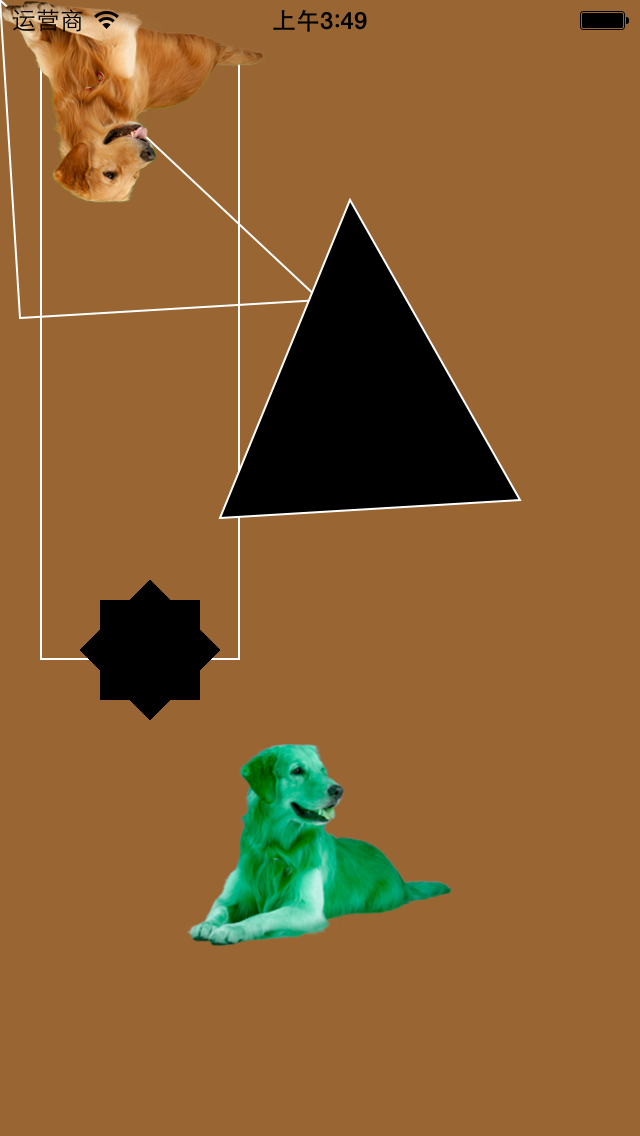
运行结果:
CIContext
To render the image, you need to create a Core Image context and then use that context to draw the output image. A Core Image context represents a drawing destination. The destination determines whether Core Image uses the GPU or the CPU for rendering.
可以把CIContext理解为渲染图像的GPU或CPU
重点对象
CIFilter
滤镜对象:将所有参数放入该对象中。
filterWithName:该方法生成CIFilter对象,参数是固定的,传入需要使用的滤镜类型。
setValue: forKey:该方法设置滤镜属性的值
CIImage *result = [hueAdjust valueForKey: kCIOutputImageKey];获得滤镜输出的CIImage图像,将其转换为CGImageRef,然后显示。


 3871
3871

 被折叠的 条评论
为什么被折叠?


