


打开浏览器,登录 “龙de船人”
需要下载selenium,下载浏览器对应版本chromedriver至python安装目录下
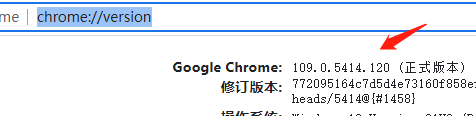
1.1在浏览器输入chrome://version,即可查询版本号
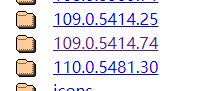
1.2下载对应版本chrome浏览器内核文件至python安装目录下
下载地址:http://chromedriver.storage.googleapis.com/index.html
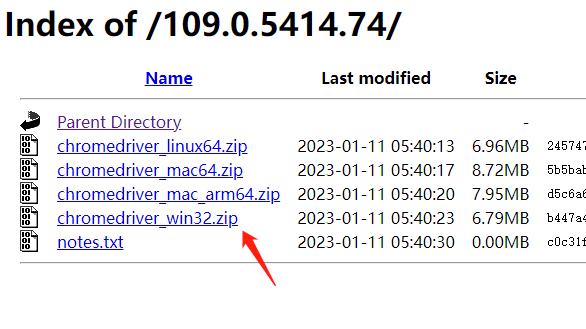
选择正确的版本号
windows64位选win32即可
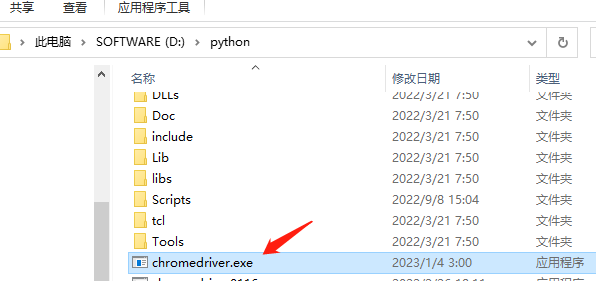
解压放到python安装目录
打开页面代码如下:
from selenium import webdriver
from selenium.webdriver.chrome.options import Options

def __init__(self):
    super(CrackSlider, self).__init__()
    self.opts = Options()
    self.opts.add_argument('--no-sandbox')  # 沙箱机制
    self.driver = webdriver.Chrome(options=self.opts)
    self.login_url = "https://www.imarine.cn/member.php?mod=logging&action=login"
    try:
        self.driver.get(self.login_url)    # 由于是使用浏览器直接访问页面,因此无需区分 get 和 post 方法,直接 get 方法打开页面即可
    except Exception as e:
        print("开始!")
    # 等待2秒钟
    time.sleep(2)
自动登录(难点:滑块验证)
from io import BytesIO
import cv2
import numpy as np
from PIL import Image
from selenium import webdriver
from selenium.webdriver import ActionChains

def __init__(self):
        super(CrackSlider, self).__init__()
        # 打开浏览器,代码省略
        # 等待2秒钟
        time.sleep(2)
        # 输入账号密码
        self.driver.find_element(by=By.XPATH,
                                 value="/html/body/div[1]/main/div/div[1]/div/div[2]/div[1]/div/form/div[1]/div["
                                       "2]/div[1]/input").send_keys("账号")
        time.sleep(1)
        self.driver.find_element(by=By.XPATH,
                                 value="/html/body/div[1]/main/d
最低0.47元/天 解锁文章


 466
466

 被折叠的 条评论
为什么被折叠?
被折叠的 条评论
为什么被折叠?
 到【灌水乐园】发言


