


一、在maven官网下载
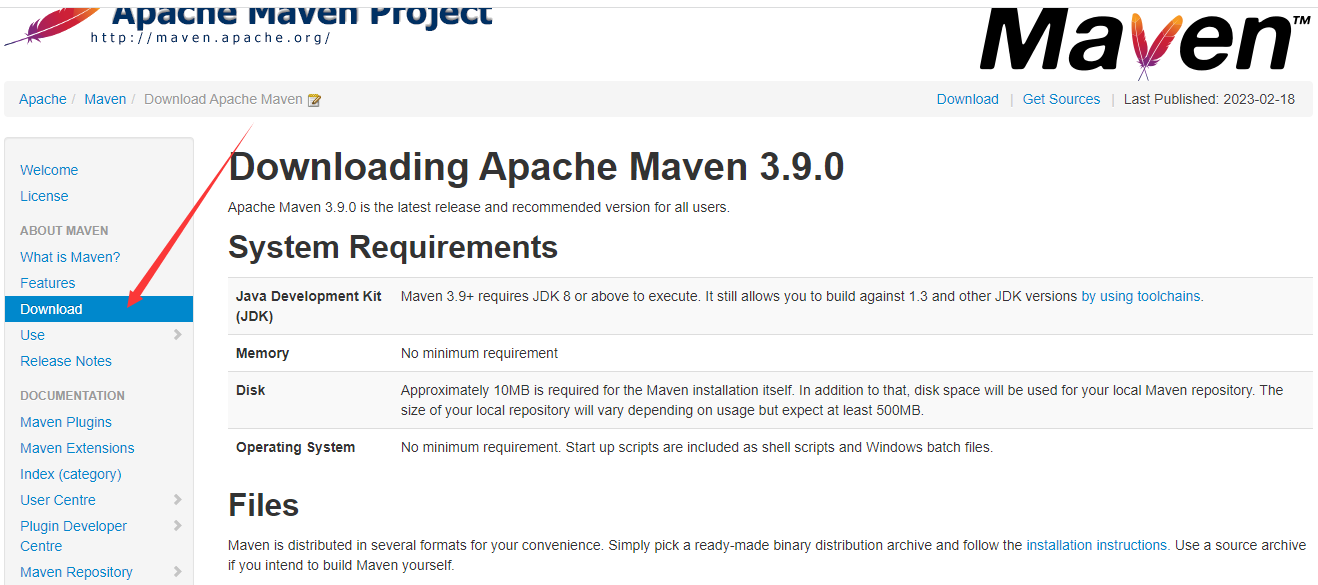
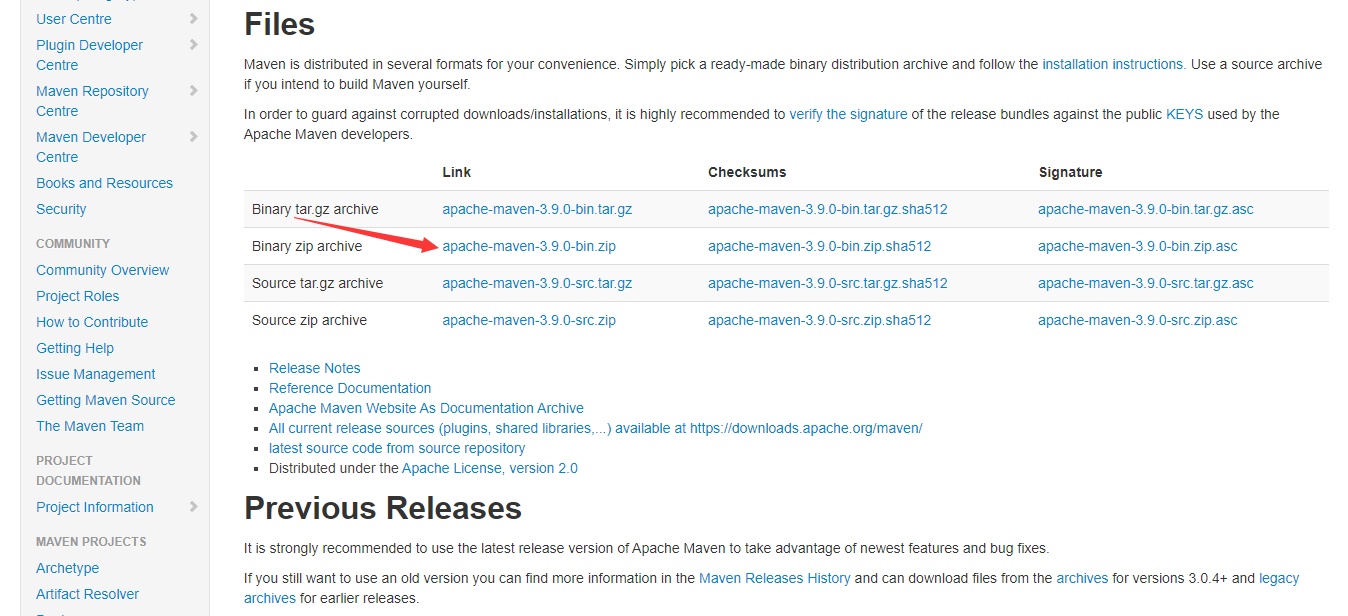
下载apache-maven-...-bin.zip类型
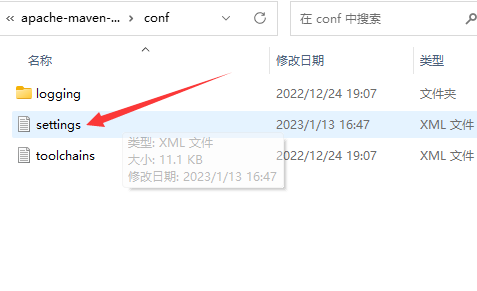
二、配置本地仓库
解压下载的maven,在conf文件夹中找到settings可以用记事本打开
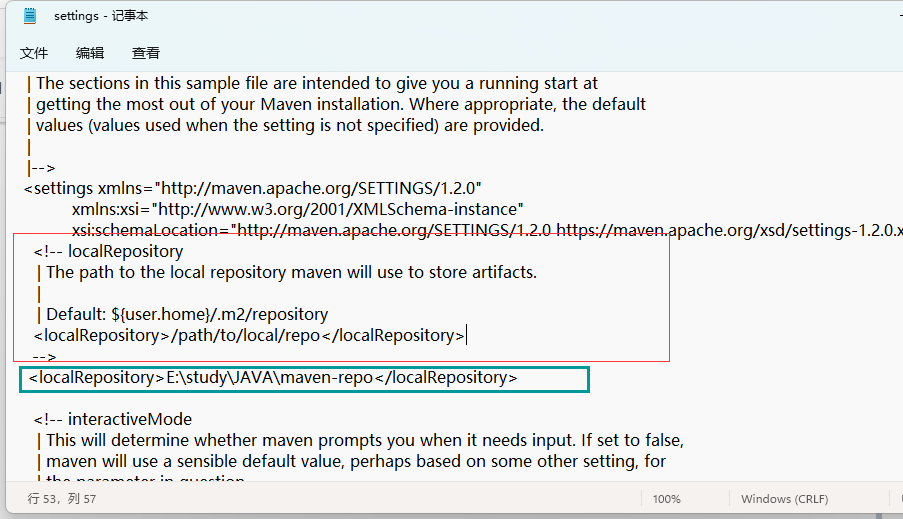
找到红框中的代码,在下面添加一行,配置自己的仓库
注意要把localRepository从主时钟拿出来
本地仓库需要使用一个非中文 没空格的目录
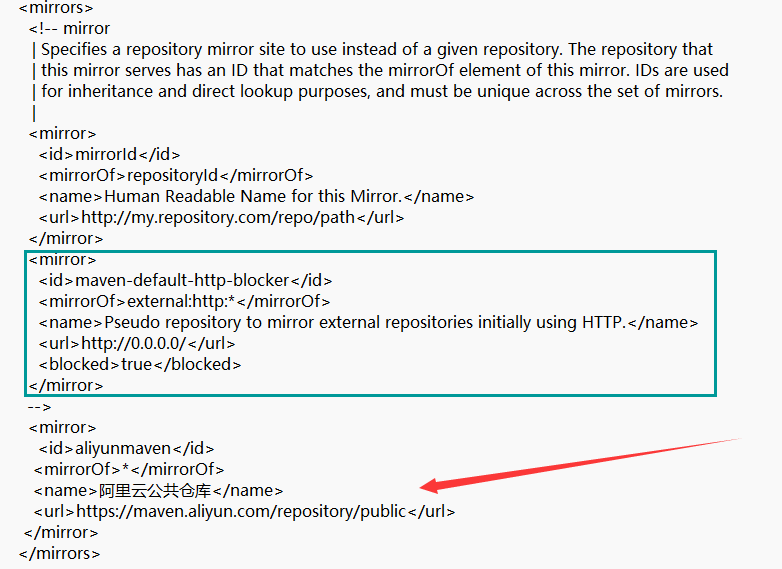
三、配置阿里云的镜像仓库
将原有蓝框中的代码注释掉
加入我们的配置
https://developer.aliyun.com/mvn/guide
可以在阿里云官网上复制,防止更新
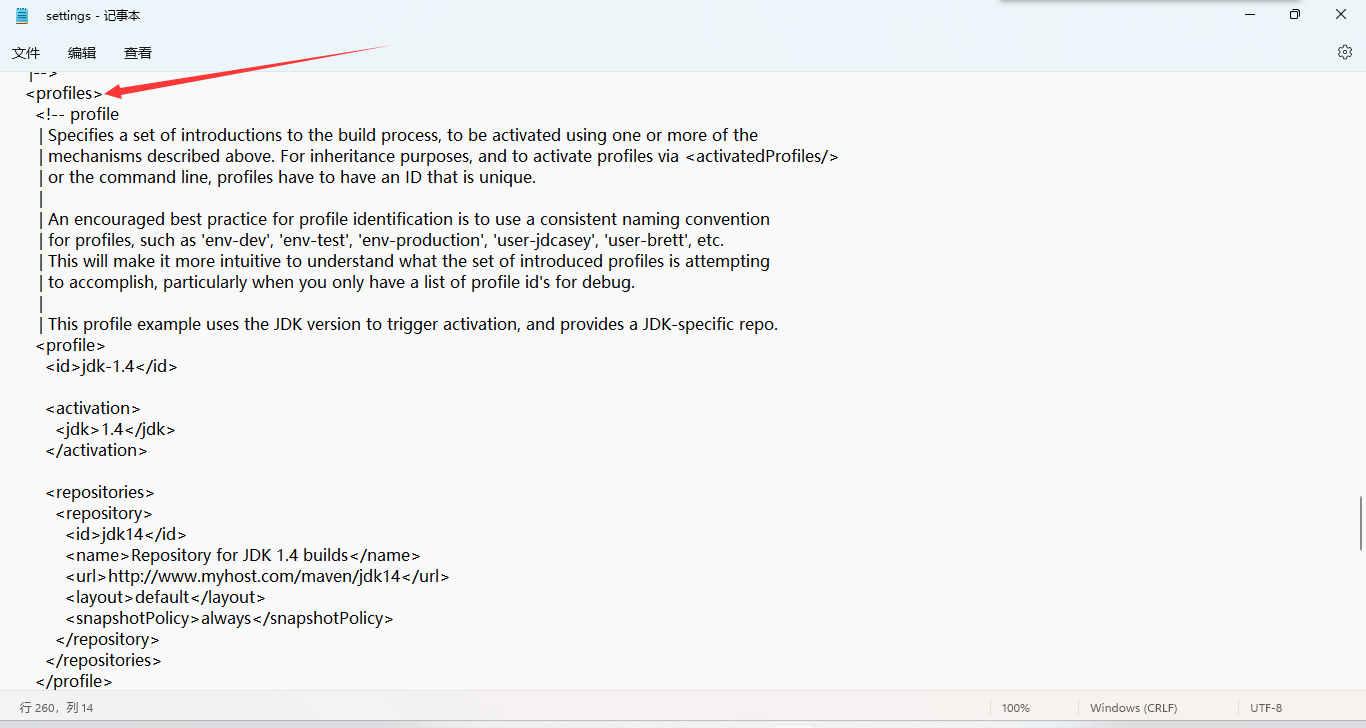
四、配置maven工程的基础jdk版本
找到profiles标签,添加下面的代码
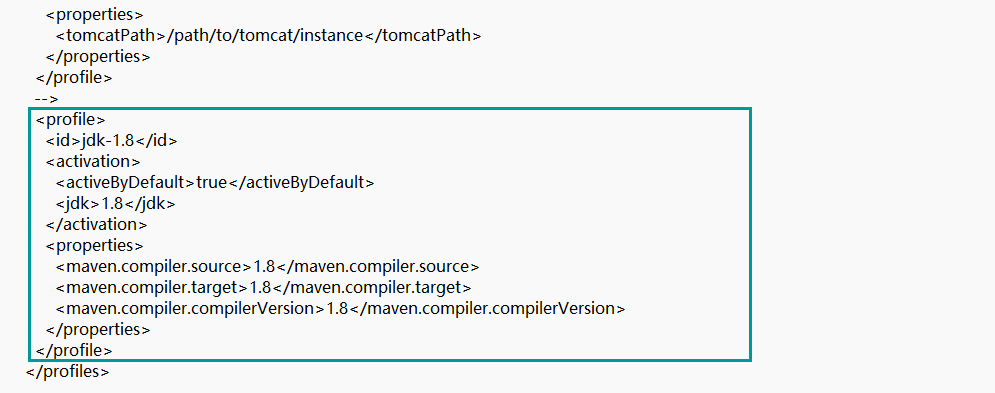
<profile>
<id>jdk-1.8</id>
<activation>
<activeByDefault>true</activeByDefault>
<jdk>1.8</jdk>
</activation>
<properties>
<maven.compiler.source>1.8</maven.compiler.source>
<maven.compiler.target>1.8</maven.compiler.target>
<maven.compiler.compilerVersion>1.8</maven.compiler.compilerVersion>
</properties>
</profile>
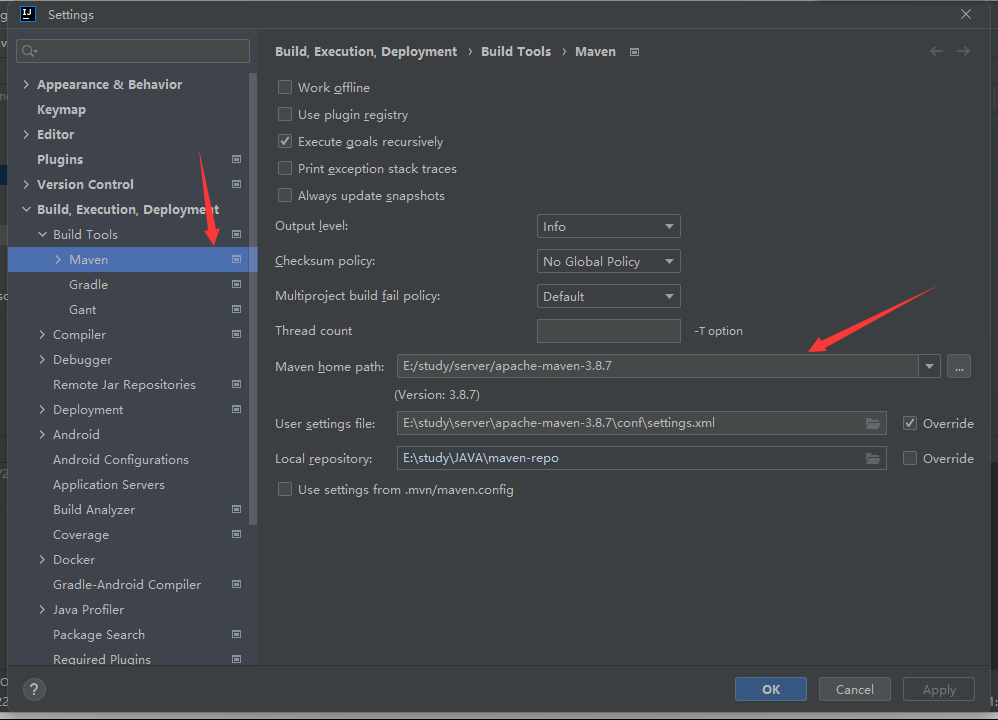
五、idea中修改
File--->settings--->Maven:改成自己设置的maven地址


 1285
1285


 被折叠的 条评论
为什么被折叠?
被折叠的 条评论
为什么被折叠?
 到【灌水乐园】发言


