


SSE(Server-Sent Events)是一种基于 HTTP 协议的服务器推送技术,允许服务器主动向客户端实时推送数据流,适用于需要单向实时通信的场景(如新闻推送、股票行情、AI 流式输出等)。
一、技术架构设计
1. 后端流程
- 使用 aiohttp 实现异步HTTP服务
- 调用DeepSeek API获取流式响应(支持硅基流动/官方API)
- 通过SSE技术将流式文本逐字推送至前端
2. 前端交互
- 通过 EventSource 监听SSE事件
- 实时渲染流式文本(打字机效果)
二、后端实现代码
1 安装插件
pip install aiohttp-sse aiohttp-cors asyncio提示:aiohttp 为python内置模块,无需安装。
2 编写代码
import aiohttp
import aiohttp_cors
from aiohttp import web
from aiohttp_sse import sse_response
import json

# 此处为硅基流动的接口和API密钥
API_URL = "https://api.siliconflow.cn/v1/chat/completions"
API_KEY = "请替换为自己的API密钥"

async def index(request):
    # 返回纯文本
    return web.Response(text="欲买桂花同载酒")
    # 返回json数据
    # data = {"status": "success", "message": "操作完成"}
    # return web.json_response(data, dumps=lambda x: json.dumps(x, ensure_ascii=False), status=200)

'''
数据流推送函数
request 接收器
'''
async def handle_sse(request):
    # prompt为请求参数名称
    content = request.rel_url.query.get('prompt', '')
    # 创建SSE响应通道
    async with sse_response(request) as sse_resp:
        # 调用流式API
        headers = {
            "Authorization": f"Bearer {API_KEY}",
            "Content-Type": "application/json"
        }
        payload = {
            "model": "deepseek-ai/DeepSeek-R1",
            "messages": [{"role": "user", "content": content}],
            "stream": True
        }

        try:
            async with aiohttp.ClientSession() as session:
                async with session.post(API_URL, json=payload, headers=headers) as resp:
                    async for chunk in resp.content.iter_chunked(1024):
                        if chunk:
                            decoded_chunk = chunk.decode('utf-8').lstrip('data: ')
                            if decoded_chunk == '[DONE]':
                                break
                            try:
                                # 解析接口数据,注意:不同产品的api接口返回的数据格式可能不同
                                result = json.loads(decoded_chunk)
                                # 获取最终结果
                                content = result['choices'][0]['delta'].get('content', '')
                                # 获取推理信息
                                reasoning = result['choices'][0]['delta'].get('reasoning_content', '')
                                data = json.dumps({'content': content, 'reasoning': reasoning}, ensure_ascii=False)
                                await sse_resp.send(f"data: {data}\n\n")
                            except json.JSONDecodeError:
                                continue
        except ConnectionResetError:
            print("客户端已断开连接")
        except Exception as e:
            errors = json.dumps({'errors': str(e)}, ensure_ascii=False)
            await sse_resp.send(f"data: {errors}\n\n")

    return sse_resp

if __name__ == '__main__':
    # 初始化Web服务
    app = web.Application()

    # 配置路由列表
    app.add_routes([
        # 首页
        web.get('/', index),
        # 配置一个get请求方式的路由
        web.get('/stream', handle_sse),
        # 配置静态资源
        web.static(
            '/static/',
            path = './static',
            # 禁止符号链接
            follow_symlinks = False,
            # 禁止目录遍历
            show_index = False
        )
    ])

    # 跨域配置,只允许列表中的地址可以跨域请求
    # cross_config = {
    #     "http://localhost:8080": aiohttp_cors.ResourceOptions(
    #         allow_credentials=True,
    #         allow_methods=["GET", "POST"],
    #         allow_headers=("Content-Type",),
    #         max_age=3600
    #     )
    # }
    # cors = aiohttp_cors.setup(app, defaults=cross_config)
    # 为所有路由应用CORS配置
    # for route in list(app.router.routes()):
    #     cors.add(route)

    web.run_app(app, port=8181)
注意:请勿使用requests请求资源,因为requests是一个同步插件,在aiohttp异步框架中使用,将会阻塞整个进程。
三、前端实现代码(HTML+JavaScript)
在static目录下,新建一个html文件,内容如下:
<!DOCTYPE html>
<html lang="zh-CN">
<head>
<meta charset="UTF-8">
<title>智能对话助手</title>
<script src="js/markdown-it.min.js"></script>
<style>
body {
font-family: "Helvetica Neue", Helvetica, Arial, sans-serif;
max-width: 1000px;
width: 100%;
margin: 0 auto;
margin-top: 40px;
background: #f5f5f5;
}
.title {
margin-bottom: 30px;
font-size: 24px;
text-align: center;
}
.chat-container {
height: 70vh;
overflow-y: auto;
padding: 20px;
background: white;
border-radius: 12px;
box-shadow: 0 2px 12px rgba(0,0,0,0.1);
}
.message {
margin: 12px 0;
display: flex;
}
.user-message {
justify-content: flex-end;
}
.server-message {
justify-content: flex-start;
}
.bubble {
border-radius: 10px;
line-height: 2;
}
.user-bubble {
background: #06ae56;
color: white;
padding: 5px!important;
}
.markdown-content {
font-size: 16px;
}
.input-container {
margin-top: 20px;
display: flex;
gap: 10px;
}
#messageInput {
flex: 1;
padding: 12px;
border: 1px solid #e5e5e5;
border-radius: 8px;
font-size: 16px;
}
button {
padding: 12px 24px;
background: #06ae56;
color: white;
border: none;
border-radius: 8px;
cursor: pointer;
}
</style>
</head>
<body>
<div class="title">智能对话助手</div>
<div class="chat-container" id="messageContainer">
<div style="padding: 20px 0 10px 0;">👨🎓 我是您的ai小助手,有什么问题可以尽管问我哦!</div>
</div>
<div class="input-container">
<input type="text" id="messageInput" placeholder="输入您的问题...">
<button onclick="sendMessage()">发送</button>
</div>
<script>
const md = window.markdownit({'html':false});
let answer_flag = true;
let currentResponse = null;
// 创建服务器消息气泡
function createServerBubble() {
const container = document.getElementById('messageContainer');
const bubble = document.createElement('div');
bubble.className = 'message server-message';
bubble.innerHTML = `
<div class="bubble">
<div class="markdown-content"></div>
</div>
`;
container.appendChild(bubble);
currentResponse = {
element: bubble.querySelector('.markdown-content'),
markdown: ''
};
}
// 更新Markdown渲染
function updateMarkdownRender(response) {
//response.element.innerHTML += md.render(response.markdown);
response.element.innerHTML += response.markdown;
markdownToHtml(response);
response.element.scrollIntoView({ behavior: 'smooth', block: 'end' });
}
// 用户消息处理
function sendMessage() {
const input = document.getElementById('messageInput');
const message = input.value.trim();
if (!message) return;
// 添加用户消息
const container = document.getElementById('messageContainer');
const bubble = document.createElement('div');
bubble.className = 'message user-message';
bubble.innerHTML = `
<div class="bubble user-bubble">${message}</div>
`;
container.appendChild(bubble);
// 清空输入框
input.value = '';
createServerBubble();
currentResponse.element.innerHTML = '<div>😇【思考中...】</div>';
// 初始化SSE连接
const eventSource = new EventSource(`http://127.0.0.1:8181/stream?prompt=${encodeURIComponent(message)}`);
// SSE消息处理
eventSource.onmessage = (event) => {
const data = JSON.parse(event.data.replace('data: ', ''));
// 输出思考过程
if (data.reasoning) {
currentResponse.markdown = `<span style="color: #666; margin-top: 10px;">${data.reasoning.replace("\n", "<br/>")}</span>`;
}
// 输出最终结果
if(data.content) {
if (answer_flag) {
currentResponse.markdown = '<div style="margin-top: 10px;">🤵【回答...】</div>';
answer_flag = false;
} else {
if (data.content) {
currentResponse.markdown = `<span style="color: #333;">${data.content.replace("\n", "<br/>")}</span>`;
}
}
}
updateMarkdownRender(currentResponse);
};
eventSource.onerror = () => {
eventSource.close();
currentResponse.markdown = '<div>💙【回答结束】</div>';
updateMarkdownRender(currentResponse);
};
}
function markdownToHtml(response) {
// 替换标题(支持1-6级)
let html = response.element.innerHTML.replace(/(#{1,6})\s(.*)$/gm, (match, p1, p2) => {
const level = p1.length;
return `<h${level}>${p2}</h${level}>`;
});
// 替换加粗 **text**
html = html.replace(/\*\*(.*?)\*\*/g, '<strong>$1</strong>');
// 替换斜体 *text*
html = html.replace(/\*(.*?)\*/g, '<em>$1</em>');
// 替换链接 [text](url)
html = html.replace(/\[(.*?)\]\((.*?)\)/g, '<a href="$2">$1</a>');
// 替换图片 
html = html.replace(/!\[(.*?)\]\((.*?)\)/g, '<img src="$2" alt="$1">');
response.element.innerHTML = html;
}
</script>
</body>
</html>四、运行代码
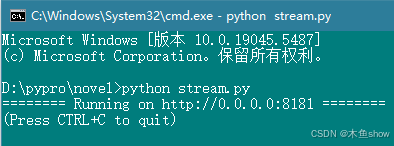
1. 启动服务
切换到py文件所在目录,执行如下命令:
python py文件名称启动成功后的界面如下
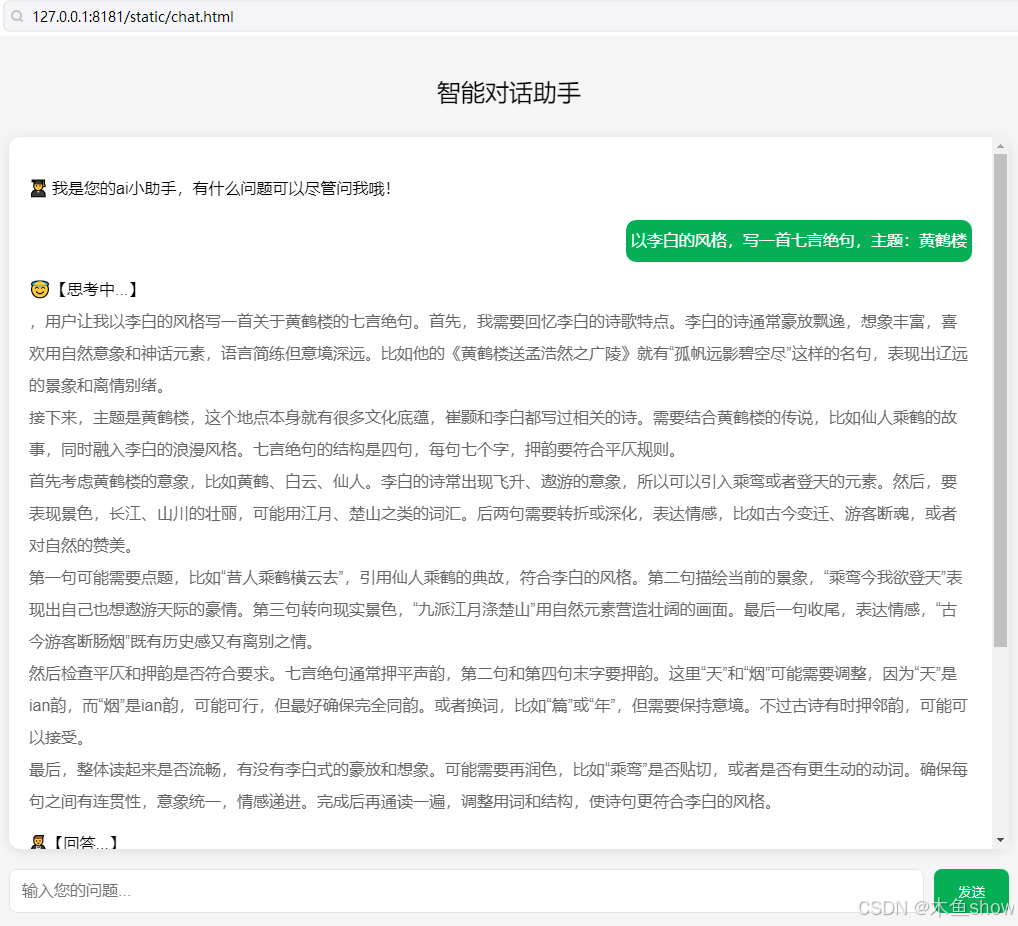
2. 浏览器访问
在浏览器地址栏中输入:http://127.0.0.1:8181/static/chat.html
成功的话,将会看到如下界面


 被折叠的 条评论
为什么被折叠?
被折叠的 条评论
为什么被折叠?
 到【灌水乐园】发言


