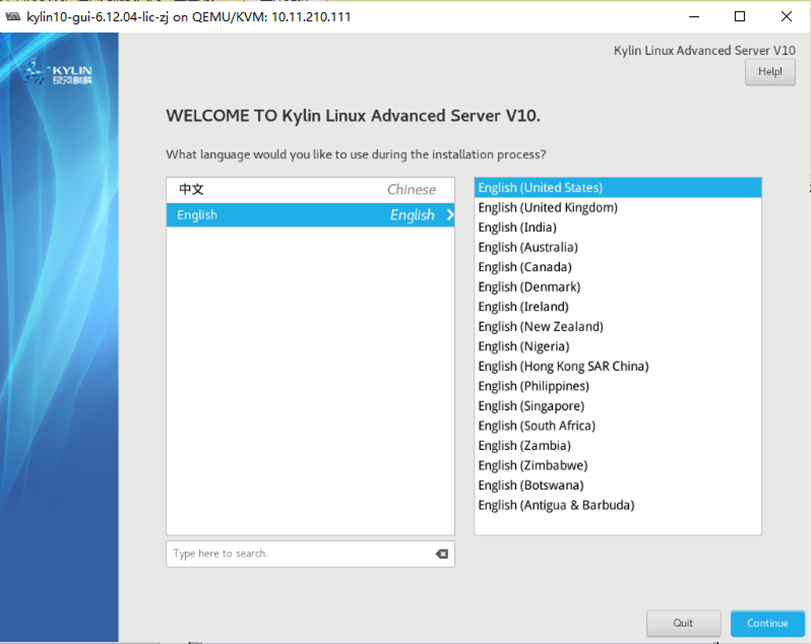
引导界面出现,安装系统,建议选择English,否则可能会因编码问题导致cloud-init失败:
![](https://img-blog.csdnimg.cn/img_convert/7157f949cbd5d5228a4c684af35c0f1a.png)
SOETWARE SELECTION, 选择安装的类型和分区类型:
![](https://img-blog.csdnimg.cn/img_convert/ad07daa0f02dafe0d90166356e5bb1af.webp?x-oss-process=image/format,png)
根据需要选择安装类型。
![](https://img-blog.csdnimg.cn/img_convert/a07cfddfa28556e835ef19e14839f4f7.webp?x-oss-process=image/format,png)
INSTALLATION DESTINATION进行分区设置, 在下图中选择如红框所示,表示自定义分区,选择完毕选择左上角的Done:
![](https://img-blog.csdnimg.cn/img_convert/5939da26869ca1041f422ba28d5d87c7.webp?x-oss-process=image/format,png)
分区建议(使用cloud-init, / 必须在最后):
/boot 300MB
/boot/efi 300MB
swap 2048MB
/ **MB
在下图所示的界面中点击红框所示的加号。增加新的分区。红框1处修改为标准分区standard partition
![](https://img-blog.csdnimg.cn/img_convert/016a1fa6b35f6e3c7455e4676aba6fc1.webp?x-oss-process=image/format,png)
分区设置如下图所示,挂载点和 分区大小。设置完毕后选择Add mount point
![](https://img-blog.csdnimg.cn/img_convert/48b23e285f4a455b28a7ba98c26f4d04.webp?x-oss-process=image/format,png)
增加分区后将在左侧列表中显示已有的分区名称和大小。需确定下图红框处的设备类型为 标准分区。
![](https://img-blog.csdnimg.cn/img_convert/e15d507b290546806889430c7269c838.webp?x-oss-process=image/format,png)
最终后的分区效果如下图。点击Done后开始安装
![](https://img-blog.csdnimg.cn/img_convert/7f7f0dbc3dc4b56934b9cfbb8fe3abe1.webp?x-oss-process=image/format,png)
开始安装界面如下图。进度条显示当前正在安装的进度。需要设置root用户的密码。点击ROOT PASSWORD处进行设置, 点击USER CREATION创建用户和密码:
![](https://img-blog.csdnimg.cn/img_convert/5969c8dadd49697c065771a38019b505.webp?x-oss-process=image/format,png)
安装完毕。 准备重启(关闭虚拟机)
![](https://img-blog.csdnimg.cn/img_convert/ac30f46fa36199dc839b56682d45c35b.webp?x-oss-process=image/format,png)
修改引导方式为从硬盘启动。
![](https://img-blog.csdnimg.cn/img_convert/09d5ce3f8368c4958dd0ae26f1bd15c3.webp?x-oss-process=image/format,png)
启动虚拟机。等待启动后。出现如下界面。点击叹号处进行 license设置
![](https://img-blog.csdnimg.cn/img_convert/32a72a2e46b764d78630b16b217afa10.webp?x-oss-process=image/format,png)
License页面。选择接收这个lincense,如下图所示。
![](https://img-blog.csdnimg.cn/img_convert/e183a7cf870acc6c1867279cb0734554.webp?x-oss-process=image/format,png)
Lincense设置完毕。选择完成设置,如下图红框所示
![](https://img-blog.csdnimg.cn/img_convert/d37a15683ed6f95a747217c1bcff372e.webp?x-oss-process=image/format,png)
使用默认用户名和密码登录后,选择系统默认语言
![](https://img-blog.csdnimg.cn/img_convert/1c4021b29a4adaef460b6d69edcb5330.png)