


一、目的
对于Flume的复制和多路复用拓扑结构,进行一个小的开发测试
二、复制和多路复用拓扑结构

(一)结构含义
Flume 支持将事件流向一个或者多个目的地。
(二)结构特征
这种模式可以将相同数据复制到多个channel 中,或者将不同数据分发到不同的 channel 中,sink 可以选择传送到不同的目的地
三、需求案例
(一)案例需求
(二)需求分析

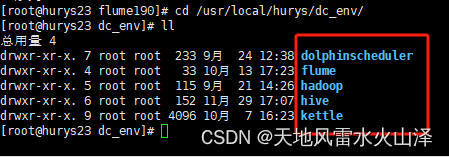
四、前期准备
(一)安装好Hadoop、Hive、Flume等工具
(二)查看Hive的日志在Linux系统中的文件路径
[root@hurys23 conf]# find / -name hive.log
/home/log/hive312/hive.log
(三)在HDFS中创建文件夹flume2,即Hive日志写入的HDFS文件

(四)在/opt/flume目录下创建 flume3 文件夹
[root@hurys23 ~]# cd /opt/flume/
[root@hurys23 flume]# mkdir flume3
[root@hurys23 flume]# ll
总用量 0
drwxr-xr-x 2 root root 6 12月 12 14:41 flume3
drwxr-xr-x 3 root root 102 12月 5 16:08 upload

五、创建flume的任务文件
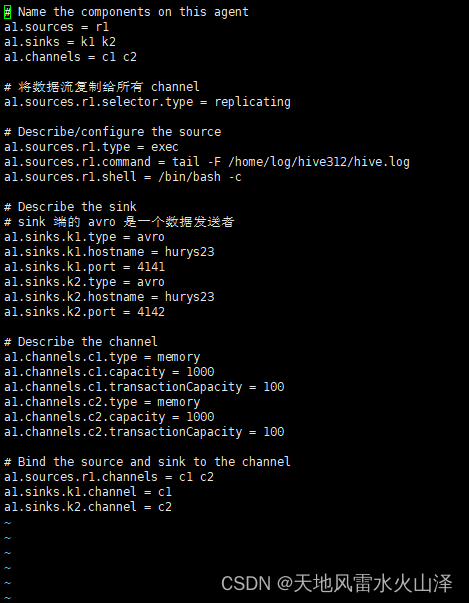
(一)创建任务文件1 flume-file-flume.conf
配置1个接收日志文件的source和两个channel、两个sink,分别输送给 flume-flume-hdfs 和 flume-flume-dir。
[root@hurys23 conf]# vi flume-file-flume.conf
# Name the components on this agent
a1.sources = r1
a1.sinks = k1 k2
a1.channels = c1 c2
# 将数据流复制给所有 channel
a1.sources.r1.selector.type = replicating
# Describe/configure the source
a1.sources.r1.type = exec
a1.sources.r1.command = tail -F /home/log/hive312/hive.log
a1.sources.r1.shell = /bin/bash -c
# Describe the sink
# sink 端的 avro 是一个数据发送者
a1.sinks.k1.type = avro
a1.sinks.k1.hostname = hurys23
a1.sinks.k1.port = 4141
a1.sinks.k2.type = avro
a1.sinks.k2.hostname = hurys23
a1.sinks.k2.port = 4142
# Describe the channel
a1.channels.c1.type = memory
a1.channels.c1.capacity = 1000
a1.channels.c1.transactionCapacity = 100
a1.channels.c2.type = memory
a1.channels.c2.capacity = 1000
a1.channels.c2.transactionCapacity = 100
# Bind the source and sink to the channel
a1.sources.r1.channels = c1 c2
a1.sinks.k1.channel = c1
a1.sinks.k2.channel = c2
注意:
1、配置文件中的各项参数需要调式,这里只是为了演示,实现目的、打通路径即可!实际在项目中操作时需要调试参数。
2、a1.sources.r1.command = tail -F /home/log/hive312/hive.log 为hive.log在Linux中的路径
3、a1.sinks.k1.hostname = hurys23 hurys23 为服务器名字
(二)创建任务文件2 flume-flume-hdfs.conf
[root@hurys23 conf]# vi flume-flume-hdfs.conf
# Name the components on this agent
a2.sources = r1
a2.sinks = k1
a2.channels = c1
# Describe/configure the source
# source 端的 avro 是一个数据接收服务
a2.sources.r1.type = avro
a2.sources.r1.bind = hurys23
a2.sources.r1.port = 4141
# Describe the sink
a2.sinks.k1.type = hdfs
a2.sinks.k1.hdfs.path = hdfs://hurys23:8020/flume2/%Y%m%d/%H
#上传文件的前缀
a2.sinks.k1.hdfs.filePrefix = flume2-
#是否按照时间滚动文件夹
a2.sinks.k1.hdfs.round = true
#多少时间单位创建一个新的文件夹
a2.sinks.k1.hdfs.roundValue = 1
#重新定义时间单位
a2.sinks.k1.hdfs.roundUnit = hour
#是否使用本地时间戳
a2.sinks.k1.hdfs.useLocalTimeStamp = true
#积攒多少个 Event 才 flush 到 HDFS 一次
a2.sinks.k1.hdfs.batchSize = 100
#设置文件类型,可支持压缩
a2.sinks.k1.hdfs.fileType = DataStream
#多久生成一个新的文件
a2.sinks.k1.hdfs.rollInterval = 30
#设置每个文件的滚动大小大概是 128M
a2.sinks.k1.hdfs.rollSize = 134217700
#文件的滚动与 Event 数量无关
a2.sinks.k1.hdfs.rollCount = 0
# Describe the channel
a2.channels.c1.type = memory
a2.channels.c1.capacity = 1000
a2.channels.c1.transactionCapacity = 100
# Bind the source and sink to the channel
a2.sources.r1.channels = c1
a2.sinks.k1.channel = c1

注意:
1、a2.sinks.k1.hdfs.path = hdfs://hurys23:8020/flume2/%Y%m%d/%H 为写入的HDFS文件路径
2、a2.sources.r1.bind = hurys23 hurys23 为服务器名字
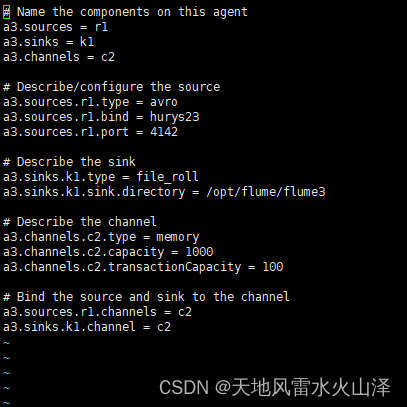
(三)创建任务文件3 flume-flume-dir.conf
[root@hurys23 conf]# vi flume-flume-dir.conf
# Name the components on this agent
a3.sources = r1
a3.sinks = k1
a3.channels = c2
# Describe/configure the source
a3.sources.r1.type = avro
a3.sources.r1.bind = hurys23
a3.sources.r1.port = 4142
# Describe the sink
a3.sinks.k1.type = file_roll
a3.sinks.k1.sink.directory = /opt/flume/flume3
# Describe the channel
a3.channels.c2.type = memory
a3.channels.c2.capacity = 1000
a3.channels.c2.transactionCapacity = 100
# Bind the source and sink to the channel
a3.sources.r1.channels = c2
a3.sinks.k1.channel = c2
注意:
1、a3.sources.r1.bind = hurys23 hurys23 为服务器名字
2、a3.sinks.k1.sink.directory = /opt/flume/flume3 在Linux中的本地路径
3、/opt/flume/flume3 这个输出的本地目录必须是已经存在的目录,如果该目录不存在,并不会自动创建新的目录
六、分别启动Flume任务文件
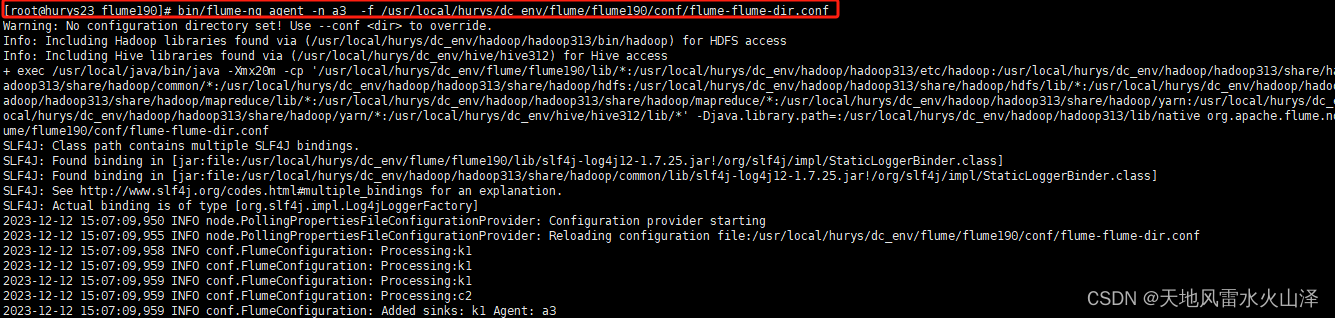
(一)首先启动 a3 flume-flume-dir.conf
[root@hurys23 flume190]# bin/flume-ng agent -n a3 -f /usr/local/hurys/dc_env/flume/flume190/conf/flume-flume-dir.conf
(二)其次启动 a2 flume-flume-hdfs.conf
[root@hurys23 flume190]# bin/flume-ng agent -n a2 -f /usr/local/hurys/dc_env/flume/flume190/conf/flume-flume-hdfs.conf

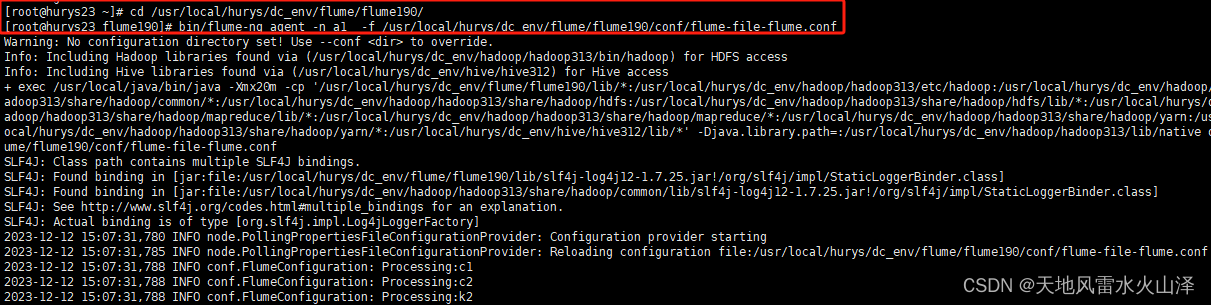
(三)最后启动 a1 flume-file-flume.conf
[root@hurys23 flume190]# bin/flume-ng agent -n a1 -f /usr/local/hurys/dc_env/flume/flume190/conf/flume-file-flume.conf
七、Flume任务运行执行状况
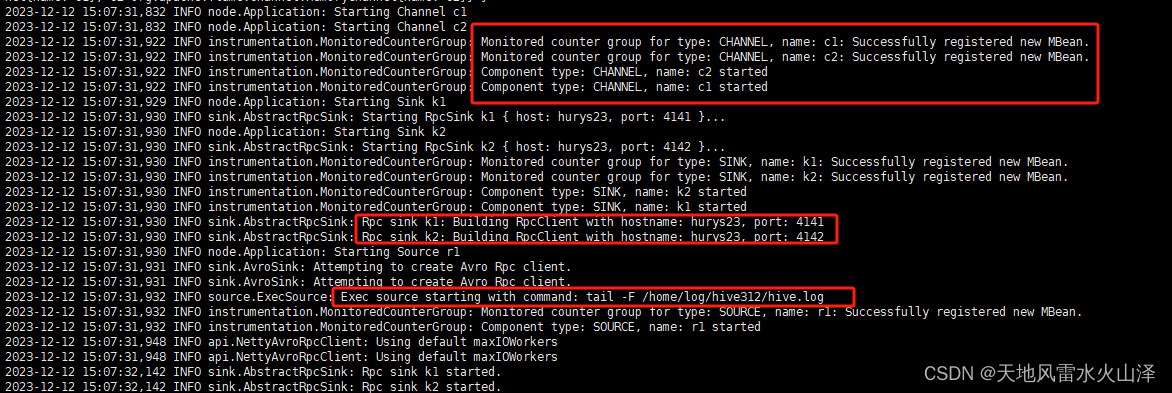
(一)a1 a1任务运行截图
采集hive的log日志文件,发送给flume2、flume3
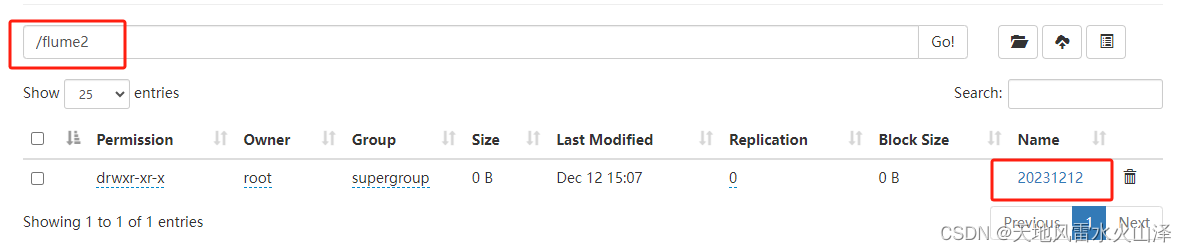
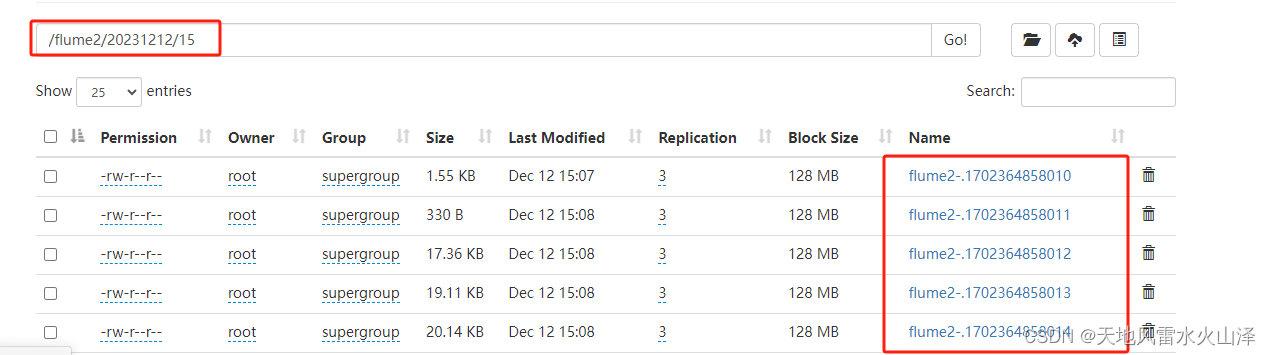
(二)a2 写入的HDFS文件状况
根据时间戳自动生成20231212文件夹、15文件夹及其flume2-文件
(三)a3 写入的Linux本地文件状况
在Linux的 /opt/flume/flume3目录下自动生成相关文件
[root@hurys23 flume3]# ll
总用量 188
-rw-r--r-- 1 root root 0 12月 12 15:07 1702364829999-1
-rw-r--r-- 1 root root 1922 12月 12 15:07 1702364829999-2
-rw-r--r-- 1 root root 163250 12月 12 15:08 1702364829999-3
-rw-r--r-- 1 root root 23162 12月 12 15:08 1702364829999-4
-rw-r--r-- 1 root root 0 12月 12 15:09 1702364829999-5

Flume复制和多路复用拓扑结构的开发案例测试成功,简单来看,a1是source,a2、a3是sink
这种结构其实也挺常见的,就先到这里,Flume玩法还真挺多的!


 871
871


 被折叠的 条评论
为什么被折叠?
被折叠的 条评论
为什么被折叠?
 到【灌水乐园】发言


