


第一章节Initial Setup开始设置
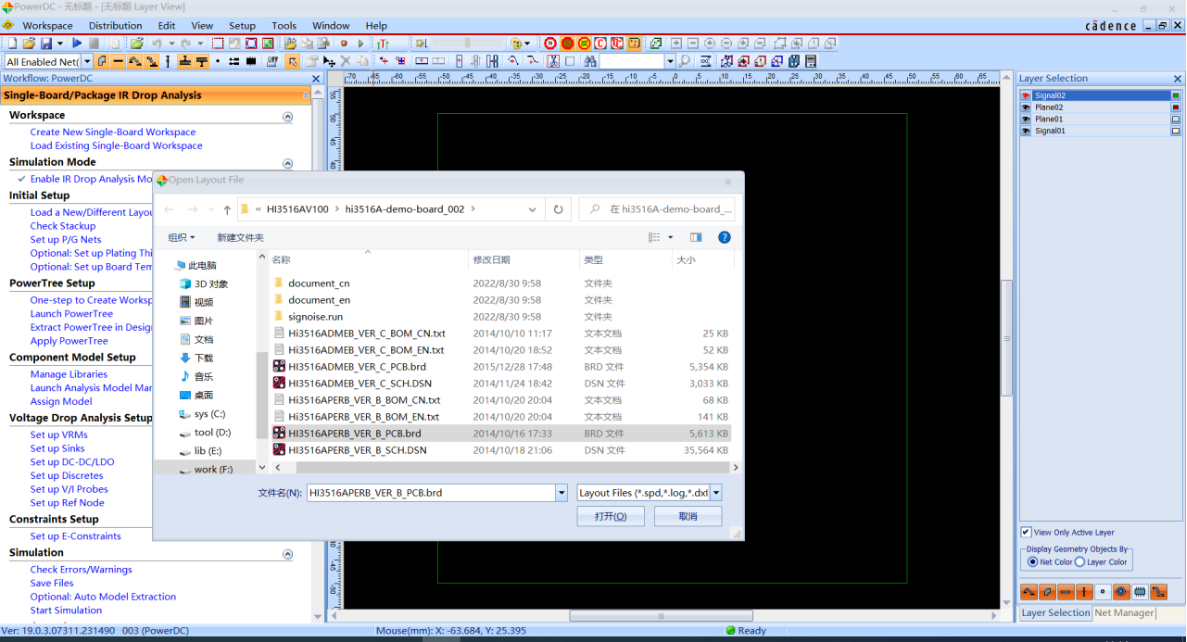
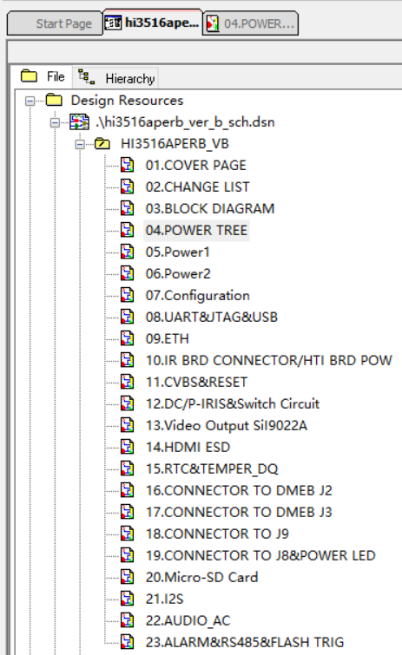
1.1 打开文件;
(1),使用Cadence Sigrity 2019版本Power DC
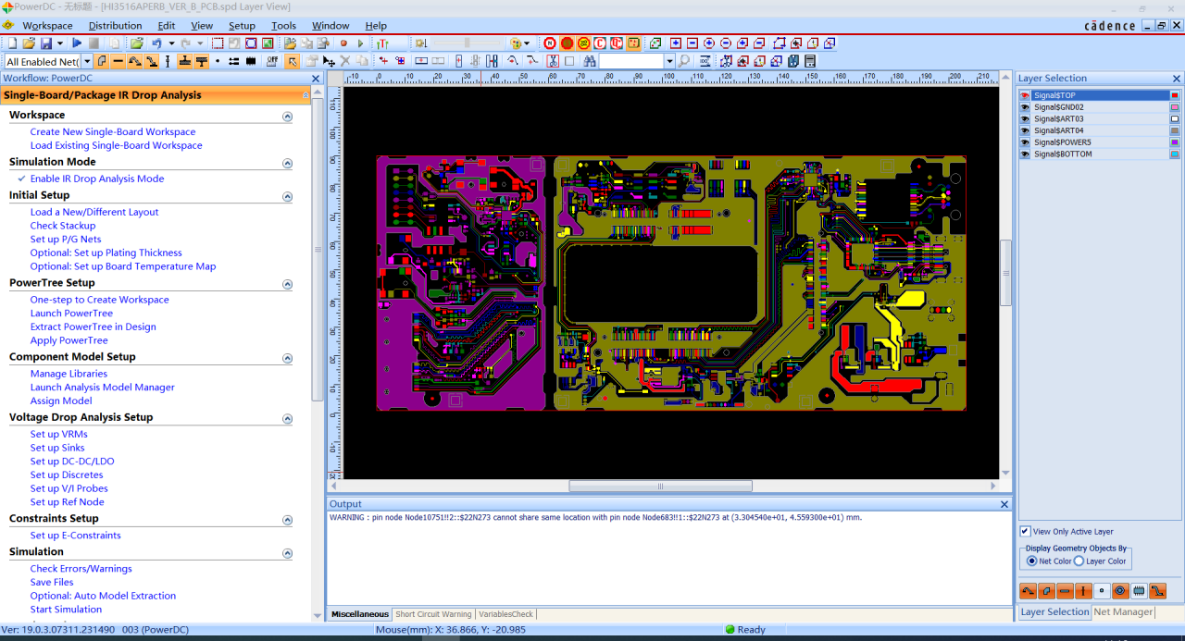
(2),依旧选用PCB文件HI3516APERB_VER_B_PCB.brd
第二章节PowerTree Setup开始设置
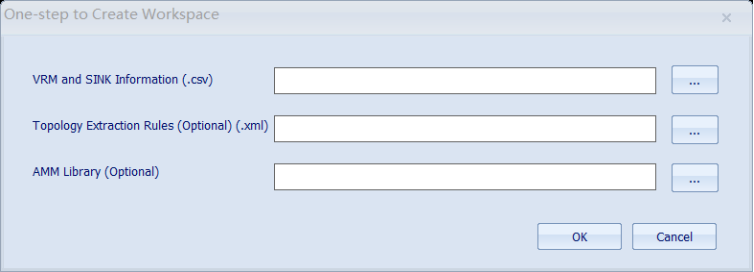
2.1 One-step to Create Workspace;
(1),VRM and Sink Information(.csv) 可以导入CSV文件;
Topology Extraction Rules (Optional)(.xml) 导入拓扑文件xml;
AMM Library (Optional) 导入AMM电容或者元件的模型库;
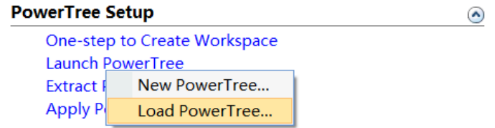
(2),Launch Power Tree
2.2 Extract Power Tree in Design提取设计中电源树;
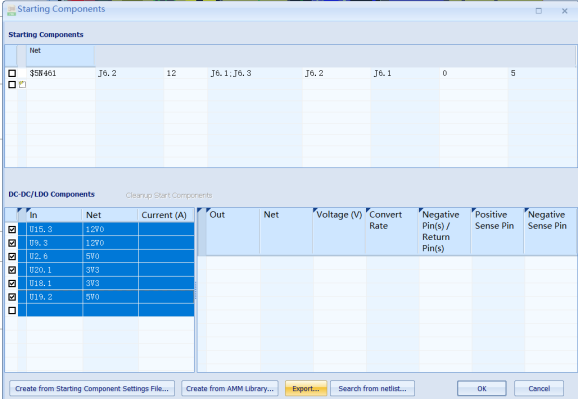
(1),使用Extract Power Tree in Design 打开Starting Components窗口:
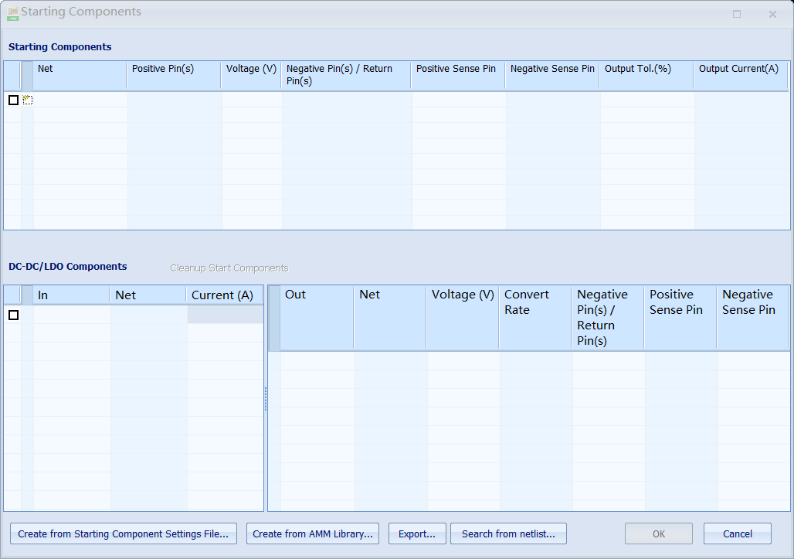
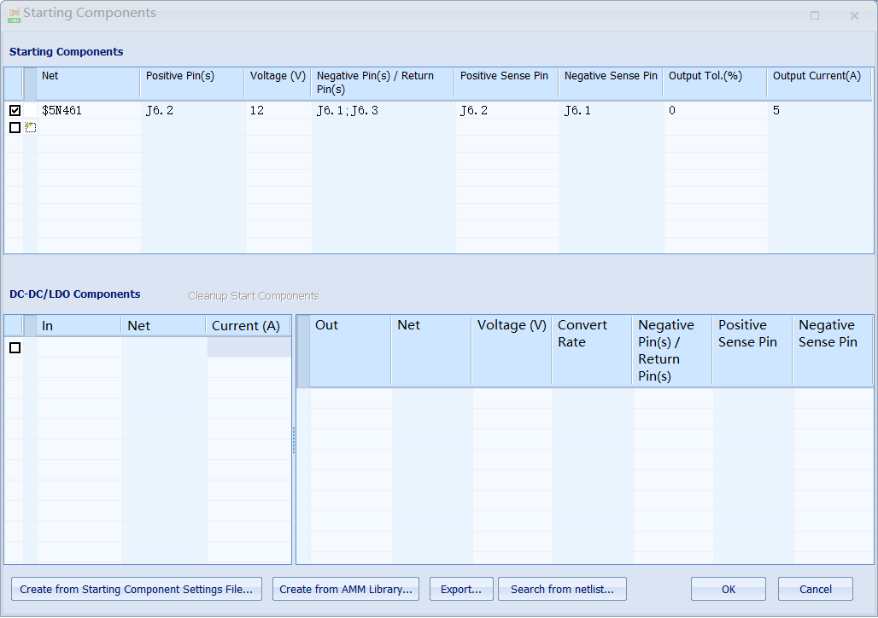
(2),先设置电源输入网络12V的Input端口,位号J6.2的网络“$5N461”
2.3 结合原理图设置DC-DC/Components;
(1),使用原理图Hi3516APERB_VER_B_SCH.pdf
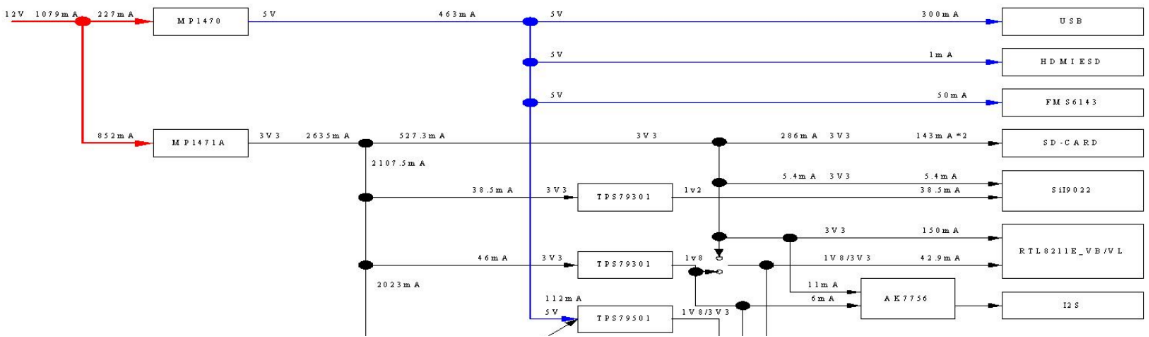
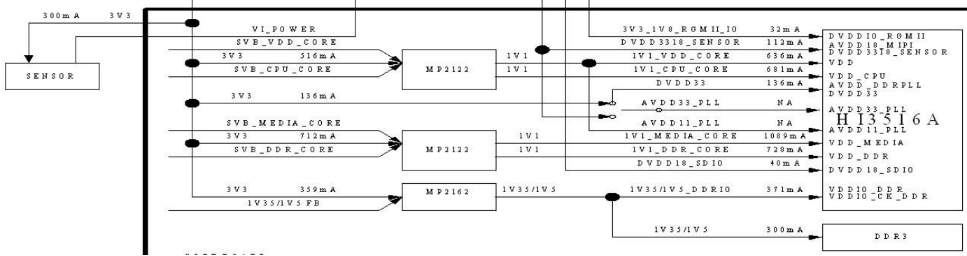
(2),设置如下:设置好6个DC-DC/Components。
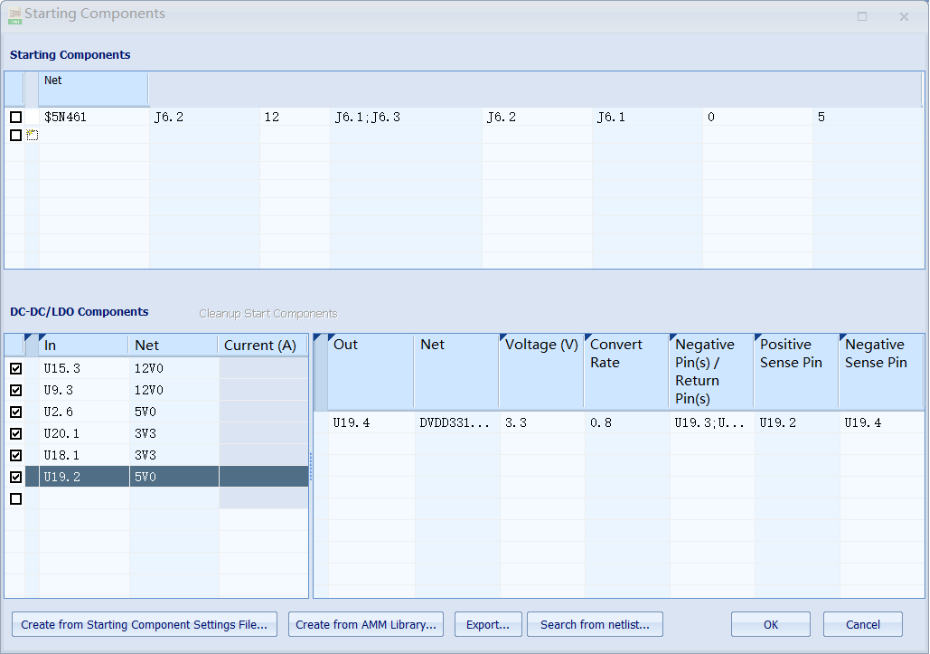
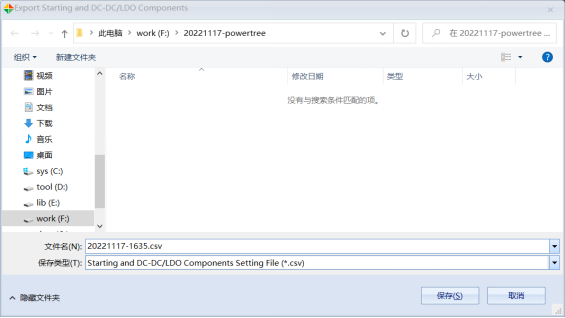
(3),Eport……导出CSV文件,并且保存:
(4),点击OK,弹出 Build Power Tree对话框:
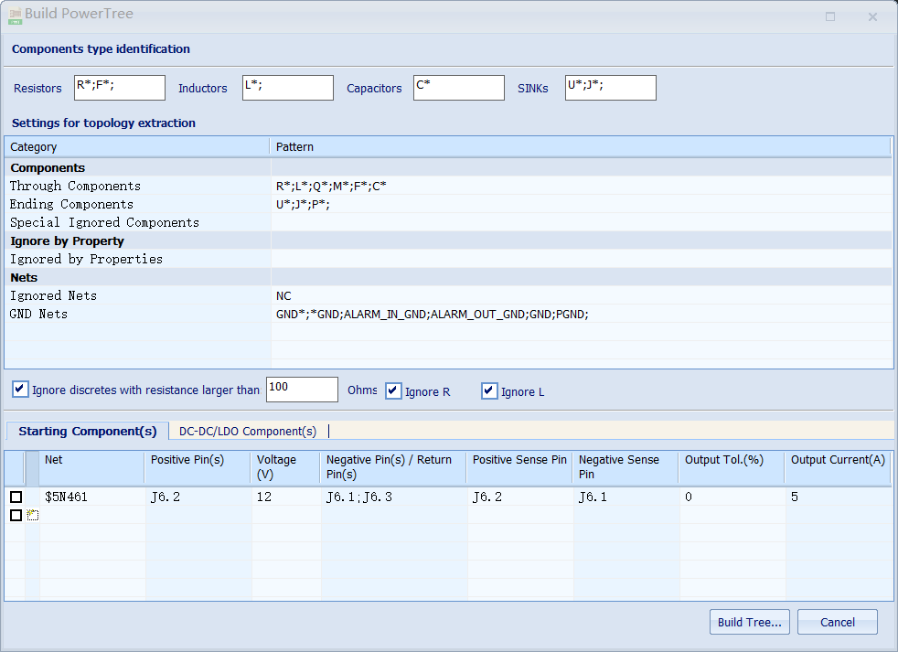
(5),Build Power Tree—Components type identification元器件类型识别规则:

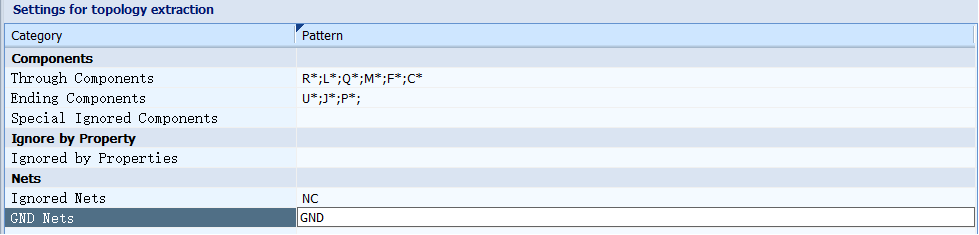
Build Power Tree—Settings for topology extraction拓扑提取设置规则
(6),Build Tree……:
右击White Background/Black Background切换

(7),点击Switch to Hierarchy view mode切换到层级视图,预览整个设计PowerTree:
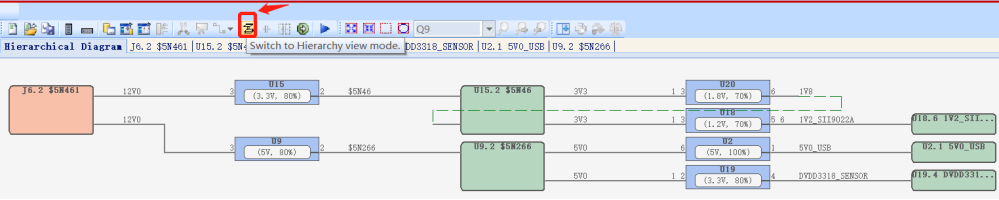
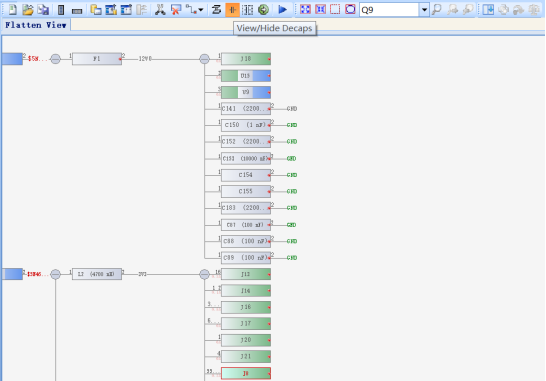
点击View/Hide Decaps 电容的显示和隐藏:
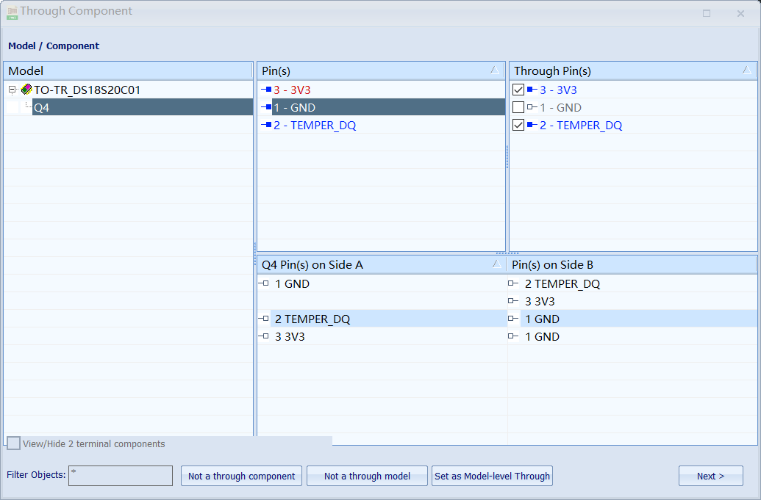
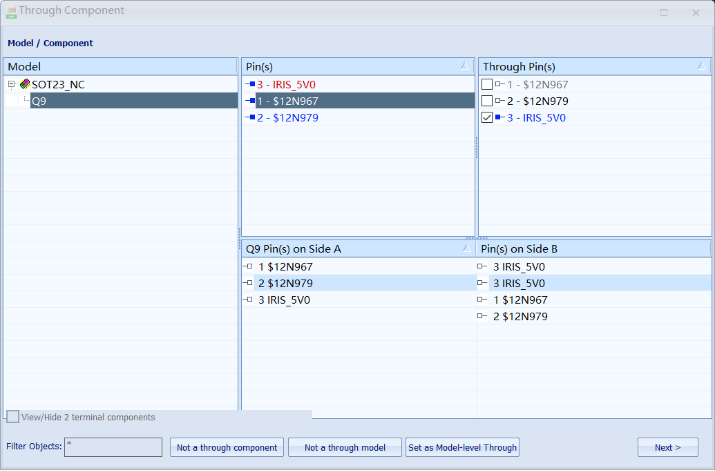
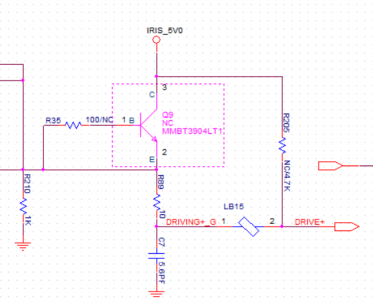
(8),选中元器件Q9,右击Ignore Component 忽略元器件。

2.4 PowerTree Setup—Apply PowerTree--;
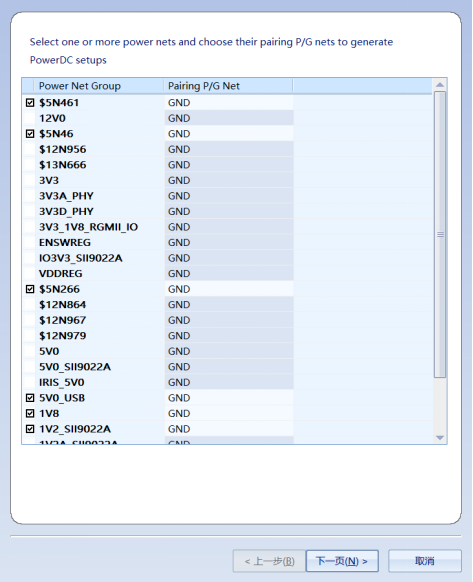
(1),点击Apply PowerTree……
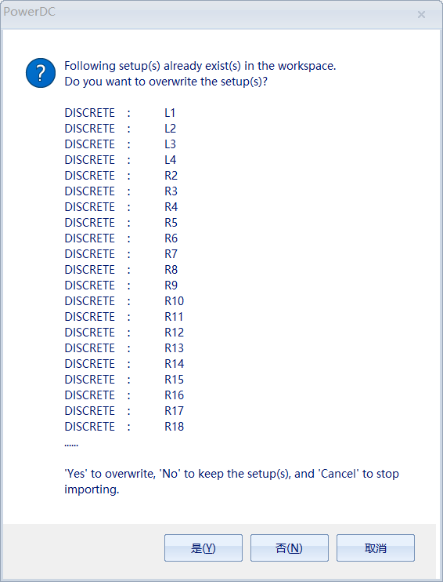
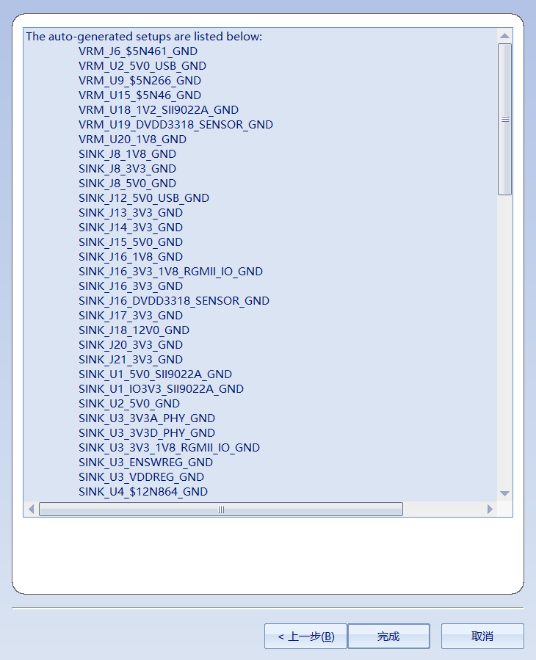
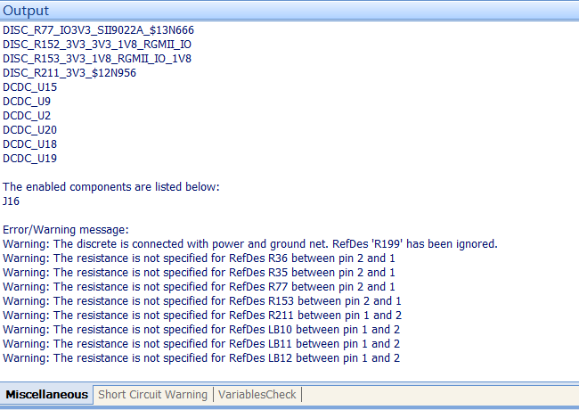
预览下Output下Error:
Error/Warning message:
Warning: The discrete is connected with power and ground net. RefDes 'R199' has been ignored.
Warning: The resistance is not specified for RefDes R36 between pin 2 and 1
Warning: The resistance is not specified for RefDes R35 between pin 2 and 1
Warning: The resistance is not specified for RefDes R77 between pin 2 and 1
Warning: The resistance is not specified for RefDes R153 between pin 2 and 1
Warning: The resistance is not specified for RefDes R211 between pin 1 and 2
Warning: The resistance is not specified for RefDes LB10 between pin 1 and 2
Warning: The resistance is not specified for RefDes LB11 between pin 1 and 2
(2),依旧选用PCB文件HI3516APERB_VER_B_PCB.brd
做PowerTree的目的是设置我们仿真电流密度和电压降跌落参数,主要是为了生成VRM、SINK等这些电流和电热仿真参数,比如电源、负载、串联电感,利用PowerTree来自动生成。


 427
427


 被折叠的 条评论
为什么被折叠?
被折叠的 条评论
为什么被折叠?
 到【灌水乐园】发言


