


使用AFN多张图片上传
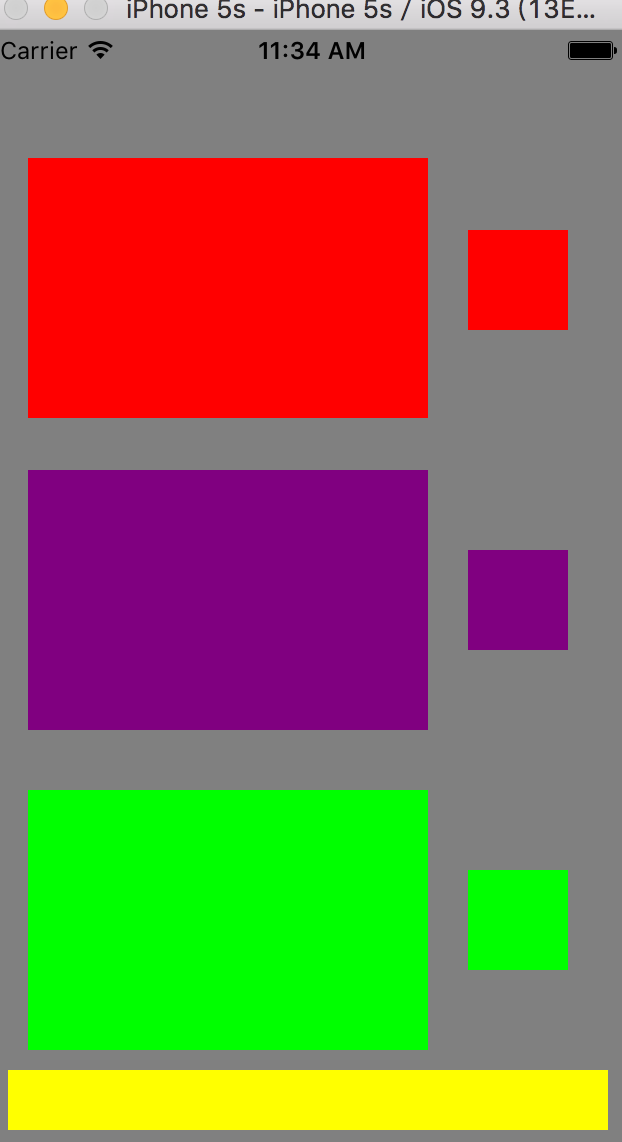
通过相机拍照等三张图片都完成之后点击提交按钮提交图片
#import "ViewController.h"
#import "AFNetworking.h"
#import "MBProgressHUD.h"
@interface ViewController ()<UIScrollViewDelegate, UIImagePickerControllerDelegate, UINavigationControllerDelegate>

@property (nonatomic, strong)UIScrollView *scrolView;

@property (nonatomic, strong) UIButton *isButton;
@property (nonatomic, strong) UIButton *theButton;
@property (nonatomic, strong) UIButton *personButton;

@property (nonatomic, assign) NSInteger btnTag;//标记是哪个拍照按钮点击的,进而对该按钮对应的照片赋值

@property (nonatomic, strong)UIImageView *isImageView;
@property (nonatomic, strong)UIImageView *theImageView;
@property (nonatomic, strong)UIImageView *personImageView;
@property (nonatomic, strong)UIButton *loginButton;
@property (nonatomic, strong)UIImagePickerController *picker;

//  上传图片数组
@property (nonatomic, strong)NSArray *picArray;
//  上传图片字典
@property (nonatomic, strong)NSMutableDictionary *picDictionary;
@end

@implementation ViewController


- (void)viewDidLoad {
    [super viewDidLoad];

    //  添加scrollview
    [self addScrollView];

    // 添加上传图片
    [self addUpPhoto];
}

#pragma mark 添加scrollview
- (void)addScrollView {
    self.scrolView = [[UIScrollView alloc]initWithFrame:CGRectMake(0, 0, self.view.bounds.size.width, self.view.bounds.size.height)];
    self.scrolView.backgroundColor = [UIColor grayColor];
    self.scrolView.delegate = self;
    //  是否支持滑动到最顶端
    //    self.scrolView.scrollsToTop = NO;
    self.scrolView.contentSize = CGSizeMake(self.view.bounds.size.width, self.view.bounds.size.height * 2);
    //   是否反弹
    self.scrolView.bounces = NO;
    //   是否分页
    self.scrolView.pagingEnabled = NO;
    //  是否滚动
    //    self.scrolView.scrollEnabled = NO;
    //  设置indicator风格
    self.scrolView.indicatorStyle = UIScrollViewIndicatorStyleWhite;
    //  设置内容的边距和indicators边缘
    //    self.scrolView.contentInset = UIEdgeInsetsMake(0, 50, 50, 0);
    //  提示用户
    [self.scrolView flashScrollIndicators];

    //  是否同时运动
    self.scrolView.directionalLockEnabled = YES;
    [self.view addSubview:self.scrolView];

}

#pragma  mark ---上传图片
- (void)addUpPhoto {

    //  身份证正面
    self.isImageView = [[UIImageView alloc]init];
    self.isImageView.frame = CGRectMake(20, 64, 200, 130);
    self.isImageView.backgroundColor = [UIColor redColor];
    [self.scrolView addSubview:self.isImageView];

    self.isButton = [[UIButton alloc]init];
    self.isButton.frame = CGRectMake( 240, 100, 50, 50);
    self.isButton.tag = 100;
    self.isButton.backgroundColor = [UIColor redColor];
    [self.isButton addTarget:self action:@selector(isButtonClick:) forControlEvents:UIControlEventTouchUpInside];
    [self.scrolView addSubview:self.isButton];

    //  身份证反面
    self.theImageView = [[UIImageView alloc]init];
    self.theImageView.frame = CGRectMake( 20, 220, 200, 130);
    self.theImageView.backgroundColor = [UIColor purpleColor];
    [self.scrolView addSubview:self.theImageView];

    self.theButton = [[UIButton alloc]init];
    self.theButton.frame = CGRectMake(240, 260, 50, 50);
    self.theButton.backgroundColor = [UIColor purpleColor];
    [self.theButton addTarget:self action:@selector(isButtonClick:) forControlEvents:UIControlEventTouchUpInside];
    self.theButton.tag = 101;
    [self.scrolView addSubview:self.theButton];

    //   个人照
    self.personImageView = [[UIImageView alloc]init];
    self.personImageView.frame = CGRectMake(20, 380, 200, 130);
    self.personImageView.backgroundColor = [UIColor greenColor];
    [self.scrolView addSubview:self.personImageView];

    self.personButton = [[UIButton alloc]init];
    self.personButton.frame = CGRectMake(240, 420, 50, 50);
    self.personButton.backgroundColor = [UIColor greenColor];
    [self.personButton addTarget:self action:@selector(isButtonClick:) forControlEvents:UIControlEventTouchUpInside];
    self.personButton.tag = 102;
    [self.scrolView addSubview:self.personButton];

    //  提交按钮
    self.loginButton = [[UIButton alloc]init];
    self.loginButton.frame = CGRectMake((self.view.bounds.size.width - 300) / 2, 520, 300, 30);
    self.loginButton.backgroundColor = [UIColor yellowColor];
    [self.loginButton addTarget:self action:@selector(loginButtonClik:) forControlEvents:UIControlEventTouchUpInside];
    [self.scrolView addSubview:self.loginButton];
}


#pragma mark通过相机获取照片并且传服务器

- (void)isButtonClick:(UIButton *)button {

    //  给设置一个全局的tag值
    self.btnTag = button.tag;

    if ([UIImagePickerController isSourceTypeAvailable:UIImagePickerControllerSourceTypeCamera]) {
        self.picker = [[UIImagePickerController alloc]init];
        self.picker.delegate = self;
        self.picker.sourceType = UIImagePickerControllerSourceTypeCamera;
        [self presentModalViewController:self.picker animated:YES];
    } else {
        UIAlertView *alert = [[UIAlertView alloc]
                              initWithTitle:@"failed to camera"
                              message:@""
                              delegate:nil
                              cancelButtonTitle:@"OK!"
                              otherButtonTitles:nil];
        [alert performSelectorOnMainThread:@selector(show) withObject:nil waitUntilDone:YES];
    }
}


- (void)imagePickerController:(UIImagePickerController *)picker didFinishPickingMediaWithInfo:(NSDictionary *)info {
    [MBProgressHUD showHUDAddedTo:self.view animated:YES];

    UIImage *sourceImage = info[UIImagePickerControllerOriginalImage];

    switch (self.btnTag) {

        //   如何获取从相机拍摄到的照片并且存到字典
        case 100: {
            self.isImageView.image = sourceImage;

            if ([[self.picDictionary allKeys]containsObject:@"isImage"]) {
                // 如果存在删除
                [self.picDictionary removeObjectForKey:@"isImage"];
                [self.picDictionary setObject:sourceImage forKey:@"isImage"];

            } else {
                // 如果不存在就添加
                [self.picDictionary setObject:sourceImage forKey:@"isImage"];
            }

            break;
        }
        case 101:
        {
            self.theImageView.image = sourceImage;


            if ([[self.picDictionary allKeys]containsObject:@"theImage"]) {
                // 如果存在删除
                [self.picDictionary removeObjectForKey:@"theImage"];
                [self.picDictionary setObject:sourceImage forKey:@"theImage"];

            } else {
                // 如果不存在就添加
                [self.picDictionary setObject:sourceImage forKey:@"theImage"];
            }
            break;
        }
        case 102:
        {
            self.personImageView.image = sourceImage;

            if ([[self.picDictionary allKeys]containsObject:@"personImage"]) {
                // 如果存在删除
                [self.picDictionary removeObjectForKey:@"personImage"];
                [self.picDictionary setObject:sourceImage forKey:@"personImage"];

            } else {
                // 如果不存在就添加
                [self.picDictionary setObject:sourceImage forKey:@"personImage"];
            }
            break;
        }
        default:
            break;
    }

    [self.picker dismissViewControllerAnimated:YES completion:nil];
    [MBProgressHUD hideHUDForView:self.view animated:YES];
}


#pragma mark 绘制图片
- (UIImage *)fixOrientation:(UIImage *)aImage {

    if (aImage.imageOrientation == UIImageOrientationUp)
        return aImage;

    // We need to calculate the proper transformation to make the image upright.
    // We do it in 2 steps: Rotate if Left/Right/Down, and then flip if Mirrored.
    CGAffineTransform transform = CGAffineTransformIdentity;

    switch (aImage.imageOrientation) {
        case UIImageOrientationDown:
        case UIImageOrientationDownMirrored:
            transform = CGAffineTransformTranslate(transform, aImage.size.width, aImage.size.height);
            transform = CGAffineTransformRotate(transform, M_PI);
            break;

        case UIImageOrientationLeft:
        case UIImageOrientationLeftMirrored:
            transform = CGAffineTransformTranslate(transform, aImage.size.width, 0);
            transform = CGAffineTransformRotate(transform, M_PI_2);
            break;

        case UIImageOrientationRight:
        case UIImageOrientationRightMirrored:
            transform = CGAffineTransformTranslate(transform, 0, aImage.size.height);
            transform = CGAffineTransformRotate(transform, -M_PI_2);
            break;
        default:
            break;
    }

    switch (aImage.imageOrientation) {
        case UIImageOrientationUpMirrored:
        case UIImageOrientationDownMirrored:
            transform = CGAffineTransformTranslate(transform, aImage.size.width, 0);
            transform = CGAffineTransformScale(transform, -1, 1);
            break;

        case UIImageOrientationLeftMirrored:
        case UIImageOrientationRightMirrored:
            transform = CGAffineTransformTranslate(transform, aImage.size.height, 0);
            transform = CGAffineTransformScale(transform, -1, 1);
            break;
        default:
            break;
    }

    // Now we draw the underlying CGImage into a new context, applying the transform
    // calculated above.
    CGContextRef ctx = CGBitmapContextCreate(NULL, aImage.size.width, aImage.size.height,
                                             CGImageGetBitsPerComponent(aImage.CGImage), 0,
                                             CGImageGetColorSpace(aImage.CGImage),
                                             CGImageGetBitmapInfo(aImage.CGImage));
    CGContextConcatCTM(ctx, transform);
    switch (aImage.imageOrientation) {
        case UIImageOrientationLeft:
        case UIImageOrientationLeftMirrored:
        case UIImageOrientationRight:
        case UIImageOrientationRightMirrored:
            CGContextDrawImage(ctx, CGRectMake(0,0,aImage.size.height,aImage.size.width), aImage.CGImage);
            break;

        default:
            CGContextDrawImage(ctx, CGRectMake(0,0,aImage.size.width,aImage.size.height), aImage.CGImage);
            break;
    }

    // And now we just create a new UIImage from the drawing context
    CGImageRef cgimg = CGBitmapContextCreateImage(ctx);
    UIImage *img = [UIImage imageWithCGImage:cgimg];
    CGContextRelease(ctx);
    CGImageRelease(cgimg);
    return img;
}

- (void)imagePickerControllerDidCancel:(UIImagePickerController *)picker {
    [self.picker dismissModalViewControllerAnimated:YES];
}


- (void)loginButtonClik:(UIButton *)button {

    //   将字典中的图片放倒数组里面
    self.picArray  = [self.picDictionary allValues];

    NSString * url = [NSString stringWithFormat:@"http://116.255.251.220:680/api/Files/PostFile"];
    AFHTTPRequestOperationManager * manager = [AFHTTPRequestOperationManager manager];

        [manager POST:url parameters:nil constructingBodyWithBlock:^(id<AFMultipartFormData>  _Nonnull formData) {
            [MBProgressHUD showHUDAddedTo:self.view animated:YES];

        //  图片上传
            for (NSInteger i = 0; i < self.picArray.count; i ++) {
                UIImage *images = self.picArray[i];
                NSData *picData = UIImageJPEGRepresentation(images, 0.5);
                NSDateFormatter *formatter = [[NSDateFormatter alloc] init];
                formatter.dateFormat = @"yyyyMMddHHmmss";
                NSString *fileName = [NSString stringWithFormat:@"%@%ld.png", [formatter stringFromDate:[NSDate date]], (long)i];
                [formData appendPartWithFileData:picData name:[NSString stringWithFormat:@"uploadFile%ld",(long)i] fileName:fileName mimeType:@"image/png"];
            }
    } success:^(AFHTTPRequestOperation * _Nonnull operation, id  _Nonnull responseObject) {
        [MBProgressHUD hideHUDForView:self.view animated:YES];
        NSLog(@"宝宝头像上传== %@", responseObject);

    } failure:^(AFHTTPRequestOperation * _Nonnull operation, NSError * _Nonnull error) {
        NSLog(@"错误信息=====%@", error.description);
        }];
}

-(NSMutableDictionary *)picDictionary
{
    if (_picDictionary == nil) {
        _picDictionary = [NSMutableDictionary dictionary];
    }
    return _picDictionary;
}

- (NSArray *)picArray {
    if (_picArray == nil) {
        _picArray = [NSArray array];
    }
    return _picArray;
}


 1391
1391

 被折叠的 条评论
为什么被折叠?
被折叠的 条评论
为什么被折叠?
 到【灌水乐园】发言


