


1、
随着Spring 4新版本的发布,Spring Boot这个新的子项目得到了广泛的关注,因为不管是Spring 4官方发布的新闻稿还是针对首席架构师Adrian Colyer的专访,都对这个子项目所带来的生产率提升赞誉有加。
Spring Boot充分利用了JavaConfig的配置模式以及“约定优于配置”的理念,能够极大的简化基于Spring MVC的Web应用和REST服务开发。
Spring 4倡导微服务的架构,针对这一理念,近来在微博上也有一些有价值的讨论,如这里和这里。微服务架构倡导将功能拆分到离散的服务中,独立地进行部署,Spring Boot能够很方便地将应用打包成独立可运行的JAR包,因此在开发模式上很契合这一理念。目前,Spring Boot依然是0.5.0的里程碑版本,因此相关的文档尚不完善,本文将会以一个简单的样例来介绍基于这个项目的开发过程。
2、
spring boot 基于spring MVC的基础上进行了改进, 将@Controller 与@ResponseBody 进行了合并成一个新的注解 @RestController。
当用户请求时,需要有视图渲染的,与请求数据的请求分别使用@Controller与@RestController 。
3、
本文章重点介绍如何应用springboot简单的配置返回一个jsp页面
4、
首先新建一个maven项目(war包和jar包都行,简易实用war包,jar测试没问题,但是打包之后会出现找不到页面的问题。),gradle也可以,根据自己的喜好。本人使用的是maven3.9 。
(1)在pom文件夹下添加如下依赖
<?xml version="1.0" encoding="UTF-8"?>
<project xmlns="http://maven.apache.org/POM/4.0.0" xmlns:xsi="http://www.w3.org/2001/XMLSchema-instance"
    xsi:schemaLocation="http://maven.apache.org/POM/4.0.0 http://maven.apache.org/xsd/maven-4.0.0.xsd">
    <modelVersion>4.0.0</modelVersion>
    <groupId>com.qbd</groupId>
    <artifactId>springbootmybatis</artifactId>
    <version>0.0.1-SNAPSHOT</version>
    <packaging>war</packaging>
    <name>springboot-mybatis</name>
    <description>Demo project for Spring Boot</description>

    <parent>
        <groupId>org.springframework.boot</groupId>
        <artifactId>spring-boot-starter-parent</artifactId>
        <version>1.5.2.RELEASE</version>
        <relativePath /> <!-- lookup parent from repository -->
    </parent>
    <properties>
        <project.build.sourceEncoding>UTF-8</project.build.sourceEncoding>
        <project.reporting.outputEncoding>UTF-8</project.reporting.outputEncoding>
        <java.version>1.8</java.version>
    </properties>

    <dependencies>
        <!-- Compile -->
        <dependency>
            <groupId>org.springframework.boot</groupId>
            <artifactId>spring-boot-starter-web</artifactId>
        </dependency>
        <dependency>
            <groupId>javax.servlet</groupId>
            <artifactId>jstl</artifactId>
        </dependency>
        <!-- Provided -->
        <dependency>
            <groupId>org.springframework.boot</groupId>
            <artifactId>spring-boot-starter-tomcat</artifactId>
            <scope>provided</scope>
        </dependency>
        <dependency>
            <groupId>org.apache.tomcat.embed</groupId>
            <artifactId>tomcat-embed-jasper</artifactId>
            <scope>provided</scope>
        </dependency>
        <!-- Test -->
        <dependency>
            <groupId>org.springframework.boot</groupId>
            <artifactId>spring-boot-starter-test</artifactId>
            <scope>test</scope>
        </dependency>
    </dependencies>
    <build>
        <plugins>
            <plugin>
                <groupId>org.springframework.boot</groupId>
                <artifactId>spring-boot-maven-plugin</artifactId>
            </plugin>
            <plugin>
                <groupId>org.apache.maven.plugins</groupId>
                <artifactId>maven-surefire-plugin</artifactId>
                <configuration>         <useSystemClassLoader>false</useSystemClassLoader>
                </configuration>
            </plugin>
        </plugins>
    </build>
</project>
(2)在src/main/resources下新建一个application.properties内容如下
#返回的前缀   目录对应src/main/webapp下
spring.mvc.view.prefix: /pages/
#返回的后缀
spring.mvc.view.suffix: .jsp
(3)编写启动类
package com.qbd;

import org.springframework.boot.SpringApplication;
import org.springframework.boot.autoconfigure.SpringBootApplication;
import org.springframework.boot.builder.SpringApplicationBuilder;
import org.springframework.boot.web.support.SpringBootServletInitializer;
@SpringBootApplication
//返回jsp页面必须继承SpringBootServletInitializer类重写里面的方法
public class SpringbootMybatisApplication extends SpringBootServletInitializer {

    public static void main(String[] args) {
        SpringApplication.run(SpringbootMybatisApplication.class, args);
    }

    @Override
    protected SpringApplicationBuilder configure(SpringApplicationBuilder application) {
        return application.sources(SpringbootMybatisApplication.class);
    }
}
(3)编写controller
package com.qbd;


import org.springframework.stereotype.Controller;
import org.springframework.web.bind.annotation.RequestMapping;


//这个注解不能使用RestController,不然会返回模板类型的页面
@Controller
public class UserController {
    @RequestMapping("/index")
    public String index() {

        return "index";
    }
}
(4)在src/main/webapp/pages下新建一个index.jsp页面
<%@ page language="java" contentType="text/html; charset=UTF-8"
pageEncoding="UTF-8"%>
<!DOCTYPE html PUBLIC "-//W3C//DTD HTML 4.01 Transitional//EN" "http://www.w3.org/TR/html4/loose.dtd">
<html>
<head>
<meta http-equiv="Content-Type" content="text/html; charset=UTF-8">
<title>Insert title here</title>
</head>
<body>
hello
</body>
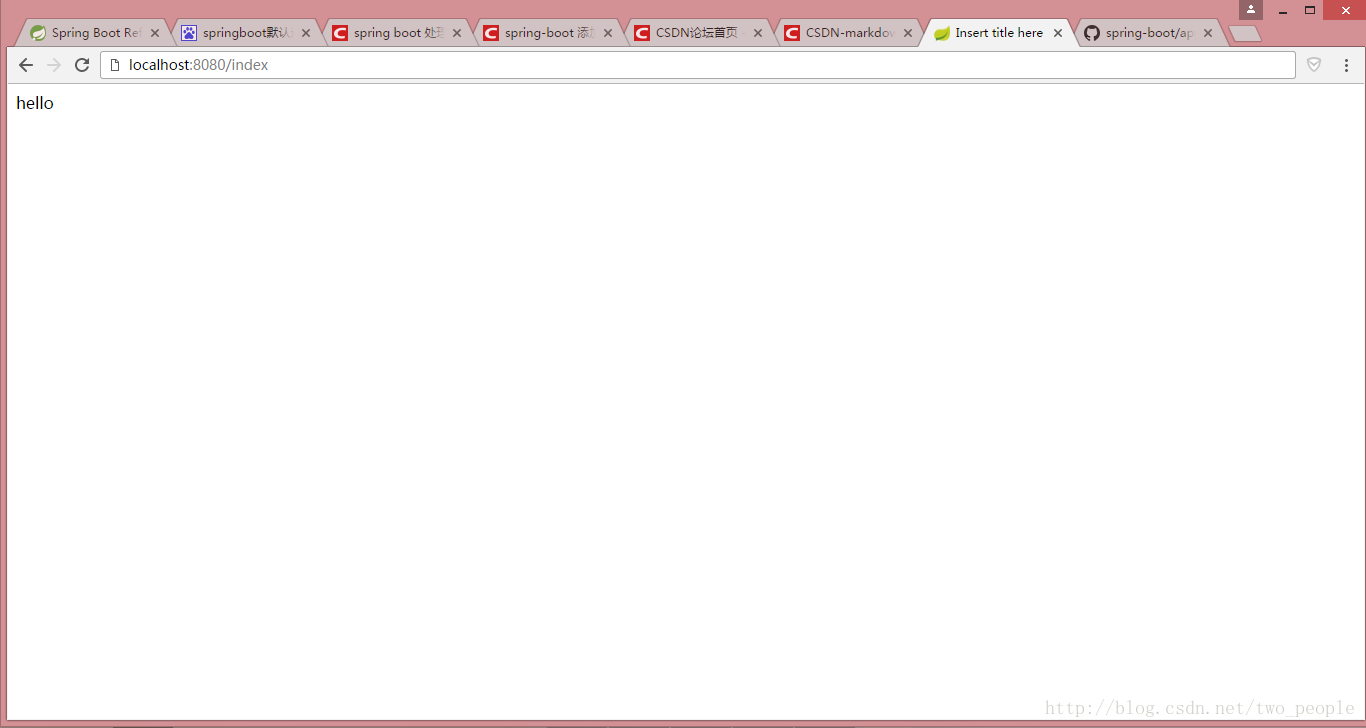
</html>(5)然后运行启动类 访问http://localhost:8080/index结果如下
5
根据以上配置即可,如果还有不明白可以参考官方的例子地址为
https://github.com/spring-projects/spring-boot/tree/master/spring-boot-samples/spring-boot-sample-web-jsp


 927
927


 被折叠的 条评论
为什么被折叠?
被折叠的 条评论
为什么被折叠?
 到【灌水乐园】发言


