


15、AutoLayout使用UIScrollView
1、Xcode12 在Xib中进行UIScrollView布局
1.1 概要
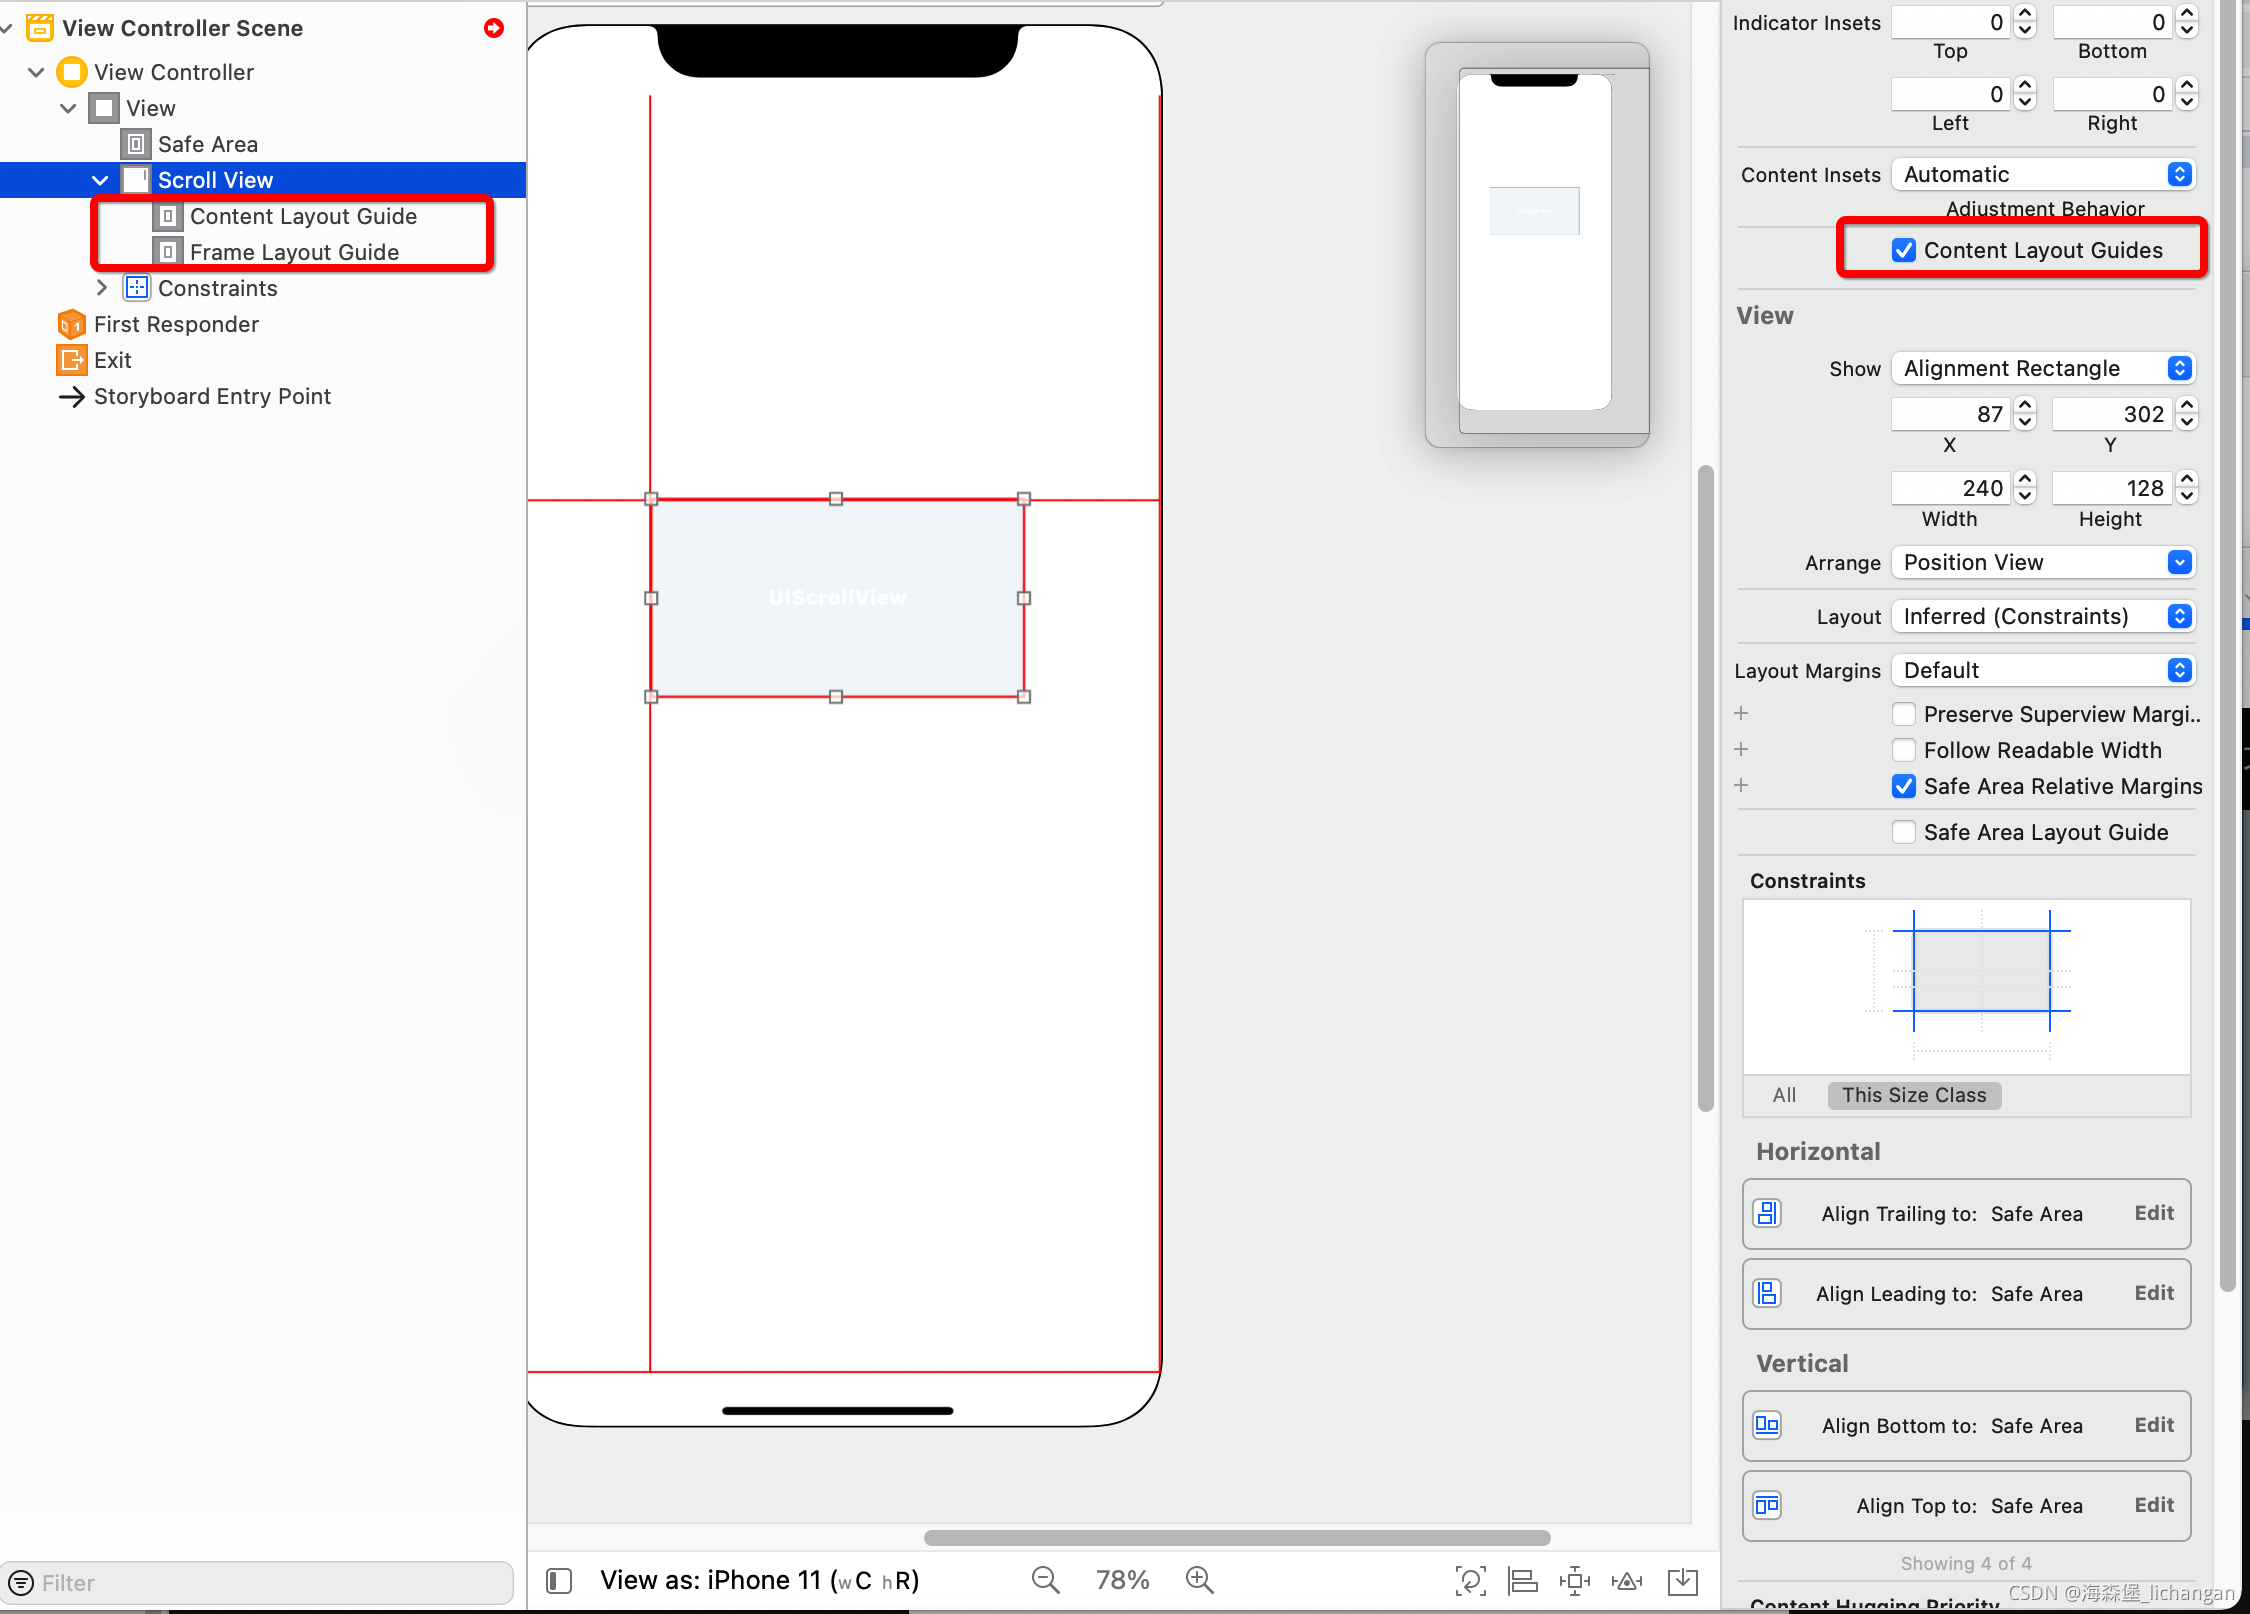
在Xcode11中对UIScrollView在Xib中的布局,苹果引入了Content Layout guide和Frame Layout Guide。我们拖动一个UIScrollView到Xib中,默认就会有Content Layout guide和Frame Layout Guide两个选项嵌入。如下图:

1.2 布局方式
一、在视图控制器中拖入一个UIScrollView并设置约束
拖入一个UIScrollView到ViewController中,并分别设置它相对于父视图的约束为0,如下图:
二、拖入一个UIView到UIScrollView中,并设置它的约束
拖入一个UIView到UIScrollView中,作为内容显示视图,Autolayout将使用这个View的宽高来计算UIScrollView的滚动范围,并分别设置它相对于Content Layout guide的约束为0,具体步骤为:左键选中View,右键拖动它到Content Layout guide上,按住shift键,将上下左右都给选中,如果xcode默认了当前的相对数据,在右边将它手动改为0,操作如下图
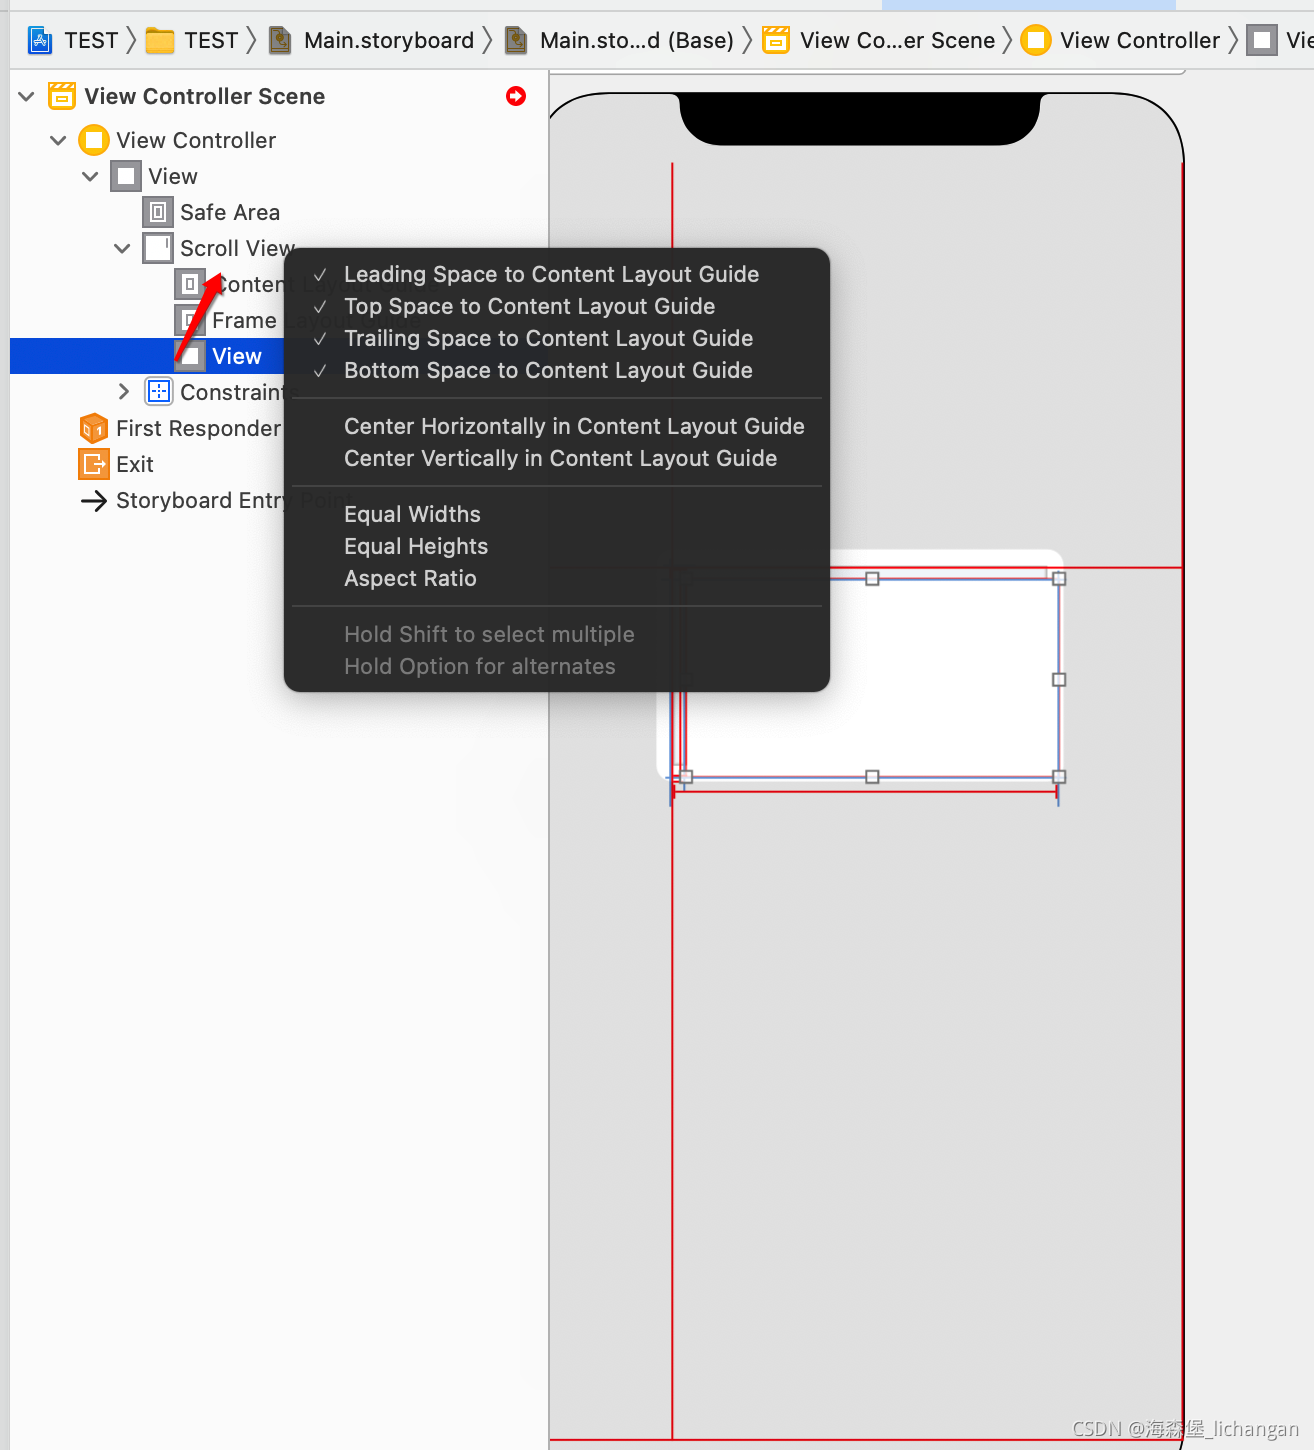
注意上图中右边红框区域,默认的一般不是0,要将它手动修改为0。
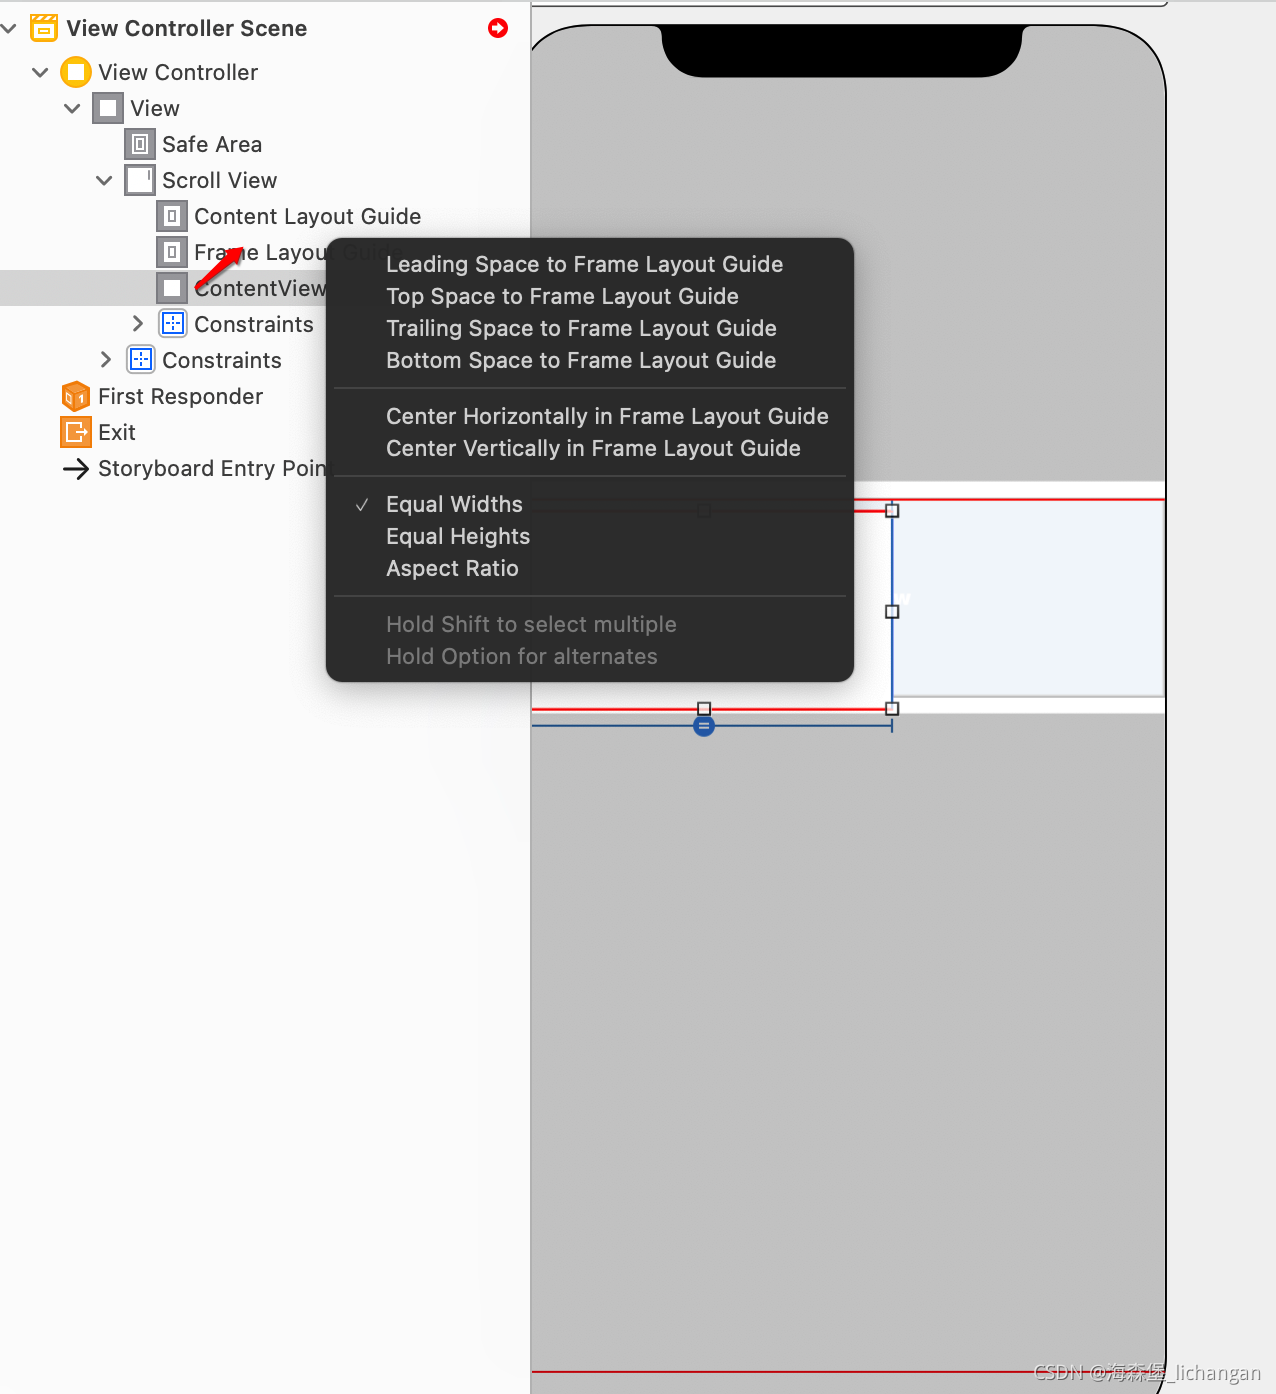
接下来,我们将View改名为ContentView,方便标识。
三、设置内容滚动范围
上面的步骤设置之后,我们会发现红线仍然存在,这是因为AutoLayout仍然不知道内容的滚动范围是多大,我们接下来设置滚动范围,具体步骤为,左键选中ContentView,右键拖动到Frame Layout Guide
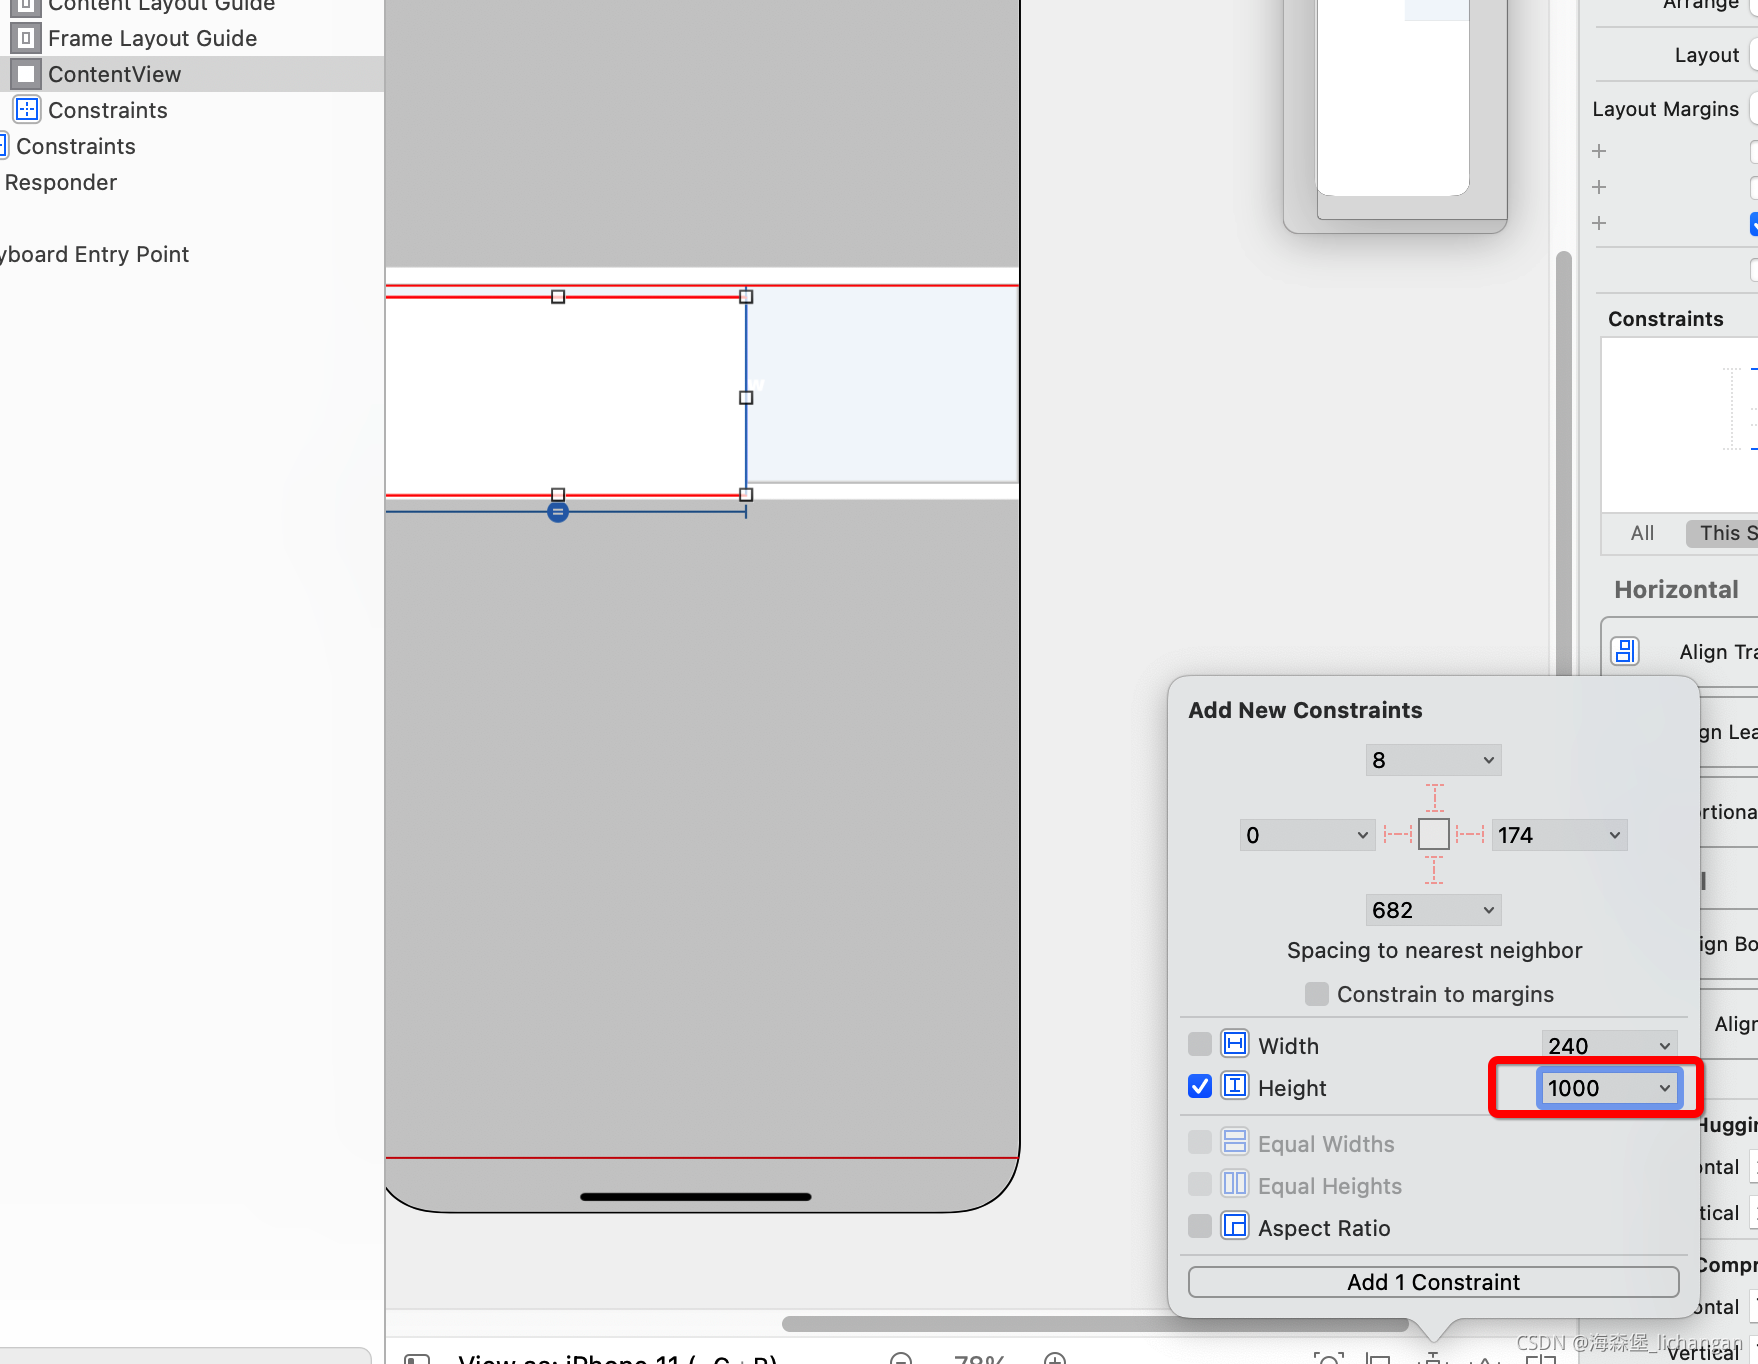
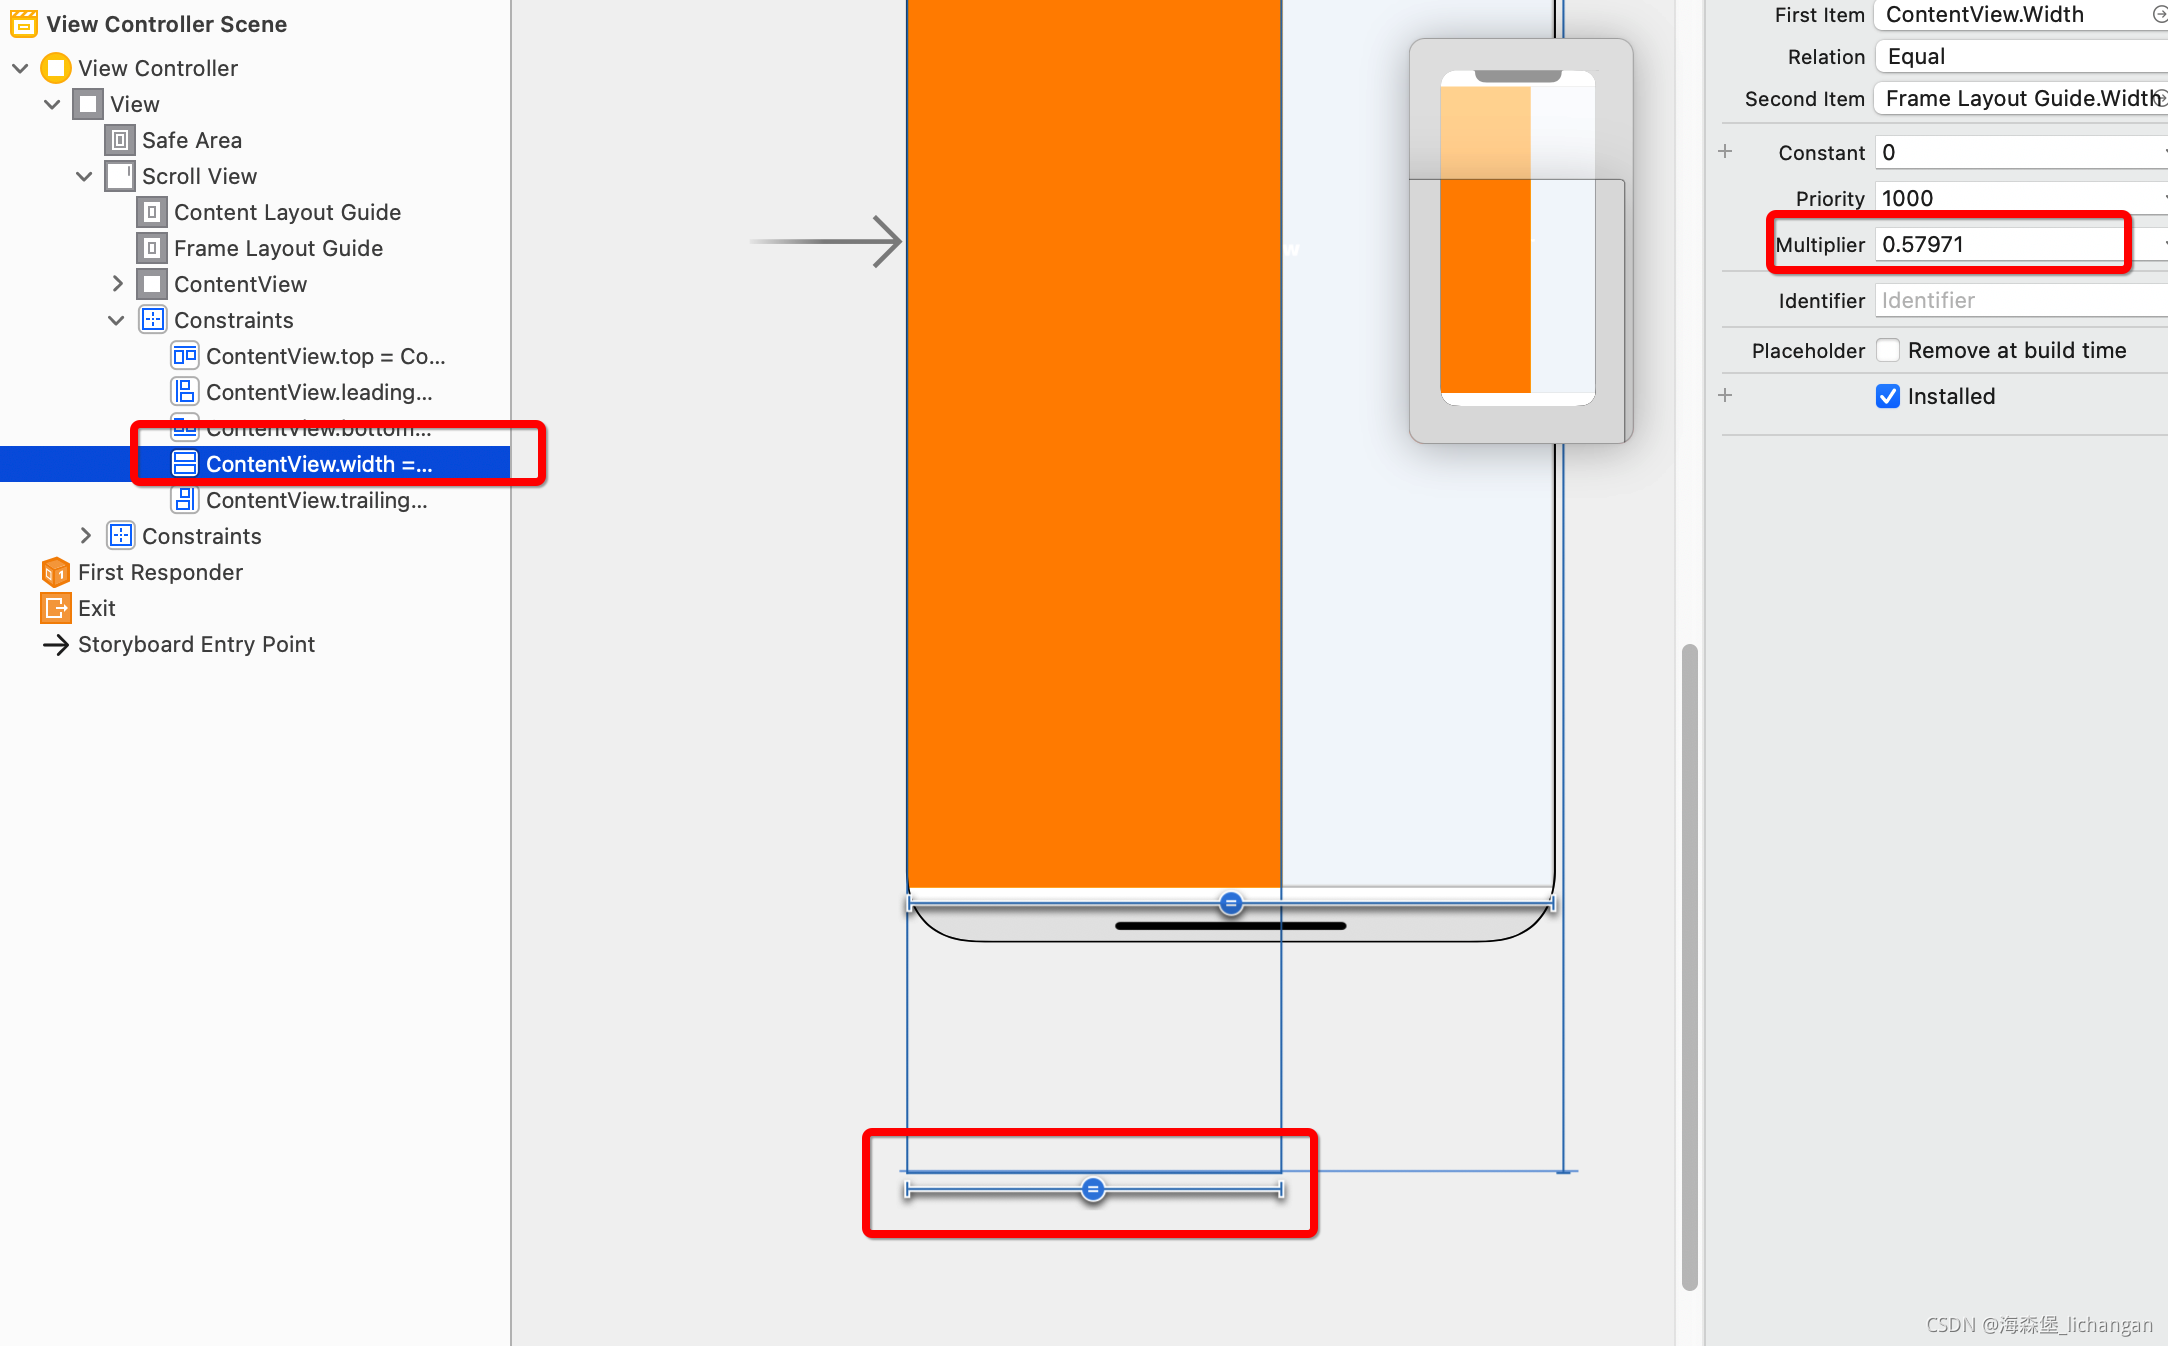
在Xcode12中,出现了宽度只有一半的情况。
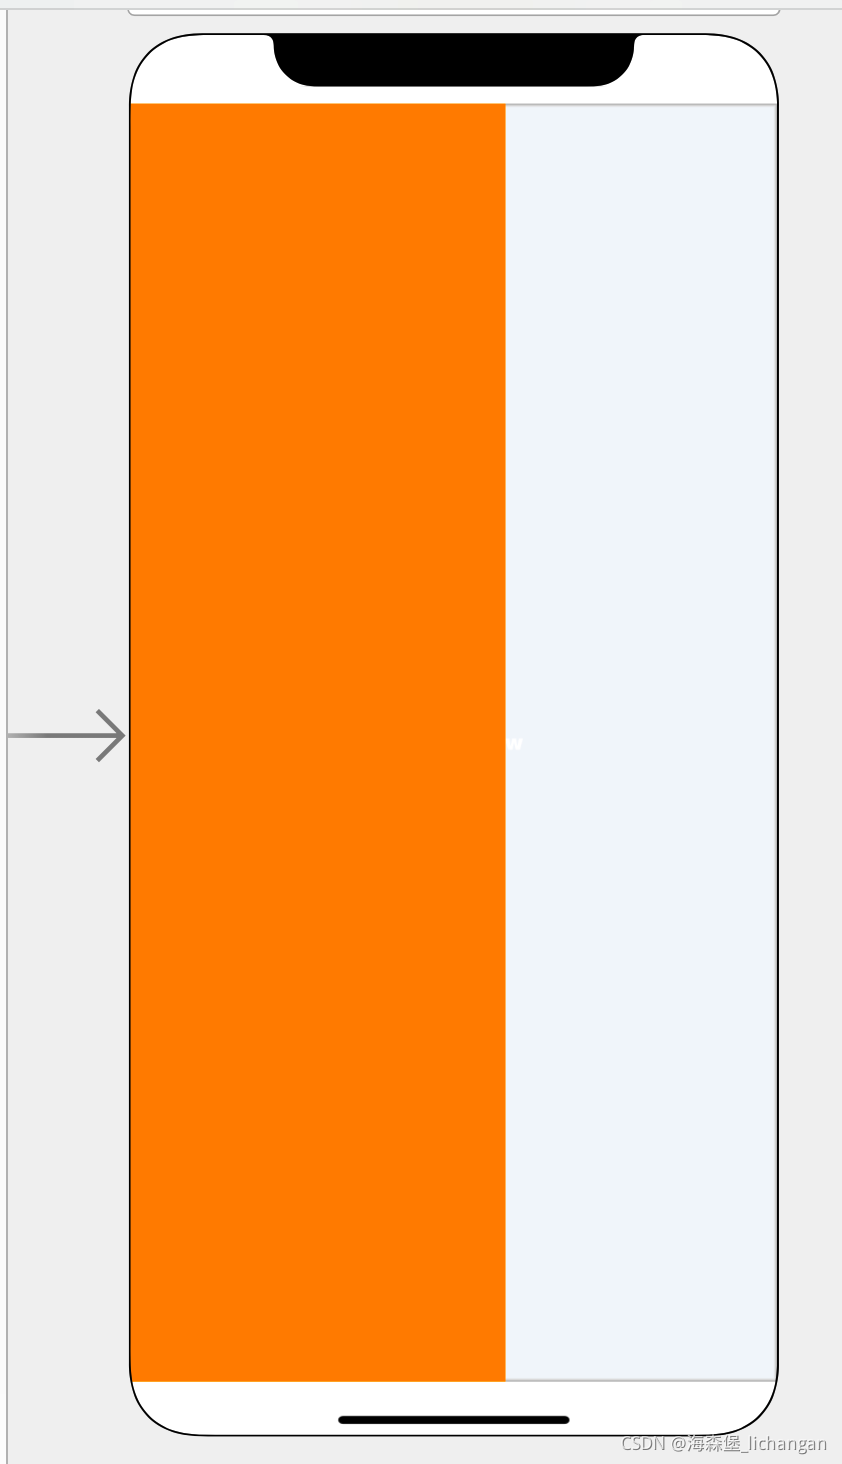
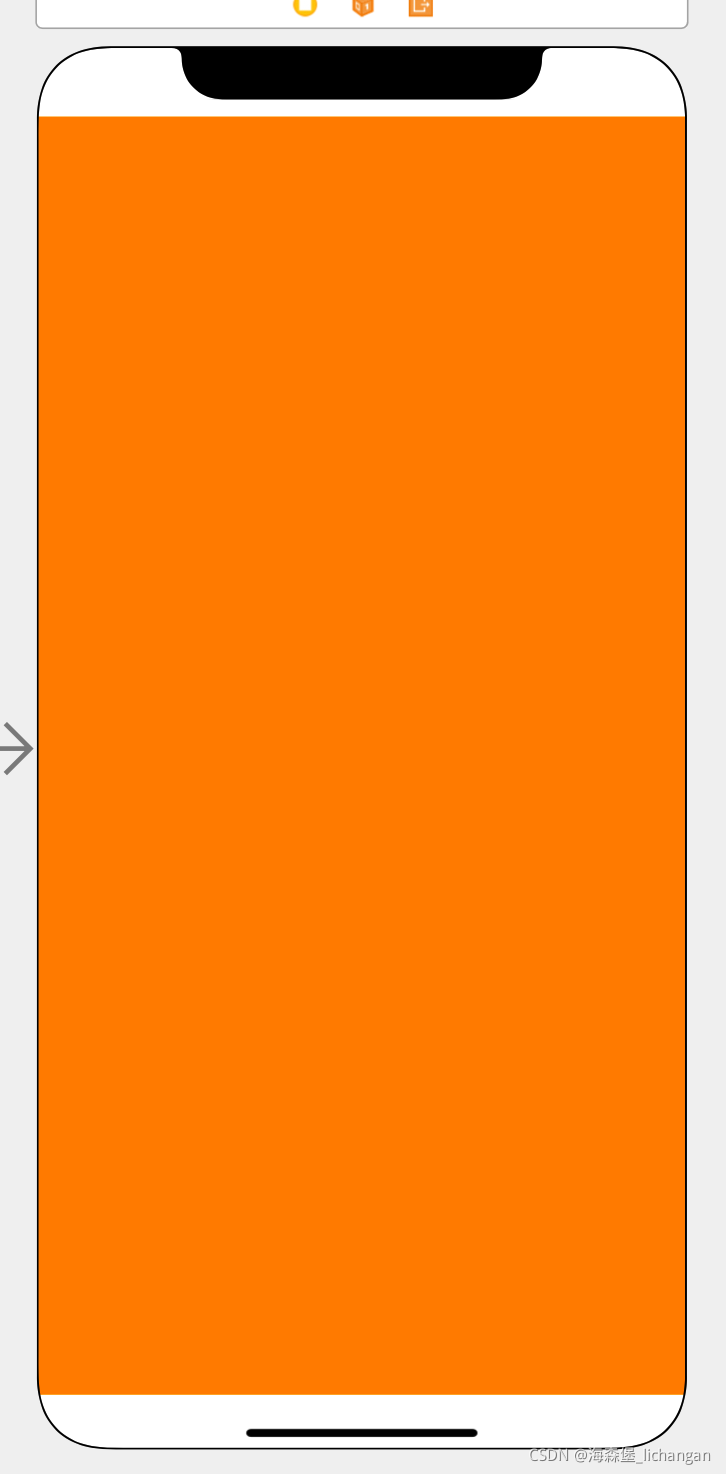
这是因为在Xcode12中,设置contentView的宽度和Frame Layout Guide的宽度equal Widths时,默认给设置为一个0.5左右的小数,我们把它更改为1即可以达到效果。
2、SnapKit使用scrollView
        let scrollView = UIScrollView()
        let contentView = UIView()
        contentView.backgroundColor = UIColor.greenColor()
        let view1 = UIView()
        view1.backgroundColor = UIColor.redColor()
        let view2 = UIView()
        view2.backgroundColor = UIColor.blueColor()

        view.addSubview(scrollView)
        scrollView.addSubview(contentView)
        contentView.addSubview(view1)
        contentView.addSubview(view2)

        scrollView.snp_makeConstraints { (make) in
            make.edges.equalTo(view)
        }

        contentView.snp_makeConstraints { (make) in
            make.edges.equalTo(scrollView)
            make.width.equalTo(view)
        }

        view1.snp_makeConstraints { (make) in
            make.top.equalTo(contentView)
            make.leading.trailing.equalTo(contentView)
            make.width.equalTo(contentView)
            make.height.equalTo(500)
        }

        view2.snp_makeConstraints { (make) in
            make.top.equalTo(view1.snp_bottom)
            make.bottom.equalTo(contentView.snp_bottom)
            make.leading.trailing.equalTo(contentView)
            make.width.equalTo(contentView)
            make.height.equalTo(500)
        }
注意点:
- 1、contentView的宽度要相对与view,不是scrollView
- 2、contentView内的控件要相对于contentView自上而下布局
- 3、contentView内最后一个控件的bottom要相对于contentView的bottom


 2922
2922

 被折叠的 条评论
为什么被折叠?
被折叠的 条评论
为什么被折叠?
 到【灌水乐园】发言


