


 本文详细介绍如何在Elasticsearch集群中配置SSL证书,包括生成p12文件、注册密码到keystore、复制证书文件、修改配置文件、设置内置用户密码、重启集群以及配置Kibana的过程。
Elasticsearch修改
1.进入容器并生成p12文件
[root@localhost conf]# c'c'c
[root@7e2278353444 elasticsearch]# cd bin
[root@7e2278353444 bin]# elasticsearch-certutil ca
This tool assists you in the generation of X.509 certificates and certificate
signing requests for use with SSL/TLS in the Elastic stack.

The 'ca' mode generates a new 'certificate authority'
This will create a new X.509 certificate and private key that can be used
to sign certificate when running in 'cert' mode.

Use the 'ca-dn' option if you wish to configure the 'distinguished name'
of the certificate authority

By default the 'ca' mode produces a single PKCS#12 output file which holds:
    * The CA certificate
    * The CA's private key

If you elect to generate PEM format certificates (the -pem option), then the output will
be a zip file containing individual files for the CA certificate and private key

Please enter the desired output file [elastic-stack-ca.p12]: elastic-certificate.p12
Enter password for elastic-certificate.p12 :
[root@7e2278353444 bin]# elasticsearch-keystore add xpack.security.transport.ssl.keystore.secure_password
Enter value for xpack.security.transport.ssl.keystore.secure_password:
[root@7e2278353444 bin]# elasticsearch-keystore add xpack.security.transport.ssl.truststore.secure_password
Enter value for xpack.security.transport.ssl.truststore.secure_password:
[root@7e2278353444 bin]#
英文部分的大致意思如下:
ca 模式会生成一个包含CA证书和私钥的.p12文件,也可以通过选择-pem模式生成独立的证书和私钥文件
2.注册密码到keystore
[root@7e2278353444 bin]# elasticsearch-keystore add xpack.security.transport.ssl.keystore.secure_password
Enter value for xpack.security.transport.ssl.keystore.secure_password:
[root@7e2278353444 bin]# elasticsearch-keystore add xpack.security.transport.ssl.truststore.secure_password
Enter value for xpack.security.transport.ssl.truststore.secure_password:
[root@7e2278353444 bin]#
注意:
各个节点都需要执行,因为p12是同一个文件所以密码也是相同的,需要输入的密码即生成证书文件时输入的密码
3.复制p12文件到其他节点对应文件夹下
[root@7e2278353444 bin]# cd ..
[root@7e2278353444 elasticsearch]# ls -ll
total 572
-rw-r--r--  1 elasticsearch root  13675 Jul 21 16:38 LICENSE.txt
-rw-r--r--  1 elasticsearch root 544318 Jul 21 16:42 NOTICE.txt
-rw-r--r--  1 elasticsearch root   8165 Jul 21 16:38 README.asciidoc
drwxr-xr-x  2 elasticsearch root   4096 Jul 21 16:45 bin
drwxrwxrwx  2 root          root    105 Aug  7 08:17 config
drwxrwxrwx  3 root          root     19 Aug  3 13:47 data
-rw-------  1 root          root   2527 Aug  7 08:15 elastic-certificate.p12
drwxr-xr-x  1 elasticsearch root     17 Jul 21 16:43 jdk
drwxr-xr-x  3 elasticsearch root   4096 Jul 21 16:43 lib
drwxrwxrwx  2 root          root      6 Jul 29 12:44 logs
drwxr-xr-x 47 elasticsearch root   4096 Jul 21 16:44 modules
drwxr-xr-x  3 root          root     31 Aug  3 13:46 plugins
[root@7e2278353444 elasticsearch]# cp elastic-certificate.p12 config/
[root@7e2278353444 elasticsearch]# exit
exit
[root@localhost conf]# ls
elastic-certificate.p12  elasticsearch.keystore  elasticsearch.yml  jvm.options  log4j2.properties
[root@localhost conf]# chmod 777 -R elastic-certificate.p12
[root@localhost conf]# cp elastic-certificate.p12 ../../es02/conf/
[root@localhost conf]# cp elastic-certificate.p12 ../../es03/conf/
[root@localhost conf]# cd ../../es02/conf/
[root@localhost conf]# ls -ll
总用量 20
-rwxr-xr-x 1 root root 2527 8月   7 16:47 elastic-certificate.p12
-rwxrwxrwx 1 root root  199 8月   3 21:05 elasticsearch.keystore
-rwxrwxrwx 1 root root 2064 8月   4 21:47 elasticsearch.yml
-rwxrwxrwx 1 root root   18 8月   6 21:36 jvm.options
-rwxrwxrwx 1 root root 1238 8月   3 21:05 log4j2.properties
[root@localhost conf]# chown -R 777 elastic-certificate.p12
[root@localhost conf]# cd ../../es03/conf
[root@localhost conf]# chown -R 777 elastic-certificate.p12
4.修改配置文件
elasticsearch.yml (原配置文件后追加,各个节点都需要修改,添加的内容一致)
xpack.security.enabled: true
xpack.security.transport.ssl.enabled: true
xpack.security.transport.ssl.verification_mode: certificate
xpack.security.transport.ssl.keystore.path: elastic-certificate.p12
xpack.security.transport.ssl.truststore.path: elastic-certificate.p12
5.重新创建容器
[root@localhost conf]# docker rm -f es-01 es-02 es-03
es-01
es-02
es-03
[root@localhost conf]# free -m
              total        used        free      shared  buff/cache   available
Mem:           7301         693        4982          11        1624        6190
Swap:             0           0           0
# 重新创建容器命令
docker run -p 9200:9200 -p 9300:9300 --name es-01 \
-v /opt/elk7/es/es01/data01:/usr/share/elasticsearch/data \
-v /opt/elk7/es/es01/conf:/usr/share/elasticsearch/config \
-v /opt/elk7/es/es01/logs:/usr/share/elasticsearch/logs \
-v /opt/elk7/es/plugins:/usr/share/elasticsearch/plugins \
-d elasticsearch:7.8.1

docker run -p 9202:9202 -p 9302:9302 --name es-02 \
-v /opt/elk7/es/es02/data02:/usr/share/elasticsearch/data \
-v /opt/elk7/es/es02/conf:/usr/share/elasticsearch/config \
-v /opt/elk7/es/es02/logs:/usr/share/elasticsearch/logs \
-v /opt/elk7/es/plugins:/usr/share/elasticsearch/plugins \
-d elasticsearch:7.8.1

docker run -p 9203:9203 -p 9303:9303 --name es-03 \
-v /opt/elk7/es/es03/data03:/usr/share/elasticsearch/data \
-v /opt/elk7/es/es03/conf:/usr/share/elasticsearch/config \
-v /opt/elk7/es/es03/logs:/usr/share/elasticsearch/logs \
-v /opt/elk7/es/plugins:/usr/share/elasticsearch/plugins \
-d elasticsearch:7.8.1
6.设置内置用户密码
[root@localhost conf]# docker exec -it es-01 bash
[root@4c691d52b066 elasticsearch]# cd bin
[root@4c691d52b066 bin]# elasticsearch-setup-passwords interactive
Initiating the setup of passwords for reserved users elastic,apm_system,kibana,kibana_system,logstash_system,beats_system,remote_monitori
You will be prompted to enter passwords as the process progresses.
Please confirm that you would like to continue [y/N]y


Enter password for [elastic]:
Reenter password for [elastic]:
Enter password for [apm_system]:
Reenter password for [apm_system]:
Enter password for [kibana_system]:
Reenter password for [kibana_system]:
Enter password for [logstash_system]:
Reenter password for [logstash_system]:
Enter password for [beats_system]:
Reenter password for [beats_system]:
Enter password for [remote_monitoring_user]:
Reenter password for [remote_monitoring_user]:
Changed password for user [apm_system]
Changed password for user [kibana_system]
Changed password for user [kibana]
Changed password for user [logstash_system]
Changed password for user [beats_system]
Changed password for user [remote_monitoring_user]
Changed password for user [elastic]
[root@4c691d52b066 bin]# exit
注意: 设置只能操作一次,再次操作就是更新密码了。
7.重启es集群
docker restart es-01 es-02 es-03
kibana修改
1.复制p12文件到kibana对应的文件夹
[root@localhost es]# cd es01/
[root@localhost es01]# ls
conf  data01  logs  plugins
[root@localhost es01]# cd conf
[root@localhost conf]# ls
elastic-certificate.p12  elasticsearch.keystore  elasticsearch.yml  jvm.options  log4j2.properties
[root@localhost conf]# cp elastic-certificate.p12 /opt/elk7/kibana/conf
2.修改kibana配置文件
elasticsearch.ssl.truststore.path: /usr/share/kibana/config/elastic-certificate.p12
elasticsearch.ssl.keystore.path: /usr/share/kibana/config/elastic-certificate.p12
elasticsearch.ssl.verificationMode: certificate
elasticsearch.username: kibana_system
3.添加密码到keystore
# 进入kibana容器内部
docker exec -it kibana bash
# 进入bin目录
cd bin
# 创建keystore
kibana-keystore create
# 添加对应的password
kibana-keystore add elasticsearch.ssl.truststore.password
kibana-keystore add elasticsearch.ssl.keystore.password
kibana-keystore add elasticsearch.password
exit
4.重新生成kibana容器
docker run -it -p 5601:5601 --name kibana \
-v /opt/elk7/kibana/logs/kibana.log:/usr/share/kibana/logs/kibana.log \
-v /opt/elk7/kibana/data:/usr/share/kibana/data \
-v /opt/elk7/kibana/conf:/usr/share/kibana/config \
-d kibana:7.8.1
5.验证
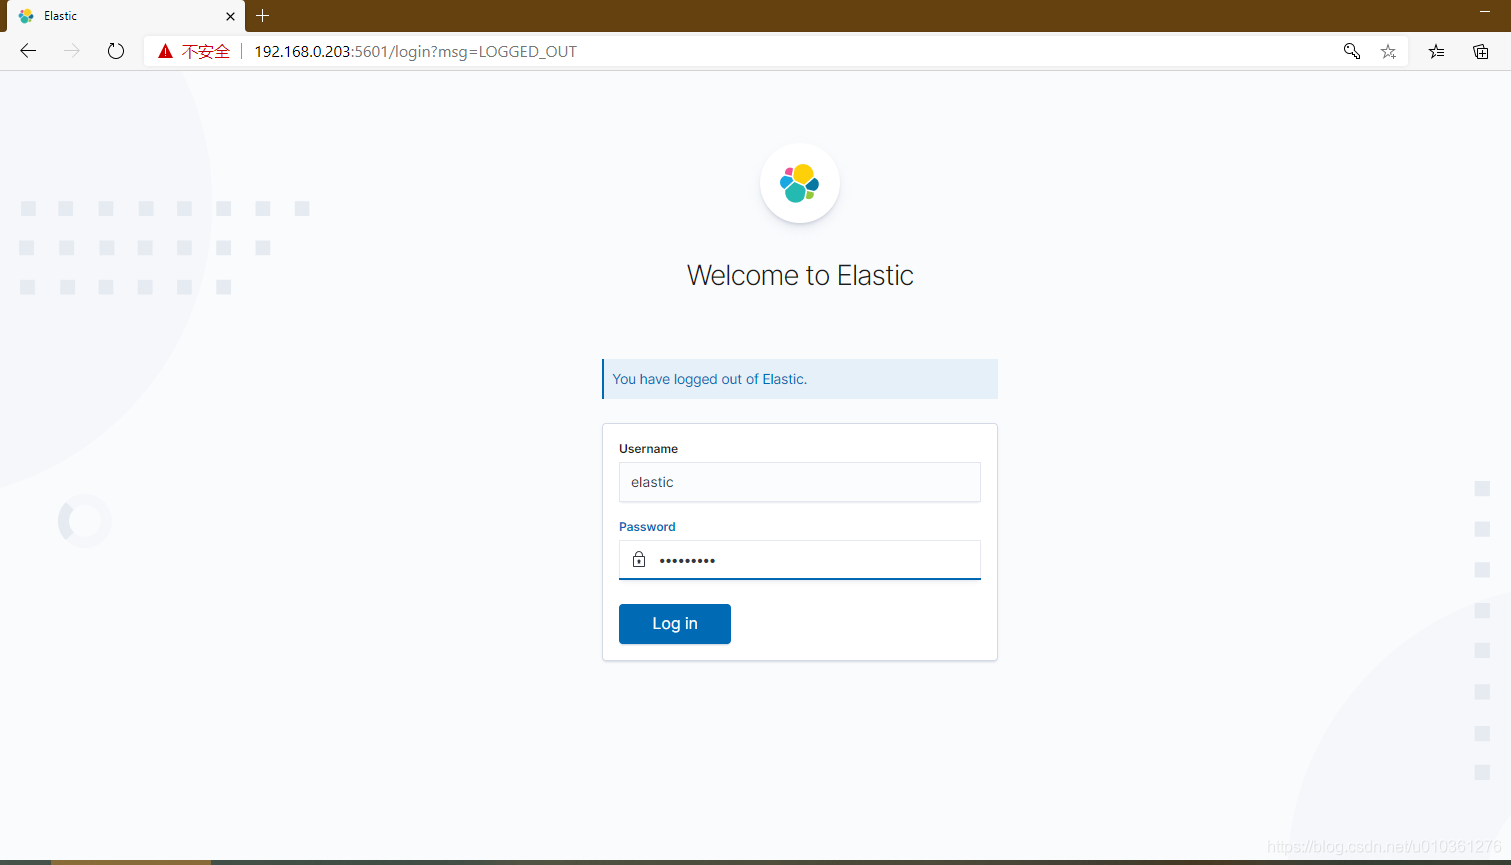
1) kibana运行截图
登陆页面使用elastic和配置的密码进行登陆
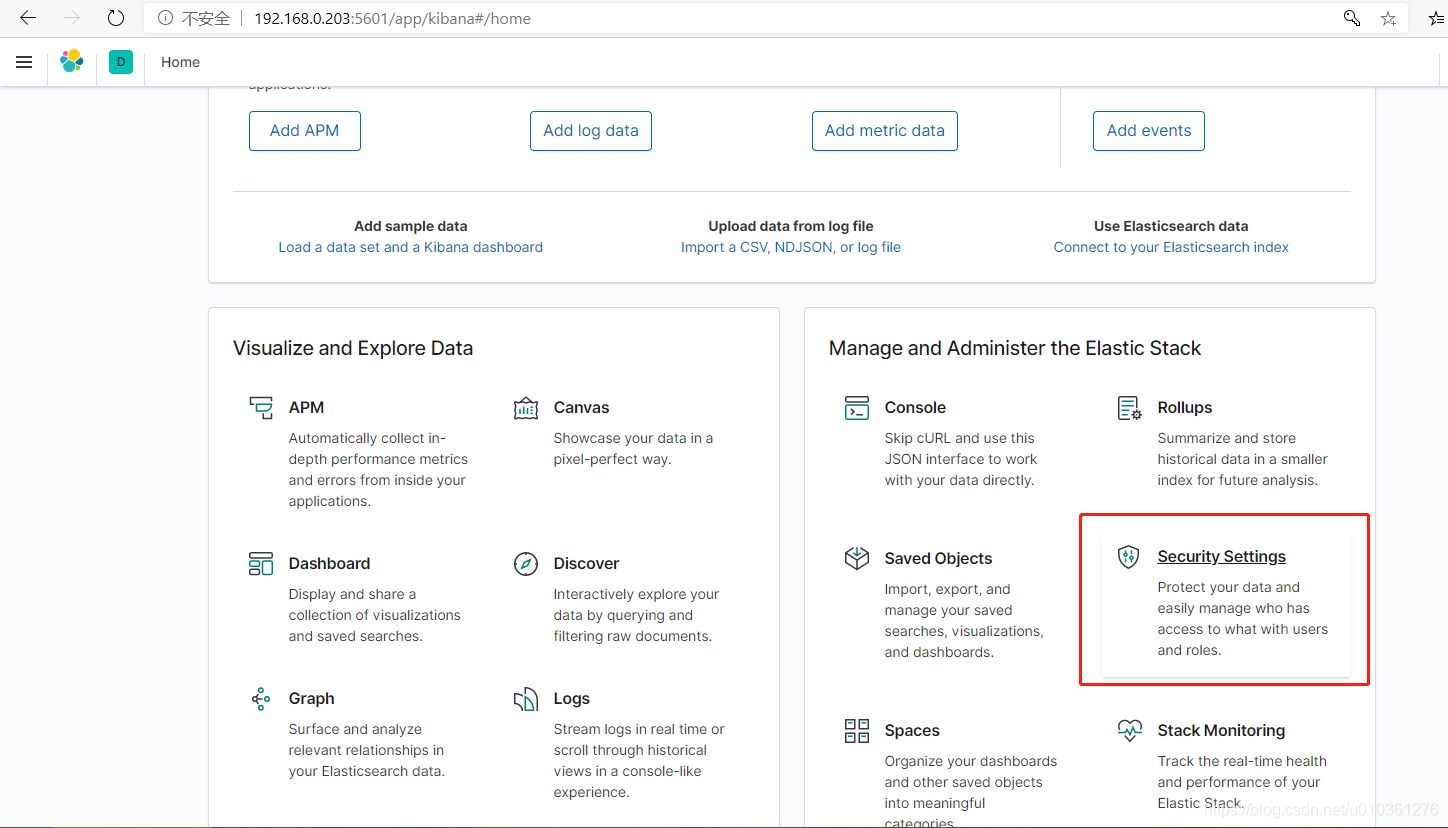
2)登陆之后的页面
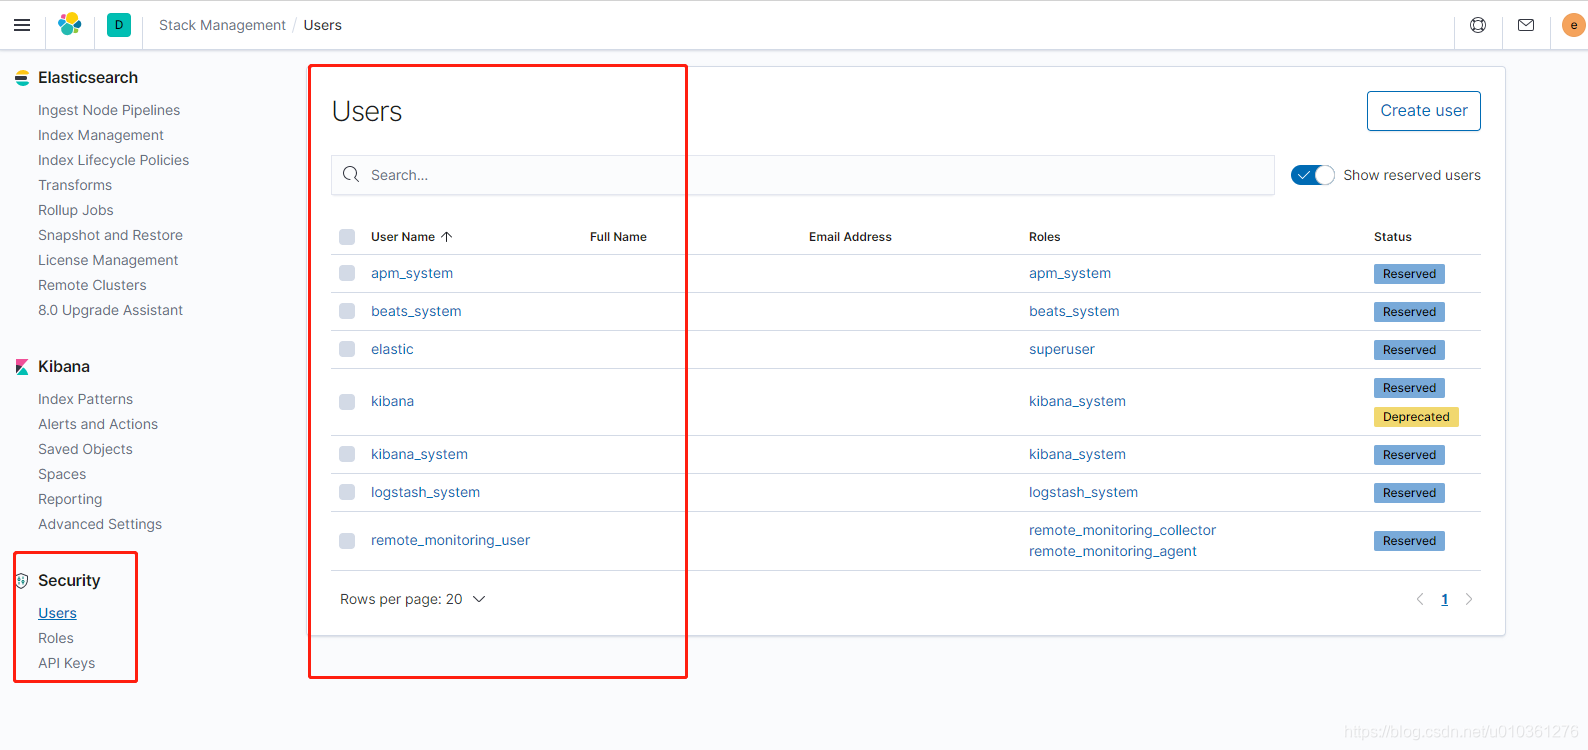
3)安全设置主界面及菜单
总结来说整体的操作顺序如下:
1.进入ES容器生成p12文件
2.添加密钥到elasticsearch.keystore
3.复制证书文件到各个节点并在每个节点执行步骤2
4.修改ES配置文件
5.重新生成容器并运行(需要挂在p12文件到正确的目录,
  也就是和配置文件中引用的地址对应)
6.设置ES内置账号的密码
7.配置kibana/logstash等其他组件


 被折叠的 条评论
为什么被折叠?
被折叠的 条评论
为什么被折叠?
 到【灌水乐园】发言


