


欢迎转载,务必注明出处:http://blog.csdn.net/wang_shuai_ww/article/details/44458553
源码下载地址:http://download.csdn.net/detail/u010406724/8515377
本篇介绍怎么使用前面建立好的库文件。
要使用JNI库文件,那么首先我们是需要把它加载到系统中,并对其定义接口,供给应用来调用。
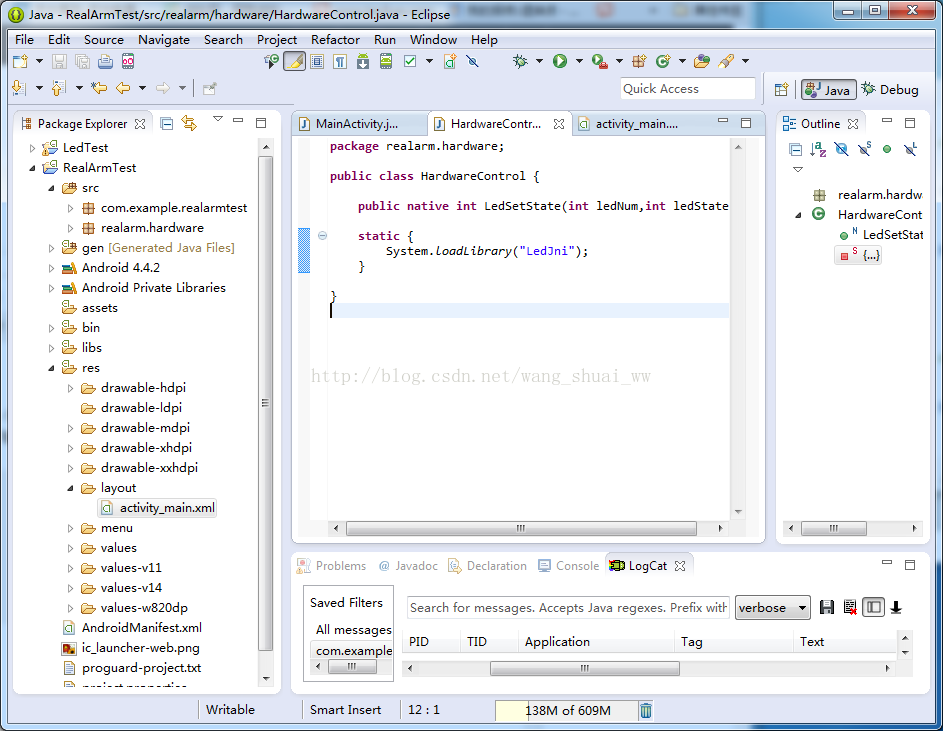
建立一个工程,我的工程名为RealArmTest,过程就省略了,完成后再在src下建立一个类,不继承其他类,包名为realarm.hardware,新建的类名为HardwareControl。代码如下:
package realarm.hardware;

public class HardwareControl {

	public native int LedSetState(int ledNum,int ledState);

	static {
		System.loadLibrary("LedJni");
	}

}
具体的工程如下图:
主activity文件源码如下:
package com.example.realarmtest;

import android.app.Activity;
import android.os.Bundle;
import android.view.View;
import android.widget.ImageView;
import android.widget.ToggleButton;
import realarm.hardware.HardwareControl;;

public class MainActivity extends Activity {
	private HardwareControl MyLedTest = null;
	private ToggleButton btnLed;
	private ImageView imageLed;
    @Override
    protected void onCreate(Bundle savedInstanceState) {
        super.onCreate(savedInstanceState);
        setContentView(R.layout.activity_main);

        btnLed = (ToggleButton) findViewById(R.id.btnLed);
        imageLed = (ImageView) findViewById(R.id.imageLed);

        MyLedTest = new HardwareControl();
        MyLedTest.LedSetState(0, 0);
        imageLed.setImageResource(R.drawable.bulboff);

        btnLed.setOnClickListener(new View.OnClickListener() {

			@Override
			public void onClick(View v) {
				if(btnLed.isChecked()){
					imageLed.setImageResource(R.drawable.bulbon);
					MyLedTest.LedSetState(0, 1);
				}
				else {
					imageLed.setImageResource(R.drawable.bulboff);
					MyLedTest.LedSetState(0, 0);
				}
			}
		});
    }
}
是不是发现更简洁了,也容易理解,O(∩_∩)O。
布局文件为:
<RelativeLayout xmlns:android="http://schemas.android.com/apk/res/android"
    xmlns:tools="http://schemas.android.com/tools"
    android:layout_width="match_parent"
    android:layout_height="match_parent"
    android:paddingBottom="@dimen/activity_vertical_margin"
    android:paddingLeft="@dimen/activity_horizontal_margin"
    android:paddingRight="@dimen/activity_horizontal_margin"
    android:paddingTop="@dimen/activity_vertical_margin"
    tools:context="com.example.ledtest.MainActivity" >

    <ToggleButton
        android:id="@+id/btnLed"
        android:layout_width="wrap_content"
        android:layout_height="wrap_content"
        android:layout_alignLeft="@+id/imageLed"
        android:layout_alignRight="@+id/imageLed"
        android:layout_centerVertical="true"
        android:textOff="开灯"
        android:textOn="关灯" />

    <ImageView
        android:id="@+id/imageLed"
        android:layout_width="wrap_content"
        android:layout_height="wrap_content"
        android:layout_above="@+id/btnLed"
        android:layout_centerHorizontal="true"
        android:layout_marginBottom="22dp"
        android:src="@drawable/bulboff" />

</RelativeLayout>
最后愿看这些系列文章的朋友都能对Android驱动到上层应用有一定的了解。


 3709
3709

 被折叠的 条评论
为什么被折叠?
被折叠的 条评论
为什么被折叠?
 到【灌水乐园】发言


