


关于如何配置fastDFS+nginx这个问题小安就不在此多说了,网上都有教程,虽然不近完美但是想必大家都可以把这个框架配出来。
为了大家需要我还是找了份详细的教程,将连接分享如下:
http://pan.baidu.com/s/1i3D6wPR
下面是我小安在配置过程之中切身的经验,做成了Q&A以供参考,如有雷同纯属巧合,哈哈。
首先我先写两条基本操作:
fastDFS开启:
开启tracker:
/usr/bin/fdfs_trackerd /home/an/work/fastDFS/TLOGS/conf/tracker.conf restart
开启storage:
/usr/bin/fdfs_storaged /home/an/work/fastDFS/SLOGS/conf/storage.conf restart
上传文件:
fdfs_upload_file /home/an/work/fastDFS/CLOGS/conf/client.conf /home/an/work/fastDFS/CLOGS/conf/1.jpg
(注意:路径改为你在自己系统里安装的实际路径!!)
另外记得用root权限哦~
如果需要更改配置文件但并没有熟练的vi基本功用gedit的话那么记得修改文件夹权限:
chmod -R 777 [filename]
查看端口情况:
netstat -unltp | grep fdfs
fastDFS如果不能正常启动的话请检查依赖包是否完整
这个是nginx需要的依赖包:wget http://fastdfs.googlecode.com/files/fastdfs-nginx-module_v1.15.tar.gz
下面是小安Q&A环节:
1,
Q:安装完fastDFS但没有安装nginx可以上传图片,但是通过返回的URL用浏览器访问图片做不到
A:最新版的fastDFS已经不自带支持HTTP访问服务了,只能说你看的教程太旧了,必须配合其他的服务器才可提供访问。
2,
Q:安装完nginx修改完配置nginx.conf后一直报错怎么办?(此问题适用于各种情况)
A:这个很大程度上在于你的nginx并没有配置相关的模块。这时候你要问了:我nginx已经安装好了如何把模块添加进去?呵呵,哼是没法硬插进去。所以我的朋友,重新编译吧!
在网上有许多配置模块的命令但我特意到国外官网上找到最全的:
首先进入nginx安装文件夹所在目录,将其中的make.sh删掉,之后运行以下命令
./configure --prefix=/etc/nginx \
--sbin-path=/usr/sbin/nginx \
--conf-path=/etc/nginx/nginx.conf \
--error-log-path=/var/log/nginx/error.log \
--http-log-path=/var/log/nginx/access.log \
--pid-path=/var/run/nginx.pid \
--lock-path=/var/run/nginx.lock \
--http-client-body-temp-path=/var/cache/nginx/client_temp \
--http-proxy-temp-path=/var/nginx/proxy_temp \
--http-fastcgi-temp-path=/var/cache/nginx/fastcgi_temp \
--http-uwsgi-temp-path=/var/cache/nginx/uwsgi_temp \
--http-scgi-temp-path=/var/cache/nginx/scgi_temp \
--user=nginx \
--group=nginx \
--with-http_ssl_module \
--with-http_realip_module \
--with-http_addition_module \
--with-http_sub_module \
--with-http_dav_module \
--with-http_flv_module \
--with-http_mp4_module \
--with-http_gunzip_module \
--with-http_gzip_static_module \
--with-http_random_index_module \
--with-http_secure_link_module \
--with-http_stub_status_module \
--with-http_auth_request_module \
--with-mail \
--with-mail_ssl_module \
--with-file-aio \
--with-http_spdy_module \
--with-ipv6 \
--add-module=/home/an/work/etc/fastdfs-nginx-module/src \
--add-module=/home/an/work/etc/ngx_cache_purge \
--with-pcre=/home/an/work/etc/pcre-8.34 \
--with-zlib=/home/an/work/etc/zlib-1.2.7
这里请注意把目录调整为你自己的目录并且最后四个命令相关的组件:fastdfs-nginx-module || ngx_cache_purge || pcre-8.34 || zlib-1.2.7如果你没有的话就到网上下载。运行命令之前记住要先安装 pcre-8.34 || zlib-1.2.7这两个组件(进入文件夹make+make install)
运行命令之后输入命令make进行编译,之后将以前安装好的nginx配置文件 *.conf自己备份后(改了哪个就备份哪个)运行make install。
(其实就是图省事,你也可以复制替换nginx二进制文件,如果还是不懂的话可以搜一下“nginx升级”)
3,
Q:ERROR: nginx: [emerg] getpwnam("**") failed
A:这个网上也有相关的回答例如:sudo adduser --system --no-create-home --disabled-password --group nginx
额,反正我是没成功滴...
我的办法是:在nginx.conf中 把"#user [nobody];"的前面#注释去掉,改为"user root;"就可(介个是从根本上解决问题呀!)
4,
Q:ERROR:open() "/var/run/nginx.pid" failed (2: No such file or directory)
A:这是经常出现的问题,不废话:nginx -c /etc/nginx/nginx.conf 解决问题(请填写自己的正确目录)
5,
Q:ERROR:include file "http.conf" not exists, line: "#include http.conf"
A:找到mod_fastdfs.conf文件(找不到就到根目录find -name)之中找到: #include http.conf 在这个的前面添加“#”就可
6,
Q:ERROR:host "tracker" is invalid
A:这个的话在仍然是mod_fastdfs.conf文件中 有一项目是tracker_server=**** 默认显示的是tracker_server = tracker. 应该是没有替换后面的tracker为实际tracker的ip:port.
小安奉劝顺手吧后面的store_path0=....的端口号都改了吧。
7,
Q:ERROR:unknown directive "proxy_cache_purge"
A:nginx缺少了proxy_cache_purge模块,不要怀疑,直接按照小安上文第二个Q&A来解决。
8,
Q:Error:http.mime_types_filename not exist or is empty
A:找到http.conf(如果找不到咋整?搜!)找到其中
http.mime_types_filename=
http.anti_steal.token_check_fail=
改为实际mime.types和anti-steal.jpg存在的路径
如果说找不到或者改了也没用的话就删掉小安觉得也无伤大雅
还有一个在安装时别忘了
ln -s /home/an/work/fastDFS/SP0/data /home/an/work/fastDFS/SP0/data/M00(改为实际路径)
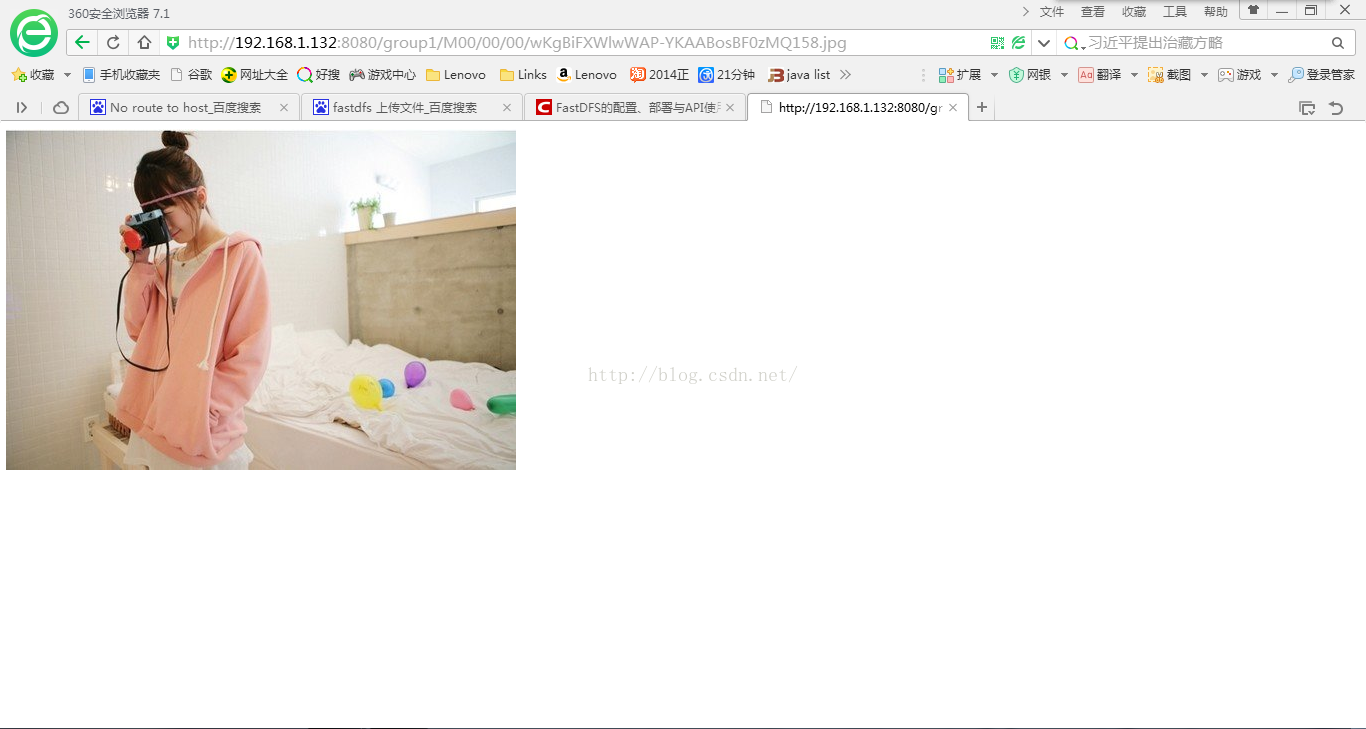
我所遇到的大坎也就这么多了,如果有小问题自己琢磨着解决吧,嘿嘿,另附完成效果图:


 5万+
5万+

 被折叠的 条评论
为什么被折叠?
被折叠的 条评论
为什么被折叠?
 到【灌水乐园】发言


