load our serialized model from disk
print(“[INFO] loading model…”)
net = cv2.dnn.readNetFromCaffe(prototxt, model_path)
加载输入图像并为图像构造一个输入blob
将大小调整为固定的300x300像素。
(注意:SSD模型的输入是300x300像素)
image = cv2.imread(image_name)
(h, w) = image.shape[:2]
blob = cv2.dnn.blobFromImage(cv2.resize(image, (300, 300)), 0.007843,
(300, 300), 127.5)
通过网络传递blob并获得检测结果和
预测
print(“[INFO] computing object detections…”)
net.setInput(blob)
detections = net.forward()
从磁盘加载模型。
读取图片。
提取高度和宽度(第 35 行),并从图像中计算一个 300 x 300 像素的 blob。
将blob放入神经网络。
计算输入的前向传递,将结果存储为 detections。
循环检测结果
for i in np.arange(0, detections.shape[2]):
提取与数据相关的置信度(即概率)
预测
confidence = detections[0, 0, i, 2]
通过确保“置信度”来过滤掉弱检测
大于最小置信度
if confidence > confidence_ta:
从detections中提取类标签的索引,
然后计算物体边界框的 (x, y) 坐标
idx = int(detections[0, 0, i, 1])
box = detections[0, 0, i, 3:7] * np.array([w, h, w, h])
(startX, startY, endX, endY) = box.astype(“int”)
显示预测
label = “{}: {:.2f}%”.format(CLASSES[idx], confidence * 100)
print(“[INFO] {}”.format(label))
cv2.rectangle(image, (startX, startY), (endX, endY),
COLORS[idx], 2)
y = startY - 15 if startY - 15 > 15 else startY + 15
cv2.putText(image, label, (startX, y),
cv2.FONT_HERSHEY_SIMPLEX, 0.5, COLORS[idx], 2)
show the output image
cv2.imshow(“Output”, image)
cv2.imwrite(“output.jpg”, image)
cv2.waitKey(0)
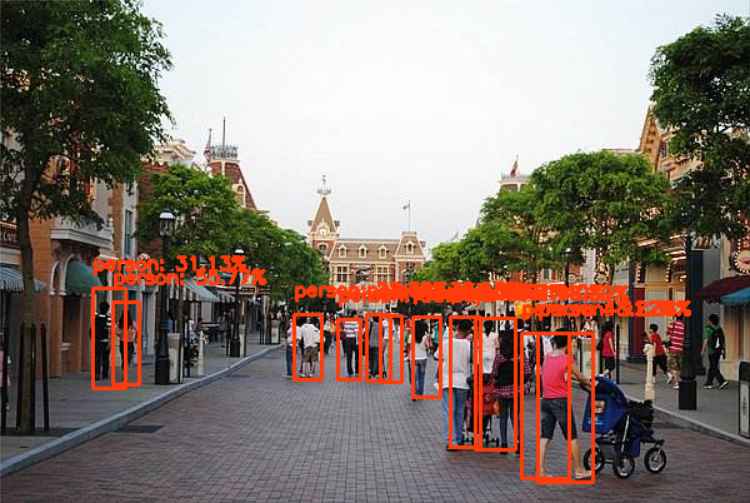
循环检测,首先我们提取置信度值。
如果置信度高于我们的最小阈值,我们提取类标签索引并计算检测到的对象周围的边界框。
然后,提取框的 (x, y) 坐标,我们将很快使用它来绘制矩形和显示文本。
接下来,构建一个包含 CLASS 名称和置信度的文本标签。
使用标签,将其打印到终端,然后使用之前提取的 (x, y) 坐标在对象周围绘制一个彩色矩形。
通常,希望标签显示在矩形上方,但如果没有空间,我们会将其显示在矩形顶部下方。
最后,使用刚刚计算的 y 值将彩色文本覆盖到图像上。
运行结果:
=========================================================================
打开一个新文件,将其命名为 video_object_detection.py ,并插入以下代码:
video_name = ‘12.mkv’
prototxt = ‘MobileNetSSD_deploy.prototxt.txt’
model_path = ‘MobileNetSSD_deploy.caffemodel’
confidence_ta = 0.2
initialize the list of class labels MobileNet SSD was trained to
detect, then generate a set of bounding box colors for each class
CLASSES = [“background”, “aeroplane”, “bicycle”, “bird”, “boat”,
“bottle”, “bus”, “car”, “cat”, “chair”, “cow”, “diningtable”,
“dog”, “horse”, “motorbike”, “person”, “pottedplant”, “sheep”,
“sofa”, “train”, “tvmonitor”]
COLORS = np.random.uniform(0, 255, size=(len(CLASSES), 3))
load our serialized model from disk
print(“[INFO] loading model…”)
net = cv2.dnn.readNetFromCaffe(prototxt, model_path)
initialze the video stream, allow the camera to sensor to warmup,
and initlaize the FPS counter
print(‘[INFO] starting video stream…’)
vs = cv2.VideoCapture(video_name)
fps = 30 #保存视频的FPS,可以适当调整
size=(600,325)
fourcc=cv2.VideoWriter_fourcc(*‘XVID’)
videowrite=cv2.VideoWriter(‘output.avi’,fourcc,fps,size)
time.sleep(2.0)
定义全局参数:
-
video_name:输入视频的路径。
-
prototxt :Caffe prototxt 文件的路径。
-
model_path :预训练模型的路径。
-
confidence_ta :过滤弱检测的最小概率阈值。 默认值为 20%。
接下来,让我们初始化类标签和边界框颜色。
加载模型。
初始化VideoCapture对象。
设置VideoWriter对象以及参数。size的大小由下面的代码决定,需要保持一致,否则不能保存视频。

接下就是循环视频的帧,然后输入到检测器进行检测,这一部分的逻辑和图像检测一致。代码如下:
loop over the frames from the video stream
while True:
ret_val, frame = vs.read()
if ret_val is False:
break
frame = imutils.resize(frame, width=1080)
print(frame.shape)
grab the frame dimentions and convert it to a blob
(h, w) = frame.shape[:2]
blob = cv2.dnn.blobFromImage(cv2.resize(frame, (300, 300)), 0.007843, (300, 300), 127.5)
pass the blob through the network and obtain the detections and predictions
net.setInput(blob)
detections = net.forward()
loop over the detections
for i in np.arange(0, detections.shape[2]):
extract the confidence (i.e., probability) associated with
the prediction
confidence = detections[0, 0, i, 2]
filter out weak detections by ensuring the confidence is
greater than the minimum confidence
if confidence > confidence_ta:
extract the index of the class label from the
detections, then compute the (x, y)-coordinates of
the bounding box for the object
idx = int(detections[0, 0, i, 1])
box = detections[0, 0, i, 3:7] * np.array([w, h, w, h])
(startX, startY, endX, endY) = box.astype(“int”)
draw the prediction on the frame
label = “{}: {:.2f}%”.format(CLASSES[idx],
confidence * 100)
cv2.rectangle(frame, (startX, startY), (endX, endY),
COLORS[idx], 2)
y = startY - 15 if startY - 15 > 15 else startY + 15
自我介绍一下,小编13年上海交大毕业,曾经在小公司待过,也去过华为、OPPO等大厂,18年进入阿里一直到现在。
深知大多数Python工程师,想要提升技能,往往是自己摸索成长或者是报班学习,但对于培训机构动则几千的学费,着实压力不小。自己不成体系的自学效果低效又漫长,而且极易碰到天花板技术停滞不前!
因此收集整理了一份《2024年Python开发全套学习资料》,初衷也很简单,就是希望能够帮助到想自学提升又不知道该从何学起的朋友,同时减轻大家的负担。
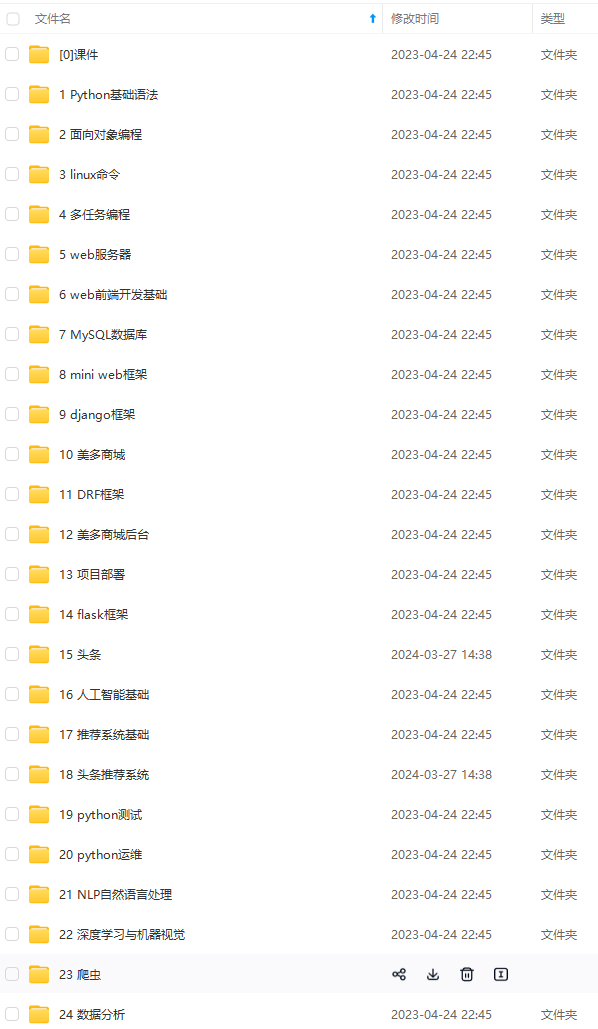
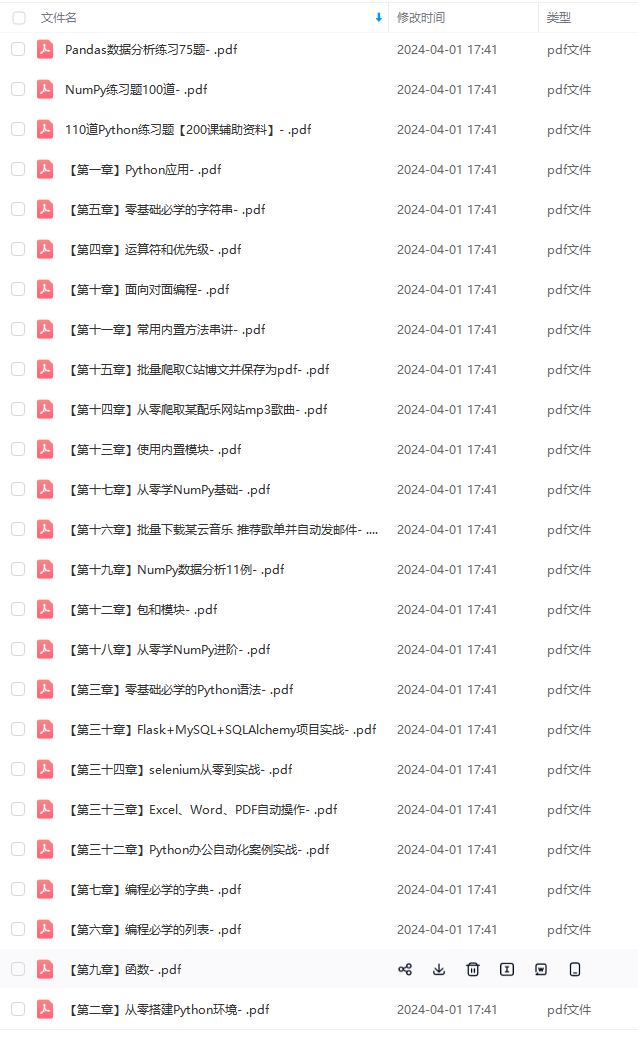
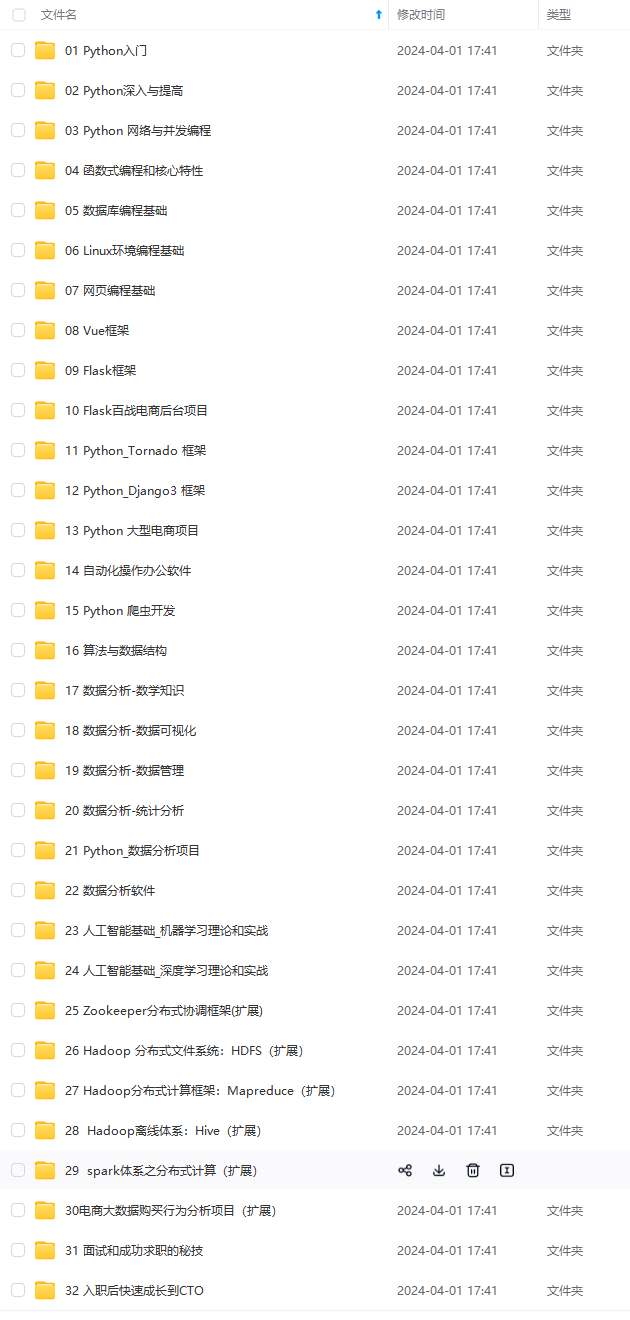
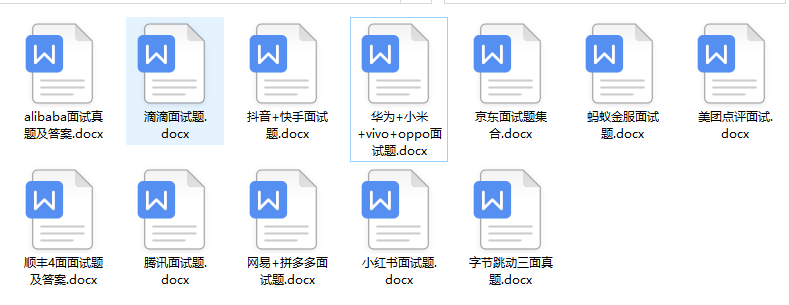
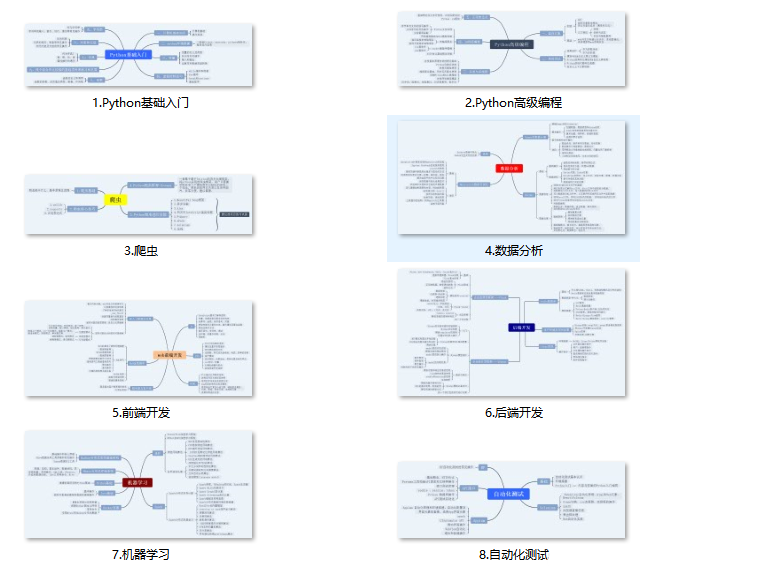
既有适合小白学习的零基础资料,也有适合3年以上经验的小伙伴深入学习提升的进阶课程,基本涵盖了95%以上前端开发知识点,真正体系化!
由于文件比较大,这里只是将部分目录大纲截图出来,每个节点里面都包含大厂面经、学习笔记、源码讲义、实战项目、讲解视频,并且后续会持续更新
如果你觉得这些内容对你有帮助,可以扫码获取!!!(备注:Python)
](https://img-blog.csdnimg.cn/img_convert/6c361282296f86381401c05e862fe4e9.png)

既有适合小白学习的零基础资料,也有适合3年以上经验的小伙伴深入学习提升的进阶课程,基本涵盖了95%以上前端开发知识点,真正体系化!
由于文件比较大,这里只是将部分目录大纲截图出来,每个节点里面都包含大厂面经、学习笔记、源码讲义、实战项目、讲解视频,并且后续会持续更新
如果你觉得这些内容对你有帮助,可以扫码获取!!!(备注:Python)


 1万+
1万+

 被折叠的 条评论
为什么被折叠?


