


好了,初学的小伙伴们,利用下班的时间码一篇基于android studio的涉及fragment+viewPager+BdageView的学习,这是imooc上面的一个学习视频,贴上视频链接先,人家讲的可比我好。http://www.imooc.com/view/198
好的,下面进入正题:
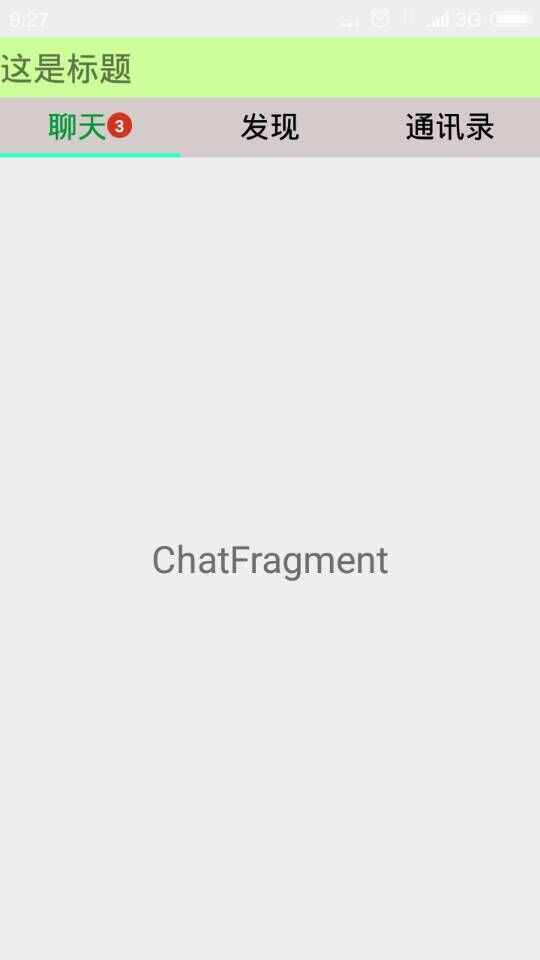
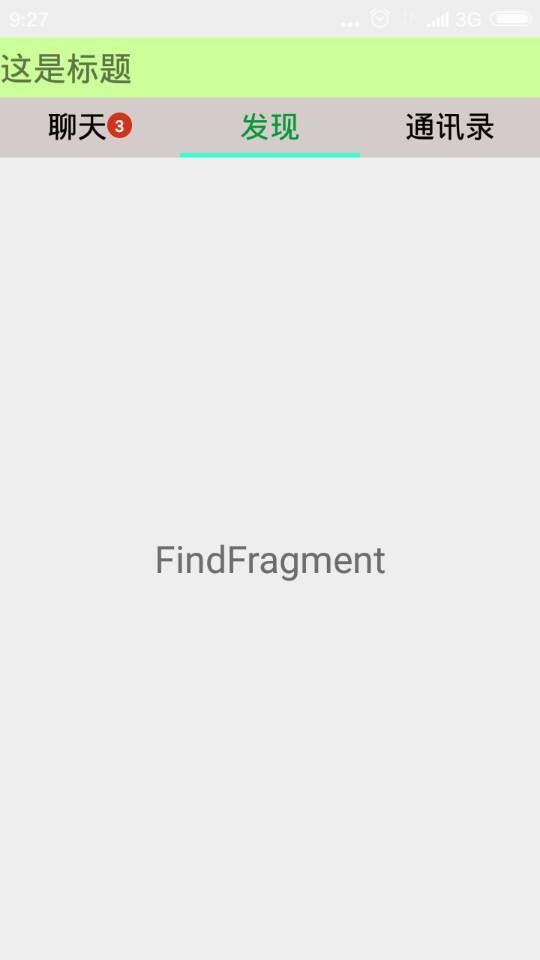
先看一下整体的样式,不要嫌弃配色。。。
看过瘾了?那就来实现吧,我会尽量详细的码字讲解滴
1.首先 我们要把“标题”和三个导航和viewPager放在MainActivity里面,这就要先创建个“标题”即top1.xml,代码我就不放了,省点空间。
2.其次创建一个top2.xml放“聊天”,“发现”,“通讯录”。这里我们先看图片:
1)导航和下面的TabLine是放在一个LinearLayout里的;
2)蓝后“聊天”和旁边的badgeView是放在一个LinearLayout里面的,所以架构的思路突然就清晰啦。上代码:top2.xml
<?xml version="1.0" encoding="utf-8"?>
<LinearLayout xmlns:android="http://schemas.android.com/apk/res/android"
    android:layout_width="match_parent"
    android:layout_height="40dp"
    android:background="#d4cbcb"
    android:orientation="vertical">

    <LinearLayout
        android:layout_width="match_parent"
        android:layout_height="37dp"
        android:orientation="horizontal">

        <LinearLayout
            android:id="@+id/ly_chat"
            android:layout_width="3dp"
            android:layout_height="match_parent"
            android:layout_weight="1"
            android:gravity="center"
            android:orientation="horizontal">

            <TextView
                android:id="@+id/tv_chat"
                android:layout_width="wrap_content"
                android:layout_height="wrap_content"
                android:text="聊天"
                android:textSize="20sp" />
        </LinearLayout>

        <LinearLayout
            android:id="@+id/ly_find"
            android:layout_width="3dp"
            android:layout_height="match_parent"
            android:layout_weight="1"
            android:gravity="center"
            android:orientation="horizontal">

            <TextView
                android:id="@+id/tv_find"
                android:layout_width="wrap_content"
                android:layout_height="wrap_content"
                android:text="发现"
                android:textSize="20sp" />
        </LinearLayout>

        <LinearLayout
            android:layout_width="3dp"
            android:layout_height="match_parent"
            android:layout_weight="1"
            android:gravity="center"
            android:orientation="horizontal">

            <TextView
                android:id="@+id/tv_content"
                android:layout_width="wrap_content"
                android:layout_height="wrap_content"
                android:text="通讯录"
                android:textSize="20sp" />
        </LinearLayout>
    </LinearLayout>

    <ImageView
        android:id="@+id/iv_tabline"
        android:layout_width="100dp"
        android:layout_height="match_parent"
        android:background="#33ffcc" />

</LinearLayout>
3.下面就要把top1和top2在activity_main.xml包起来了,用到include包裹,他们下面就放一个
<?xml version="1.0" encoding="utf-8"?>
<LinearLayout xmlns:android="http://schemas.android.com/apk/res/android"
    xmlns:tools="http://schemas.android.com/tools"
    android:layout_width="match_parent"
    android:layout_height="match_parent"
    android:orientation="vertical"
    tools:context=".MainActivity">

    <include layout="@layout/top1" />

    <include layout="@layout/top2" />

    <android.support.v4.view.ViewPager
        android:id="@+id/id_viewPager"
        android:layout_width="match_parent"
        android:layout_height="0dp"
        android:layout_weight="1" />
</LinearLayout>
4.是不是太幼稚了,我写的,大神看到别喷我哈。
三个导航就三个Fragment,创建三个javaClass文件,对应的创建出他们的.xml文件,这里面没什么内 容,源代码我会上链接的。
- ———————————–下面开始魔术师时刻———————————————
下面就在代码里面先实现ViewPager的滑动~~~MainActivity.java代码上起:
 private void initView() {
        mViewPager = (ViewPager) findViewById(R.id.id_viewPager);
        mDates = new ArrayList<Fragment>();
        ChatFragment chatFragment = new ChatFragment();
        FindFragment findFragment = new FindFragment();
        ContentFragment contentFragment = new ContentFragment();

        //把fragmet加到容器中
        mDates.add(chatFragment);
        mDates.add(findFragment);
        mDates.add(contentFragment);


        mAdapter = new FragmentPagerAdapter(getSupportFragmentManager()) {
            @Override
            public Fragment getItem(int arg0) {
                return mDates.get(arg0);
            }

            @Override
            public int getCount() {
                return mDates.size();
            }
        };
        mViewPager.setAdapter(mAdapter);
然就就可以调试滑动效果啦
6.下面实现滑动的时候导航的字体变化效果:
初始化字体不可少:
  //初始化字
        mChatTextView = (TextView) findViewById(R.id.tv_chat);
        mFindTextView = (TextView) findViewById(R.id.tv_find);
        mContentTextView = (TextView) findViewById(R.id.tv_content);

OnPageChangeListener事件实现:这里有三个方法 我们用onPageSelected方法:
         /**
         * 设置页面切换字体颜色变化
         */
        mViewPager.setOnPageChangeListener(new ViewPager.OnPageChangeListener() {
            /**
             * 坐标变化
             */
            @Override
            public void onPageScrolled(int position, float positionOffset, int positionOffsetPixels) {

            }

            @Override
            public void onPageSelected(int position) {
                resetTextView();


                switch (position) {
                    case 0
                        mChatTextView.setTextColor(Color.parseColor("#009933"));
                        break;
                    case 1:
                        mFindTextView.setTextColor(Color.parseColor("#009933"));
                        break;
                    case 2:                                       mContentTextView.setTextColor(Color.parseColor("#009933"));
                        break;


                }

            }
        /**
         * 重置字体颜色
         */
            private void resetTextView() {
                mChatTextView.setTextColor(Color.BLACK);
                mFindTextView.setTextColor(Color.BLACK);
                mContentTextView.setTextColor(Color.BLACK);

            }

            @Override
            public void onPageScrollStateChanged(int state) {

            }
});7.蓝后badgeView啦,这里要一个关于他的jar包,csdn的jar包下载链接:http://download.csdn.net/download/crazy1235/8313527
然后就几句话的事情啦:
注意要先判断它是否是空,不为空就要移除掉,不然会每滑动一次,增加一个的
      switch (position) {
                    case 0:
                        if (mbadgeView != null) {
                            mChatLineaLayout.removeView(mbadgeView);
                        }
                        mbadgeView = new BadgeView(MainActivity.this);
                        mbadgeView.setBadgeCount(3);
                        mChatLineaLayout.addView(mbadgeView);

                        mChatTextView.setTextColor(Color.parseColor("#009933"));
                        break;
8.最后实现tabLine的效果:
其一,使他占屏幕的三分之一:
 /**
     * 初始化TabLine
     */
    private void initTabline() {
        mTabLine = (ImageView) findViewById(R.id.iv_tabline);
        Display display = getWindow().getWindowManager().getDefaultDisplay();
        DisplayMetrics outMetrics = new DisplayMetrics();
        display.getMetrics(outMetrics);
        mScreen1_3 = outMetrics.widthPixels / 3;
        ViewGroup.LayoutParams lp = mTabLine.getLayoutParams();
        lp.width = mScreen1_3;
        mTabLine.setLayoutParams(lp);
    }
9.然后在OnPageChangeListener里面onPageScrolled方法判断实现,不会的可以先打印log,看他的坐标等变化比较容易判断:
  /**
             * 坐标变化
             * @param position
             * @param positionOffset
             * @param positionOffsetPixels
             */
            @Override
            public void onPageScrolled(int position, float positionOffset, int positionOffsetPixels) {
                Log.e("TAG", position + "," + positionOffset + "," + positionOffsetPixels);

                LinearLayout.LayoutParams lp = (LinearLayout.LayoutParams) mTabLine.getLayoutParams();

                if (mCurrentPageIndex == 0 && position == 0) {
                    lp.leftMargin = (int) (positionOffset * mScreen1_3 + mCurrentPageIndex * mScreen1_3);//0-->1

                } else if (mCurrentPageIndex == 1 && position == 0) {
                    lp.leftMargin = (int) (mCurrentPageIndex * mScreen1_3 + (positionOffset - 1) * mScreen1_3);//1-->0
                } else if (mCurrentPageIndex == 1 && position == 1) {
                    lp.leftMargin = (int) (mCurrentPageIndex * mScreen1_3 + positionOffset * mScreen1_3);//1-->2
                } else if (mCurrentPageIndex == 2 && position == 1) {
                    lp.leftMargin = (int) (mCurrentPageIndex * mScreen1_3 + (positionOffset - 1) * mScreen1_3);//2-->1
                }
                mTabLine.setLayoutParams(lp);

}完事了,源代码贴上:http://download.csdn.net/detail/u010765963/9275605
哦啦,请多多指教~~~~


 1154
1154

 被折叠的 条评论
为什么被折叠?
被折叠的 条评论
为什么被折叠?
 到【灌水乐园】发言


