


学习是一件开心的额事情
本节学习目标
使用OpenGL绘制一个地球
上干货
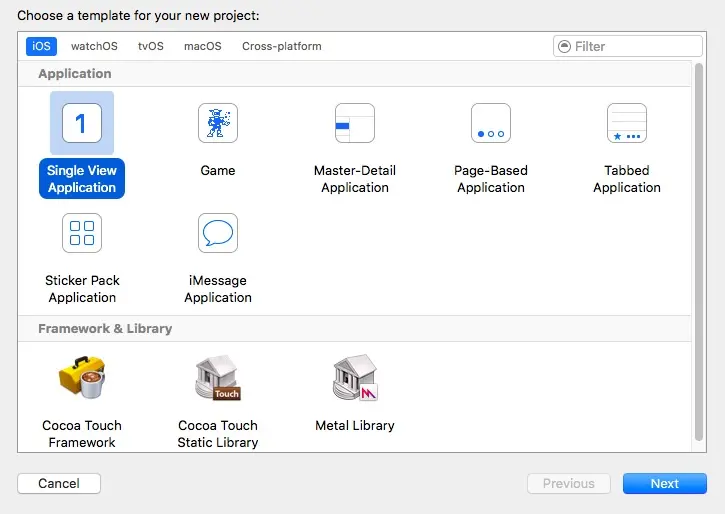
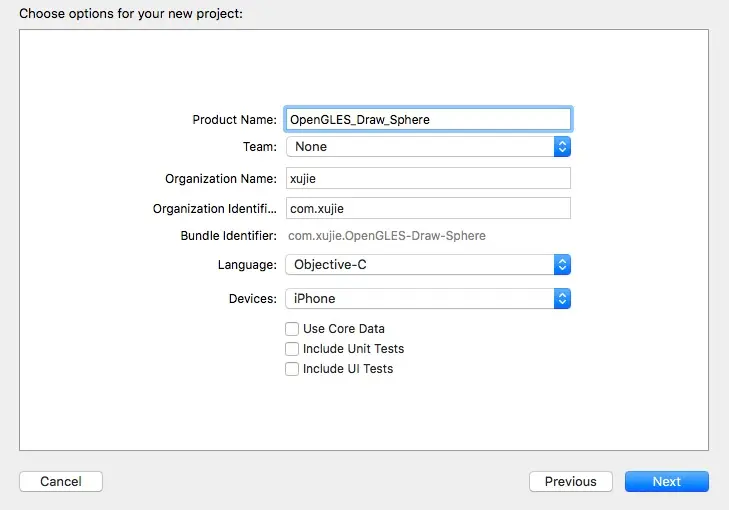
- 第一步 创建一个工程
让学习成为一种习惯
让学习成为一种习惯
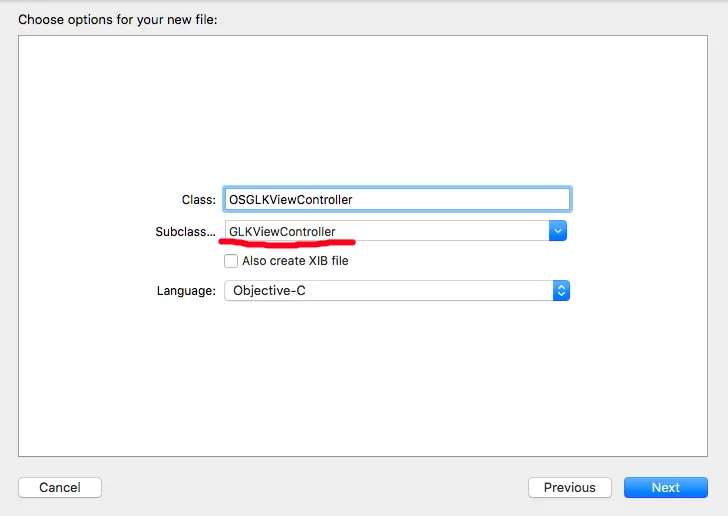
- 第二步 创建GLKViewController类型的控制器
让学习成为一种习惯
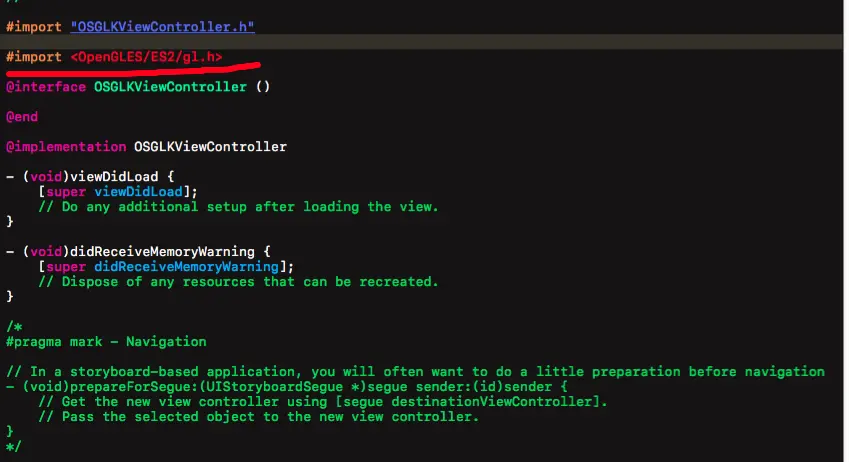
- 第三步 添加OpenGL ES 2.0的头文件
让学习成为一种习惯
- 第四步 配置我们的GLKViewController 控制器
GLKView *glkView = (GLKView*)self.view;
glkView.drawableDepthFormat = GLKViewDrawableDepthFormat24;// 设置深度缓冲区格式
// 创建管理上下文
glkView.context = [[EAGLContext alloc]initWithAPI:kEAGLRenderingAPIOpenGLES2];
// 设置当前上下文
[EAGLContext setCurrentContext:glkView.context];
- 第五步 创建一个负责渲染的类
@property(nonatomic,strong)GLKBaseEffect *baseEffect;
self.baseEffect = [[GLKBaseEffect alloc]init];
- 第六步 生成球体的顶点坐标和纹理坐标和索引
下面是生成球体坐标C语言方法
#define ES_PI  (3.14159265f)

int generateSphere(int numSlices, float radius, float **vertices,
            float **texCoords, uint16_t **indices, int *numVertices_out) {
int i;
int j;
int numParallels = numSlices / 2;
int numVertices = (numParallels + 1) * (numSlices + 1);
int numIndices = numParallels * numSlices * 6;
float angleStep = (2.0f * ES_PI) / ((float) numSlices);
if (vertices != NULL)
    *vertices = malloc(sizeof(float) * 3 * numVertices);
if (texCoords != NULL)
    *texCoords = malloc(sizeof(float) * 2 * numVertices);
if (indices != NULL)
    *indices = malloc(sizeof(uint16_t) * numIndices);
for (int i = 0; i < numParallels + 1; i++) {
    for (int j = 0; j < numSlices + 1; j++) {
        int vertex = (i * (numSlices + 1) + j) * 3;
        if (vertices) {
            (*vertices)[vertex + 0] = radius * sinf(angleStep * (float)i) *
            sinf(angleStep * (float)j);
            (*vertices)[vertex + 1] = radius * cosf(angleStep * (float)i);
            (*vertices)[vertex + 2] = radius * sinf(angleStep * (float)i) *
            cosf(angleStep * (float)j);
        }
        if (texCoords) {
            int texIndex = (i * (numSlices + 1) + j) * 2;
            (*texCoords)[texIndex + 0] = (float)j / (float)numSlices;
            (*texCoords)[texIndex + 1] = 1.0f - ((float)i / (float)numParallels);
        }
    }
}
if (indices != NULL) {
    uint16_t *indexBuf = (*indices);
    for (i = 0; i < numParallels ; i++) {
        for (j = 0; j < numSlices; j++) {
            *indexBuf++ = i * (numSlices + 1) + j;
            *indexBuf++ = (i + 1) * (numSlices + 1) + j;
            *indexBuf++ = (i + 1) * (numSlices + 1) + (j + 1);

            *indexBuf++ = i * (numSlices + 1) + j;
            *indexBuf++ = (i + 1) * (numSlices + 1) + (j + 1);
            *indexBuf++ = i * (numSlices + 1) + (j + 1);
        }
    }
}
if (numVertices_out) {
    *numVertices_out = numVertices;
}
return numIndices;
}
接下来定义上面函数需要的参数
GLfloat   *_vertexData; // 顶点数据
GLfloat   *_texCoords;  // 纹理坐标
GLushort  *_indices;    // 顶点索引
 GLint    _numVetex;   // 顶点数量
GLuint  _texCoordsBuffer;// 纹理坐标内存标识
GLuint  _numIndices; // 顶点索引的数量
调用上面方法生成顶点坐标,纹理坐标,索引数组
_numIndices = generateSphere(200, 1.0, &(_vertexData), &(_texCoords), &_indices, &_numVetex);
- 第七步 将顶点坐标,纹理坐标,索引坐标加载到GPU 中去
-(void)loadVertexData{

// 加载顶点坐标数据
glGenBuffers(1, &_vertexBuffer); // 申请内存
glBindBuffer(GL_ARRAY_BUFFER, _vertexBuffer); // 将命名的缓冲对象绑定到指定的类型上去
glBufferData(GL_ARRAY_BUFFER, sizeof(GLfloat)*_numVetex*3,_vertexData, GL_STATIC_DRAW);
glEnableVertexAttribArray(GLKVertexAttribPosition);  // 绑定到位置上
glVertexAttribPointer(GLKVertexAttribPosition, 3, GL_FLOAT, GL_FALSE, 3*sizeof(GLfloat), NULL);

// 加载顶点索引数据
GLuint _indexBuffer;
glGenBuffers(1, &_indexBuffer);
glBindBuffer(GL_ELEMENT_ARRAY_BUFFER, _indexBuffer);
glBufferData(GL_ELEMENT_ARRAY_BUFFER, _numIndices*sizeof(GLushort), _indices, GL_STATIC_DRAW);


// 加载纹理坐标
glGenBuffers(1, &_texCoordsBuffer);
glBindBuffer(GL_ARRAY_BUFFER, _texCoordsBuffer);
glBufferData(GL_ARRAY_BUFFER, sizeof(GLfloat)*_numVetex*2, _texCoords, GL_DYNAMIC_DRAW);
glEnableVertexAttribArray(GLKVertexAttribTexCoord0);
glVertexAttribPointer(GLKVertexAttribTexCoord0, 2, GL_FLOAT, GL_FALSE, 2*sizeof(GLfloat), NULL);

}
- 第八步 将我们的地图照片使用刚才创建的渲染类GLKBaseEffect 加载到内存中去
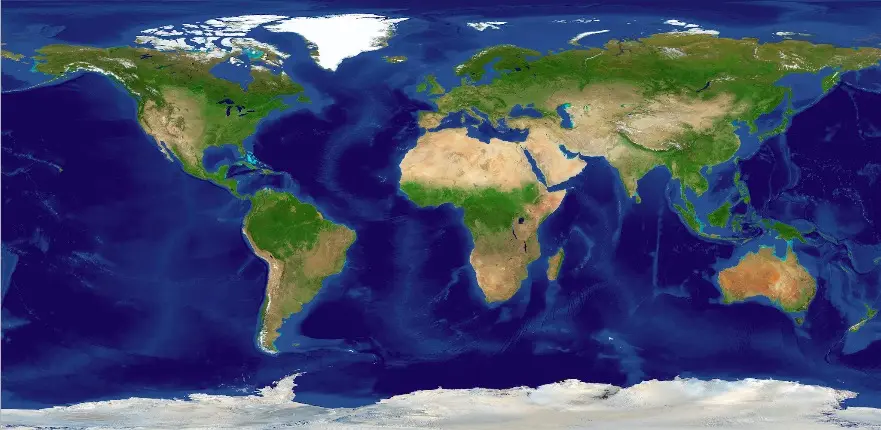
让学习成为一种习惯
GLKTextureInfo *textureInfo =
[GLKTextureLoader textureWithCGImage:[UIImage imageNamed:@"earth-diffuse.jpg"].CGImage options:nil error:nil];
self.baseEffect.texture2d0.target = textureInfo.target;
self.baseEffect.texture2d0.name = textureInfo.name;
- 第九步 在绘制之前,我们要设置一下 世界坐标和绘制球体的自身坐标
 // 设置世界坐标和视角
float aspect = fabs(self.view.bounds.size.width / self.view.bounds.size.height);
GLKMatrix4 projectionMatrix = GLKMatrix4MakePerspective(GLKMathDegreesToRadians(65.0f), aspect, 0.1f, 100.0f);
self.baseEffect.transform.projectionMatrix = projectionMatrix;

// 设置模型坐标
GLKMatrix4 modelViewMatrix = GLKMatrix4MakeTranslation(0.0f, -1.0f, -6.5f);
self.baseEffect.transform.modelviewMatrix =  modelViewMatrix;
- 第十一步 我们设置个沿着Y轴旋转的效果
// update方法系统会自动调动
-(void)update{
 self.baseEffect.transform.modelviewMatrix = GLKMatrix4Rotate(self.baseEffect.transform.modelviewMatrix, 0.1, 0, 1, 0);
}
- 第十二步 开始绘制
-(void)glkView:(GLKView *)view drawInRect:(CGRect)rect{

// 清除颜色缓冲区
glClearColor(1.0, 0, 1.0, 1);
glClear(GL_COLOR_BUFFER_BIT);

// 绘制之前必须调用这个方法
[self.baseEffect prepareToDraw];
static int i =1;
if (i < _numIndices-2000){
    i = i+1000;
}else{
    i = _numIndices;
}

// 以画单独三角形的方式 开始绘制
glDrawElements(GL_TRIANGLES, i,GL_UNSIGNED_SHORT, NULL);
}
代码!
运行一下:

让学习成为一种习惯
总结
写这篇文章主要给初学者一个绘制球体的思路,苹果给我们封装的类,帮助我们简化了不少代码,如果纯OpenGL 做这样一个练习代码量还是挺多的。


 6563
6563


 被折叠的 条评论
为什么被折叠?
被折叠的 条评论
为什么被折叠?
 到【灌水乐园】发言


