


首先下载最新版solr应用服务器压缩包,下载地址:点此下载
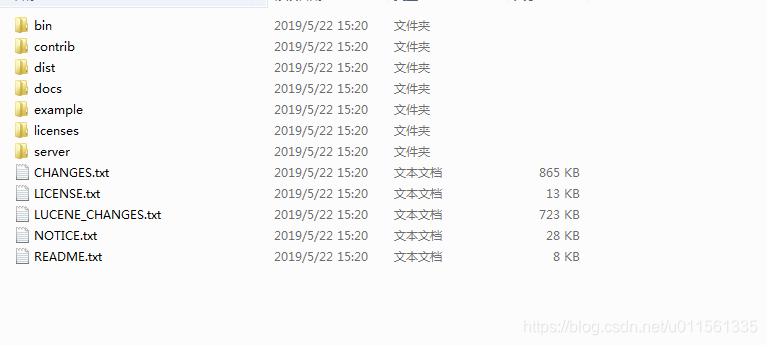
下载完毕后解压缩,目录结构变化不大,如图:
接着我们就开始进行登录的一系列配置操作。
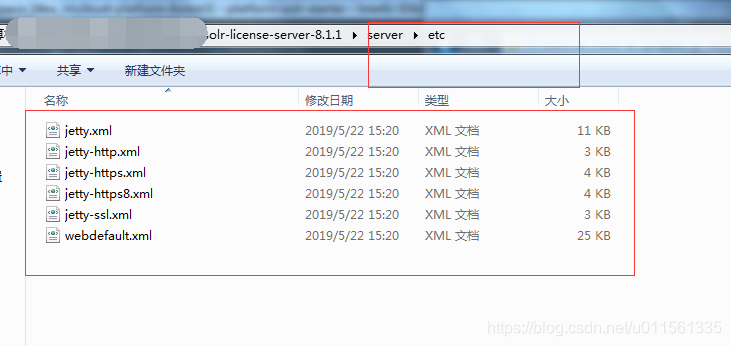
打开路径:solr-8.1\server\etc,如图:
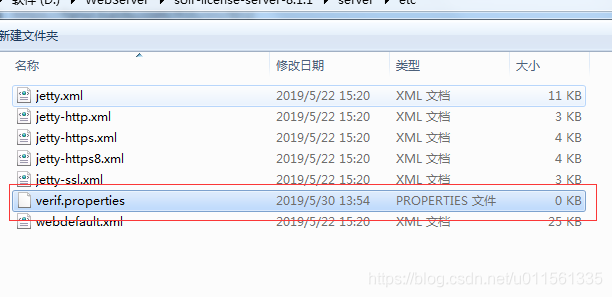
在此目录下新建verify.properties 配置文件(名字随意),如图:
打开文件进行编辑 , 内容如下:
#用户名 密码 权限
user:pass,admin
格式为:用户名:密码,权限
也可配置多用户,内容如下:
#用户名 密码 权限
user: pass,admin
user1: pass,admin
user3: pass,admin
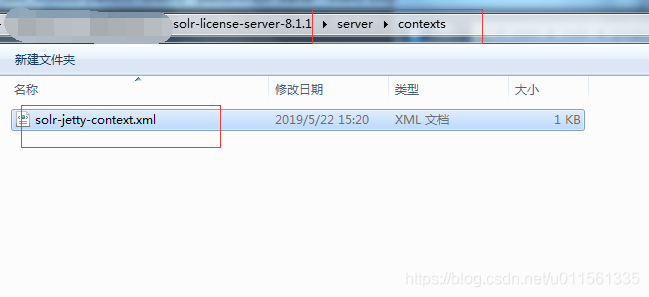
接着找到目录:solr-8.1\server\contexts,文件列表如图:
打开文件进行编辑,文件内容如下:
<?xml version="1.0"?>
<!DOCTYPE Configure PUBLIC "-//Jetty//Configure//EN" "http://www.eclipse.org/jetty/configure_9_0.dtd">
<Configure class="org.eclipse.jetty.webapp.WebAppContext">
  <Set name="contextPath"><Property name="hostContext" default="/solr"/></Set>
  <Set name="war"><Property name="jetty.base"/>/solr-webapp/webapp</Set>
  <Set name="defaultsDescriptor"><Property name="jetty.base"/>/etc/webdefault.xml</Set>
  <Set name="extractWAR">false</Set>
</Configure>
在文件configure中添加获取用户文件的配置,内容如下:
<Get name="securityHandler">
<Set name="loginService">
<New class="org.eclipse.jetty.security.HashLoginService">
<Set name="name">verify—name</Set>
<Set name="config"><SystemProperty name="jetty.home" default="."/>/etc/verify.properties</Set>
</New>
</Set>
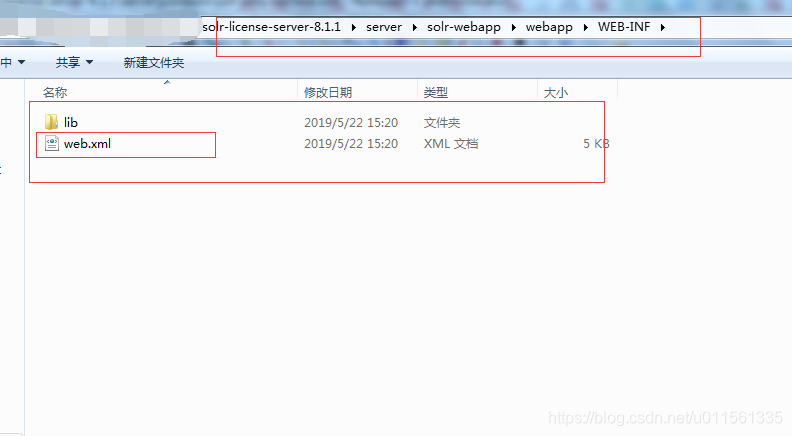
</Get>第三处需要修改的地方为web.xml,如图:
在文件中找到security-constraint的配置,内容如下:
  <!-- Get rid of error message -->
  <security-constraint>
    <web-resource-collection>
      <web-resource-name>Disable TRACE</web-resource-name>
      <url-pattern>/</url-pattern>
      <http-method>TRACE</http-method>
    </web-resource-collection>
    <auth-constraint/>
  </security-constraint>
  <security-constraint>
    <web-resource-collection>
      <web-resource-name>Enable everything but TRACE</web-resource-name>
      <url-pattern>/</url-pattern>
      <http-method-omission>TRACE</http-method-omission>
    </web-resource-collection>
  </security-constraint>
在之后追加 security-resource-collection (删除security-constraint,会导致登录的配置无效),具体配置如下,
在auth-constraint节点添加角色 admin,并添加登录配置,如图:
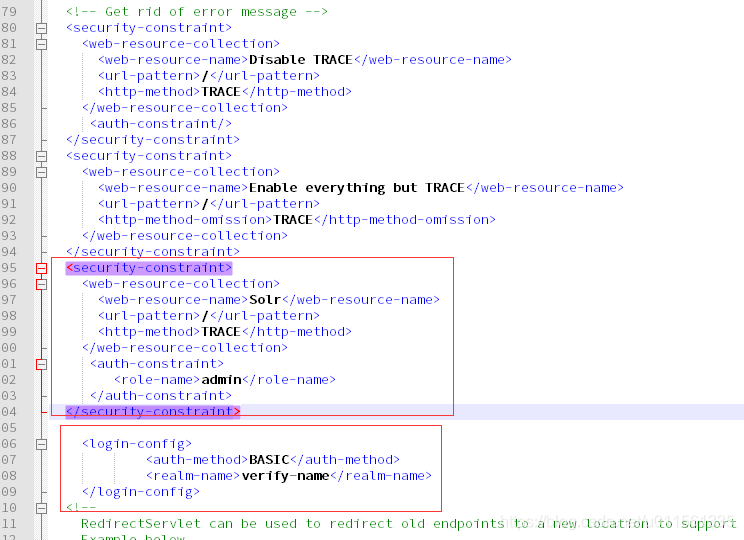
  <security-constraint>
    <web-resource-collection>
      <web-resource-name>Solr</web-resource-name>
      <url-pattern>/</url-pattern>
    </web-resource-collection>
	 <auth-constraint>
		<role-name>admin</role-name>
	 </auth-constraint>
  </security-constraint>

	<login-config>
			<auth-method>BASIC</auth-method>
			<realm-name>verify-name</realm-name>
	</login-config>
之后启动solr,访问solr地址:
http://localhost:8088/solr/主界面如图:
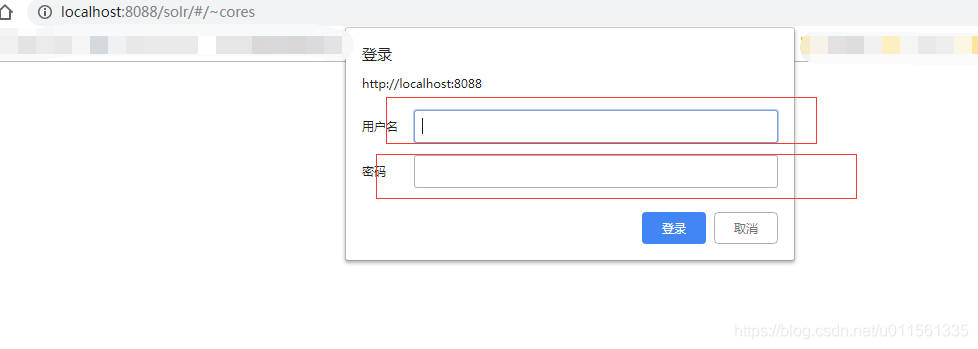
另外我们也可以通过solr地址中加入用户名密码的方式登录,直接进入主界面,地址如下:
http://user:pass@localhost:8088/solr/如有疑问可在下面留言。
参考博文:https://blog.csdn.net/ddfcloi/article/details/79898039


 被折叠的 条评论
为什么被折叠?
被折叠的 条评论
为什么被折叠?
 到【灌水乐园】发言


