


谷歌官网对Android源码编译已经有详细说明,但是第一次编译过程中我也遇到了非常多意想不到的问题,在此记录,希望能帮助到其他人。
官网编译地址:http://source.android.com/source/downloading.html
Ubuntu15.1编译Android5.1详细流程
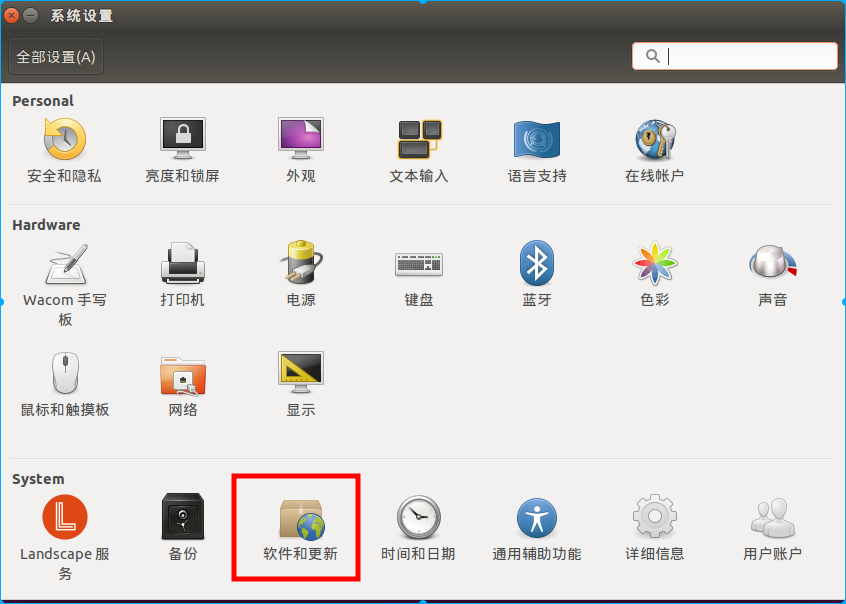
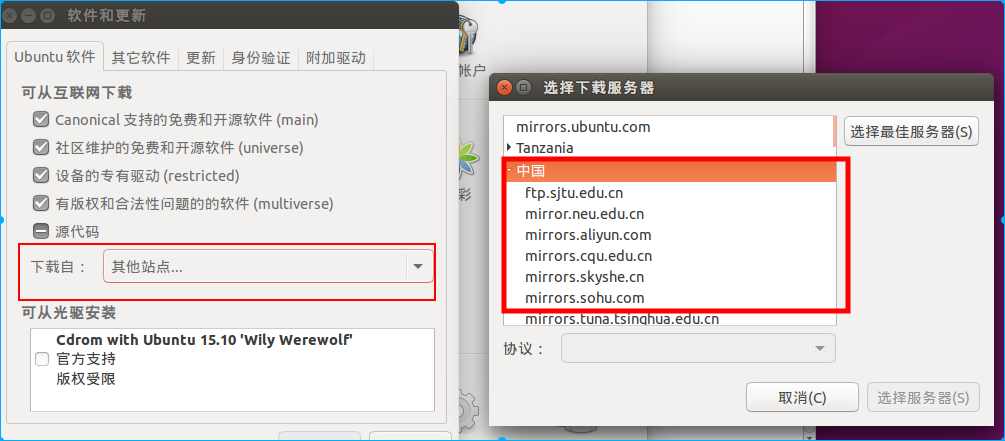
之前软件更新总是非常慢,因为访问外国服务器比较慢,所以配置Ubuntu时,可以更换一个更快的国内软件源
参考地址:http://www.linuxidc.com/Linux/2014-04/100476.htm
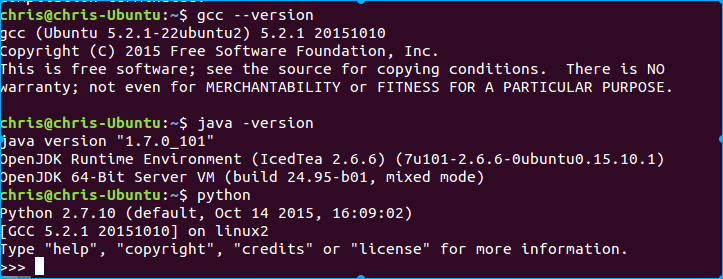
在编译之前,先安装git,gcc,python,java1.7
安装git
$sudo apt-get install git

使用sudo apt-get install安装的软件怎么查看安装路径?
首先安装 apt-file,命令:sudo apt-get install apt-file,然后使用命令:apt-file list softwarename
例如:apt-file list git
gitg: /usr/lib/gitg/gitg/plugins/libfiles.so
gitg: /usr/lib/gitg/libgitg-1.0.so
gitg: /usr/lib/gitg/libgitg-1.0.so.0
gitg: /usr/lib/gitg/libgitg-1.0.so.0.0.0
gitg: /usr/lib/gitg/libgitg-ext-1.0.so
gitg: /usr/lib/gitg/libgitg-ext-1.0.so.0
gitg: /usr/lib/gitg/libgitg-ext-1.0.so.0.0.0
gitg: /usr/share/appdata/gitg.appdata.xml
gitg: /usr/share/applications/gitg.desktop
gitg: /usr/share/doc/gitg/changelog.Debian.gz
gitg: /usr/share/doc/gitg/copyright
gitg: /usr/share/gir-1.0/Gitg-1.0.gir
gitg: /usr/share/gir-1.0/GitgExt-1.0.gir
gitg: /usr/share/gitg/icons/hicolor/scalable/actions/diff-symbolic.svg
gitg: /usr/share/glib-2.0/schemas/org.gnome.gitg.gschema.xml
gitg: /usr/share/icons/hicolor/16x16/apps/gitg.png
gitg: /usr/share/icons/hicolor/22x22/apps/gitg.png
gitg: /usr/share/icons/hicolor/24x24/apps/gitg.png
gitg: /usr/share/icons/hicolor/256x256/apps/gitg.png
gitg: /usr/share/icons/hicolor/32x32/apps/gitg.png
gitg: /usr/share/icons/hicolor/48x48/apps/gitg.png
gitg: /usr/share/icons/hicolor/scalable/apps/gitg-symbolic.svg
gitg: /usr/share/locale/as/LC_MESSAGES/gitg.mo
.......
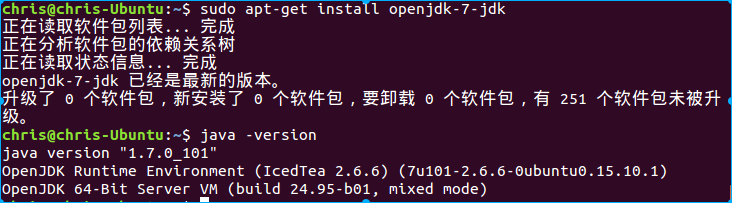
安装openJDK
$sudo apt-get install openjdk-7-jdk
$java -version
安装好后,设置环境变量:
在/etc/profile 文件末尾加上:
- JAVA_HOME=/usr/lib/jvm/java-7-openjdk-amd64/
- PATH=$PATH:$HOME/bin:$JAVA_HOME/bin
- export JAVA_HOME
- export PATH
开始安装repo
参见官网:http://source.android.com/source/downloading.html
无论下载内核和源码,都需要进行如下操作
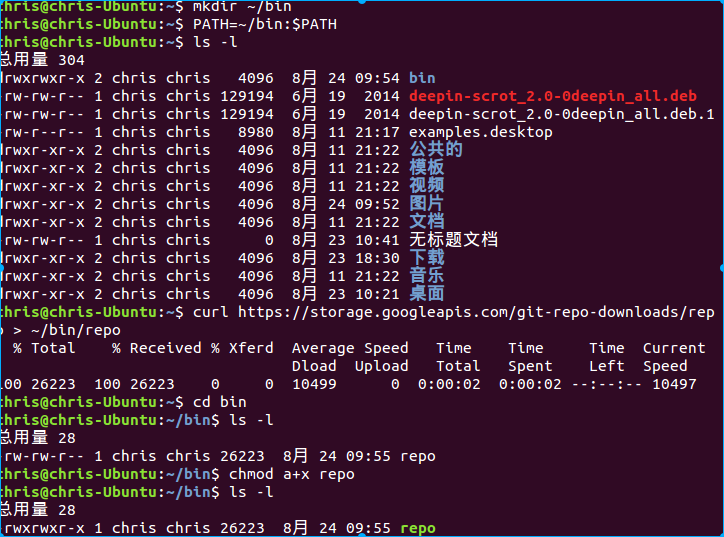
(1)Make sure you have a bin/ directory in your home directory and that it is included in your path:
$ mkdir ~/bin
$ PATH=~/bin:$PATH
这个目录是放 repo脚本的,repo脚本是对git的一种封装
---------------------------------------------------------------------------------------------------------------------------------------------------------------------------------------------------------------------------------------
(2)Download the Repo tool and ensure that it is executable:
$ curl https://storage.googleapis.com/git-repo-downloads/repo > ~/bin/repo
$ chmod a+x ~/bin/repo
回到主目录,建立一个文件夹,以便下载的android源码保存其中
$ mkdir android
$ cd android
-----------------------------------------------------------------------------------------------------------------------------------------------------------------------------------------
(3)Installs Repo in the current directory

执行安装repo init -u git***时可能会出现下面的错误
~/bin/repo: line 1: syntax error near unexpected token `newline'
~/bin/repo: line 1: `<!DOCTYPE HTML PUBLIC "-//W3C//DTD HTML 4.01 Transitional//EN"
其实问题就是下载的repo出错了,我估计从官方下载的repo文件有错误,可以重新下载一个就好了
参考地址:http://blog.csdn.net/kai46385076/article/details/17460563

配置好之后最后可以通过repo sync获取android源码

组建编译平台
编译android源码只有三步
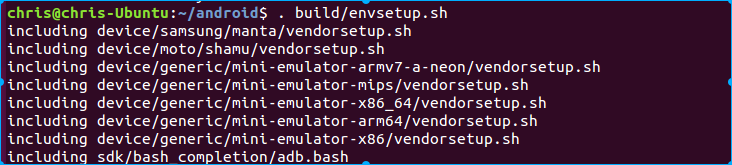
source build/envsetup.sh//初始化编译环境,包括后面的lunch和make指令
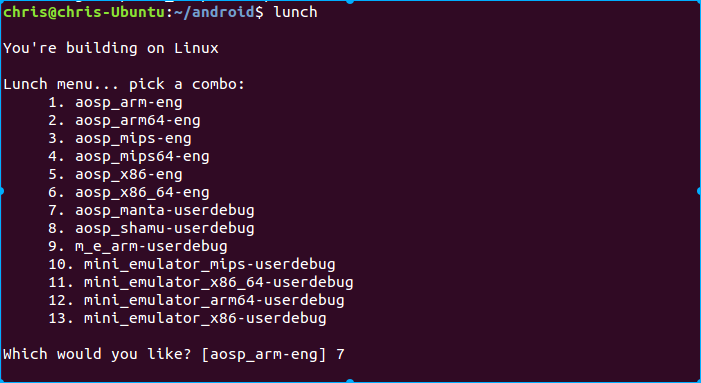
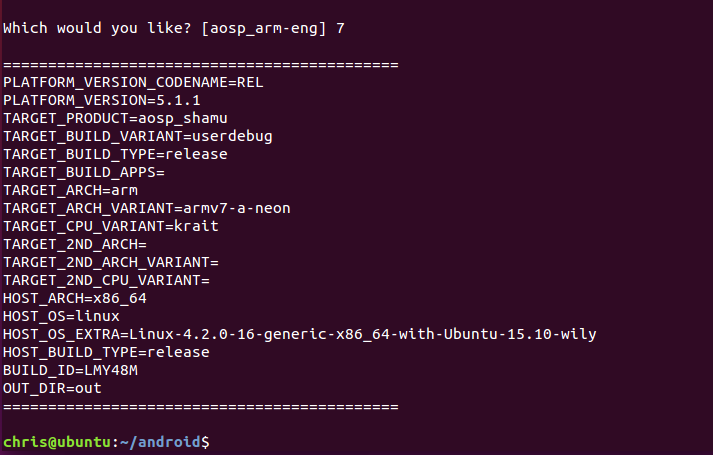
lunch//指定此次编译的目标设备以及编译类型
make -j12//开始编译,默认为编译整个系统,其中-j12代表的是编译的job数量为12。
参考地址:https://segmentfault.com/a/1190000004684809
参考地址:http://source.android.com/source/building.html
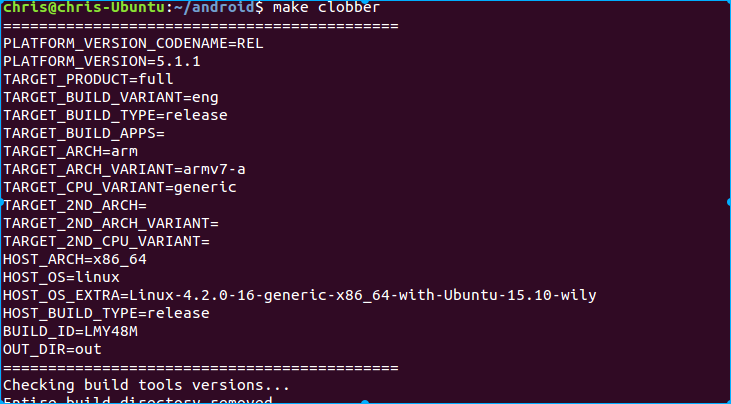
To ensure the newly installed binaries are properly taken into account after being extracted, delete the existing output of any previous build using:
Initialize the environment with the envsetup.sh script. Note that replacing source with . (a single dot) saves a few characters, and the short form is more commonly used in documentation.
Choose which target to build with lunch. The exact configuration can be passed as an argument

开始编译后,肯定会出现各种问题。我把我遇到的问题全部列举出来,欢迎大家添加
1,如果在虚拟机上编译要特别注意硬件要求,我在这里卡壳了很久!
- A 64-bit environment is required for Gingerbread (2.3.x) and newer versions, including the master branch. You can compile older versions on 32-bit systems.
- At least 100GB of free disk space for a checkout, 150GB for a single build, and 200GB or more for multiple builds. If you employ ccache, you will need even more space.
- If you are running Linux in a virtual machine,you need at least 16GB of RAM/swap
参考地址:http://jingyan.baidu.com/article/f96699bbcf8dac894f3c1b5c.html 以及鸟哥的linux相关章节

参考地址:http://www.tianwaihome.com/2012/12/android-compile.html
参考地址:http://blog.csdn.net/kevinshq/article/details/7770164
参考地址:http://www.cnblogs.com/xingfuzzhd/archive/2012/09/05/2672000.html


 1万+
1万+

 被折叠的 条评论
为什么被折叠?
被折叠的 条评论
为什么被折叠?
 到【灌水乐园】发言


