


SpringBoot的Profiles根据开发环境和测试环境载入不同的配置文件
参考:https://www.cnblogs.com/bjlhx/p/8325374.html
1、需要有一个默认的配置文件,然后一个正式的配置文件,一个测试的配置文件。激活配置项,默认的配置文件application.properties也会加载进去的。编程的方式指定生效的profile。
默认的配置文件application.properties配置文件,然后再创建两个配置文件,一个是application-dev.properties,一个是application-test.properties配置文件。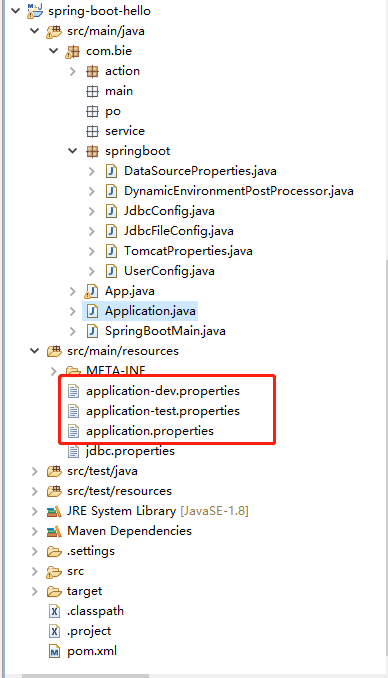
application-dev.properties内容如下所示:
jdbc.drivername=com.mysql.jdbc.Driver
jdbc.url=jdbc:mysql:///book
jdbc.user=dev
jdbc.password=123456
application-test.properties内容如下所示:
jdbc.drivername=com.mysql.jdbc.Driver
jdbc.url=jdbc:mysql:///book
jdbc.user=test
jdbc.password=123456
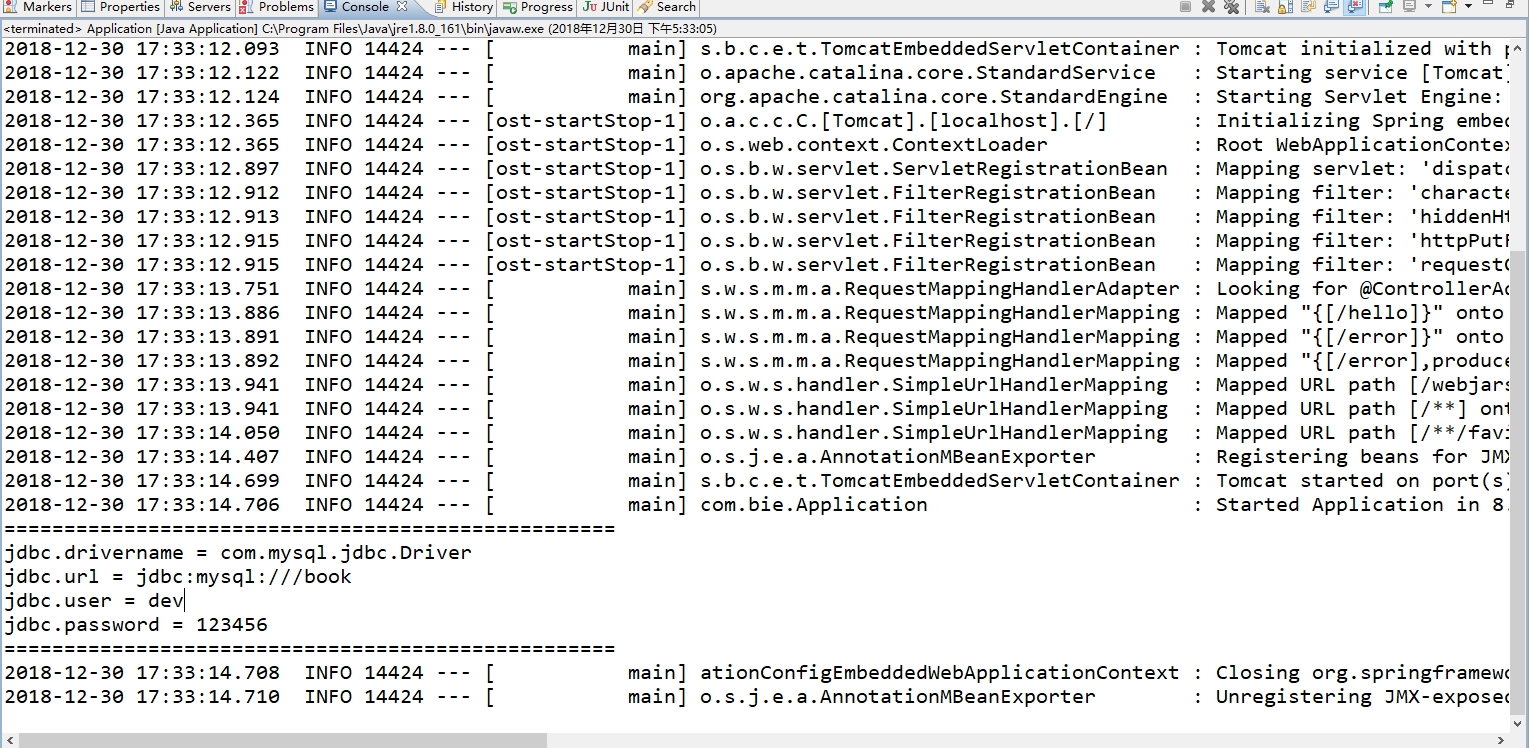
然后在主运行类里面进行编程修改加载那个配置文件,具体如下所示:
 1 package com.bie;
 2
 3 import org.springframework.beans.BeansException;
 4 import org.springframework.boot.SpringApplication;
 5 import org.springframework.boot.autoconfigure.SpringBootApplication;
 6 import org.springframework.context.ConfigurableApplicationContext;
 7
 8 import com.bie.springboot.DataSourceProperties;
 9 import com.bie.springboot.JdbcConfig;
10 import com.bie.springboot.TomcatProperties;
11 import com.bie.springboot.UserConfig;
12
13 /**
14  *
15  * @Description TODO
16  * @author biehl
17  * @Date 2018年12月30日 上午10:44:35
18  *
19  */
20 @SpringBootApplication
21 public class Application {
22
23     public static void main(String[] args) {
24         //ConfigurableApplicationContext run = SpringApplication.run(Application.class, args);
25
26         SpringApplication app = new SpringApplication(Application.class);
27         //使正式环境的配置文件生效
28         app.setAdditionalProfiles("dev");
29         //使测试环境的配置文件生效
30         //app.setAdditionalProfiles("test");
31         ConfigurableApplicationContext context = app.run(args);
32
33         System.out.println("===================================================");
34
35         System.out.println("jdbc.drivername = " + context.getEnvironment().getProperty("jdbc.drivername"));
36         System.out.println("jdbc.url = " + context.getEnvironment().getProperty("jdbc.url"));
37         System.out.println("jdbc.user = " + context.getEnvironment().getProperty("jdbc.user"));
38         System.out.println("jdbc.password = " + context.getEnvironment().getProperty("jdbc.password"));
39
40         System.out.println("===================================================");
41
42         // 运行结束进行关闭操作
43         context.close();
44     }
45
46 }
运行效果如下所示:
如何在@SpringBootTest中动态地启用不同的profiles?
由于是新接触到SpringBoot框架,所以也是慢慢学的,刚开始一致无法识别到自己的dev或者test配置文件。百度了不少教程,但是并没有解决这个问题,后来发现是我
的启动参数配置的是之前的,所以把启动参数删除了就行了。
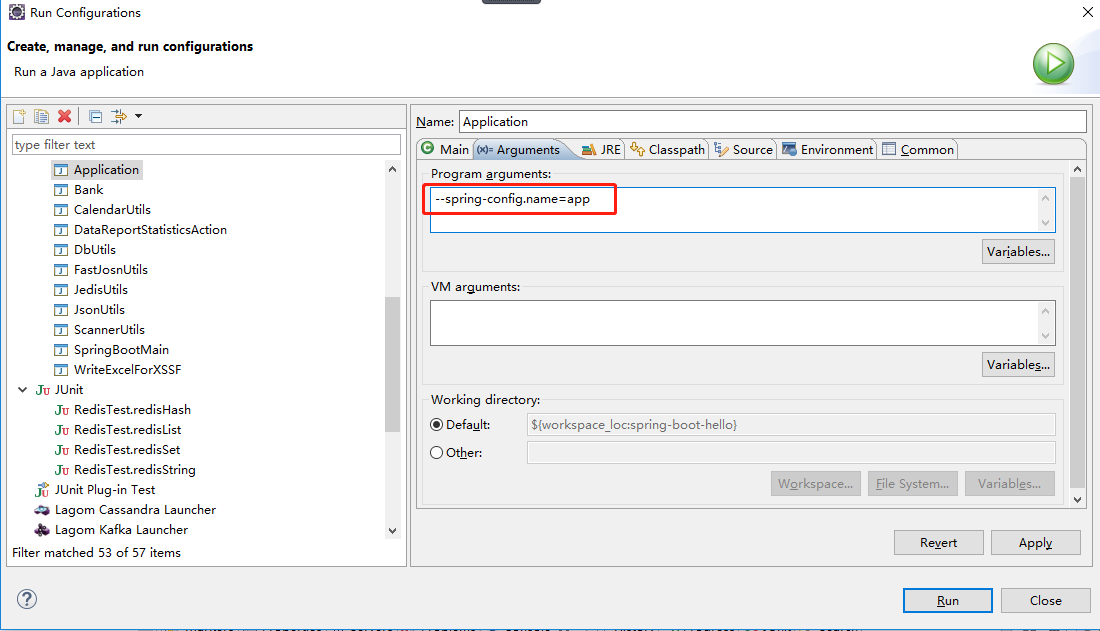
将上面的配置参数删除了,就可以实现你想要的了。马上试试吧,骚年。
2、也可以使用@Profile注解进行选择启动dev或者test。装配了三个bean。如果test被激活了或者dev被激活了才会装配下面对应的bean,执行对应的方法。起到相应的作用和效果。
 1 package com.bie.springboot;
 2
 3 import org.springframework.boot.SpringBootConfiguration;
 4 import org.springframework.context.annotation.Bean;
 5 import org.springframework.context.annotation.Profile;
 6
 7 /**
 8  *
 9  * @Description TODO
10  * @author biehl
11  * @Date 2018年12月30日 下午5:40:18
12  * 启动对应环境时候生效
13  */
14 @SpringBootConfiguration
15 public class MyConfig {
16     @Bean
17     public Runnable createRunnable() {
18         System.out.println("--------1--------");
19         return ()->{};
20     }
21
22     @Bean
23     @Profile("dev")
24     public Runnable createRunnable2() {
25         System.out.println("--------2--------");
26         return ()->{};
27     }
28
29     @Bean
30     @Profile("test")
31     public Runnable createRunnable3() {
32         System.out.println("--------3--------");
33         return ()->{};
34     }
35 }
待续......


 272
272


 被折叠的 条评论
为什么被折叠?
被折叠的 条评论
为什么被折叠?
 到【灌水乐园】发言


