


开发环境:
jdk:  jdk-8u281-windows-x64.exe
ideaIU: ideaIU-2021.1.3.win.zip
tomcat: apache-tomcat-8.5.9-windows-x64.zip
maven: apache-maven-3.8.3-bin.zip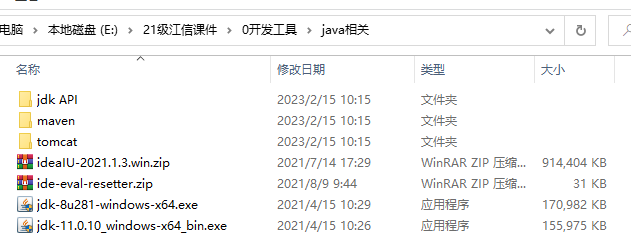
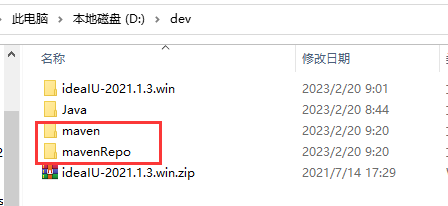
在d盘创建一个文件夹 dev
以下所有的环境 都安装在指定目录 dev
一、IDEA安装
1.1 jdk安装与配置
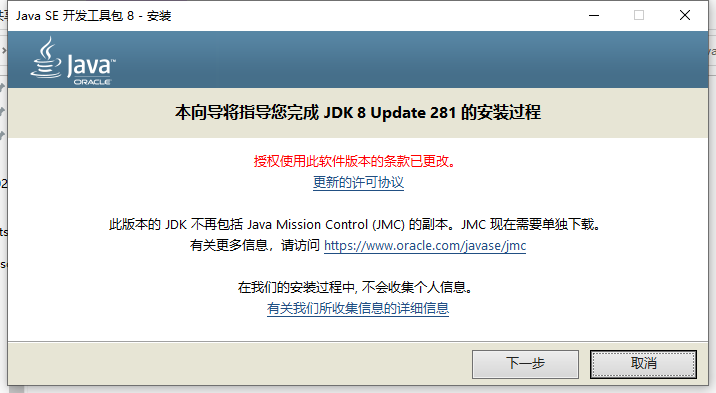
安装 jdk-8u281-windows-x64.exe (JDK 和JRE)
双击 .exe 可执行文件 点击下一步
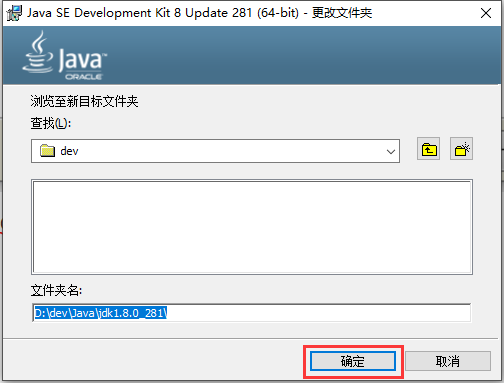
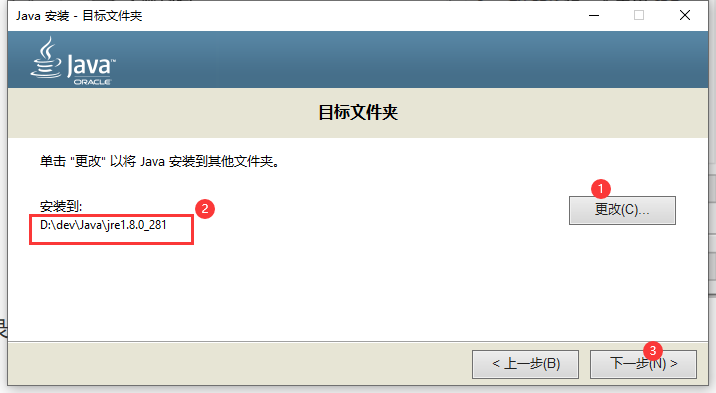
自定义 安装路径 D:\dev\Java\jdk1.8.0_281\ 安装jdk
点击下一步
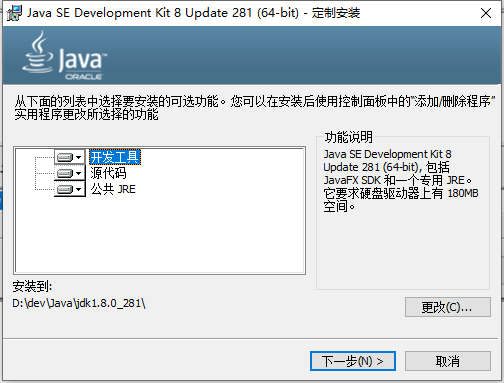
自定义jre安装目录(D:\dev\Java\jre1.8.0_281) 点击下一步 安装jre
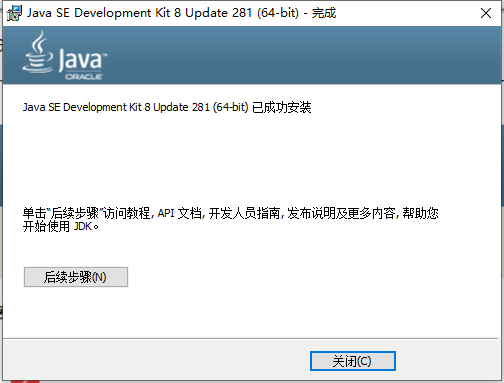
直接点击关闭 jdk安装完成
配置jdk环境变量 D:\dev\Java\jdk1.8.0_281\bin
此电脑-->单机右键-->属性-->高级系统设置
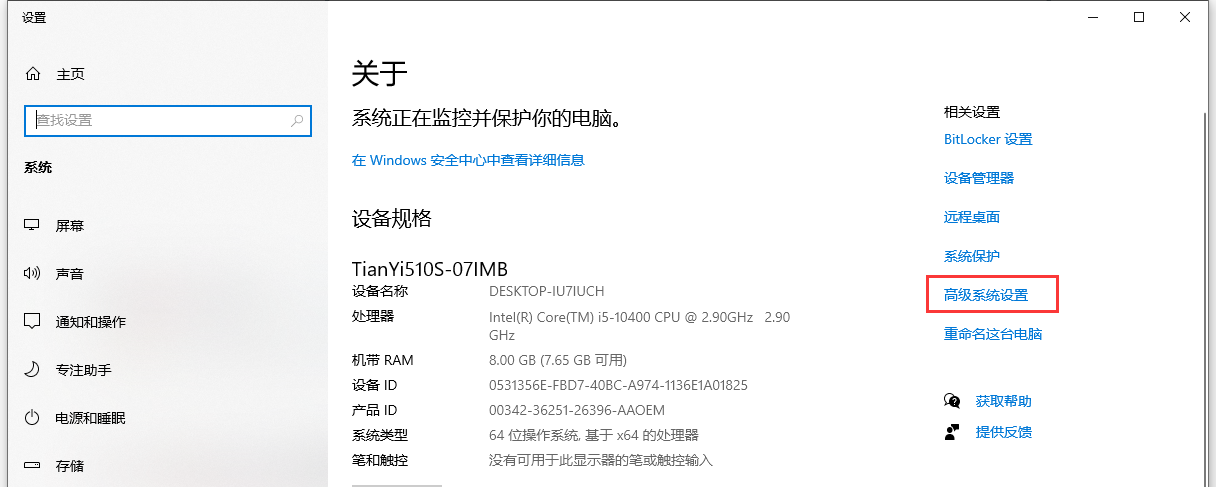
点击高级系统设置 --》环境变量
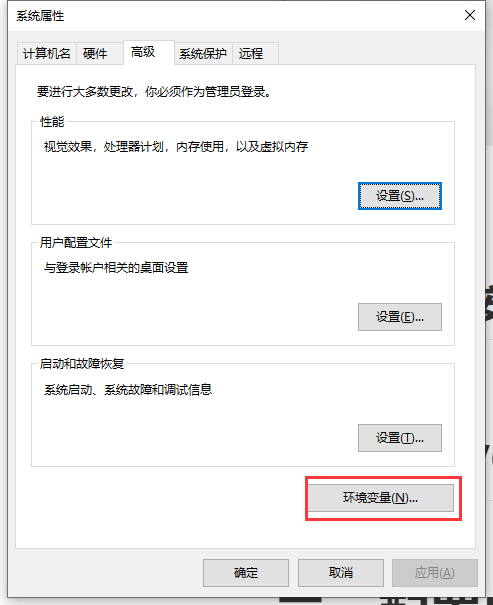
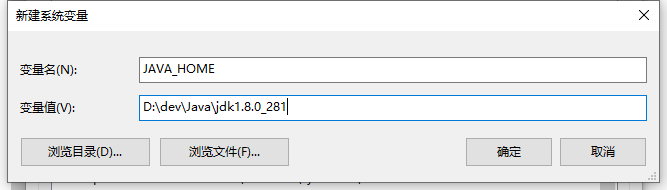
1.新建一个系统变量 变量名: JAVA_HOME 变量值: D:\dev\Java\jdk1.8.0_281
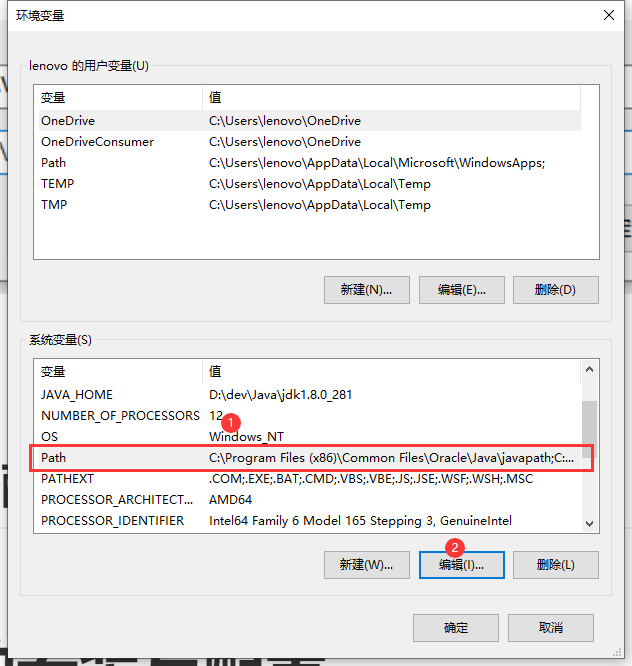
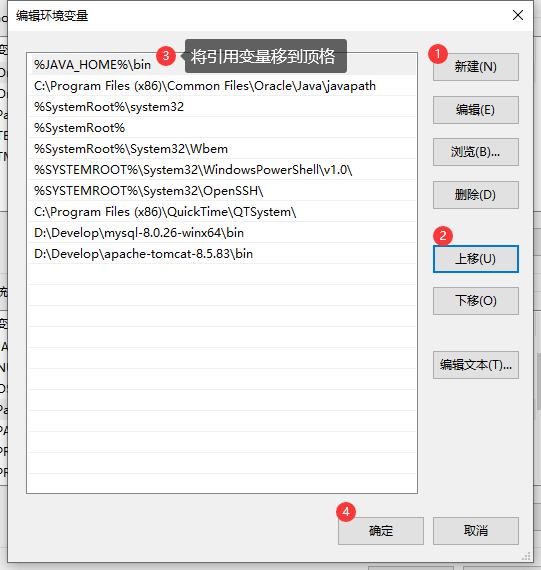
2.在path中田间 JAVA_HOME 为了引用 %JAVA_HOME%\bin
新建系统变量
在path中 引用系统变量
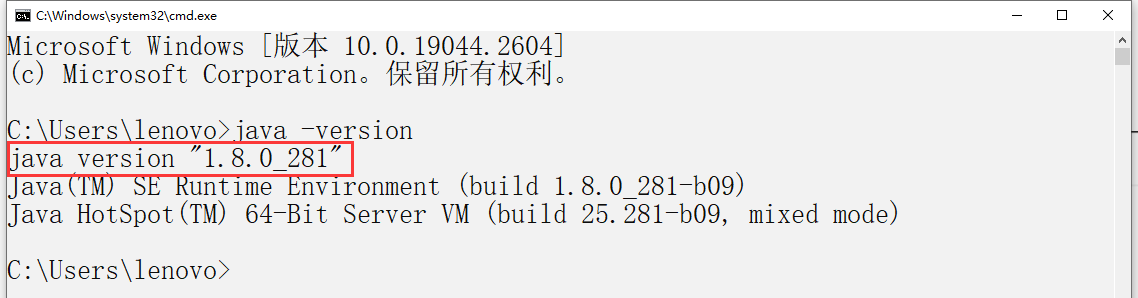
验证jdk是否安装成功
win+R 打开命令行 输入 cmd
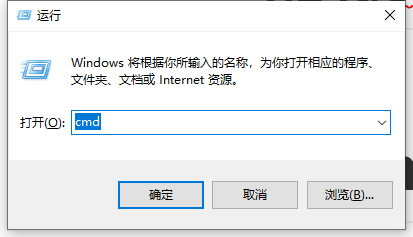
输入 java -version 出现如下图所示 java的版本
1.2 ideaIU安装与配置
安装idea
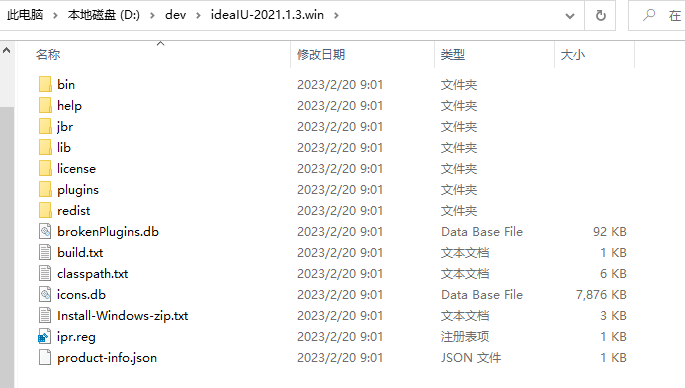
1.将ideaIU-2021.1.3.win.zip 复制到 D:\dev 目录下
2.将该压缩包解压到 D:\dev 目录下
进入 D:\dev\ideaIU-2021.1.3.win\bin 目录找到 idea64.exe
idea64.exe单机右键 --->发送到-->桌面快捷方式

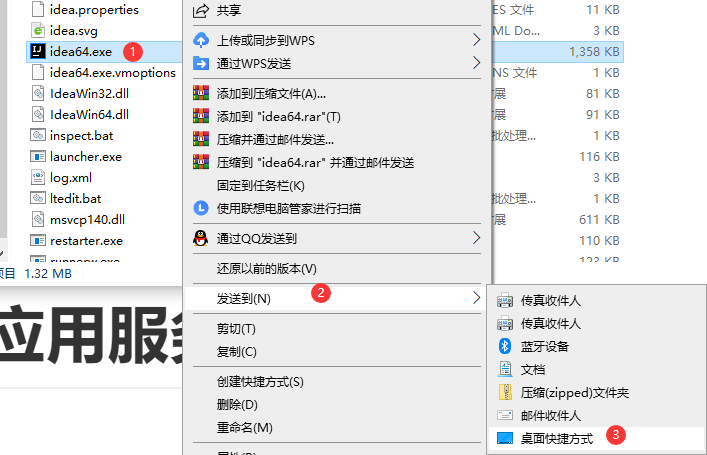
桌面生成一个idea 图标

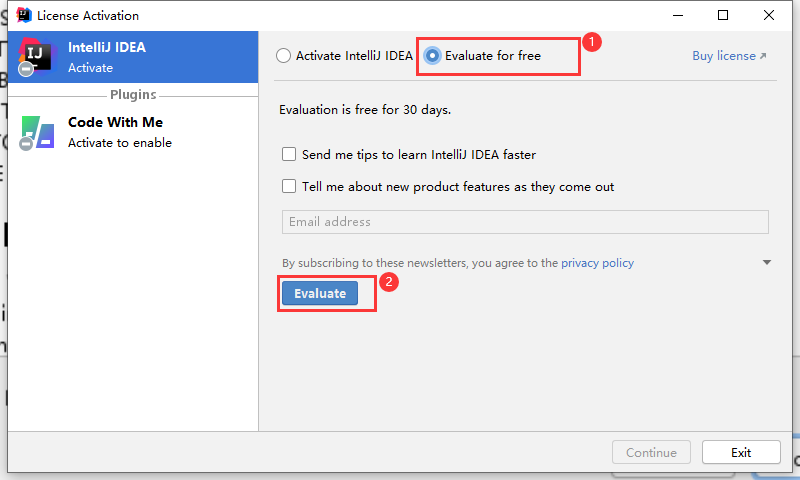
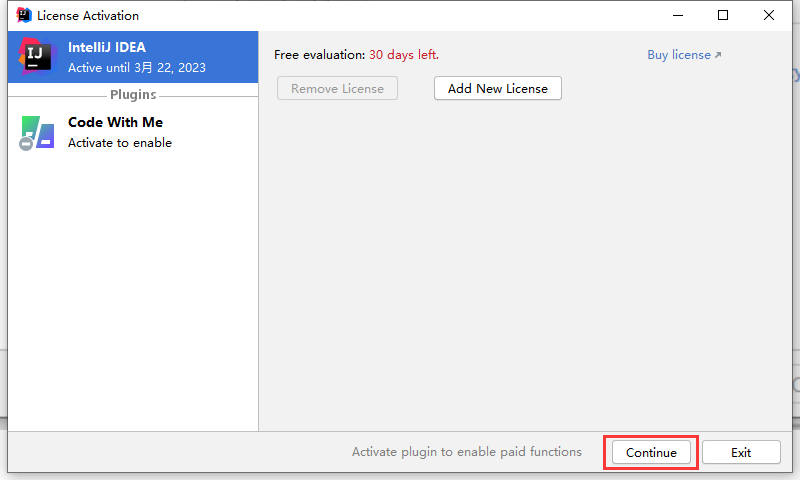
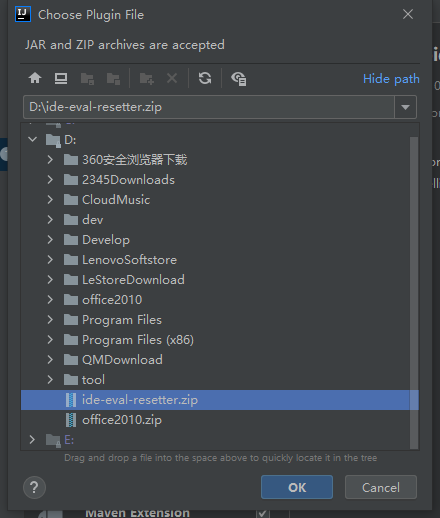
安装 ide-eval-resetter.zip 插件
(ide-eval-resetter.zip 永久免费使用30天)
ide-eval-resetter.zip 不需要解压 将该压缩包放到 d盘根目录下
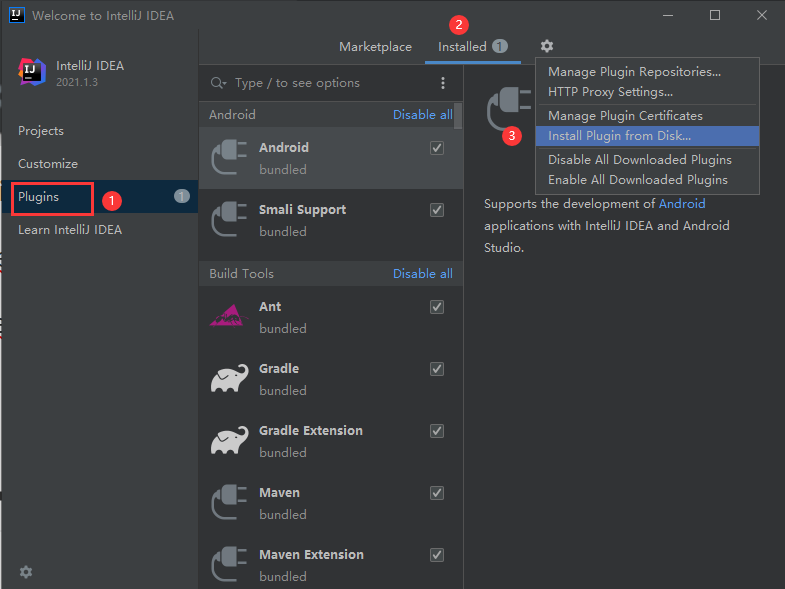
安装汉化插件 输入chinese

二、maven的安装与配置
在dev下新建两个目录 1.maven(开发环境) 2.mavenRepo(本地仓库)
2.1 安装maven
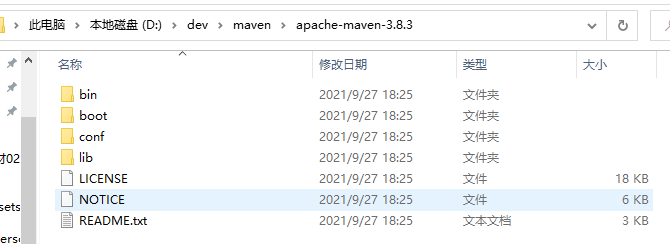
将压缩包 解压到如下目录 D:\dev\maven\apache-maven-3.8.3
修改配置文件 settings.xml
D:\dev\maven\apache-maven-3.8.3\conf\settings.xml
指定本地仓库(jar包) 存放路径 D:\dev\mavenRepo
将中央仓库指定为阿里云(从国内服务器下载jar包)
 <!-- localRepository
   | The path to the local repository maven will use to store artifacts.
   |
   | Default: ${user.home}/.m2/repository
  <localRepository>/path/to/local/repo</localRepository>
  -->
 <!--指定本地仓库(jar包) 存放路径    D:\dev\mavenRepo-->
 <localRepository>D:/dev/mavenRepo</localRepository>
2.将中央仓库指定为阿里云 mirrors 镜像
  <mirrors>
    <!-- mirror
     | Specifies a repository mirror site to use instead of a given repository. The repository that
     | this mirror serves has an ID that matches the mirrorOf element of this mirror. IDs are used
     | for inheritance and direct lookup purposes, and must be unique across the set of mirrors.
     |
    <mirror>
      <id>mirrorId</id>
      <mirrorOf>repositoryId</mirrorOf>
      <name>Human Readable Name for this Mirror.</name>
      <url>http://my.repository.com/repo/path</url>
    </mirror>
     -->
  <mirror>
      <id>alimaven</id>
      <name>aliyun maven</name>
      <url>http://maven.aliyun.com/nexus/content/groups/public/</url>
      <mirrorOf>central</mirrorOf>
    </mirror>
    <!--
	<mirror>
      <id>maven-default-http-blocker</id>
      <mirrorOf>external:http:*</mirrorOf>
      <name>Pseudo repository to mirror external repositories initially using HTTP.	</name>
      <url>http://0.0.0.0/</url>
      <blocked>true</blocked>
    </mirror>
	-->
  </mirrors>
2.2 配置环境变量
要先安装jdk
配置方式和Jdk环境变量配置方式一样
1.新建系统变量 变量名:MAVEN_HOME 变量值:D:\dev\maven\apache-maven-3.8.3
2.在path中 引用环境变量 MAVEN_HOME
新建 %MAVEN_HOME%\bin
系统变量 MAVEN_HOME
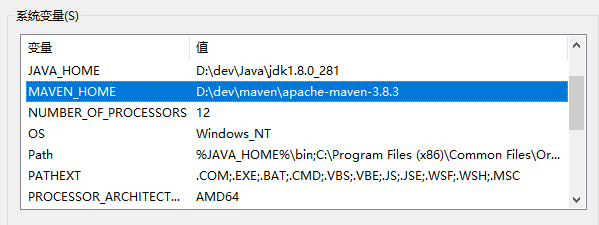
path 引用系统变量 MAVEN_HOME


测试maven是否安装成功
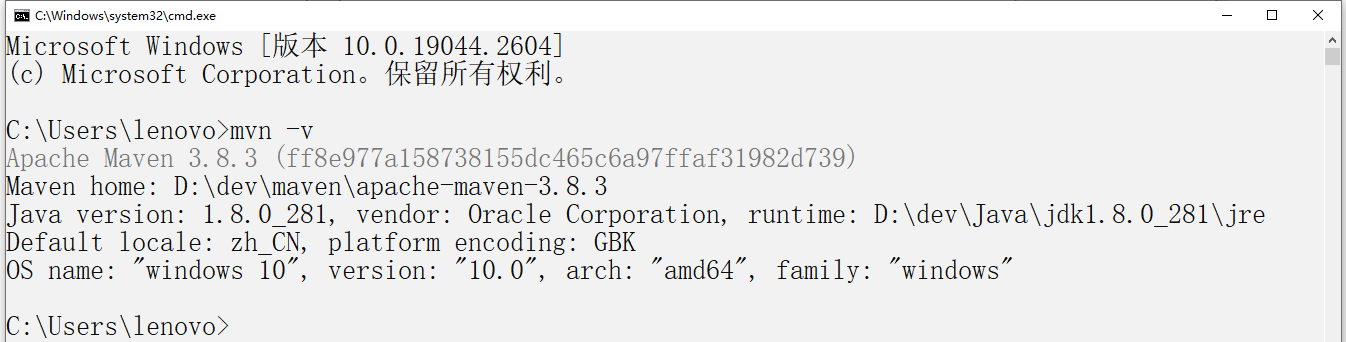
进入命令行(win+R 输入cmd)
输入 mvn -v 则说明maven配置成功

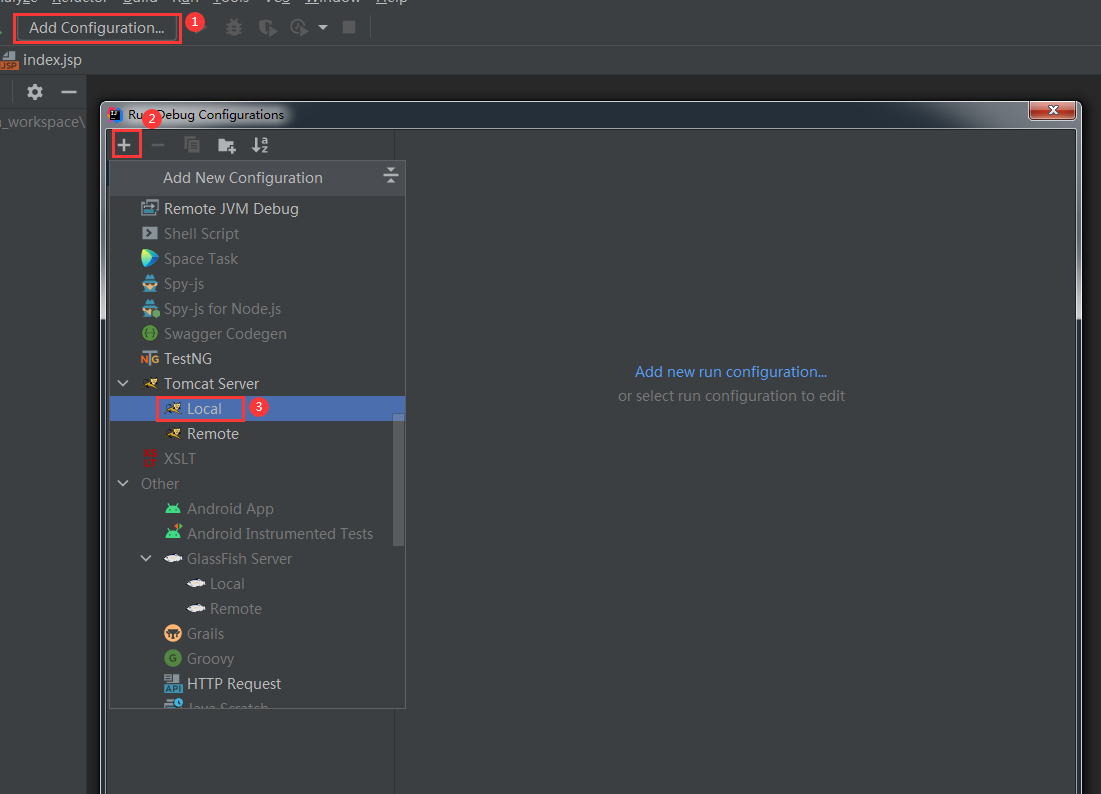
三、配置应用服务器tomcat
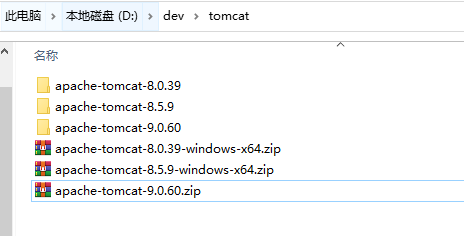
在dev下创建一个目录tomcat 将绿色版本的tomcat复制到该目录下即可
在idea中添加 应用服务器 如下图所示
之后选择tomcat的解压路径即可
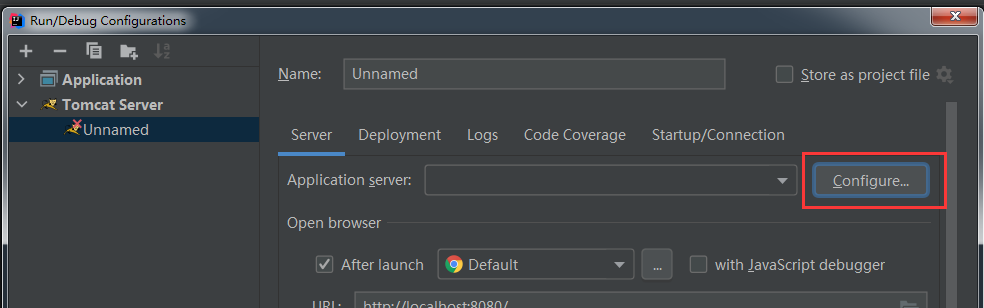
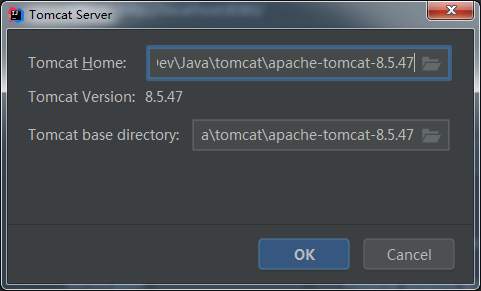
之后点击确定即可
四、使用IDEA创建普通Java项目
一定要有网
将 D:\dev\maven\apache-maven-3.8.3\conf\settings.xml
settings.xml 复制到 C:\Users\lenovo.m2 目录下
以下步骤是在IDEA构建普通java项目


 1万+
1万+


 被折叠的 条评论
为什么被折叠?
被折叠的 条评论
为什么被折叠?
 到【灌水乐园】发言


