


大家都很知道页面适配对于App来说有多么的重要哈。嘻嘻~习惯了xib,stroyBoard的,突然用纯代码适配也许会感觉很不适应,而且VFL的语法规则会让大家感觉有点难度。这个Masnory是一款轻量级的第三方的布局框架,上手很快的哦。下面我就简单的演示一下,嘿嘿
主要方法呢有三种:
1、mas_makeConstraints 此方法为新增约束条件
2、mas_remakeConstraints 移除以前的约束,并在代码块中可重新设置新的约束条件哦
3、mas_updateConstraints 更新约束条件
以上三种方法视情况灵活运用,我觉得对于页面布局来说够啦。至于属性啥的,无非就是上、下、左、右、宽度、高度。嘻嘻~仔细往下看,相信你会上手的哦。
UIView * topView = [[UIView alloc]init];
topView.backgroundColor = [UIColor redColor];
[self.view addSubview:topView];
[topView mas_makeConstraints:^(MASConstraintMaker *make) {
// make.top.mas_equalTo(self.view.mas_top).offset(20);
// make.left.mas_equalTo(self.view.mas_left).offset(20);
// make.right.mas_equalTo(self.view.mas_right).offset(-20);
// make.bottom.mas_equalTo(self.view.mas_bottom).offset(-20);
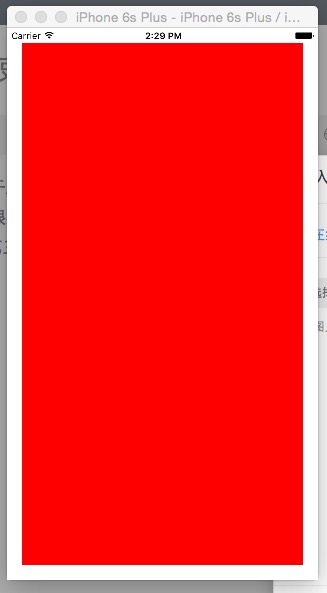
make.top.left.bottom.and.right.equalTo(self.view).with.insets(UIEdgeInsetsMake(20, 20, 20, 20));
}];
这是最简单的,注释掉的部分与make.top.left.....的效果是等价的,后者只是更简洁的写法喽,当然还有一种更简单的。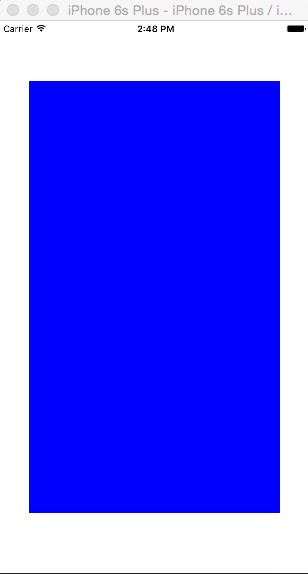
//移除以前的约束,并重新设置了约束条件,并重新设置了topView的背景色哦。
[topView mas_remakeConstraints:^(MASConstraintMaker *make) {
       make.top.left.bottom.and.right.equalTo(self.view).with.insets(UIEdgeInsetsMake(80, 40, 80, 40));
       topView.backgroundColor = [UIColor blueColor];
}];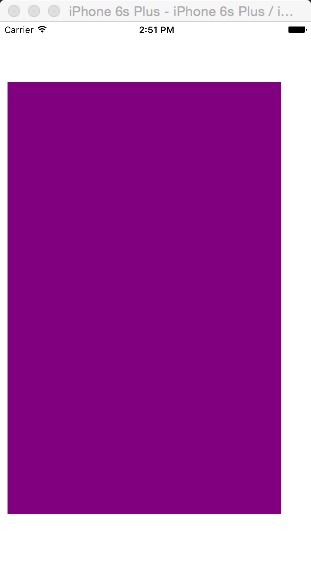
 //mas_updateConstraints 更新约束条件
    [topView mas_updateConstraints:^(MASConstraintMaker *make) {
        //      make.left.mas_equalTo(@10);//与下句的效果一样的哦。
        make.left.mas_equalTo(self.view.mas_left).offset(10);
        topView.backgroundColor = [UIColor purpleColor];

    }];
这就是这三种方法的使用,是不是看着感觉很简单呢,哈哈哈
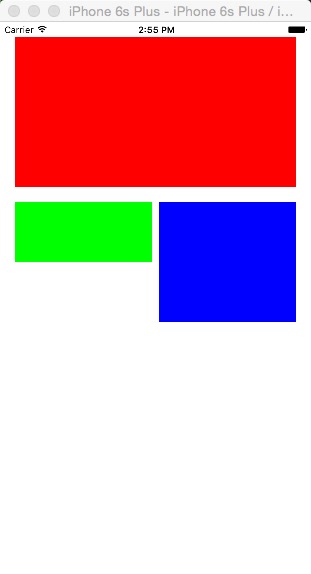
下面就来略微复杂一点的,不过也还好啦,认真看,就OK啦。
    UIView * leftView = [[UIView alloc]init];
    leftView.backgroundColor = [UIColor greenColor];
    [self.view addSubview:leftView];
    UIView * rightView = [[UIView alloc]init];
    rightView.backgroundColor = [UIColor blueColor];
    [self.view addSubview:rightView];
    [topView mas_makeConstraints:^(MASConstraintMaker *make) {
        make.top.mas_equalTo(self.view.mas_top).offset(20);
        make.left.mas_equalTo(self.view.mas_left).offset(20);
        make.left.equalTo(@[leftView]);
        make.right.mas_equalTo(self.view.mas_right).offset(-20);
        make.right.equalTo(@[rightView]);
        make.height.equalTo(@200);
    }];
    //等宽
    [leftView mas_makeConstraints:^(MASConstraintMaker *make) {
        make.top.mas_equalTo(topView.mas_bottom).offset(20);
        make.top.equalTo(@[rightView]);
        make.width.equalTo(rightView);
        make.height.equalTo(@80);
    }];
    [rightView mas_makeConstraints:^(MASConstraintMaker *make) {
        make.left.mas_equalTo(leftView.mas_right).offset(10);
        make.width.equalTo(leftView);
        make.height.equalTo(@160);
    }];
   //等高
    [leftView mas_makeConstraints:^(MASConstraintMaker *make) {
        make.top.mas_equalTo(topView.mas_bottom).offset(20);
        make.top.equalTo(@[rightView]);
        make.height.equalTo(rightView);
        make.height.equalTo(@80);
    }];
    [rightView mas_makeConstraints:^(MASConstraintMaker *make) {
        make.left.mas_equalTo(leftView.mas_right).offset(10);
        make.height.equalTo(leftView);
        make.width.equalTo(@200);
    }];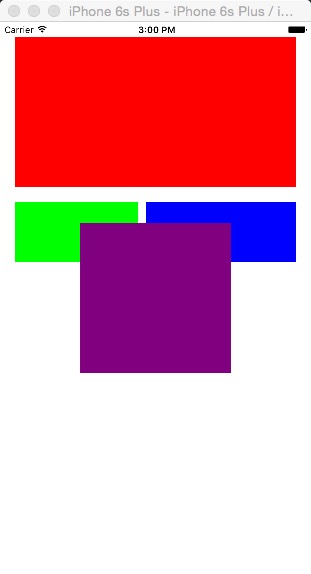
    UIView * centerView = [[UIView alloc]init];
    centerView.backgroundColor = [UIColor purpleColor];
    [self.view addSubview:centerView];
    [centerView mas_makeConstraints:^(MASConstraintMaker *make) {
        make.size.mas_equalTo(CGSizeMake(200, 200));
        make.centerX.mas_equalTo(self.view.mas_centerX);
        make.centerY.mas_equalTo(self.view.mas_centerY);
    }];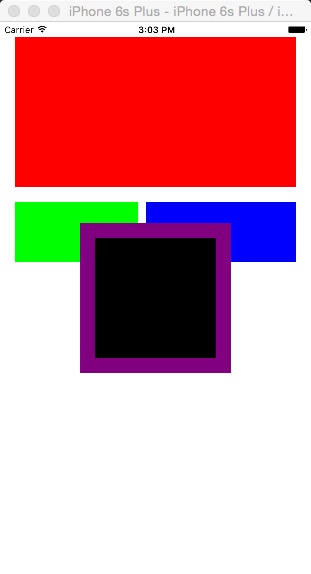
    UIView * subView = [[UIView alloc]init];
    subView.backgroundColor = [UIColor blackColor];
    [centerView addSubview:subView];
    [subView mas_makeConstraints:^(MASConstraintMaker *make) {
      //1
//        make.topMargin.mas_equalTo(centerView).offset(20);
//        make.leftMargin.mas_equalTo(centerView).offset(20);
//        make.rightMargin.mas_equalTo(centerView).offset(-20);
//        make.bottomMargin.mas_equalTo(centerView).offset(-20);
      //2
//        make.topMargin.mas_equalTo(centerView.mas_topMargin).offset(20);
//        make.leftMargin.mas_equalTo(centerView.mas_leftMargin).offset(20);
//        make.rightMargin.mas_equalTo(centerView.mas_rightMargin).offset(-20);
//        make.bottomMargin.mas_equalTo(centerView.mas_bottomMargin).offset(-20);
      //3
//        make.top.left.bottom.and.right.equalTo(centerView).with.insets(UIEdgeInsetsMake(20, 20, 20, 20));
      //4
        make.edges.equalTo(centerView).with.insets(UIEdgeInsetsMake(20, 20, 20, 20));
    }];
每种效果图下面都有相应代码在的哦,应该还是蛮清楚的呢。其实就是这些,只要活用了,就好啦。加油喽!


 被折叠的 条评论
为什么被折叠?
被折叠的 条评论
为什么被折叠?
 到【灌水乐园】发言


