一、加入依赖
<dependency>
    <groupId>org.springframework.boot</groupId>
    <artifactId>spring-boot-starter-websocket</artifactId>
</dependency>


<dependency>
    <groupId>org.springframework.boot</groupId>
    <artifactId>spring-boot-starter-thymeleaf</artifactId>
</dependency>
二、自定义 Handler
package com.iyushu.websocket.handler;

import lombok.extern.slf4j.Slf4j;
import org.springframework.web.socket.TextMessage;
import org.springframework.web.socket.WebSocketSession;
import org.springframework.web.socket.handler.TextWebSocketHandler;

@Slf4j
public class MyHandler extends TextWebSocketHandler {
    @Override
    protected void handleTextMessage(WebSocketSession session, TextMessage message) throws Exception {

        String payload = message.getPayload();
        log.info("我接收到的消息:{}", payload);
        String rtnMsg = "我回复了";
        for(int i = 0; i < 10; i ++){
            Thread.sleep(2000);
            session.sendMessage(new TextMessage(rtnMsg + i));
        }
        super.handleTextMessage(session, message);
    }
}
三、新建配置类,并将第二步新增的handler 注册到websocket
package com.iyushu.websocket.config;

import com.iyushu.websocket.handler.MyHandler;
import org.springframework.context.annotation.Bean;
import org.springframework.context.annotation.Configuration;
import org.springframework.web.socket.config.annotation.EnableWebSocket;
import org.springframework.web.socket.config.annotation.WebSocketConfigurer;
import org.springframework.web.socket.config.annotation.WebSocketHandlerRegistry;

@Configuration
@EnableWebSocket
public class WebSocketConfig implements WebSocketConfigurer {
    @Override
    public void registerWebSocketHandlers(WebSocketHandlerRegistry webSocketHandlerRegistry) {
        webSocketHandlerRegistry.addHandler(myHandler(), "/websocket");
    }


    @Bean
    public MyHandler myHandler() {
        return new MyHandler();
    }
}
四、新建一个index.html页面,其中使用js发送和接收websocket数据
<body>
<div id="msg"></div>
<script src="https://cdn.staticfile.org/jquery/1.10.2/jquery.min.js"></script>
<script>
var socket = new WebSocket("ws://localhost:8080/websocket");
socket.onopen = function() {
socket.send("发送数据");
console.log("数据发送中...");
};
socket.onmessage = function (evt){
var received_msg = evt.data;
$("#msg").append(received_msg+'
');
console.log("数据已接收..."+received_msg);
};
socket.onclose = function(){
console.log("连接已关闭...");
};
</script>
</body>
五、新增一个访问地址,映射到index.html
@GetMapping("/index")
public String index(){
    return "index";
}
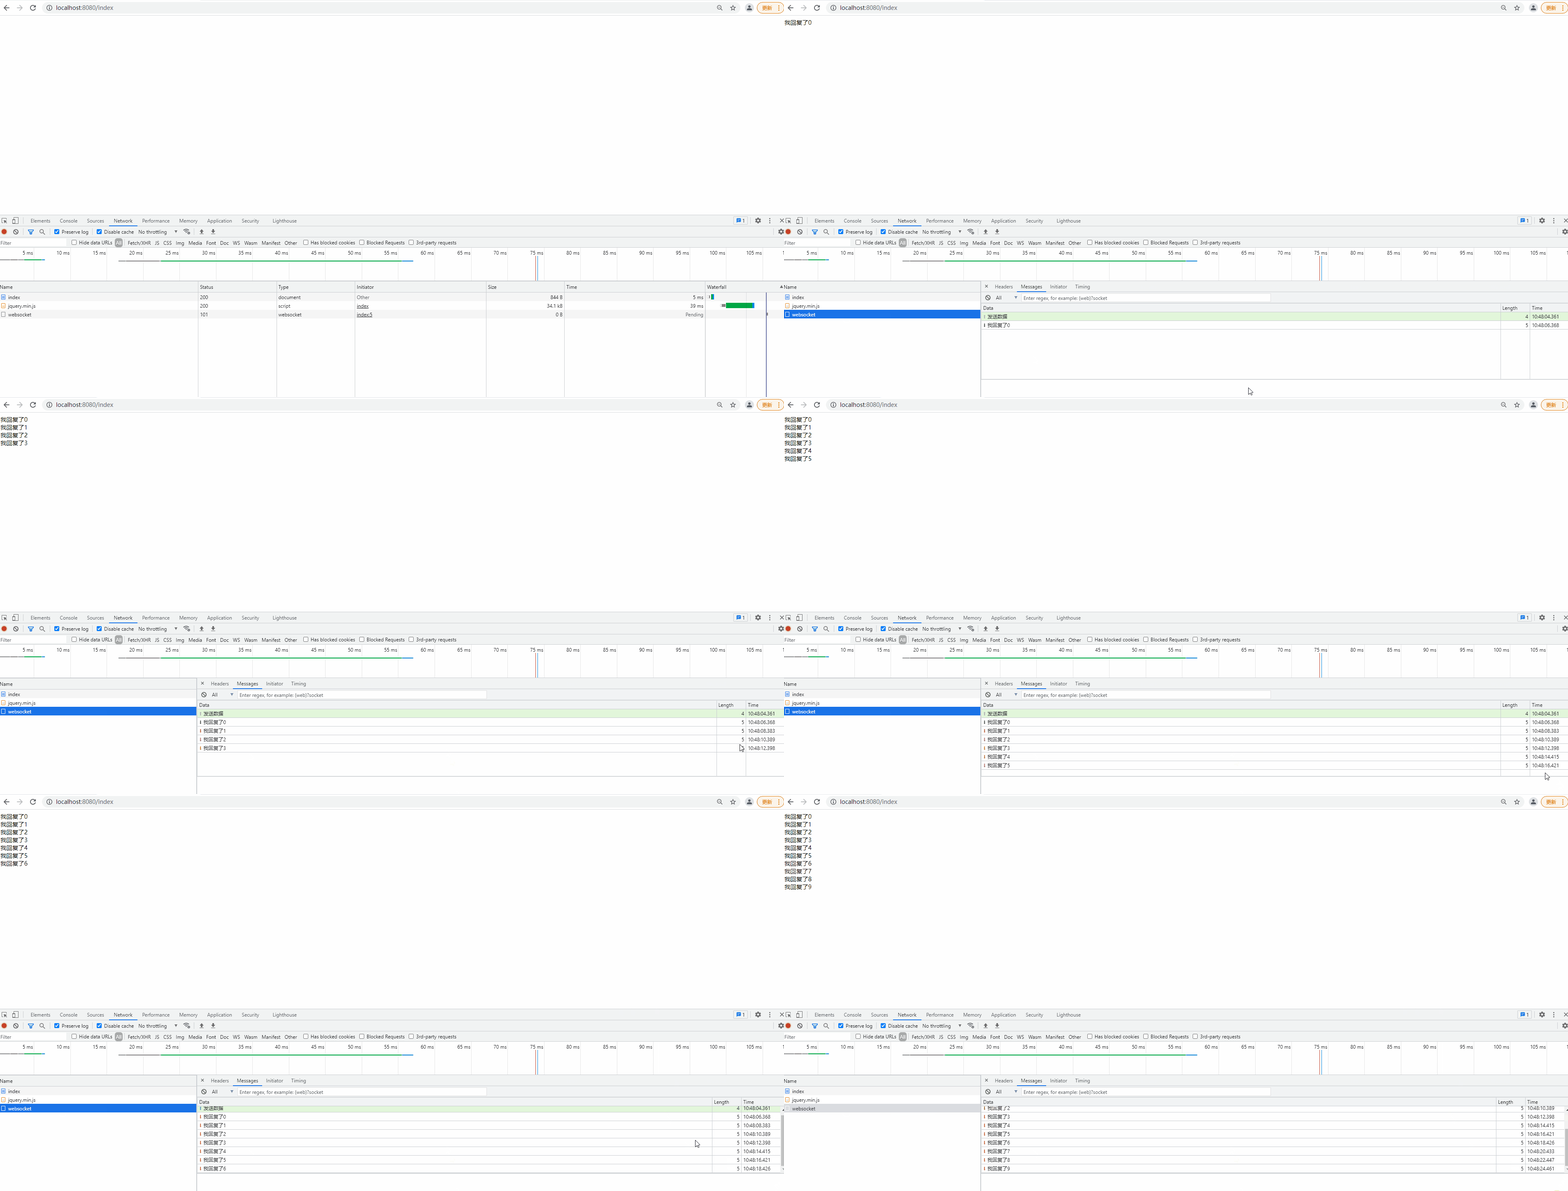
六、呈现效果


 139
139


 被折叠的 条评论
为什么被折叠?


