


1.官网
OpenTelemetry - CNCF
Prometheus官方文档
安装包下载页
Prometheus安装官方文档指引
2.安装mysqld_exporter
(1)下载
(2)配置文件
my.cnf
[client]
host=xx.xx.xx.xx
port=31090
user=root
password=root
(3)启动
启动命令:
nohup /usr/local/liufeifei/prometheus/mysqld_exporter-0.14.0.linux-amd64/mysqld_exporter --config.my-cnf=/usr/local/liufeifei/prometheus/mysqld_exporter-0.14.0.linux-amd64/my.cnf >>mysqld_exporter.log 2>&1 &
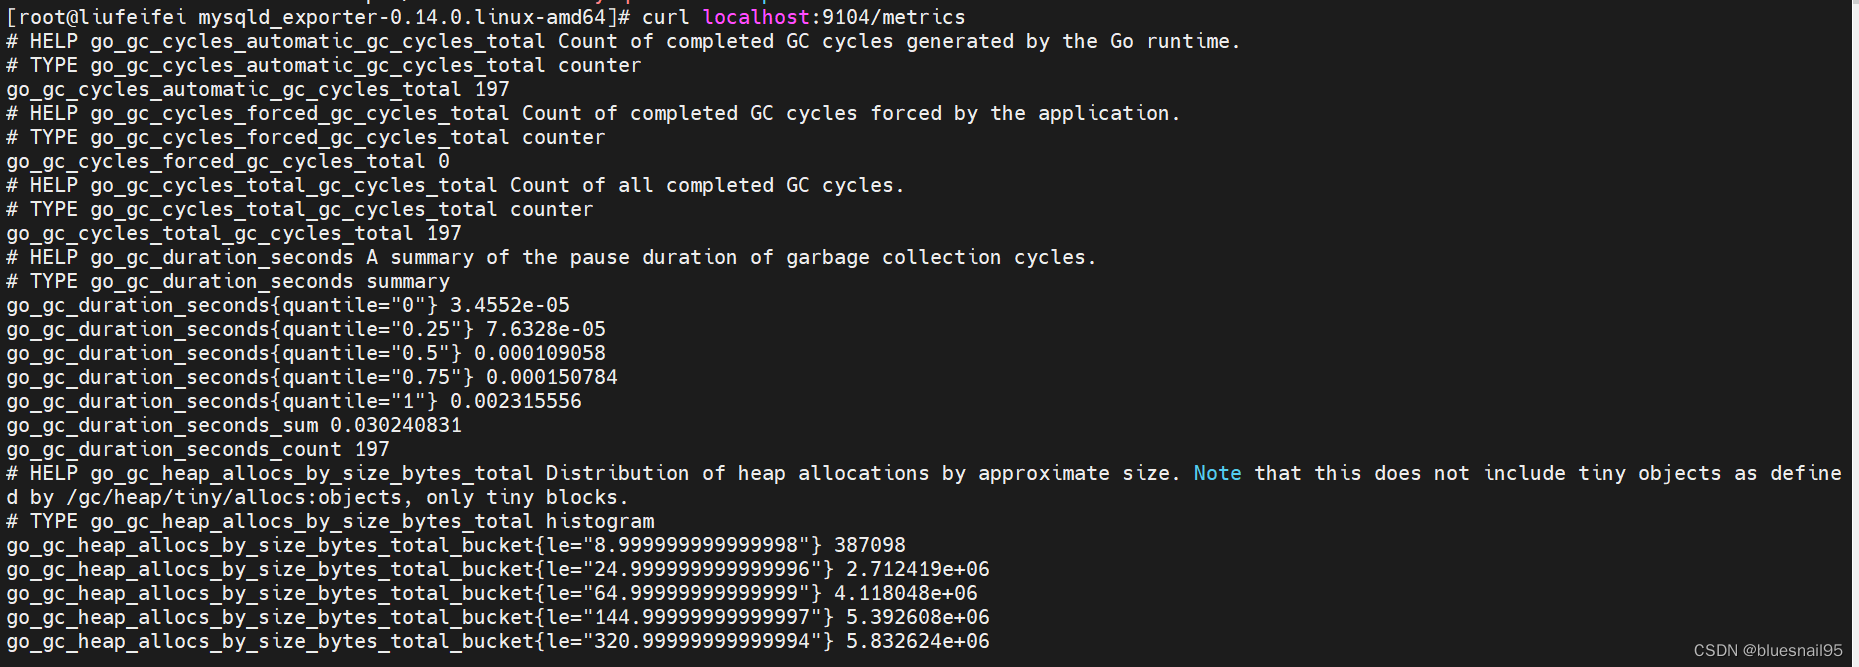
(4)验证
默认端口9104
http://xx.xx.xx.xx:9104/metrics
3.安装Prometheus
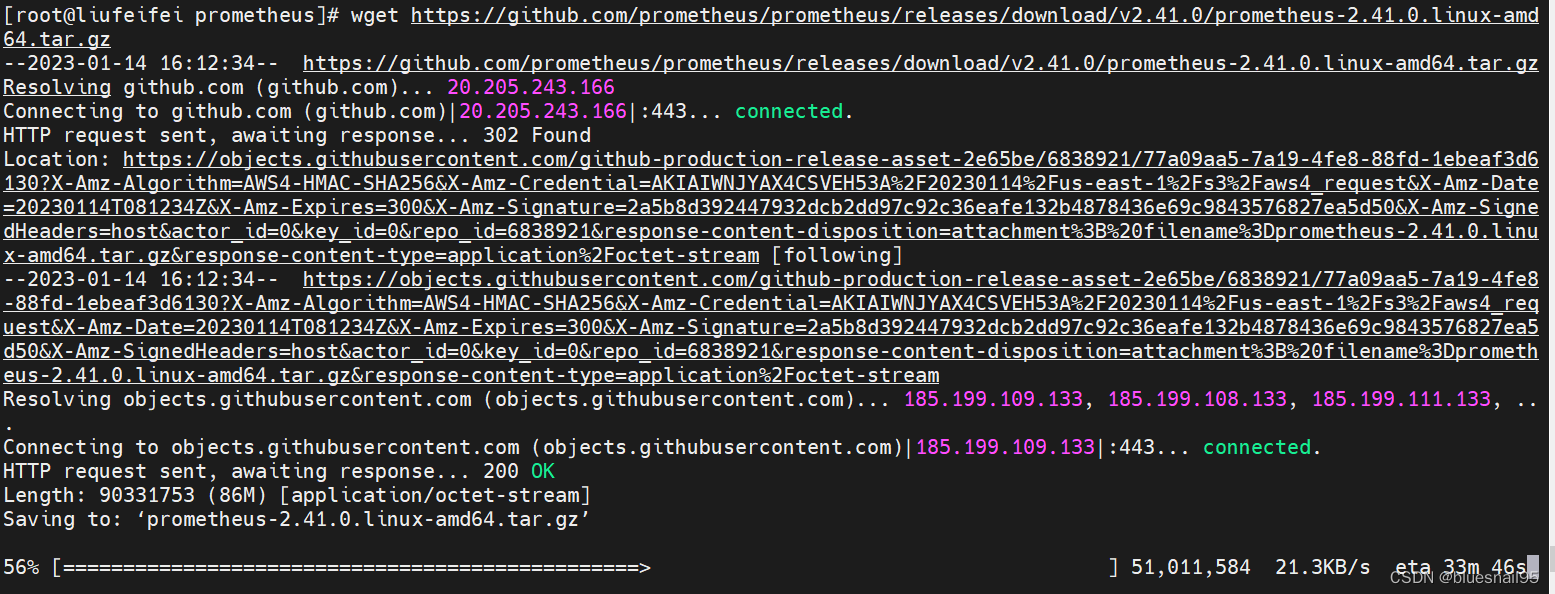
(1)下载
(2)配置文件
prometheus.yml 添加mysqld_exporter的目标地址
scrape_configs:
  # The job name is added as a label `job=<job_name>` to any timeseries scraped from this config.
  - job_name: "prometheus"

    # metrics_path defaults to '/metrics'
    # scheme defaults to 'http'.

    static_configs:
      - targets: ["localhost:9090"]

  - job_name: "mysql"

    static_configs:
      - targets: ["xx.xx.xx.xx:9104"]
(3)启动
nohup ./prometheus --config.file=prometheus.yml --web.enable-lifecycle >>prometheus.log 2>&1 &

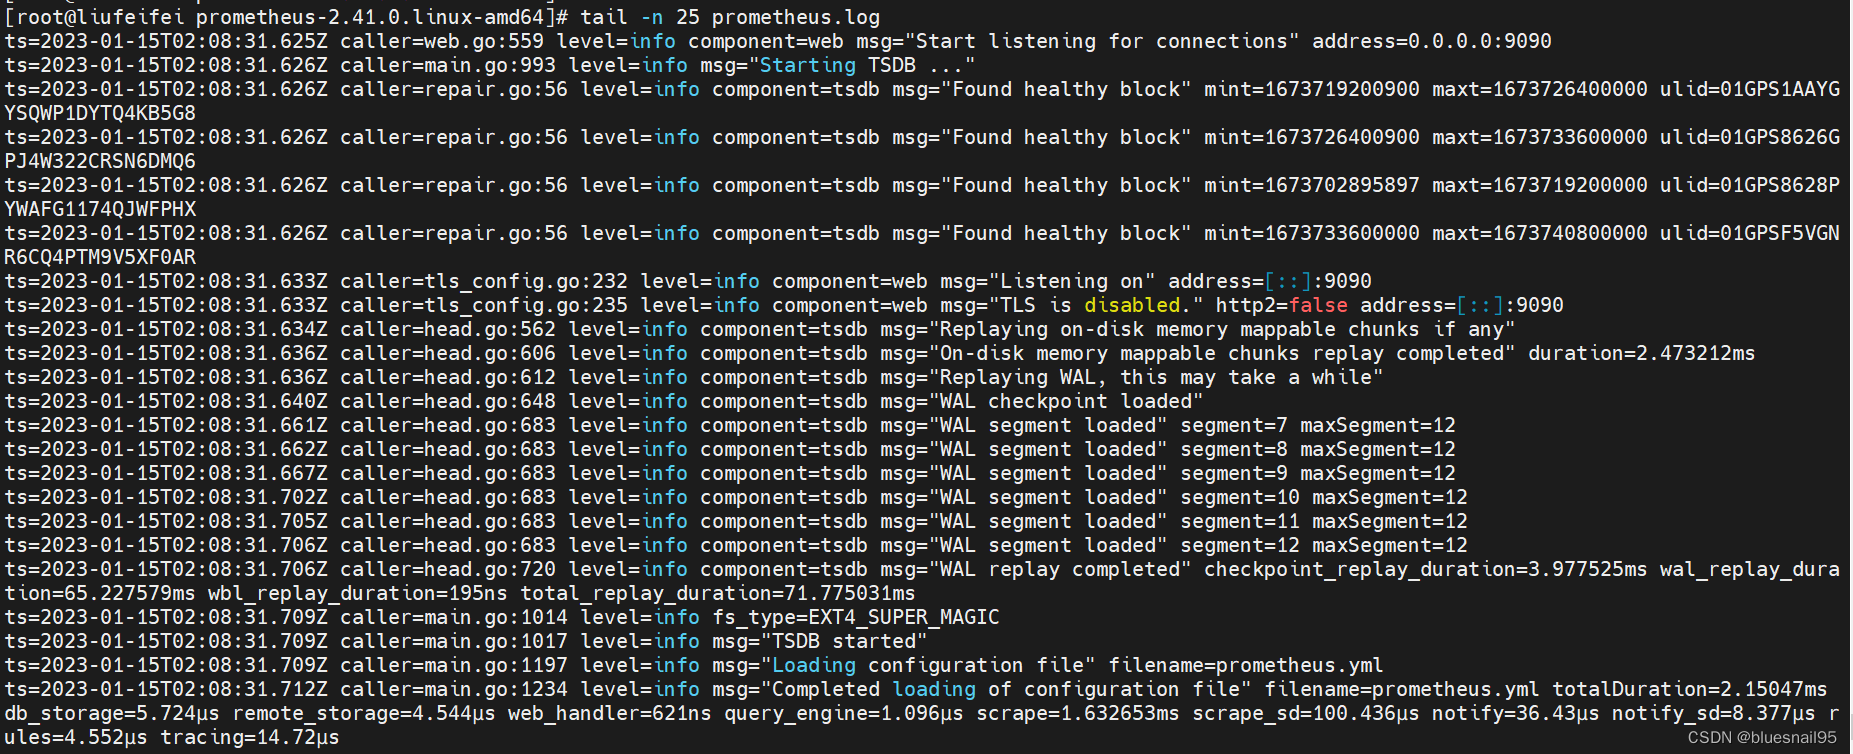
日志输出:
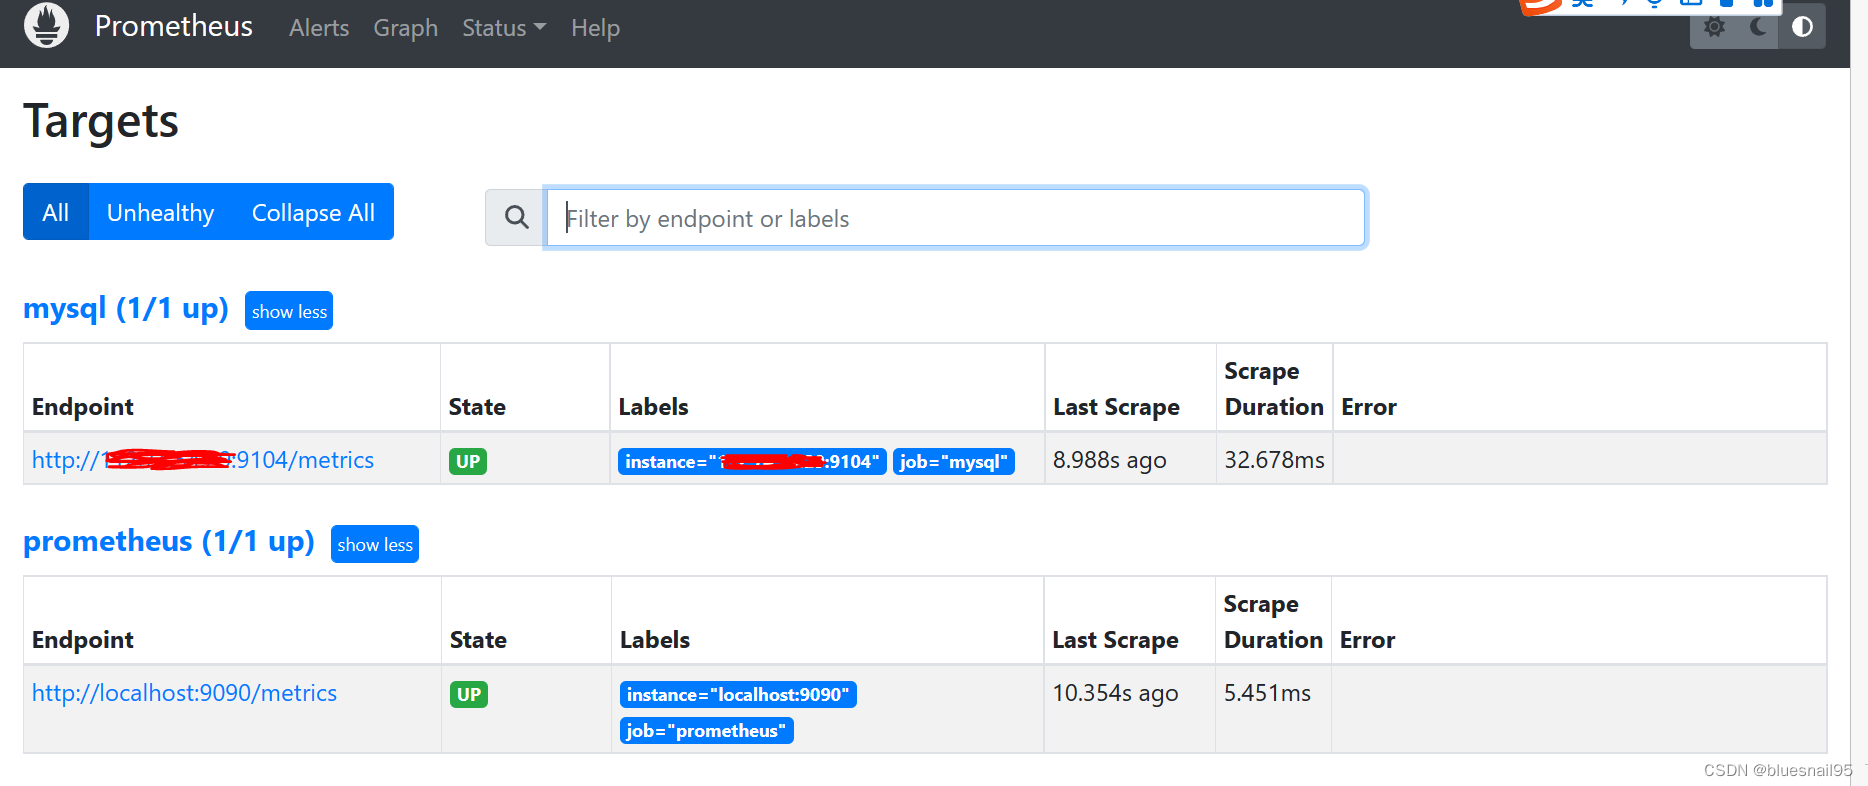
(4)验证
Prometheus默认9090端口
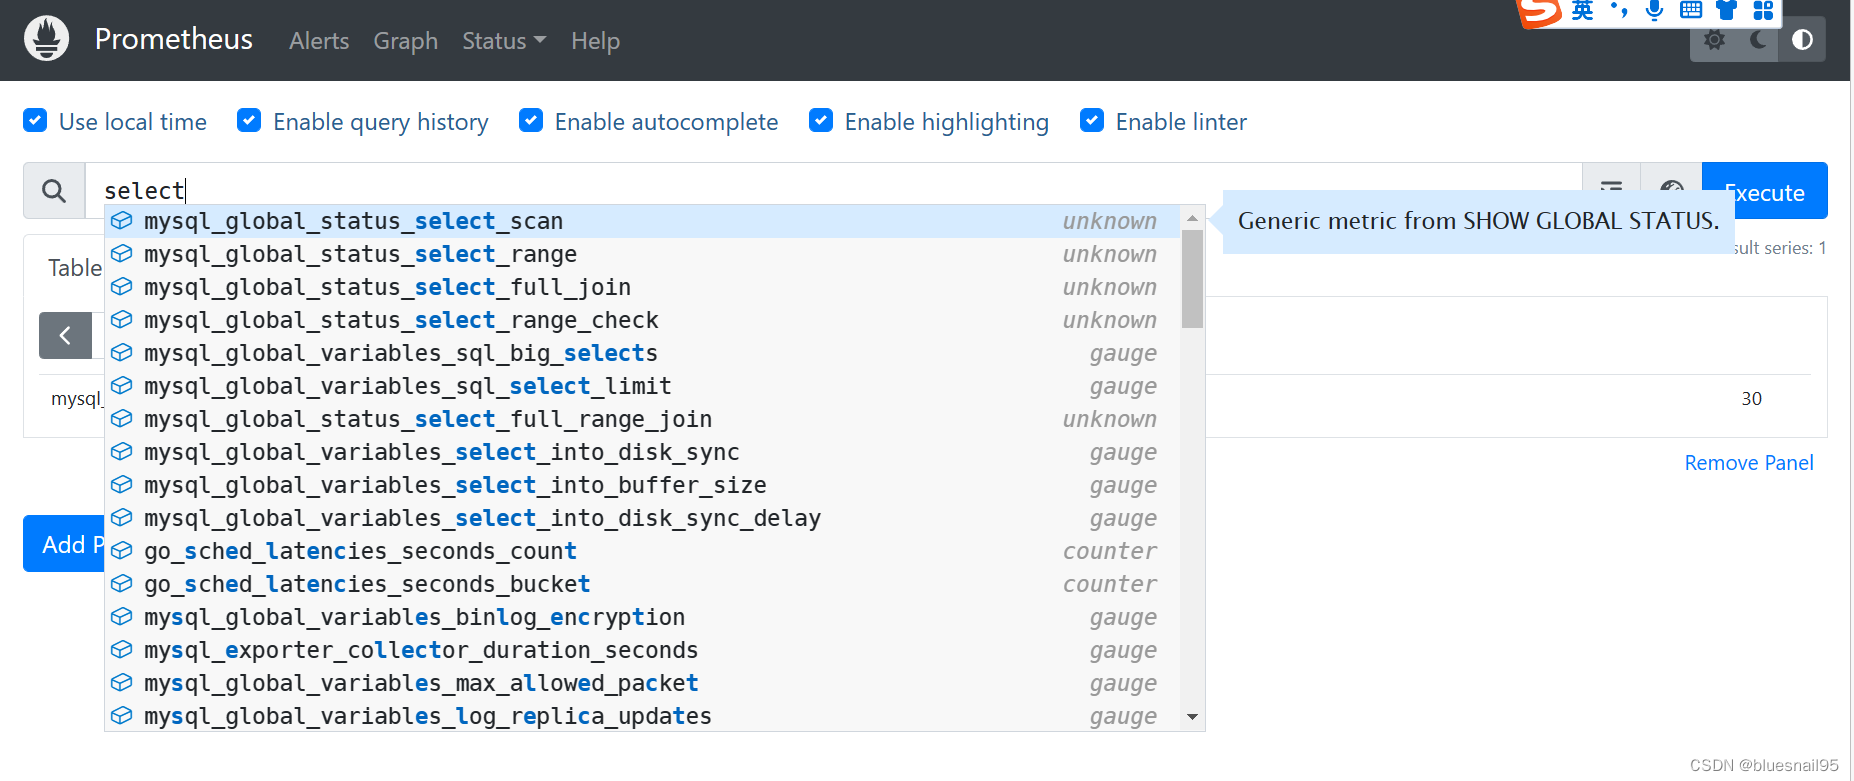
访问 http://xx.xx.xx.xx:9090/
还有输入提示
(5)关闭
官方文档有提供API的形式关闭Prometheus,前提是启动参数加了–web.enable-lifecycle
Prometheus Api
http://xx.xx.xx.xx:9090/-/quit 接口


 182
182


 被折叠的 条评论
为什么被折叠?
被折叠的 条评论
为什么被折叠?
 到【灌水乐园】发言


