


前言:本来是下班途中跟IOS的同事一起走在路上闲聊,他让我看了一个App的镂空字体效果,然后我俩讨论了几句,我当时已经有一个大体上的实现思路了,于是第二天就实现出来了,讲真的目前这玩意没有用到我开发中的项目,希望能帮到正在迷茫中的你。
实现思路:
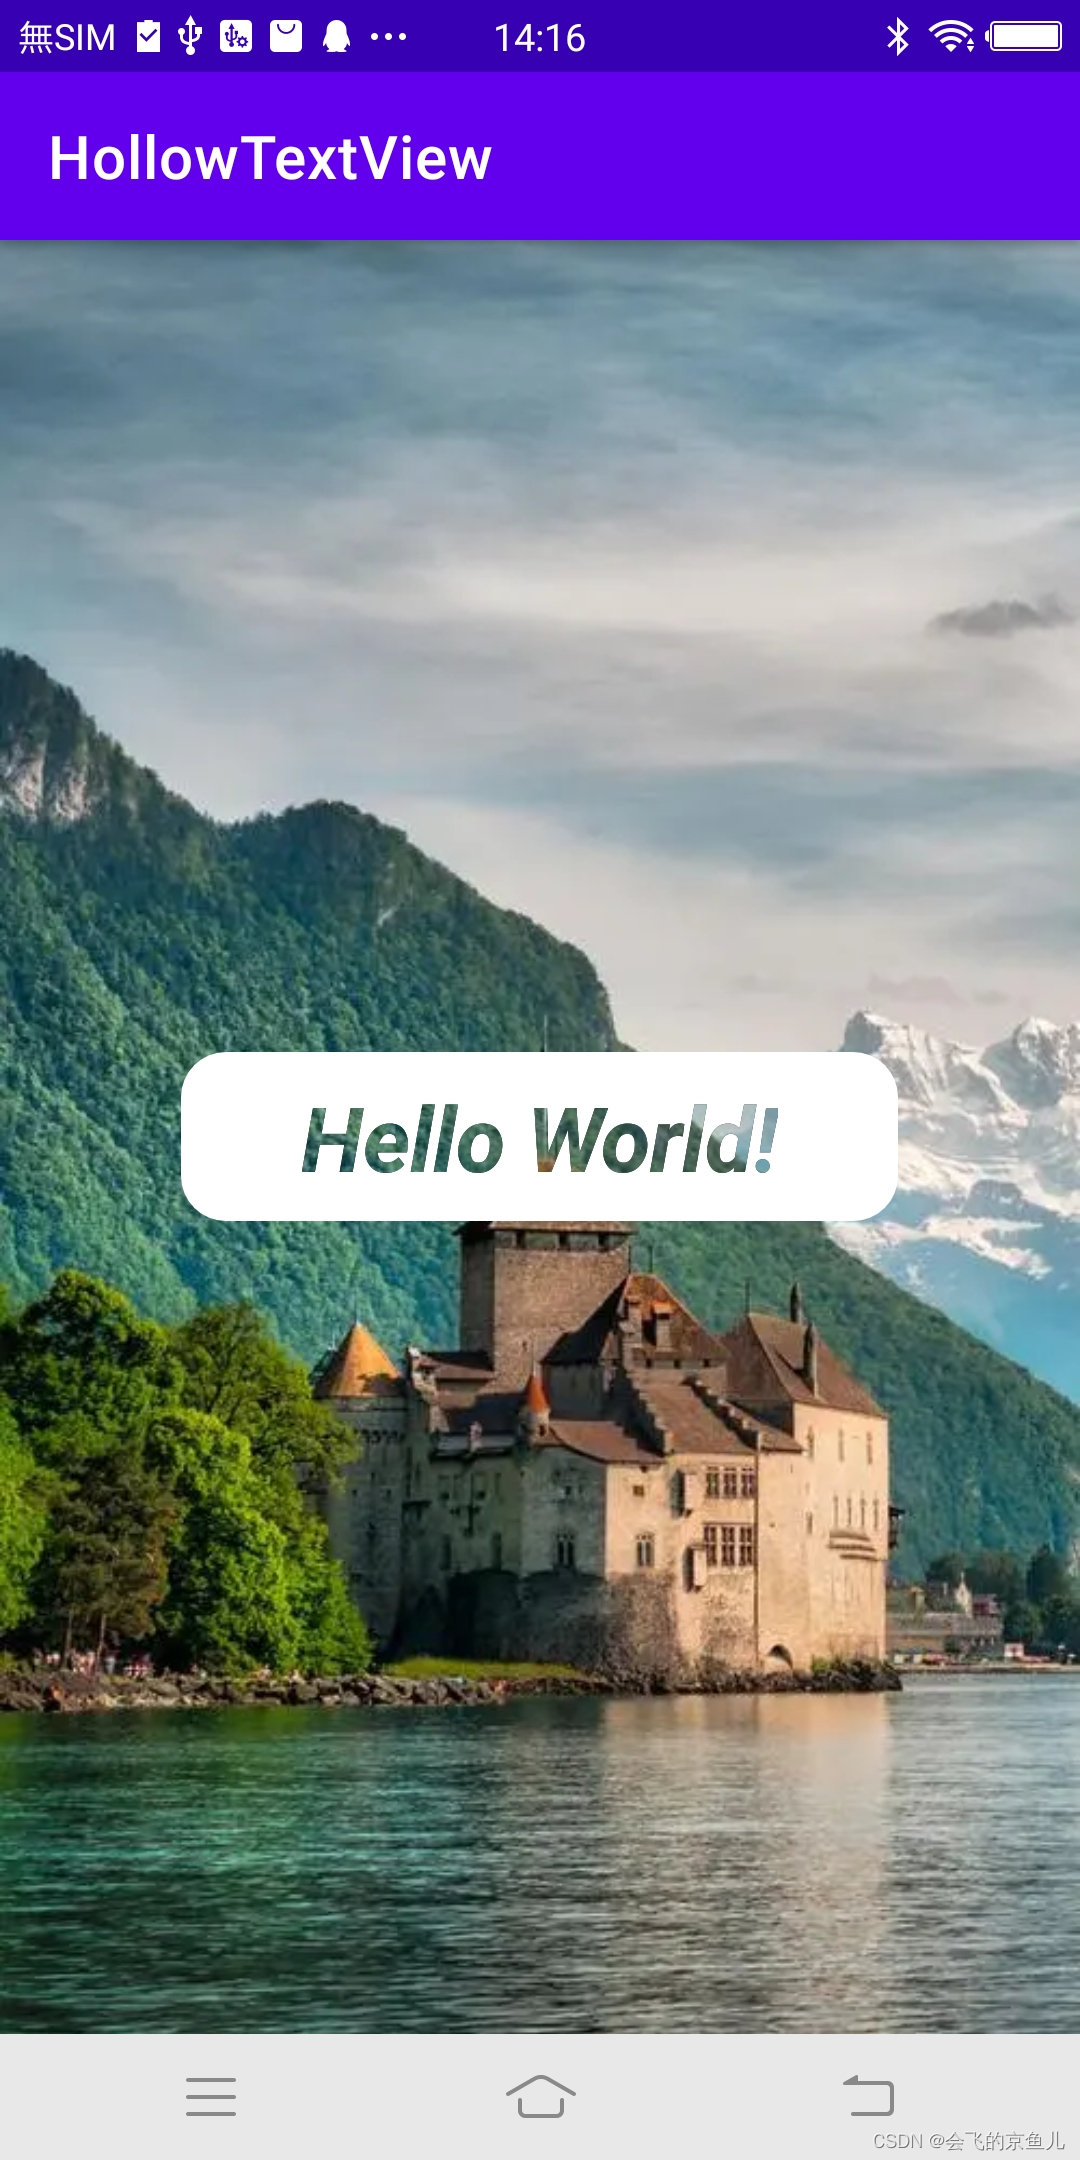
关键代码一定是PorterDuff.Mode.DST_OUT画笔来实现,我一般写自定义的View基本上以最小的代价完成功能,也就是尽可能利用Android控件中原本的功能,因此利用TextView继承重写onDraw去实现,废话不多说直接上代码:
public class HollowTextView extends AppCompatTextView {

    private Drawable bgDrawable;

    public HollowTextView(@NonNull Context context) {
        super(context);
    }

    public HollowTextView(@NonNull Context context, @Nullable AttributeSet attrs) {
        super(context, attrs);
    }

    public HollowTextView(@NonNull Context context, @Nullable AttributeSet attrs, int defStyleAttr) {
        super(context, attrs, defStyleAttr);
    }

    @Override
    protected void onDraw(Canvas canvas) {
        //直接拿TextView的画笔即可
        TextPaint textPaint = getPaint();
        //设置一个颜色背景否则可能会有点透明
        textPaint.setColor(Color.BLACK);
        //画笔模式这里要设置为空哦,否则多次绘制将变得不正常
        textPaint.setXfermode(null);
        //保存一个图层,这是关键代码
        canvas.saveLayer(new RectF(0, 0, canvas.getWidth(), canvas.getHeight()), textPaint, Canvas.ALL_SAVE_FLAG);
        //绘制背景
        drawBackground(canvas);
        //給画笔设置DST_OUT模式,即将开始调用父类TextView的onDraw了
        textPaint.setXfermode(new PorterDuffXfermode(PorterDuff.Mode.DST_OUT));
        //调用父类TextView的onDraw
        super.onDraw(canvas);
    }

    @Override
    public void setBackground(Drawable background) {
        //重写这个方法是为了不让父类中的背景被绘制出来,而是换成我们自己来绘制,这样背景还是可以利用Shape或者UI出图的方式实现
        bgDrawable = background;
        invalidate();
    }

    @Override
    public void setBackgroundDrawable(@Nullable Drawable background) {
        setBackground(background);
    }

    @Override
    public void setBackgroundResource(int resId) {
        setBackground(getContext().getResources().getDrawable(resId));
    }

    /**
     * 自己绘制背景
     * @param canvas
     */
    private void drawBackground(Canvas canvas) {
        final Drawable background = bgDrawable;
        if (background == null) {
            return;
        }

        background.setBounds(0, 0, getRight() - getLeft(), getBottom() - getTop());

        background.draw(canvas);
    }

}
使用方式如下,你没看错使用起来和普通的TextView没有任何区别
<com.flyjingfish.hollowtextviewlib.HollowTextView
    android:id="@+id/hollowTextView"
    android:layout_width="wrap_content"
    android:layout_height="wrap_content"
    android:paddingVertical="8dp"
    android:paddingHorizontal="40dp"
    android:text="Hello World!"
    android:gravity="center"
    android:textStyle="bold|italic"
    android:background="@drawable/bg_hollow"
    android:textSize="30sp"/>
关键代码就贴完了,我这个实现思路是可以让您还像原来使用TextView一样,去使用TextView毫无违和感,接下来给您看个更好玩的~
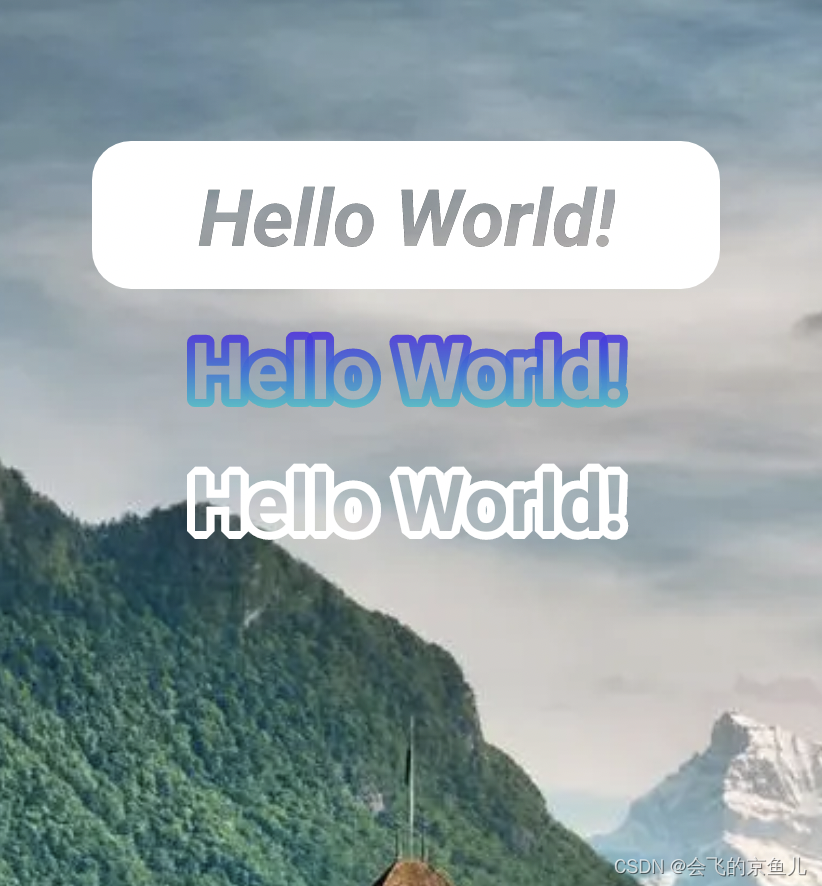
使用方式也很简单:
<com.flyjingfish.hollowtextviewlib.HollowTextView
    android:id="@+id/hollowTextView3"
    android:layout_width="wrap_content"
    android:layout_height="wrap_content"
    android:text=" Hello World! "
    android:gravity="center"
    android:textStyle="bold"
    android:layout_marginTop="10dp"
    app:hollow_stroke_textColor="@color/white"
    app:hollow_stroke_strokeWidth="6dp"
    android:textSize="30sp"/>

<com.flyjingfish.hollowtextviewlib.HollowTextView
    android:id="@+id/hollowTextView2"
    android:layout_width="wrap_content"
    android:layout_height="wrap_content"
    android:text=" Hello World! "
    android:gravity="center"
    android:textStyle="bold"
    android:layout_marginTop="10dp"
    app:hollow_stroke_angle="0"
    app:hollow_stroke_startColor="@color/purple_500"
    app:hollow_stroke_endColor="@color/teal_200"
    app:hollow_stroke_strokeWidth="6dp"
    android:textSize="30sp"/>


 322
322


 被折叠的 条评论
为什么被折叠?
被折叠的 条评论
为什么被折叠?
 到【灌水乐园】发言


