


转自http://www.jianshu.com/p/02cb9a0eb2a0
一)基本配置
1、build配置
buildscript {
 repositories {
     jcenter()
 }
 dependencies {
     classpath 'com.android.tools.build:gradle:1.2.3'
 }
}
Android脚本
apply plugin: 'com.android.application'Android配置
android {
 compileSdkVersion 22
 buildToolsVersion "22.0.1"
}
项目结构
MyApp
├── build.gradle
├── settings.gradle
└── app
    ├── build.gradle
    ├── build
    ├── libs
    └── src
        └── main
            ├── java
            │   └── com.package.myapp
            └── res
                ├── drawable
                ├── layout
                └── etc.
2、Gradle Wrapper结构(这些新建项目时都添加给了用户,不需要重新添加)
myapp/
 ├── gradlew `这里写代码片`
 ├── gradlew.bat
 └── gradle/wrapper/
     ├── gradle-wrapper.jar
     └── gradle-wrapper.properties
运行build任务 - 列出所有可用任务
$ ./gradlew tasks生成App-debug.apk任务
$ ./gradlew assembleDebug

# Apk路径: MyApp/app/build/ outputs/apk
3、手动导入Eclipse-Android项目(自动导入请连续点“下一步”)
在项目路径下创建build.gradle文件:
buildscript {
  repositories {
      jcenter()
  }
  dependencies {
      classpath 'com.android.tools.build:gradle:1.2.3'
  }
}
apply plugin: 'com.android.application'
android {
  compileSdkVersion 22
  buildToolsVersion "22.0.1"
  sourceSets {
      main {
          manifest.srcFile 'AndroidManifest.xml'
          java.srcDirs = ['src']
          resources.srcDirs = ['src']
          aidl.srcDirs = ['src']
          renderscript.srcDirs = ['src']
          res.srcDirs = ['res']
          assets.srcDirs = ['assets']
      }
      androidTest.setRoot('tests')
  }
}
dependencies {
  compile fileTree(dir: 'libs', include: ['*.jar'])
}
PS: 也可以复制粘贴Eclipse-Android项目的源代码到Android Studio的项目里
二)自定义配置
1、Gradle所有文件结构
MyApp
├── build.gradle
├── settings.gradle
└── app
    └── build.gradle
settings.gradle:
include ':app'MyApp/build.gradle
buildscript {
 repositories {
     jcenter()
 }
 dependencies {
     classpath 'com.android.tools.build:gradle:1.2.3'
 }
}
allprojects {
 repositories {
     jcenter()
 }
}
MyApp/app/build.gradle
apply plugin: 'com.android.application'
android {
compileSdkVersion 22
buildToolsVersion "22.0.1"
defaultConfig {
applicationId "com.gradleforandroid.gettingstarted"
minSdkVersion 14
targetSdkVersion 22
versionCode 1
versionName "1.0"
}
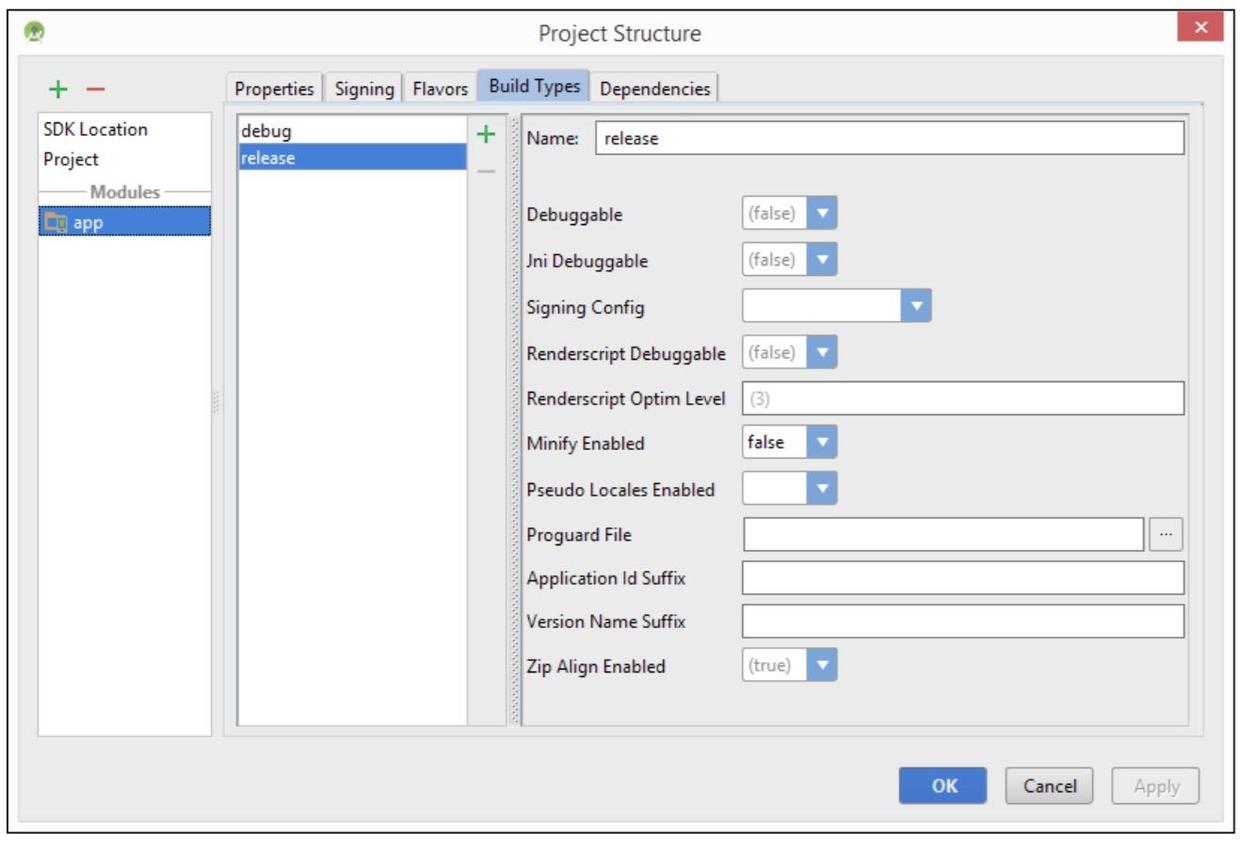
buildTypes {
release {
minifyEnabled false
proguardFiles getDefaultProguardFile('proguard-android.txt'), 'proguard-rules.pro'
}
}
}
dependencies {
compile fileTree(dir: 'libs', include: ['*.jar'])
compile 'com.android.support:appcompat-v7:22.2.0'
}2、基础任务
$ ./gradlew assemble -为所有构建类型创建apk
$ ./gradlew check 运行所有的检查,比如说Android Lint,如果发现问题可终止任务
$ ./gradlew build 运行以上两个任务
$ ./gradlew clean -清除生成的apk
++++
$ ./gradlew connectedCheck - 在设备上运行测试
$ ./gradlew deviceCheck - 远程设备运行测试
$ ./gradlew installDebug/installRelease - 在设备商安装指定版本
$ ./gradlew uninstall - 卸载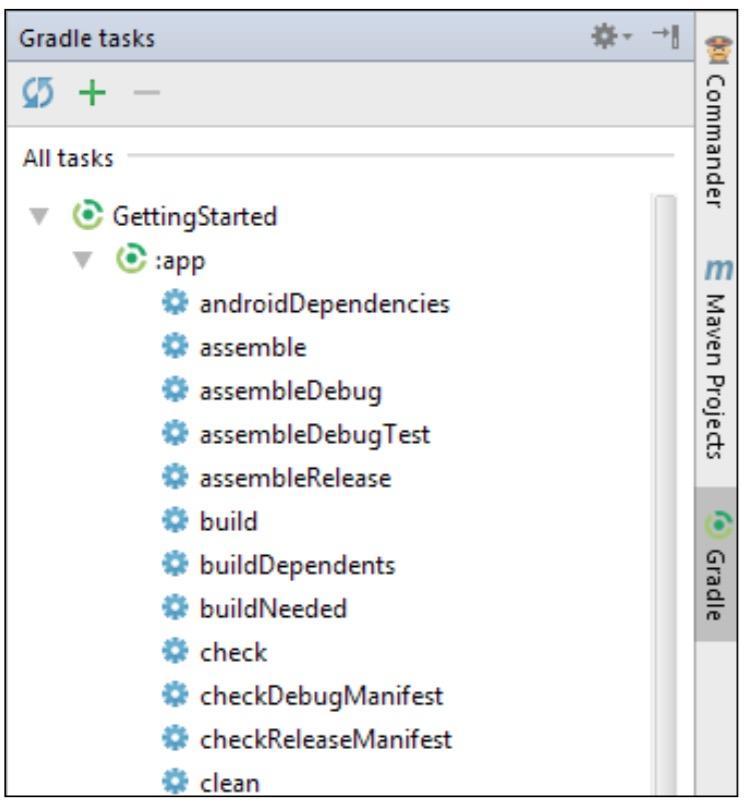
3、Build Types不同版本的参数设置 - BuildConfig/Resource Value
android {
  buildTypes {
      debug {
          applicationIdSuffix ".debug"
          buildConfigField "String", "API_URL","\"http://test.example.com/api\""
          buildConfigField "boolean", "LOG_HTTP_CALLS", "true"
          resValue "string", "app_name", "Example DEBUG"
      }
      release {
          buildConfigField "String", "API_URL", "\"http://example.com/api\""
          buildConfigField "boolean", "LOG_HTTP_CALLS", "false"
          resValue "string", "app_name", "Example"
      }
  }
}
4、全局设置(项目根目录的build.gradle)
allprojects {
  apply plugin: 'com.android.application'
  android {
      compileSdkVersion 22
      buildToolsVersion "22.0.1"
  }
}
设置全局参数
ext {
  compileSdkVersion = 22
  buildToolsVersion = "22.0.1"
}
在MyApp/app/build.gradle里面使用参数
android {
  compileSdkVersion rootProject.ext.compileSdkVersion
  buildToolsVersion rootProject.ext.buildToolsVersion
}
5、默认任务(MyApp/build.gradle)
defaultTasks 'clean', 'assembleDebug'三) 依赖管理
1、仓库
预设配置仓库
repositories {
 mavenCentral()
 jcenter()
 mavenLocal()
}
远程仓库
repositories {
 maven {
     url "http://repo.acmecorp.com/maven2"
     credentials {
         username 'user'
        password 'secretpassword'
     }
 }
 ivy {
     url "http://repo.acmecorp.com/repo"
 }
}
本地仓库
repositories {
 maven {
     url "../repo"
 }
}
2、本地依赖
项目文件依赖
dependencies {
  compile fileTree(dir: 'libs', include: ['*.jar'])
}
原生库结构与配置
# 结构:
app
 ├── AndroidManifest.xml
 └── jniLibs
     ├── armeabi
     │   └── nativelib.so
     ├── armeabi-v7a
     │   └── nativelib.so
     ├── mips
     │   └── nativelib.so
     └── x86
         └── nativelib.so
Libray项目
# 修改Android插件:
apply plugin: 'com.android.library'
# settings.gradle新增libray项目:
include ':app', ':library'
# app内引用library项目:
dependencies {
  compile project(':library')
}
3、依赖概念
<待续>4、Android Studio内添加依赖
四)构建变体
<待续>五)多模块构建管理
1、加速构建
在gradle.properties里面添加:
org.gradle.parallel=true
六) 测试
单元测试
使用JUnit
# 结构:
app
└─── src
├─── main
│ ├─── java
     │    │    └─── com.example.app
     │    └───res
     └─── test
          └─── java
               └─── com.example.app
# 依赖:
dependencies {
 testCompile 'junit:junit:4.12'
}
使用Robolectric
# 依赖:
apply plugin: 'org.robolectric'
 dependencies {
    compile fileTree(dir: 'libs', include: ['*.jar'])
    compile 'com.android.support:appcompat-v7:22.2.0'
    testCompile 'junit:junit:4.12'
    testCompile'org.robolectric:robolectric:3.0'
    testCompile'org.robolectric:shadows-support:3.0'
}
# Demo:
@RunWith(RobolectricTestRunner.class)
@Config(manifest = "app/src/main/AndroidManifest.xml", sdk = 18)
public class MainActivityTest {
 @Test
 public void clickingButtonShouldChangeText() {
     AppCompatActivity activity = Robolectric.buildActivity(MainActivity.class).create().get();
     Button button = (Button) activity.findViewById(R.id.button);
     TextView textView = (TextView) activity.findViewById(R.id.label);
     button.performClick();
     assertThat(textView.getText().toString(), equalTo(activity.getString(R.string.hello_robolectric)));
 }
}
2、功能测试
使用Espresso
<待续>测试覆盖度
使用Jacoco
<待续>
七)创建任务与插件
<待续>
八)配置CI
<待续>
九)自定义配置 - 进阶
缩减apk文件大小
使用ProGuard
android {
 buildTypes {
     release {
         minifyEnabled true
         shrinkResources true
         proguardFiles getDefaultProguardFile('proguard-android.txt'), 'proguard-rules.pro'
     }
 }
}
收缩资源文件 - 自动 (<手动待续>)
android {
 buildTypes {
     release {
         minifyEnabled true
         shrinkResources true
     }
 }
}
2、加速构建
org.gradle.parallel=true # 并行构建
org.gradle.daemon=true # 开启Gradle守护进程
org.gradle.jvmargs=-Xms256m -Xmx1024m # 配置JVM<参照下图>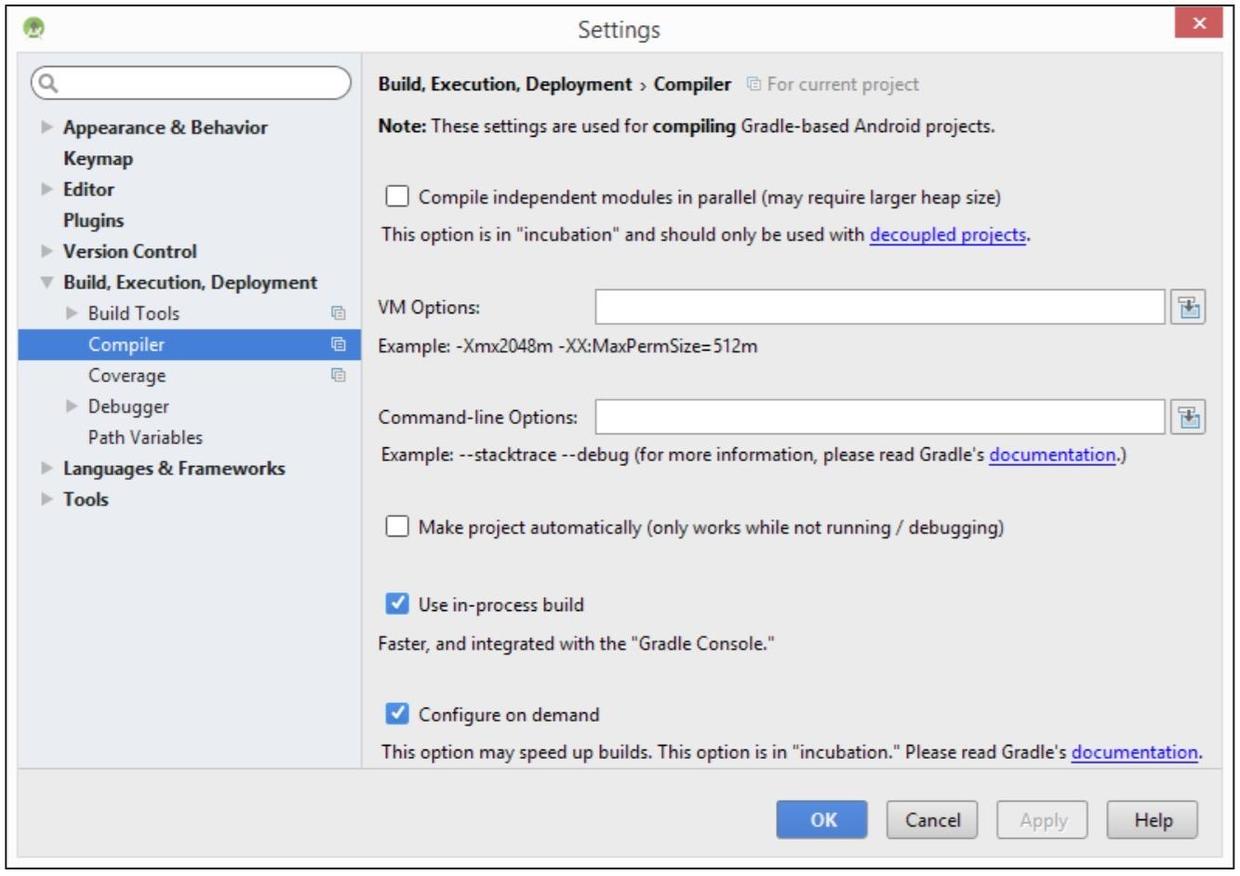
使用Profiling
<待续>
使用Jack(Java Android Compiler Kit) and Jill(Jack Intermediate Library Linker)
<待续>
3、忽略Lint
android {

  lintOptions {

      abortOnError false

  }

}
4、使用Ant
<待续>
app打包 - 进阶
分割apk
android {
  splits {
      density {
          enable true
          exclude 'ldpi', 'mdpi'
          compatibleScreens 'normal', 'large', 'xlarge'
      }
  }
}
生成结果:
app-hdpi-release.apk
app-universal-release.apk
app-xhdpi-release.apk
app-xxhdpi-release.apk
app-xxxhdpi-release.apk


 391
391

 被折叠的 条评论
为什么被折叠?
被折叠的 条评论
为什么被折叠?
 到【灌水乐园】发言


