


文章目录
tagsView 方案总结
整个 tagsView 整体来看就是三块大的内容:
tags:tagsView组件contextMenu:contextMenu组件view:appmain组件
再加上一部分的数据处理(Vuex)即可。
tagsView 原理分析
tagsView 可以分成两部分来去看:
- tags
- view
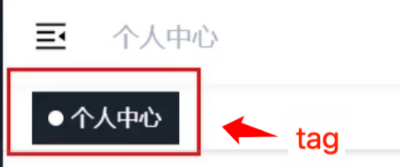
可以把这两者分开。tags 仅仅就是很简单的 tag 组件。
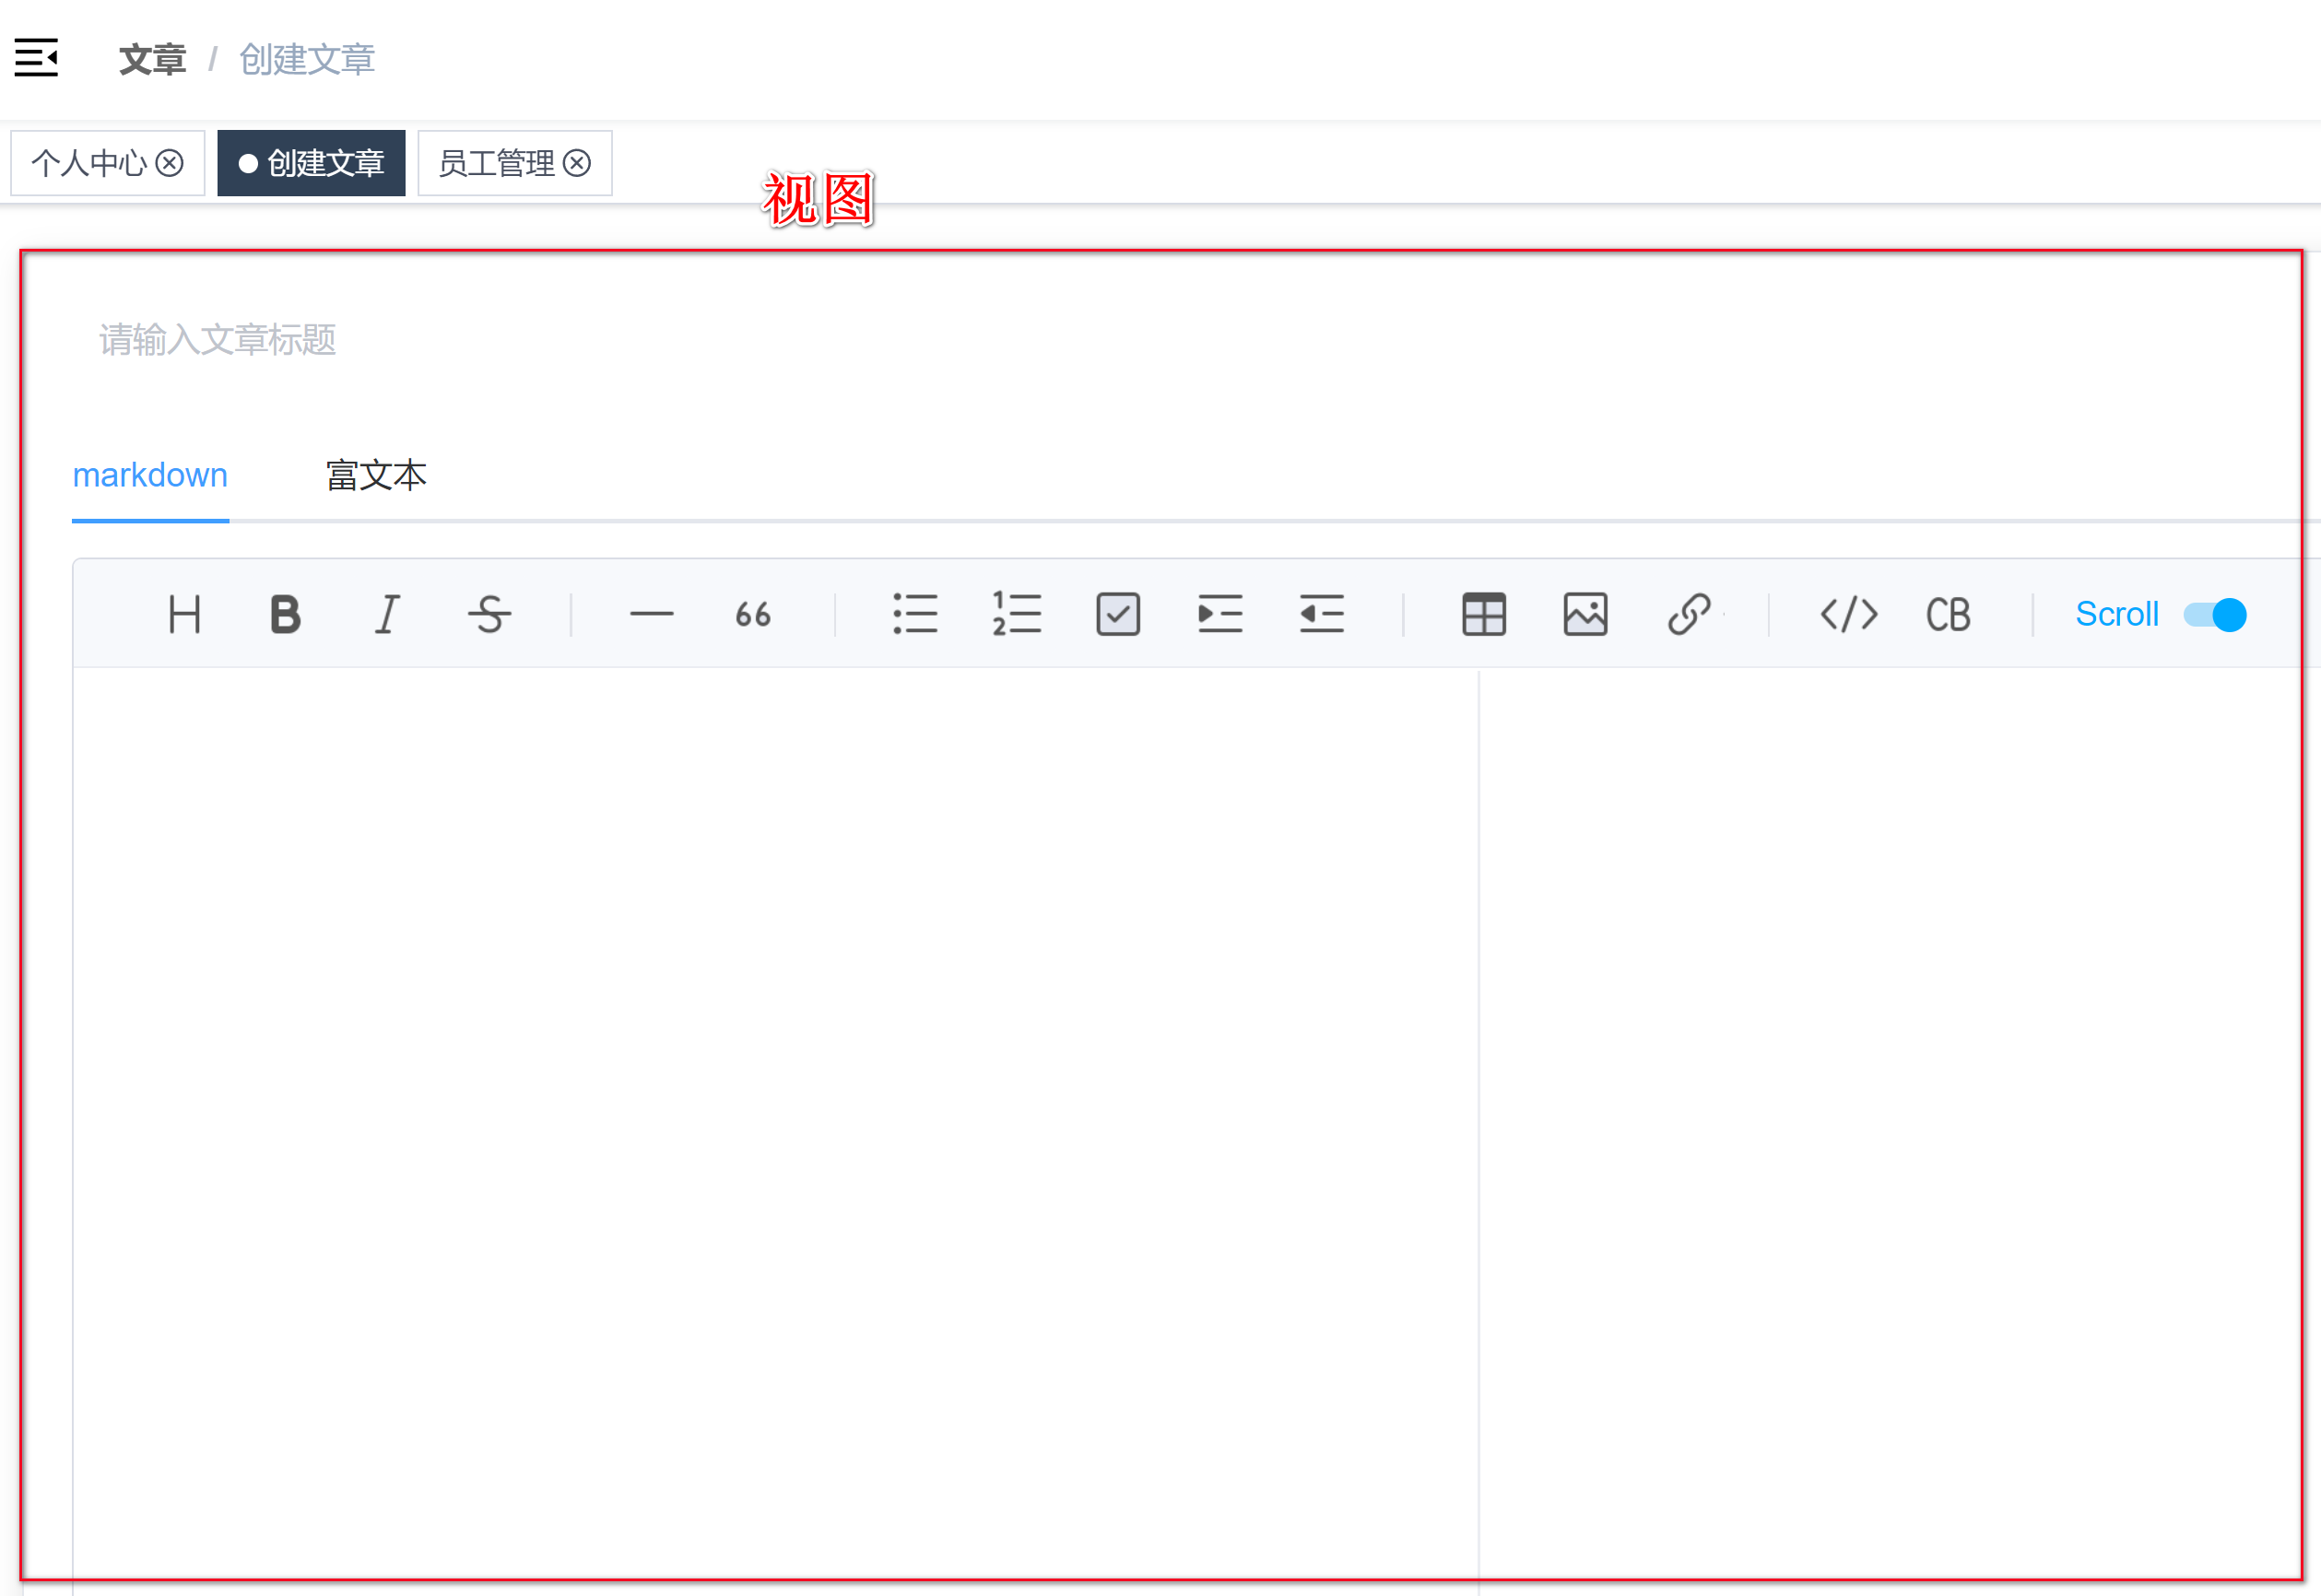
脱离了 tags 只看 views 就更简单了,所谓 views :指的就是一个用来渲染组件的位置容器。
- 动画
- (数据)缓存
加上这两个功能之后可能会略显复杂,但是 官网已经帮助我们处理了这个问题

再把tags 和 view 合并起来思考。
实现方案:
- 创建
tagsView组件:用来处理tags的展示 - 处理基于路由的动态过渡,在 tags 区域中进行:用于处理
view的部分
整个的方案就是这么两大部,但是其中还需要处理一些细节相关的。
完整的方案为:
- 监听路由变化,组成用于渲染
tags的数据源 - 创建
tags组件,根据数据源渲染tag,渲染出来的tags需要同时具备- 国际化
title - 路由跳转
- 国际化
- 处理鼠标右键效果,根据右键处理对应数据源
- 处理基于路由的动态过渡
创建 tags 数据源
tags 的数据源分为两部分:
- 保存数据:
视图层父级组件中进行 - 展示数据:
tags组件中进行
所以 tags 的数据我们最好把它保存到 vuex 中(及localStorage)
创建 tags 数据源:监听路由的变化,监听到的路由保存到 Tags 数据中。
创建 tagsViewList
import { LANG, TAGS_VIEW } from '@/constant'
import { getItem, setItem } from '@/utils/storage'
export default {
  namespaced: true,
  state: () => ({
    ...
      tagsViewList: getItem(TAGS_VIEW) || []
  }),
  mutations: {
    ...
      /**
     * 添加 tags
     */
      addTagsViewList(state, tag) {
      const isFind = state.tagsViewList.find(item => {
      return item.path === tag.path
    })
  // 处理重复【添加 tags,不要重复添加,因为用户可能会切换已经存在的 tag】
    if (!isFind) {
      state.tagsViewList.push(tag)
      setItem(TAGS_VIEW, state.tagsViewList)
    }
  }
},
actions: {}
}
视图层父级组件中监听路由的变化 (动态添加tag)
注意:并不是所有的路由都需要保存的,比如登录页面、404等
判断是否需要,创建工具函数 =>
const whiteList = ['/login', '/import', '/404', '/401']

/**
 * path 是否需要被缓存
 * @param {*} path
 * @returns
 */
export function isTags(path) {
  return !whiteList.includes(path)
}
<script setup>
import { watch } from 'vue'
import { isTags } from '@/utils/tags'
import { generateTitle } from '@/utils/i18n'
import { useRoute } from 'vue-router'
import { useStore } from 'vuex'

const route = useRoute()

/**
 * 生成 title
 */
const getTitle = route => {
  let title = ''
  if (!route.meta) {
    // 处理无 meta 的路由,路径中最后一个元素作为title
    const pathArr = route.path.split('/')
    title = pathArr[pathArr.length - 1]
  } else {
    // 包含meta的,直接国际化处理即可
    title = generateTitle(route.meta.title)
  }
  return title
}

/**
 * 监听路由变化
 */
const store = useStore()
watch(
  route,
  (to, from) => {
    if (!isTags(to.path)) return
    // 保存需要保存的路由属性
    const { fullPath, meta, name, params, path, query } = to
    store.commit('app/addTagsViewList', {
      fullPath,
      meta,
      name,
      params,
      path,
      query,
      title: getTitle(to)
    })
  },
  {
    // 组件初始化的时候也需被执行一次
    immediate: true
  }
)
</script>
生成 tagsView
创建 store 中 tagsViewList 的快捷访问 (getters)
const getters = {
  token: state => state.user.token,
  //...
  tagsViewList: state => state.app.tagsViewList
}
export default getters
<template>
  <div class="tags-view-container">
    <!-- 每个tag页面就对应一个router-link -->
    <!-- router-link 有两种状态,一种是被选中的,另一种是不被选中的。绑定一个动态class =>  isActive(tag)  -->
    <!-- 如果是当前被选中的这一项,它的颜色应该是当前的主题色。添加样式即可。 -->
    <!-- to表示link跳转的地址 -->
      <router-link
        class="tags-view-item"
        :class="isActive(tag) ? 'active' : ''"
        :style="{
          backgroundColor: isActive(tag) ? $store.getters.cssVar.menuBg : '',
          borderColor: isActive(tag) ? $store.getters.cssVar.menuBg : ''
        }"
        v-for="(tag, index) in $store.getters.tagsViewList"
        :key="tag.fullPath"
        :to="{ path: tag.fullPath }"
      >
        {{ tag.title }}
        <!-- 未被选中的tag上出现一个X号 -->
        <i
          v-show="!isActive(tag)"
          class="el-icon-close"
          @click.prevent.stop="onCloseClick(index)"
        />
      </router-link>
  </div>
</template>

<script setup>
import { useRoute } from 'vue-router'
const route = useRoute()

/**
 * 是否被选中
 */
const isActive = tag => {
  return tag.path === route.path
}

/**
 * 关闭 tag 的点击事件
 */
const onCloseClick = index => {}
</script>

<style lang="scss" scoped>
.tags-view-container {
  height: 34px;
  width: 100%;
  background: #fff;
  border-bottom: 1px solid #d8dce5;
  box-shadow: 0 1px 3px 0 rgba(0, 0, 0, 0.12), 0 0 3px 0 rgba(0, 0, 0, 0.04);
    .tags-view-item {
      display: inline-block;
      position: relative;
      cursor: pointer;
      height: 26px;
      line-height: 26px;
      border: 1px solid #d8dce5;
      color: #495060;
      background: #fff;
      padding: 0 8px;
      font-size: 12px;
      margin-left: 5px;
      margin-top: 4px;
      &:first-of-type {
        margin-left: 15px;
      }
      &:last-of-type {
        margin-right: 15px;
      }
      &.active {
        color: #fff;
        &::before {
          content: '';
          background: #fff;
          display: inline-block;
          width: 8px;
          height: 8px;
          border-radius: 50%;
          position: relative;
          margin-right: 4px;
        }
      }
      // close 按钮
      .el-icon-close {
        width: 16px;
        height: 16px;
        line-height: 10px;
        vertical-align: 2px;
        border-radius: 50%;
        text-align: center;
        transition: all 0.3s cubic-bezier(0.645, 0.045, 0.355, 1);
        transform-origin: 100% 50%;
        &:before {
          transform: scale(0.6);
          display: inline-block;
          vertical-align: -3px;
        }
        &:hover {
          background-color: #b4bccc;
          color: #fff;
        }
      }

  }
}
</style>
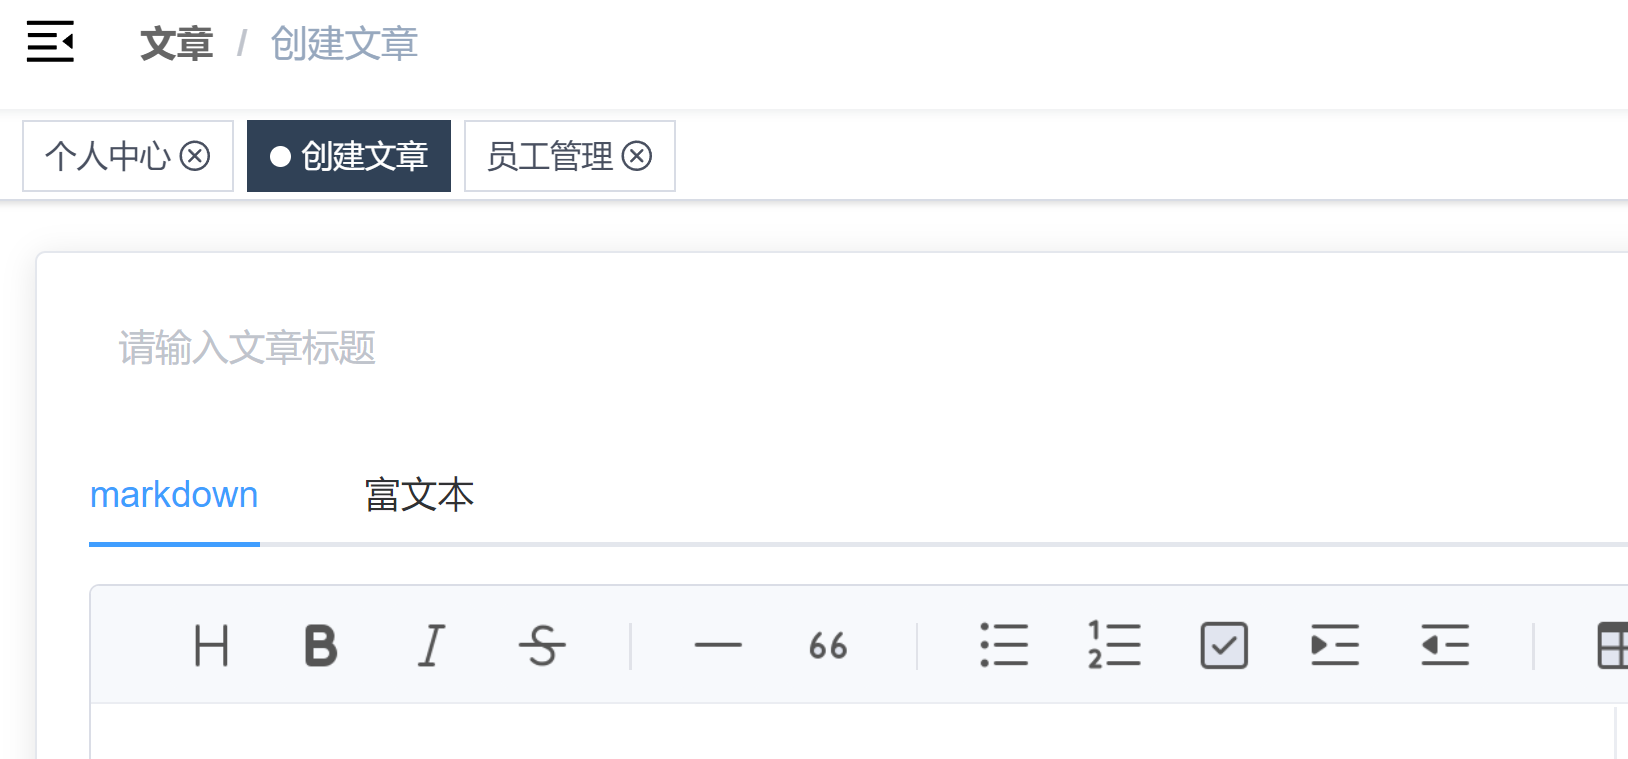
tagsView 国际化处理
tagsView 的国际化处理可以理解为修改现有 tags 的 title。
tags的数据都保存在了tagsViewList,它里的tile是啥类型语言,tag这里的名字就应该显示啥语言。
=>
- 监听到语言变化
- 国际化对应的
title即可
在 store 中,创建修改 ttile 的 mutations
给某个tag修改title,只需要触发该mutation即可。
/**
* 为指定的 tag 修改 title
*/
changeTagsView(state, { index, tag }) {
  state.tagsViewList[index] = tag // 更新最新的tag
  setItem(TAGS_VIEW, state.tagsViewList)
}
在 路由视图的父组件 中监听语言变化
import { generateTitle, watchSwitchLang } from '@/utils/i18n'
/**
 * 国际化 tags
 */
watchSwitchLang(() => {
  store.getters.tagsViewList.forEach((route, index) => {
    store.commit('app/changeTagsView', {
      index,
      tag: {
        ...route,  // 解构route,覆盖掉title即可,其他不变
        title: getTitle(route)
      }
    })
  })
})
contextMenu 展示处理
contextMenu 为 鼠标右键事件
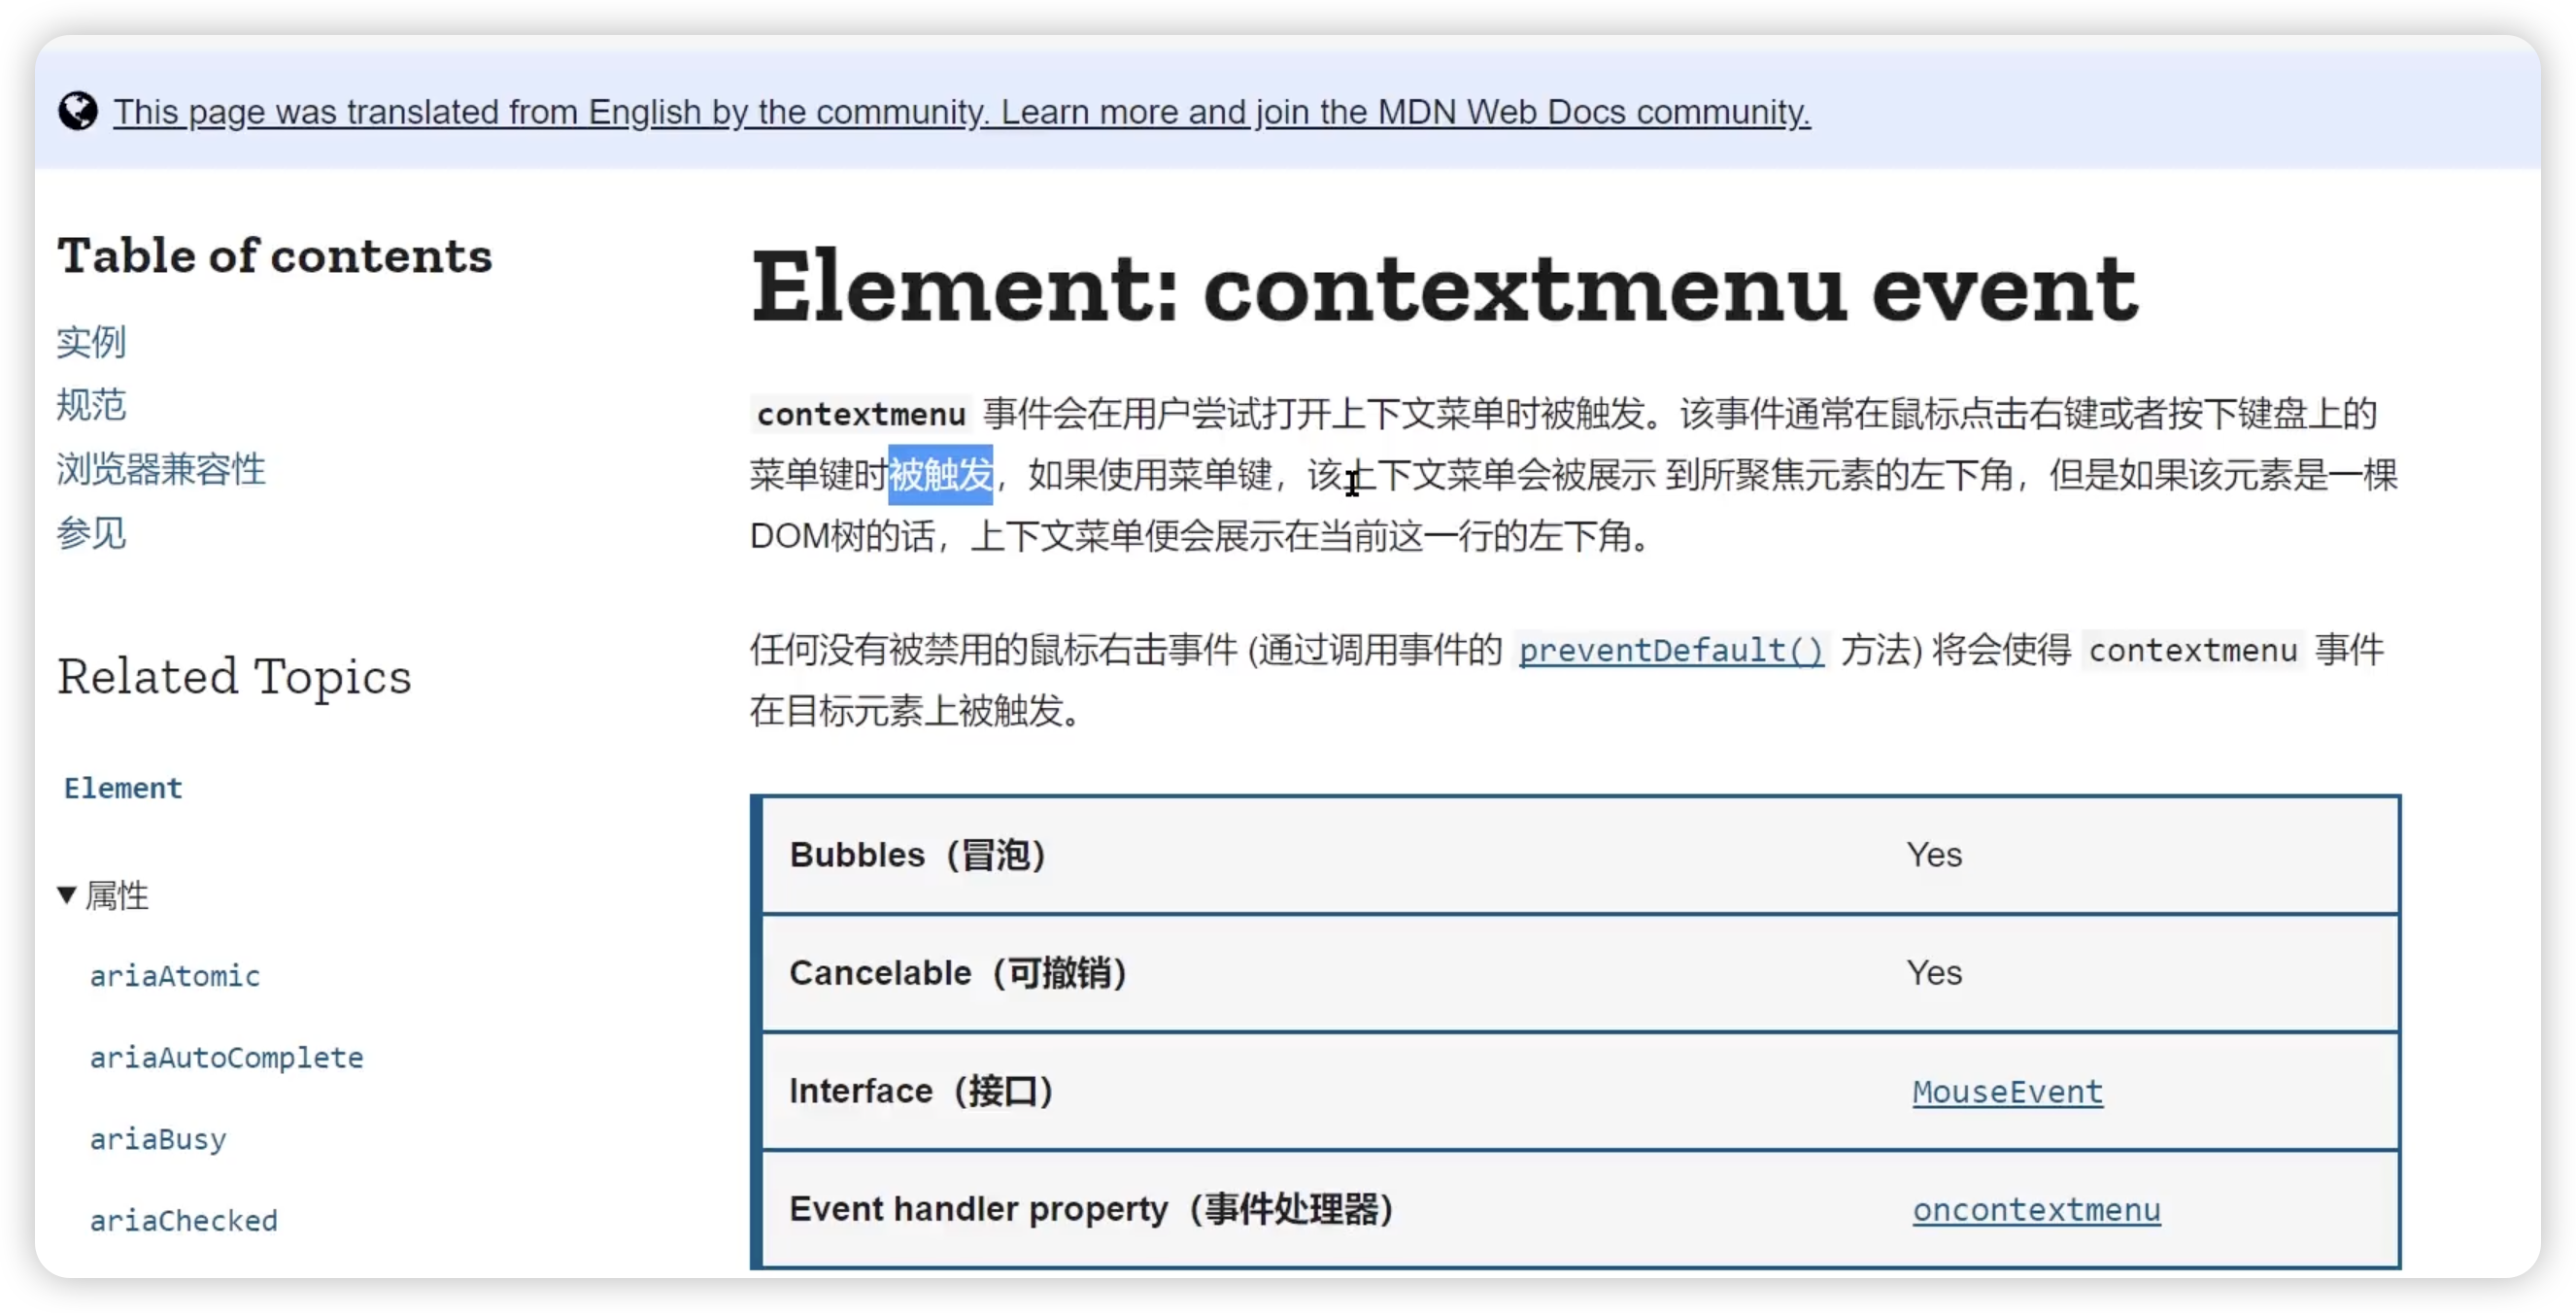
contextMenu 事件的处理分为两部分:
contextMenu的展示- 右键项对应逻辑处理

先实现contextMenu 的展示
- 创建
ContextMenu组件,作为右键展示部分
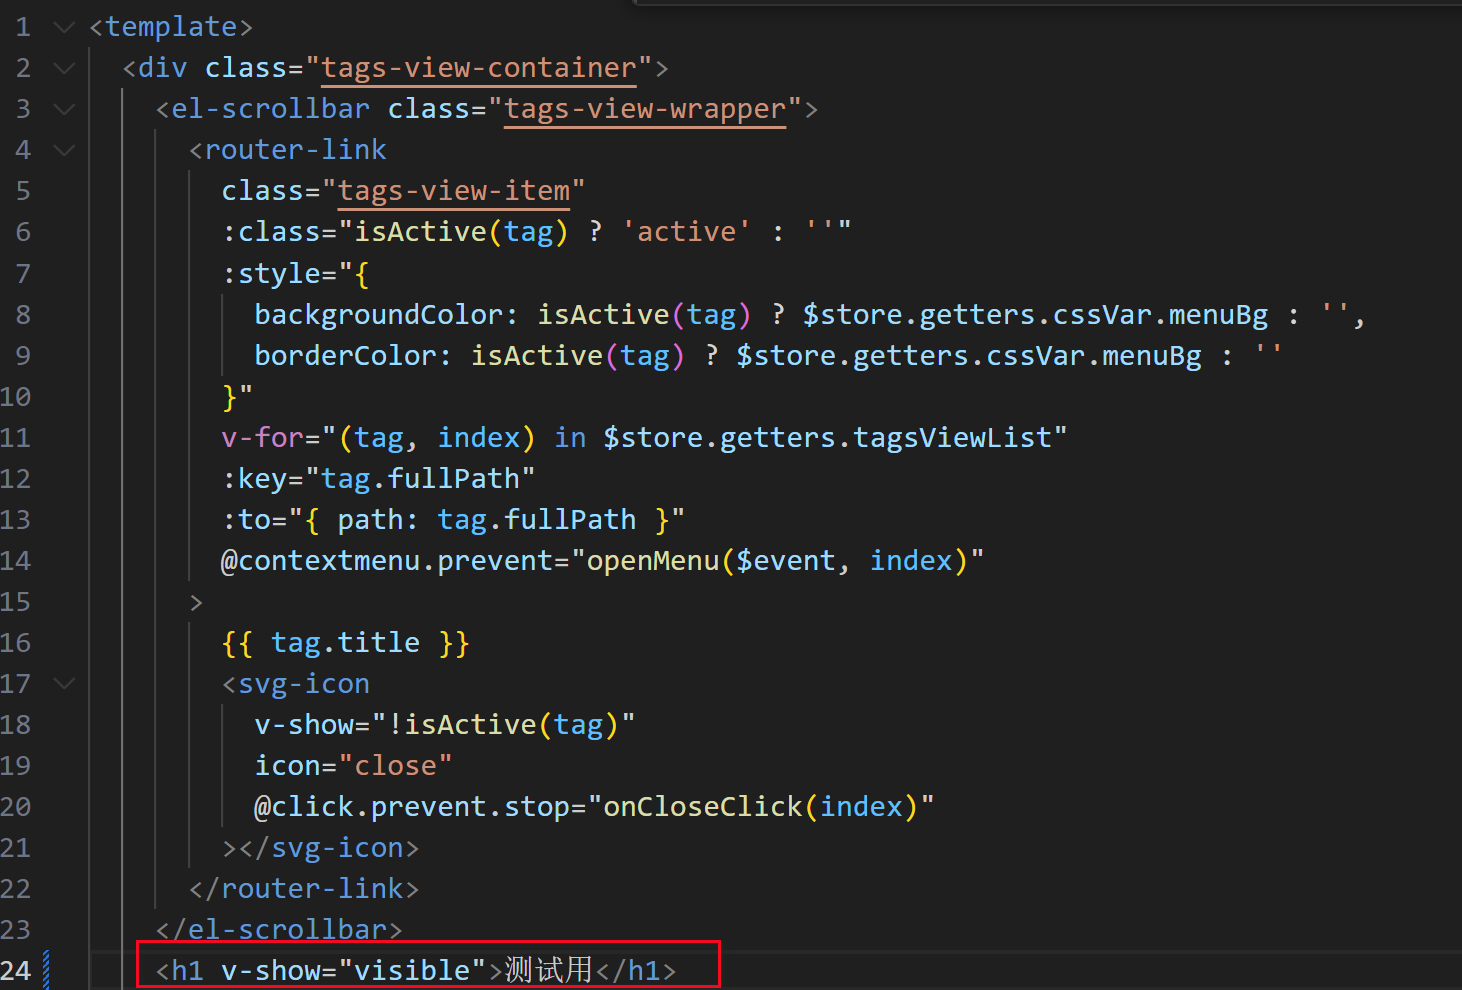
先简单实现测试下:
const visible = ref(false)
/**
 * 展示 menu
 */
const openMenu = (e, index) => {
  visible.value = true
}
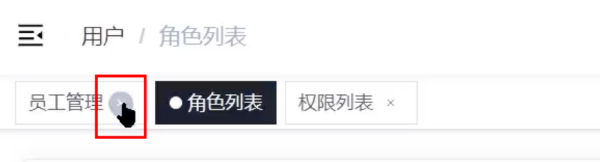
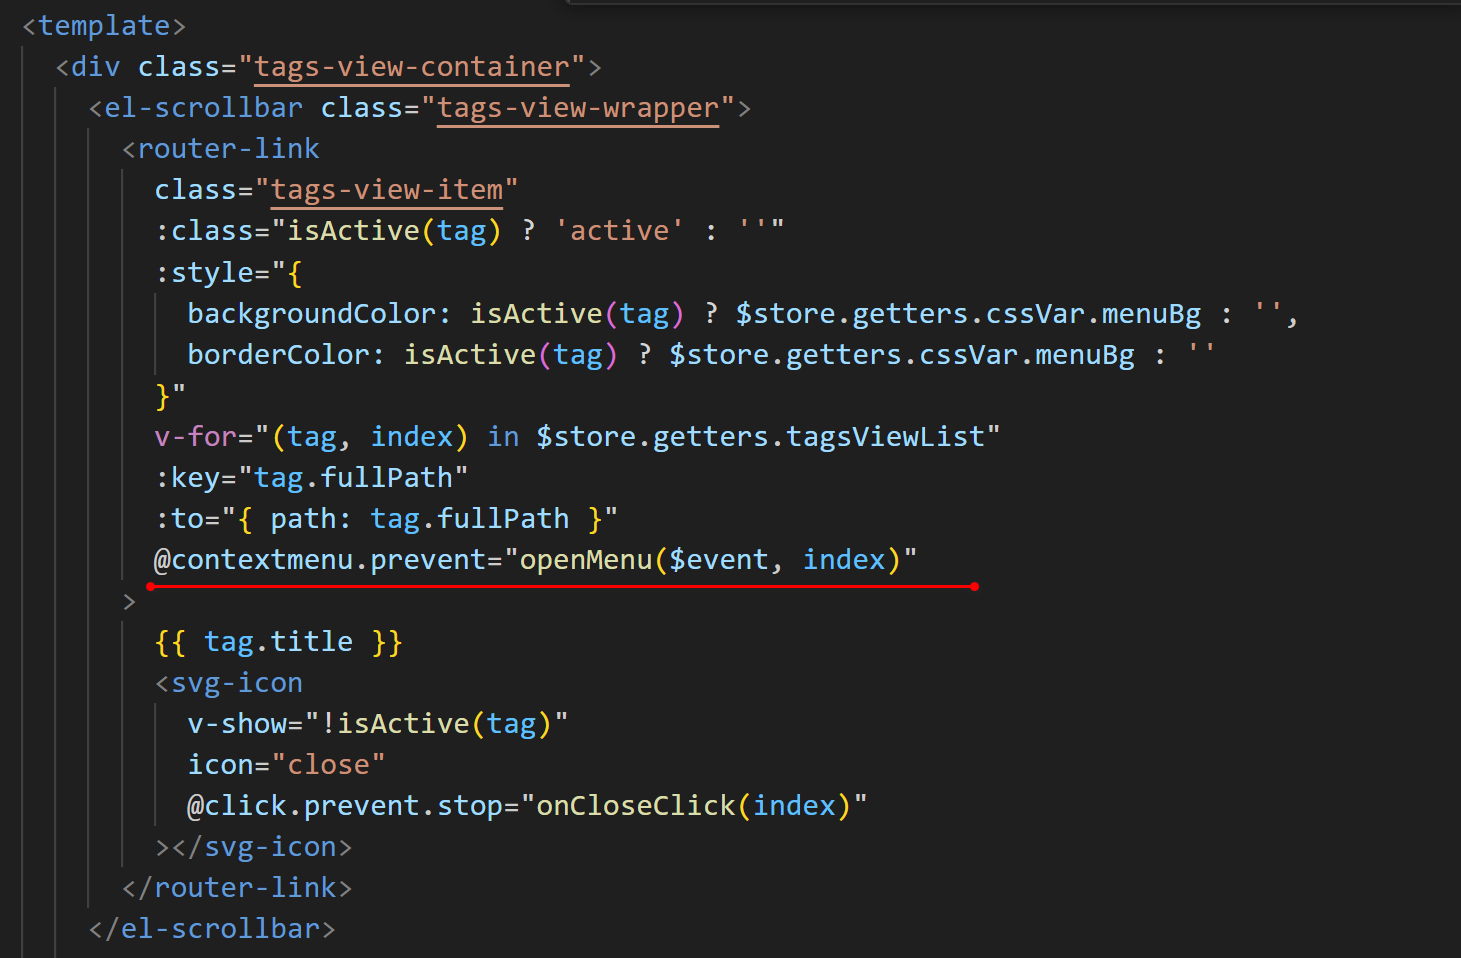
在router-link下进行基本的展示:

接下来实现:
1、绘制视图先不管位置,先处理视图部分
2、视图展示的位置 => 右键点击哪里就在哪里展示,而不是固定展示在一个位置上
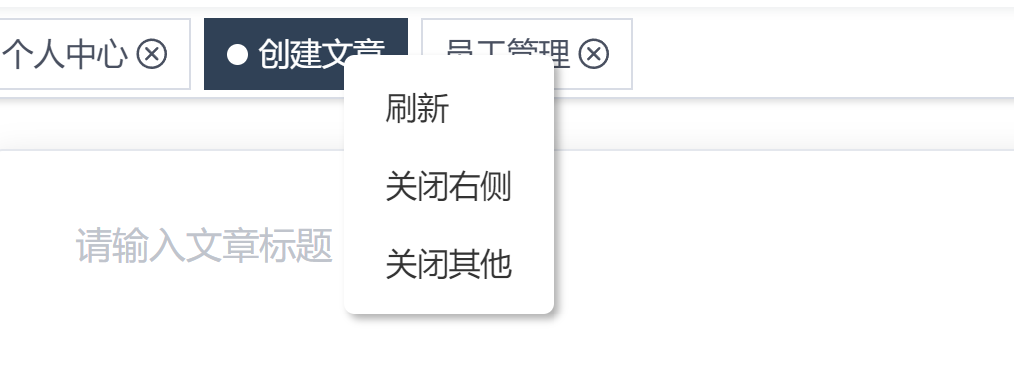
1、contextMenu 的展示:
<template>
  <ul class="context-menu-container">
    <!-- 创建三个li,以及国际化 -->
    <li @click="onRefreshClick">
      {{ $t('msg.tagsView.refresh') }}
    </li>
    <li @click="onCloseRightClick">
      {{ $t('msg.tagsView.closeRight') }}
    </li>
    <li @click="onCloseOtherClick">
      {{ $t('msg.tagsView.closeOther') }}
    </li>
  </ul>
</template>

<script setup>
import { defineProps } from 'vue'
// 操作具体哪个tag,做标记,创建props
defineProps({
  index: {
    type: Number,
    required: true
  }
})

const onRefreshClick = () => {}

const onCloseRightClick = () => {}

const onCloseOtherClick = () => {}
</script>

<style lang="scss" scoped>
.context-menu-container {
  position: fixed;
  background: #fff;
  z-index: 3000;
  list-style-type: none;
  padding: 5px 0;
  border-radius: 4px;
  font-size: 12px;
  font-weight: 400;
  color: #333;
  box-shadow: 2px 2px 3px 0 rgba(0, 0, 0, 0.3);
  li {
    margin: 0;
    padding: 7px 16px;
    cursor: pointer;
    &:hover {
      background: #eee;
    }
  }
}
</style>
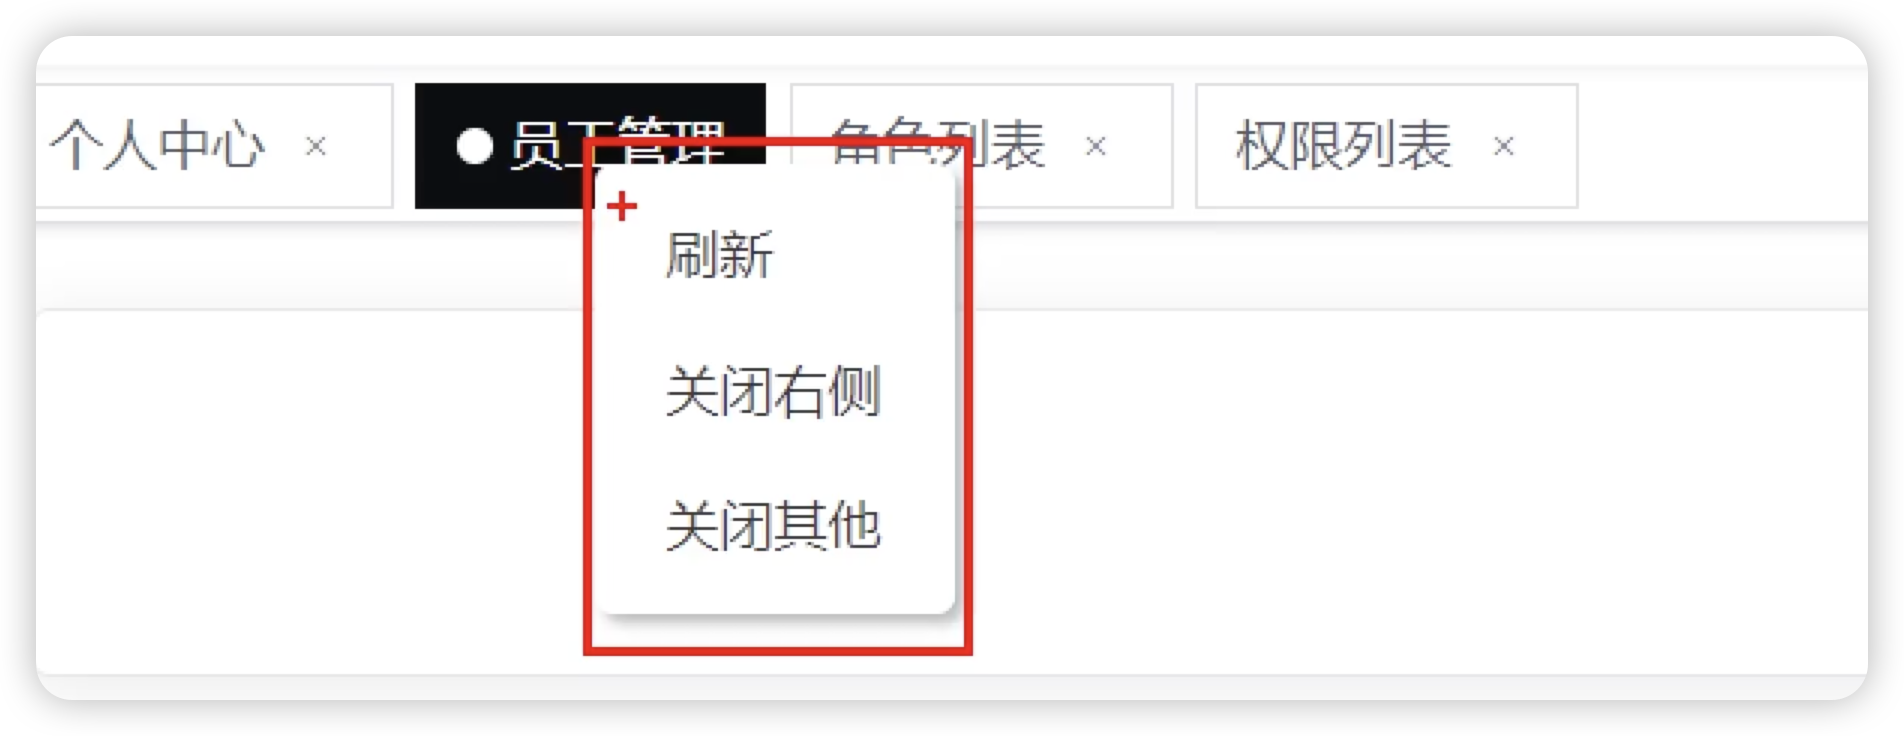
2、 在 tagsview 中控制 contextMenu 的展示
希望context的位置根据鼠标点击的位置移动。
鼠标右键的时候传递了event对象
<template>
<div class="tags-view-container">
<el-scrollbar class="tags-view-wrapper">
<!-- contextmenu.prevent右击事件 -->
<router-link
class="tags-view-item"
:class="isActive(tag) ? 'active' : ''"
:style="{
backgroundColor: isActive(tag) ? $store.getters.cssVar.menuBg : '',
borderColor: isActive(tag) ? $store.getters.cssVar.menuBg : ''
}"
v-for="(tag, index) in $store.getters.tagsViewList"
:key="tag.fullPath"
:to="{ path: tag.fullPath }"
@contextmenu.prevent="openMenu($event, index)"
>
{{ tag.title }}
<svg-icon
v-show="!isActive(tag)"
icon="close"
@click.prevent.stop="onCloseClick(index)"
></svg-icon>
</router-link>
</el-scrollbar>
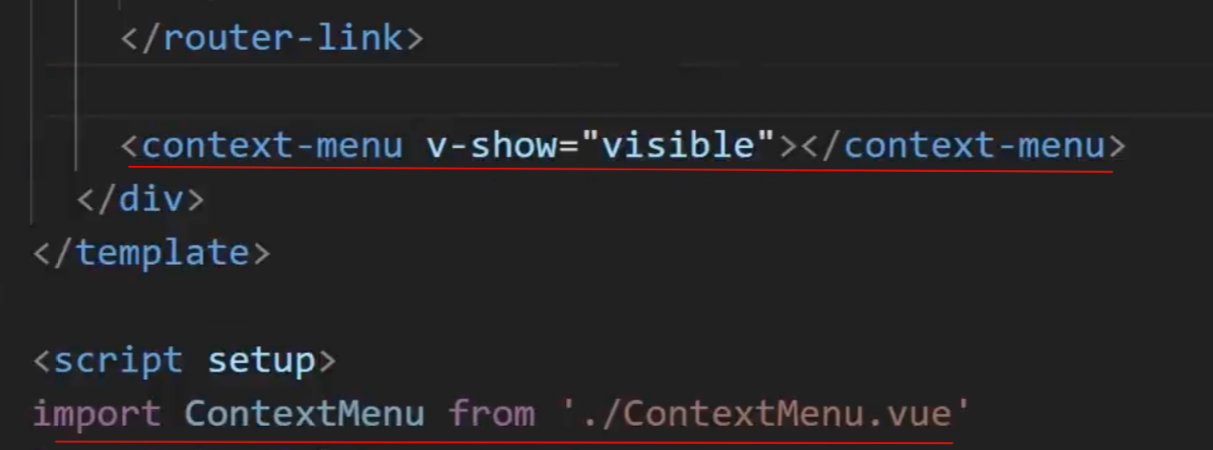
<context-menu
v-show="visible"
:style="menuStyle"
:index="selectIndex"
></context-menu>
</div>
</template>
<script setup>
import ContextMenu from './ContextMenu.vue'
import { ref, reactive, watch } from 'vue'
import { useRoute } from 'vue-router'
...
// contextMenu 相关
const selectIndex = ref(0)
const visible = ref(false)
const menuStyle = reactive({
left: 0,
top: 0
})
/**
* 展示 menu
*/
const openMenu = (e, index) => {
const { x, y } = e // 事件对象中,得到鼠标点击的位置
// 作为行内样式绑定
menuStyle.left = x + 'px'
menuStyle.top = y + 'px'
// 点击项
selectIndex.value = index
visible.value = true
}
</script>
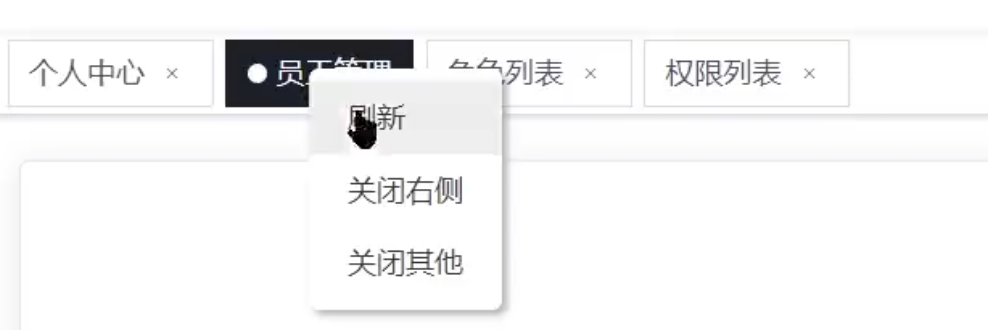
contextMenu 事件处理
对于 contextMenu 的事件一共分为三个:
- 刷新
- 关闭右侧
- 关闭所有
刷新 =>
router.go(n) 是 Vue Router 提供的一个方法,它可以在浏览器的历史记录中前进或后退 n 步。 当 n 为正数时,router.go(n) 会前进 n 步;当 n 为负数时,会后退 n 步;当 n 为 0 时,它会重新加载当前的页面。在 如下 中,router.go(0) 相当于刷新当前页面。
const router = useRouter()
const onRefreshClick = () => {
  router.go(0)
}
在 store 中,创建删除 tags 的 mutations,该 mutations 需要同时具备以下三个能力:
  1. 删除 “右侧”
  2. 删除 “其他”
  3. 删除 “当前”
/**
   * 删除 tag
   * @param {type: 'other'||'right'||'index', index: index} payload
*/
removeTagsView(state, payload) {
    if (payload.type === 'index') { // 删除当前项
      state.tagsViewList.splice(payload.index, 1)
      return
    } else if (payload.type === 'other') { // 保留自己,删掉它之前和之后
      state.tagsViewList.splice(
        payload.index + 1,
        state.tagsViewList.length - payload.index + 1
      )  // 删除它之后的所有的
      state.tagsViewList.splice(0, payload.index) // 删除它之前的
    } else if (payload.type === 'right') {
      state.tagsViewList.splice(
        payload.index + 1,
        state.tagsViewList.length - payload.index + 1
      ) // 删除它之后的
    }
    setItem(TAGS_VIEW, state.tagsViewList) // 同步本地缓存(localStorage)
},
关闭右侧事件
const store = useStore()
const onCloseRightClick = () => {
  store.commit('app/removeTagsView', {
    type: 'right',
    index: props.index
  })
}
关闭其他
const onCloseOtherClick = () => {
  store.commit('app/removeTagsView', {
    type: 'other',
    index: props.index
  })
}
关闭当前(tagsview)
/**
 * 关闭 tag 的点击事件
 */
const store = useStore()
const onCloseClick = index => {
  store.commit('app/removeTagsView', {
    type: 'index',
    index: index
  })
}
处理 contextMenu 的关闭行为
其实就改变它的visible,visible为true就为bdoy添加关闭菜单的事件。
/**
 * 关闭 menu
 */
const closeMenu = () => {
  visible.value = false
}

/**
 * 监听变化
 */
watch(visible, val => {
  if (val) {
    document.body.addEventListener('click', closeMenu)
  } else {
    document.body.removeEventListener('click', closeMenu)
  }
})
处理基于路由的动态过渡
处理基于路由的动态过渡 官方已经给出了示例代码,结合 router-view 和 transition 我们可以非常方便的实现这个功能,除此之外再此基础上添加keep-alive。
<template>
  <div class="app-main">
    <!-- 利用v-slot 解构一些值,作用域插槽语法,它允许子组件将数据传递给父组件,父组件通过这个作用域插槽能够接收子组件传递的数据,并可以根据这些数据动态地渲染内容或进行其他逻辑处理 -->
    <!-- Component 是当前路由匹配的组件,route 是当前的路由对象,包含路径、参数、查询等信息。 -->
    <router-view v-slot="{ Component, route }">
      <!-- 利用transition 指定动画效果 -->
      <transition name="fade-transform" mode="out-in">
        <keep-alive>
          <!-- 动态组件,动态渲染Component -->
          <!-- :key="route.path" 用于强制 Vue 在路由变化时重新渲染组件。因为每个路径都是唯一的,所以 key 的变化会触发 Vue 重新创建组件实例,从而确保每个路由组件的独立性 -->
          <component :is="Component" :key="route.path" />
        </keep-alive>
      </transition>
    </router-view>
  </div>
</template>
动画
/* fade-transform */
/* 元素进入和离开视图时都会应用 */
.fade-transform-leave-active,
.fade-transform-enter-active {
  /* 表示元素的所有可动画属性在 0.5 秒内从初始状态过渡到最终状态。即:所有参与动画的属性(如 opacity 和 transform)都会在 0.5 秒内完成变化。 */
  transition: all 0.5s;
}

/* 进入过渡的初始状态 */
.fade-transform-enter-from {
  /* 一开始是完全透明 */
  opacity: 0;
  /* 一开始是从它本应的位置向左偏移了 30 像素 */
  transform: translateX(-30px);
}

/* 离开过渡的结束状态 */
.fade-transform-leave-to {
  /*元素在离开时会变得完全透明 */
  opacity: 0;
  /*  元素在离开时会向右移动 30 像素 */
  transform: translateX(30px);
}
进入视图时:
- 元素从
fade-transform-enter-from状态开始,透明度为 0,向左偏移 30 像素。 - 然后,在 0.5 秒内,元素的透明度逐渐增加到 1(完全可见),同时它从左边的位置平滑地移动到其正常位置。
离开视图时:
- 元素开始时是正常位置和完全可见的状态。
- 在
fade-transform-leave-active触发后,它在 0.5 秒内逐渐变得透明,同时向右移动 30 像素,直到完全消失。
应用场景
- 这个动画效果通常用于在切换路由或显示/隐藏某个元素时,使得用户界面看起来更加流畅和动态。比如,当用户点击一个按钮切换页面内容时,当前页面内容会向右淡出,而新页面内容会从左边淡入,从而创建一种连贯的过渡效果。


 被折叠的 条评论
为什么被折叠?
被折叠的 条评论
为什么被折叠?
 到【灌水乐园】发言


