


准备工作:
环境:linux
系统:centos6.4
安装软件:nexus-2.14.8
软件下载地址:nexus-2.14.8
官网下载地址:点击打开链接
将下载的压缩包通过xft5上传至/opt目录下,解压至nexus目录下,删除压缩包
#将压缩包解压至指定目录下
tar -zxvf nexus-2.14.8-01-bundle.tar.gz -C  /opt/nexus
rm -rf nexus-2.14.8-01-bundle.tar.gz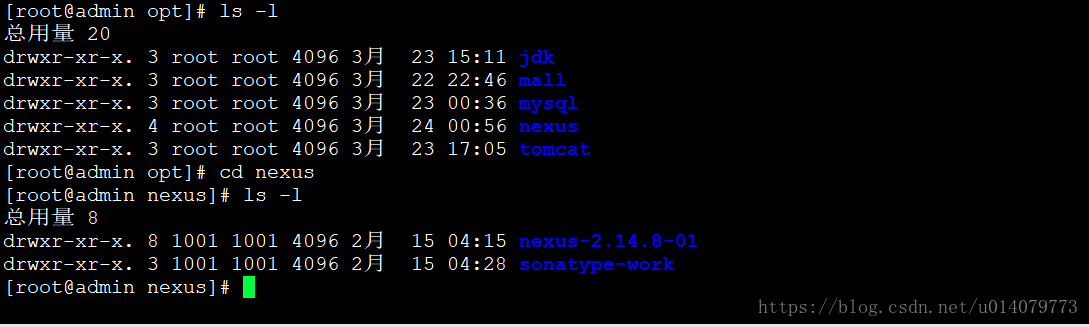
备注:
解压后有两个文件夹
nexus-2.14.8-01:是nexus的核心文件
sonatype-work :maven下载jar存放地址
修改配置文件(修改端口号和work目录信息)
cd /opt/nexus/nexus-2.14.8-01/conf
vi nexus.properties
#Jetty section
application-port=18888
application-host=0.0.0.0
nexus-webapp=${bundleBasedir}/nexus
nexus-webapp-context-path=/nexus
# Nexus section
nexus-work=${bundleBasedir}/../sonatype-work/nexus
runtime=${bundleBasedir}/nexus/WEB-INF
启动nexus
/opt/nexus/nexus-2.14.8-01/bin/nexus start报:If you insist running as root, then set the environment variable RUN_AS_USER=root before running this script.
解决方法:
cd /opt/nexus/nexus-2.14.8-01/bin
vi /nexus
RUN_AS_USER=root
vi /etc/profile
export RUN_AS_USER=root

解决方法:
cd /opt/nexus/nexus-2.14.8-01/bin
vi /nexus
RUN_AS_USER=root
vi /etc/profile
export RUN_AS_USER=root


重新启动nexus
/opt/nexus/nexus-2.14.8-01/bin/nexus start

以上截图表示启动nexus成功。
测试客户端是否登录成功
http://192.168.174.128:18888/nexus
补充:
maven私服nexus用户介绍
admin:该用户拥有Nexus的全部权限,默认密码为admin123。则账号:admin/admin123
deployment:该用户能够访问Nexus,浏览仓库内容、搜索、上传部署构件,但是不能对Nexus进行任何配置,默认密码为deployment123。则账号:deployment/deployment123
anonymous:该用户对应了所有未登录的匿名用户,它们可以浏览仓库并进行搜索。
添加第三方jar默认情况下Nexus为我们创建了以下主要的Repository:
1、Public Repositories:这是一个Repository Group,该Repository Group包含了多个Repository,其中包含了Releases、Snapshots、ThirdParty和Central。
2、3rd party:该Repository即是存放你公司所购买的第三方软件库的地方,它是一个由Nexus自己维护的一个Repository。
3、Apache Snapshots:看名字你就应该知道这是个什么样的Repository,这是一个代理Repository,即最终的依赖还是得在Apache官网上去下载,然后缓存在Nexus中。
4、Central:这就是代理Maven Central Repository的Repository。
5、Releases:你自己的项目要发布时,就应该发布在这个Repository,他也是Nexus自己维护的Repository,而不是代理。
6、Snapshots:你自己项目Snapshot的Repository。


 1895
1895


 被折叠的 条评论
为什么被折叠?
被折叠的 条评论
为什么被折叠?
 到【灌水乐园】发言


