


Spring Cloud Eureka:《深入理解Eureka》
Spring Cloud Ribbon:《深入理解Ribbon》
Spring Cloud Hystrix:《深入理解Hystrix》
Spring Cloud Zuul:《深入理解Zuul》
Spring Cloud Config:《深入理解Config》
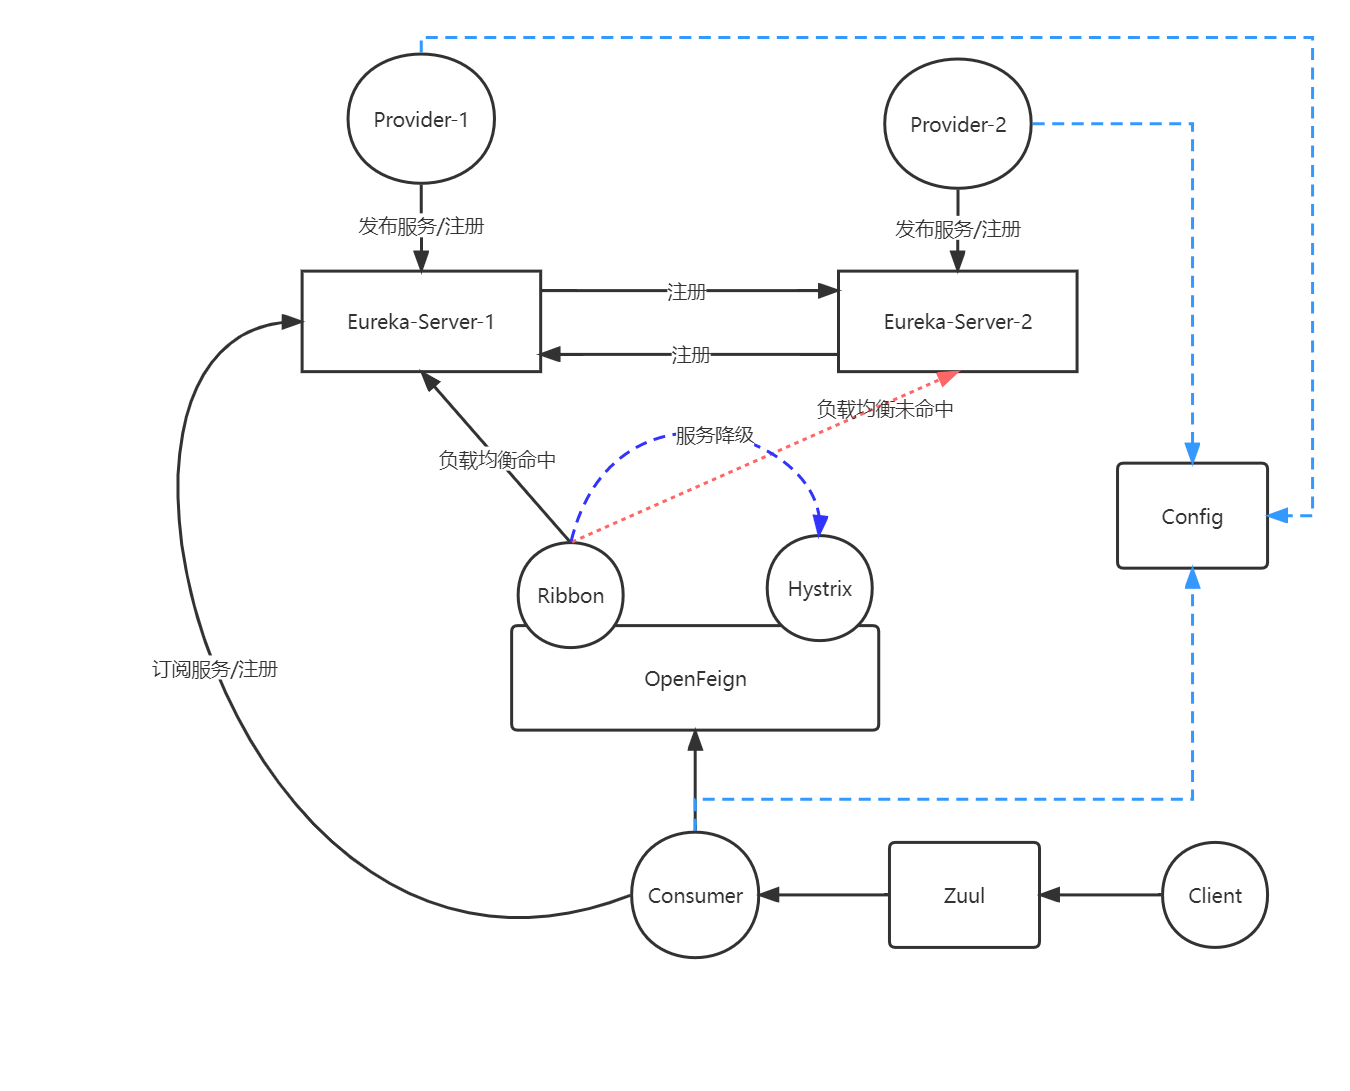
图1 Spring Cloud Netflix流程图
一、引入Spring Cloud Netflix父依赖
<dependencyManagement>
        <dependencies>
            <dependency>
                <groupId>org.springframework.cloud</groupId>
                <artifactId>spring-cloud-dependencies</artifactId>
                <version>Greenwich.RELEASE</version>
                <type>pom</type>
                <scope>import</scope>
            </dependency>
            <dependency>
                <groupId>com.google.code.gson</groupId>
                <artifactId>gson</artifactId>
                <version>2.8.5</version>
            </dependency>
        </dependencies>
    </dependencyManagement>
二、搭建Eureka集群
1 引入Eureka-Server依赖
<dependencies>
    <dependency>
        <groupId>org.springframework.cloud</groupId>
        <artifactId>spring-cloud-starter-netflix-eureka-server</artifactId>
    </dependency>
</dependencies>
2 编写集群Eureka-Server配置文件
2.1 第一个Eureka-Server配置文件
server:
  port: 8000

spring:
  application:
    name: Eureka-Server-8000

eureka:
  instance:
    hostname: localhost
  client:
    service-url:
      defaultZone: http://localhost:8001/eureka/ # 注册地址
2.2 第二个Eureka-Server配置文件
server:
  port: 8001

spring:
  application:
    name: Eureka-Server-8001

eureka:
  instance:
    hostname: localhost
  client:
    service-url:
      defaultZone: http://localhost:8000/eureka/ # 注册依赖
3 编写集群Eureka-Server启动类
3.1 第一个Eureka-Server启动类
@SpringBootApplication
@EnableEurekaServer
public class EurekaServer8001 {
    public static void main(String[] args) {
        SpringApplication.run(EurekaServer8001.class, args);
    }
}
3.2 第二个Eureka-Server启动类
@SpringBootApplication
@EnableEurekaServer
public class EurekaServer8000 {
    public static void main(String[] args) {
        SpringApplication.run(EurekaServer8000.class, args);
    }
}
4 注册结果
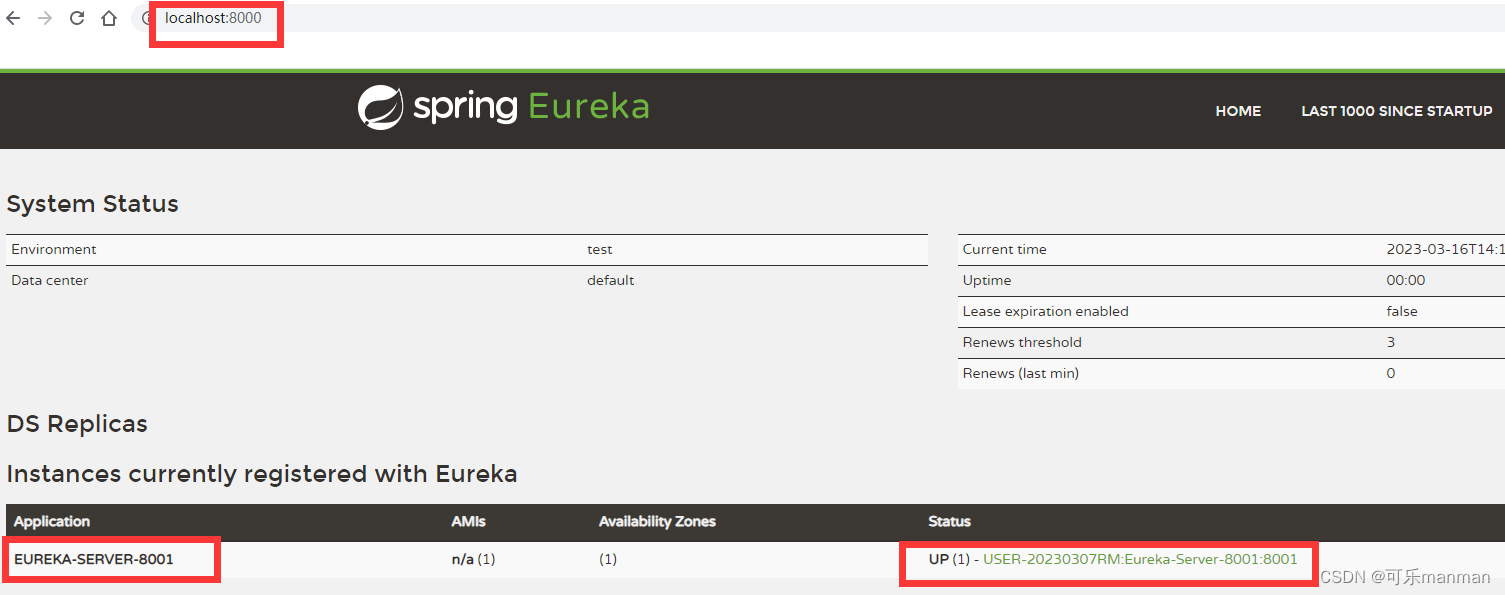
图2 Eureka-Server-8000的服务注册结果图
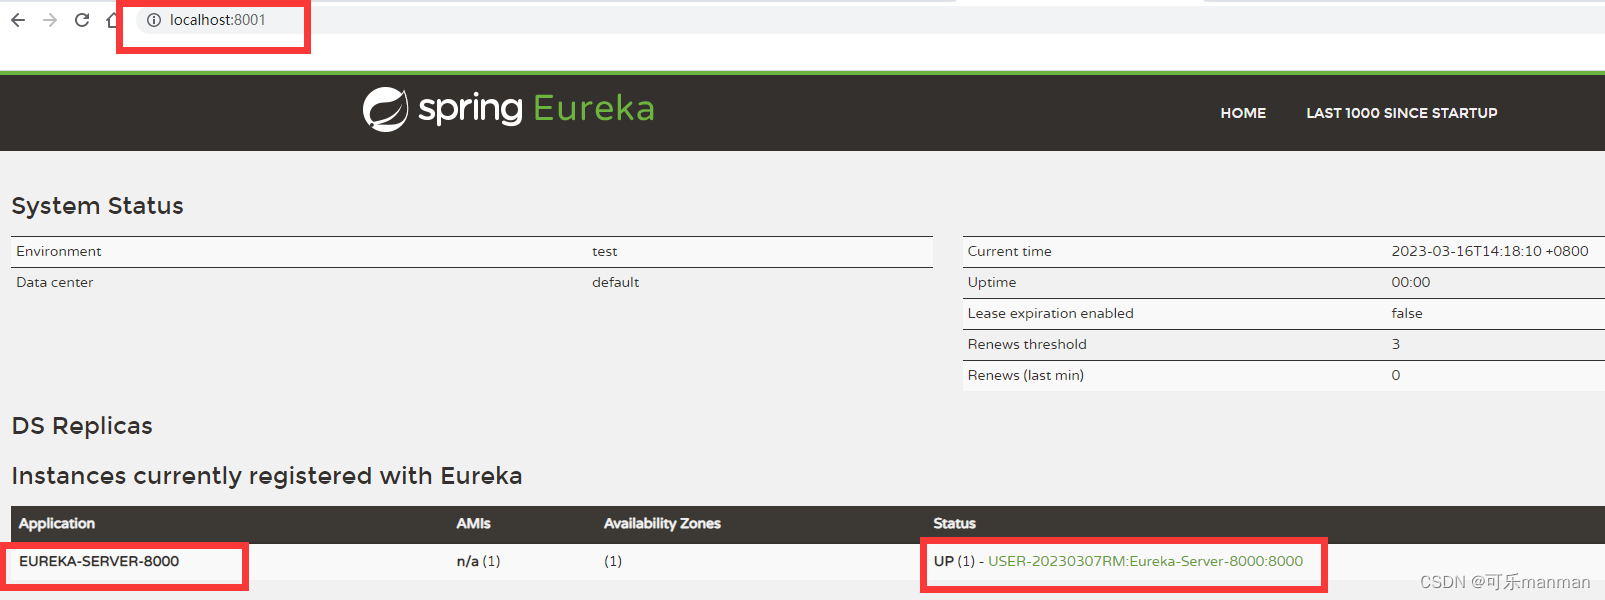
图3 Eureka-Server-8001的注册结果图
三、创建服务调用公共模块(Common)
引入接口模版TestService
public interface TestService {

    String testFeign();

}
四、搭建服务提供者集群
1 引入依赖
<dependencies>
    <!--Eureka server依赖-->
    <dependency>
        <groupId>org.springframework.cloud</groupId>
        <artifactId>spring-cloud-starter-netflix-eureka-client</artifactId>
    </dependency>
    <dependency>
        <groupId>org.springframework.boot</groupId>
        <artifactId>spring-boot-starter-web</artifactId>
        <version>2.1.0.RELEASE</version>
    </dependency>
    <dependency>
        <groupId>com.lidantao</groupId>
        <artifactId>Netflix-Common</artifactId>
        <version>1.0</version>
    </dependency>
    <dependency>
        <groupId>org.springframework.cloud</groupId>
        <artifactId>spring-cloud-starter-openfeign</artifactId>
    </dependency>
</dependencies>
2 编写Provider集群配置文件
2.1 第一个Provider配置文件
server:
  port: 7000

spring:
  application:
    name: Provider

eureka:
  client:
    service-url:
      defaultZone: http://localhost:8000/eureka/
2.2 第二个Provider配置文件
server:
  port: 7001

spring:
  application:
    name: Provider

eureka:
  client:
    service-url:
      defaultZone: http://localhost:8000/eureka/
3 实现远程服务调用接口
3.1 Provider-7000实现代码
@Service
public class TestServiceImpl implements TestService {

    @Override
    public String testFeign() {
        return "Provider-7000-testFeign";
    }

}
3.2 Provider-7001实现代码
@Component
public class TestServiceImpl implements TestService {

    @Override
    public String testFeign() {
        return "Provider-7001-testFeign";
    }

}
4 编写服务Controller接口
4.1 第一个Provider的Controller类
@RestController
public class TestController {

    @Autowired
    private TestService testService;

    @RequestMapping("/testFeign")
    public String testFeign(){
        return testService.testFeign();
    }

}
4.2 第二个Provider的Controller类
@RestController
public class TestController {

    @Autowired
    private TestService testService;

    @RequestMapping("/testFeign")
    public String testFeign(){
        return testService.testFeign();
    }

}
五、搭建服务消费者模块
1 Controller
@RestController
@RequestMapping("/consumer")
public class TestController {


    @Autowired
    private TestService testService;

    @RequestMapping("/testFeign")
    public String getTest(){
        return testService.testFeign();
    }


}
2 Service
@Component
@FeignClient("Provider")
public interface TestService{

    @GetMapping("/testFeign")
    @LoadBalanced
    String testFeign();

}
3 实现客户端的负载均衡
@Configuration
public class CustomRibbonConfig {

    @Bean
    public IRule iRule(){
        return new RoundRobinRule();
    }
}
4 启动类
@SpringBootApplication
@EnableDiscoveryClient
@EnableFeignClients
@RibbonClient(name = "service", configuration = CustomRibbonConfig.class)
public class NetflixConsumer6001 {
    public static void main(String[] args) {
        SpringApplication.run(NetflixConsumer6001.class, args);
    }
}
5 客户端负载均衡结果
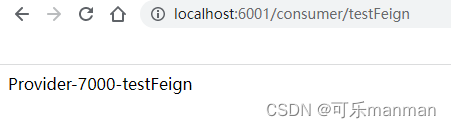
图4 Provider-7000提供结果
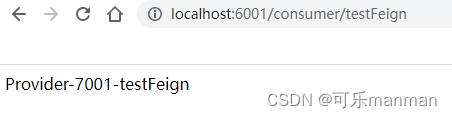
图5 Provider-7001提供结果
六、搭建网关模块
1 编写配置文件
server:
  port: 9000

spring:
  application:
    name: Netflix-Zuul-9000

eureka:
  client:
    service-url:
      defaultZone: http://localhost:8000/eureka/

zuul:
  routes:
    mydept.service-id: Consumer-6001 # 转发到这个服务上
    mydept.path: /**
2 编写启动类
@SpringBootApplication
@EnableDiscoveryClient
@EnableZuulProxy
public class NetflixZuul9000 {
    public static void main(String[] args) {
        SpringApplication.run(NetflixZuul9000.class, args);
    }
}
3 通过网关转发到客户端结果
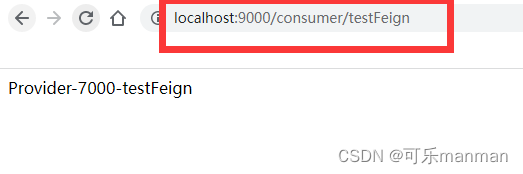
图6 通过网关访问消费者
七、所有代码地址
或
wx公众号:可乐大数据


 9704
9704


 被折叠的 条评论
为什么被折叠?
被折叠的 条评论
为什么被折叠?
 到【灌水乐园】发言


