


1.设置假的间距,我们在tableviewcell的contentView上添加一个view,比如让其距离上下左右的距离都是10;这个方法是最容易想到的;

2.用UIContentView来代替tableview,然后通过下面这个函数来设置UICollectionViewCell的上下左右的间距;
<span style="font-size:18px;">//协议中的方法,用于返回单元格的大小
- (CGSize)collectionView:(UICollectionView *)collectionView layout:(UICollectionViewLayout *)collectionViewLayout sizeForItemAtIndexPath:(NSIndexPath *)indexPath{
    return CGSizeMake(ScreenWidth-20,150);
}
//协议中的方法,用于返回整个CollectionView上、左、下、右距四边的间距
- (UIEdgeInsets)collectionView:(UICollectionView *)collectionView layout:(UICollectionViewLayout *)collectionViewLayout insetForSectionAtIndex:(NSInteger)section{
    //上、左、下、右的边距
    return UIEdgeInsetsMake(10, 10, 10, 10);
}</span>
3.用控件tableview,比如有十条数据,那就给tableview分十组,每组只放一条数据,也就是一个cell,然后设置UICollectionViewCell的head view和foot view来设置cell的间距,但是这个方法只能设置上下间距,如果想设置距离屏幕左右的距离,可以设置uitableview距离左右的距离;uitableview的style为UITableViewStyleGrouped;不然headview会浮动;
- (NSInteger)numberOfSectionsInTableView:(UITableView *)tableView{
    return 10;
}

- (NSInteger)tableView:(UITableView *)tableView numberOfRowsInSection:(NSInteger)section{
    return 1;
}

- (CGFloat)tableView:(UITableView *)tableView heightForRowAtIndexPath:(NSIndexPath *)indexPath{
    return 50;
}

- (CGFloat)tableView:(UITableView *)tableView heightForHeaderInSection:(NSInteger)section{
    return 10;
}

- (CGFloat)tableView:(UITableView *)tableView heightForFooterInSection:(NSInteger)section{
    return 0.00001;
}

- (UIView *)tableView:(UITableView *)tableView viewForHeaderInSection:(NSInteger)section{
    UIView *headView = [[UIView alloc]init];
    headView.backgroundColor = [UIColor redColor];
    return headView;
}

- (UITableViewCell *)tableView:(UITableView *)tableView cellForRowAtIndexPath:(NSIndexPath *)indexPath{
    static NSString *TableSampleIdentifier = @"cellStr";
    UITableViewCell *cell = [tableView dequeueReusableCellWithIdentifier:TableSampleIdentifier];
    if (cell == nil) {
        cell = [[UITableViewCell alloc] initWithStyle:UITableViewCellStyleValue1 reuseIdentifier:TableSampleIdentifier];
    }
    return cell;
}
4.重新设置的UITableViewCellframe。
代码如下:
#import "MyViewCell.h"
@implementation MyViewCell
- (void)awakeFromNib {
[super awakeFromNib];
// Initialization code
}
- (void)setFrame:(CGRect)frame{
frame.origin.x += 10;
frame.origin.y += 10;
frame.size.height -= 10;
frame.size.width -= 20;
[super setFrame:frame];
}
- (void)setSelected:(BOOL)selected animated:(BOOL)animated {
[super setSelected:selected animated:animated];
// Configure the view for the selected state
}
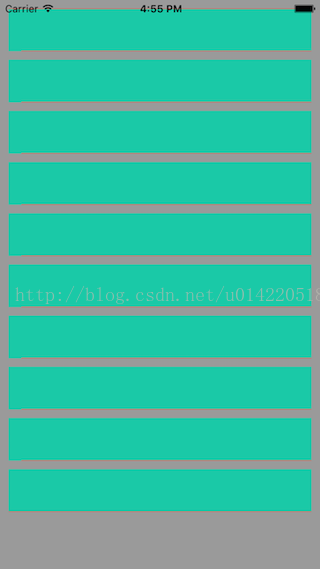
@end效果如下:


 1248
1248


 被折叠的 条评论
为什么被折叠?
被折叠的 条评论
为什么被折叠?
 到【灌水乐园】发言


