


下载:
wget http://nginx.org/download/nginx-1.10.1.tar.gz解压
tar -zxvf nginx-1.10.1.tar.gz安装编译环境
yum -y install gcc gcc-c++ openssl openssl-devel perl-devel perl-ExtUtils-Embed编译运行
编译安装
./configure --prefix=/etc/nginx --sbin-path=/usr/sbin/nginx --conf-path=/etc/nginx/nginx.conf --error-log-path=/var/log/nginx/error.log --http-log-path=/var/log/nginx/access.log --pid-path=/var/run/nginx.pid --lock-path=/var/run/nginx.lock --http-client-body-temp-path=/var/cache/nginx/client_temp --http-proxy-temp-path=/var/cache/nginx/proxy_temp --http-fastcgi-temp-path=/var/cache/nginx/fastcgi_temp --http-uwsgi-temp-path=/var/cache/nginx/uwsgi_temp --http-scgi-temp-path=/var/cache/nginx/scgi_temp --user=nginx --group=nginx --with-http_ssl_module --with-http_realip_module --with-http_addition_module --with-http_sub_module --with-http_dav_module --with-http_flv_module --with-http_mp4_module --with-http_gunzip_module --with-http_gzip_static_module --with-http_random_index_module --with-http_secure_link_module --with-http_stub_status_module --with-http_auth_request_module --with-threads --with-stream --with-stream_ssl_module --with-http_slice_module --with-mail --with-mail_ssl_module --with-file-aio --with-http_v2_module --with-ipv6

make

make install
测试
使用下面命令:
nginx -v说明安装完成。
运行
在上面的命令行中存在–sbin-path=/usr/sbin/nginx这一句,说明nginx的启动目录在这里,在命令行中执行:
/usr/sbin/nginx
可能会出现下面提示:
nginx: [emerg] getpwnam("nginx") failed
解决方法如下:
解决方法1:
在nginx.conf中 把user nobody的注释去掉既可
解决方法2:
错误的原因是没有创建www这个用户,应该在服务器系统中添加www用户组和用户www,如下命令:
#/usr/sbin/groupadd -f www
#/usr/sbin/useradd -g www www
解决上面之后还可能有下面问题:
nginx: [emerg] mkdir() "/var/cache/nginx/client_temp" failed (2: No such file or directory)解决方法就是自己新建目录就OK。
解决了以上问题在执行
运行:
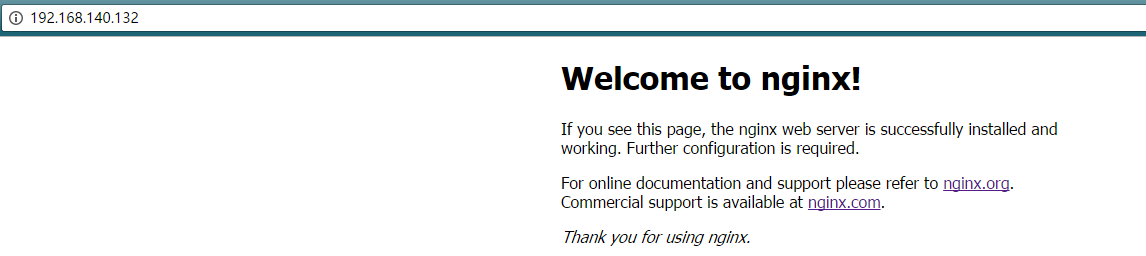
/usr/sbin/nginx就可以成功启动了。
停止方式:
/usr/sbin/nginx -s stop


 1195
1195

 被折叠的 条评论
为什么被折叠?
被折叠的 条评论
为什么被折叠?
 到【灌水乐园】发言


