


一、springboot项目搭建
前言-使用技术
- springboot
- mybatis-plus
- mysql
- druid
- lombok
1.2 创建springboot项目
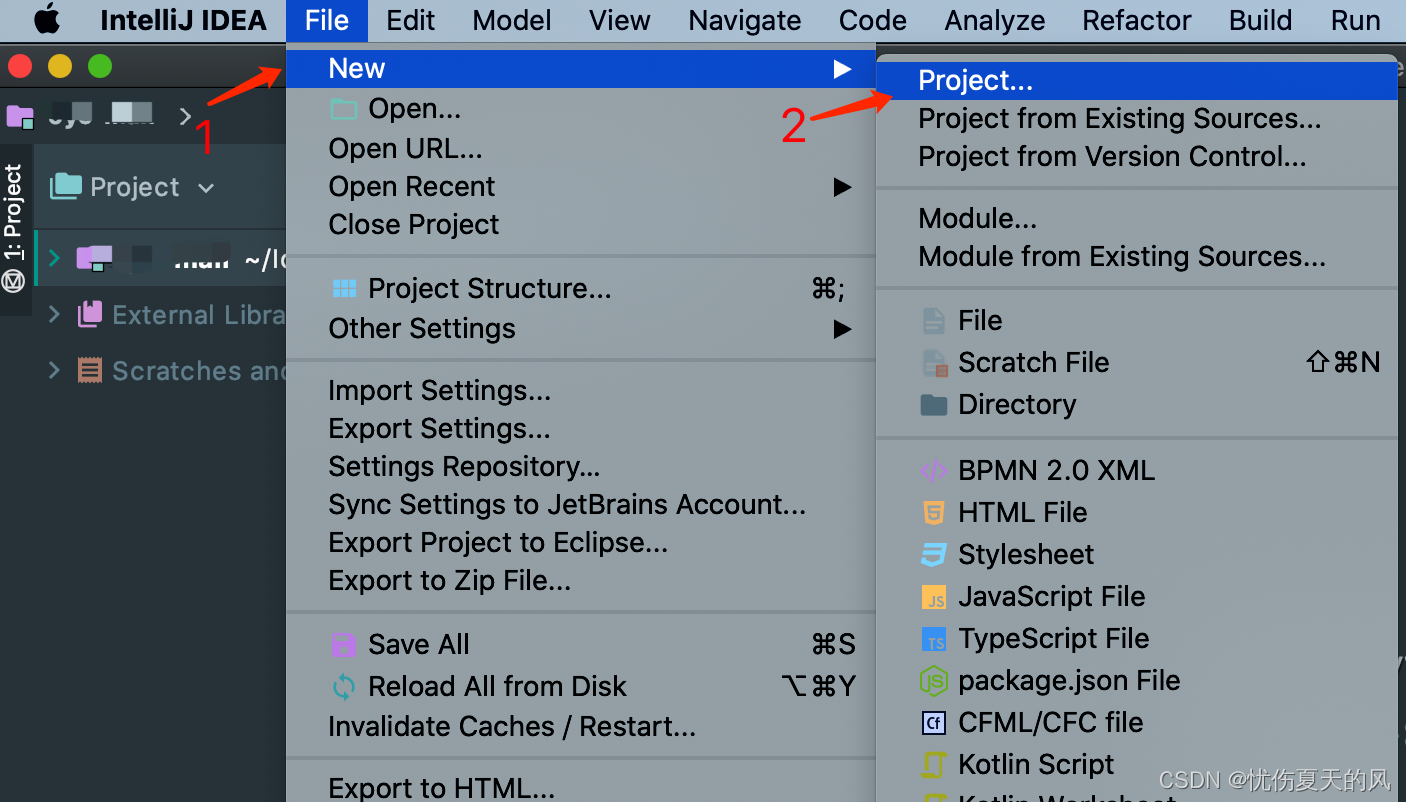
(1) 选择新增:File->New->Project
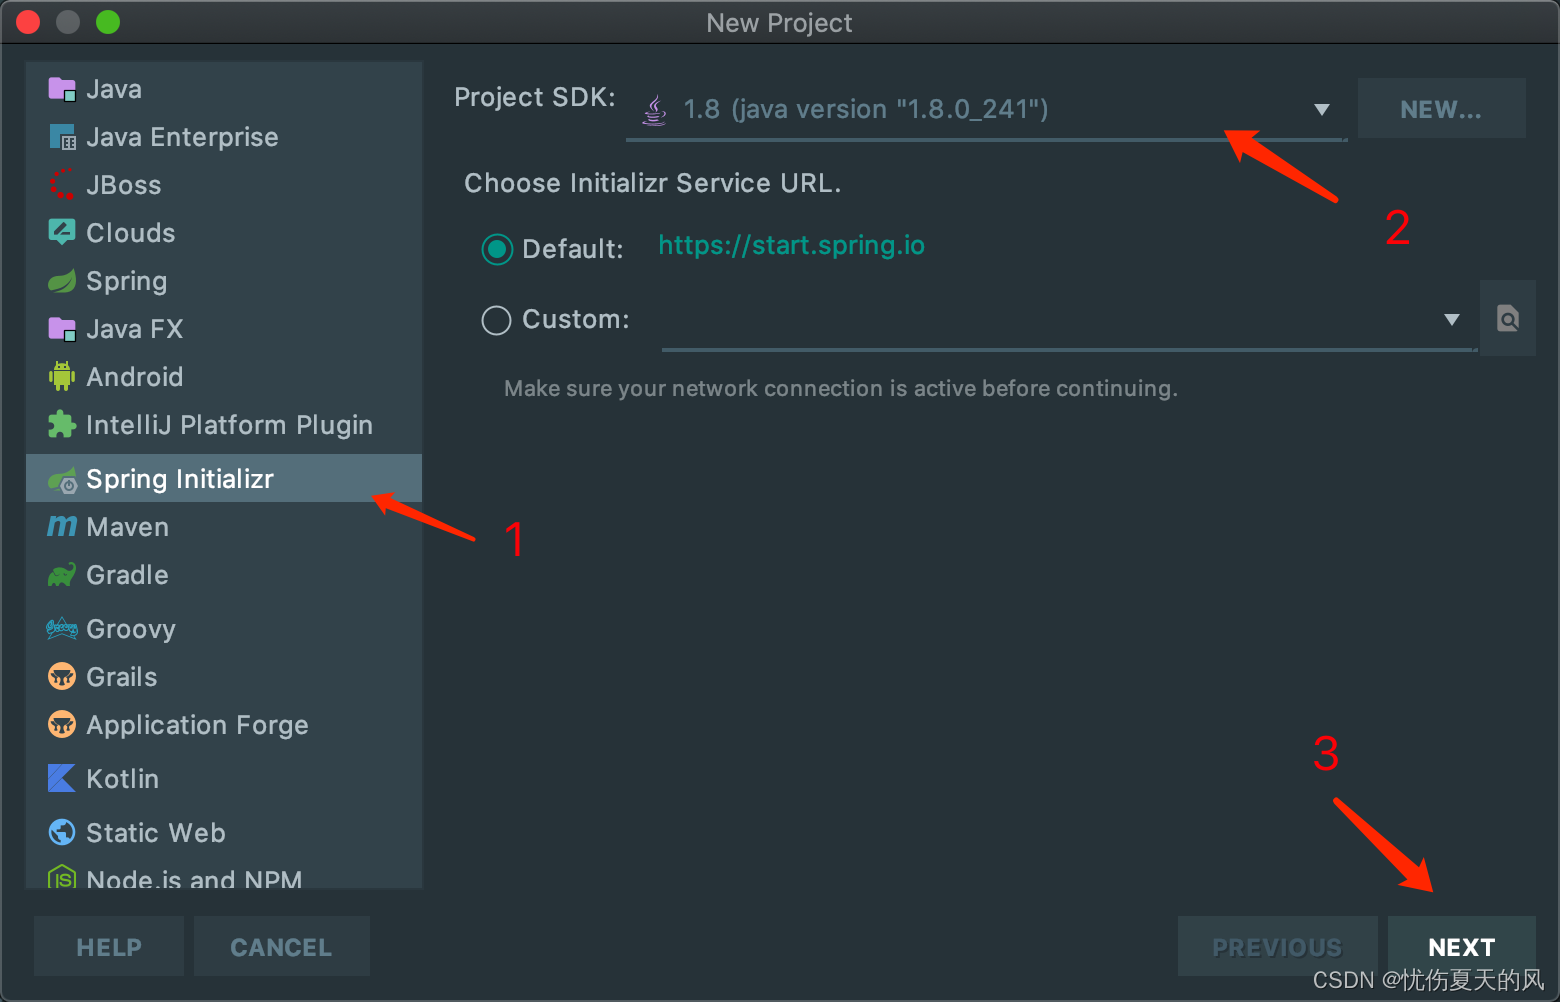
(2) 选择Spring Initializr,指定JDK版本,直接下一步
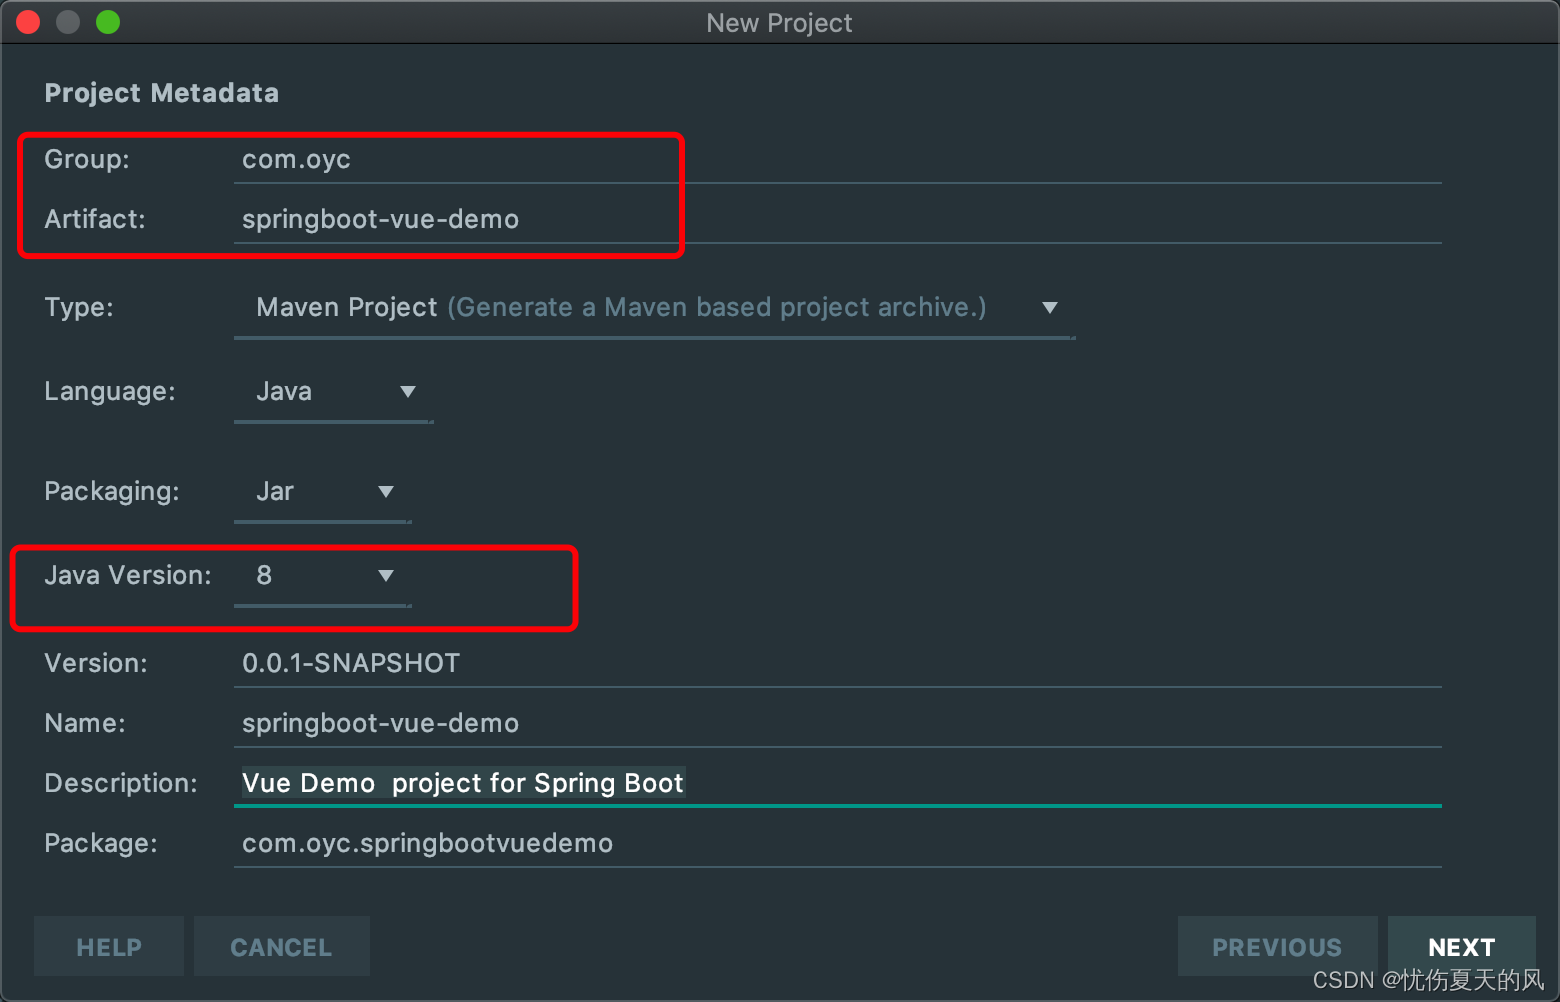
(3) 填写项目相关信息,然后下一步
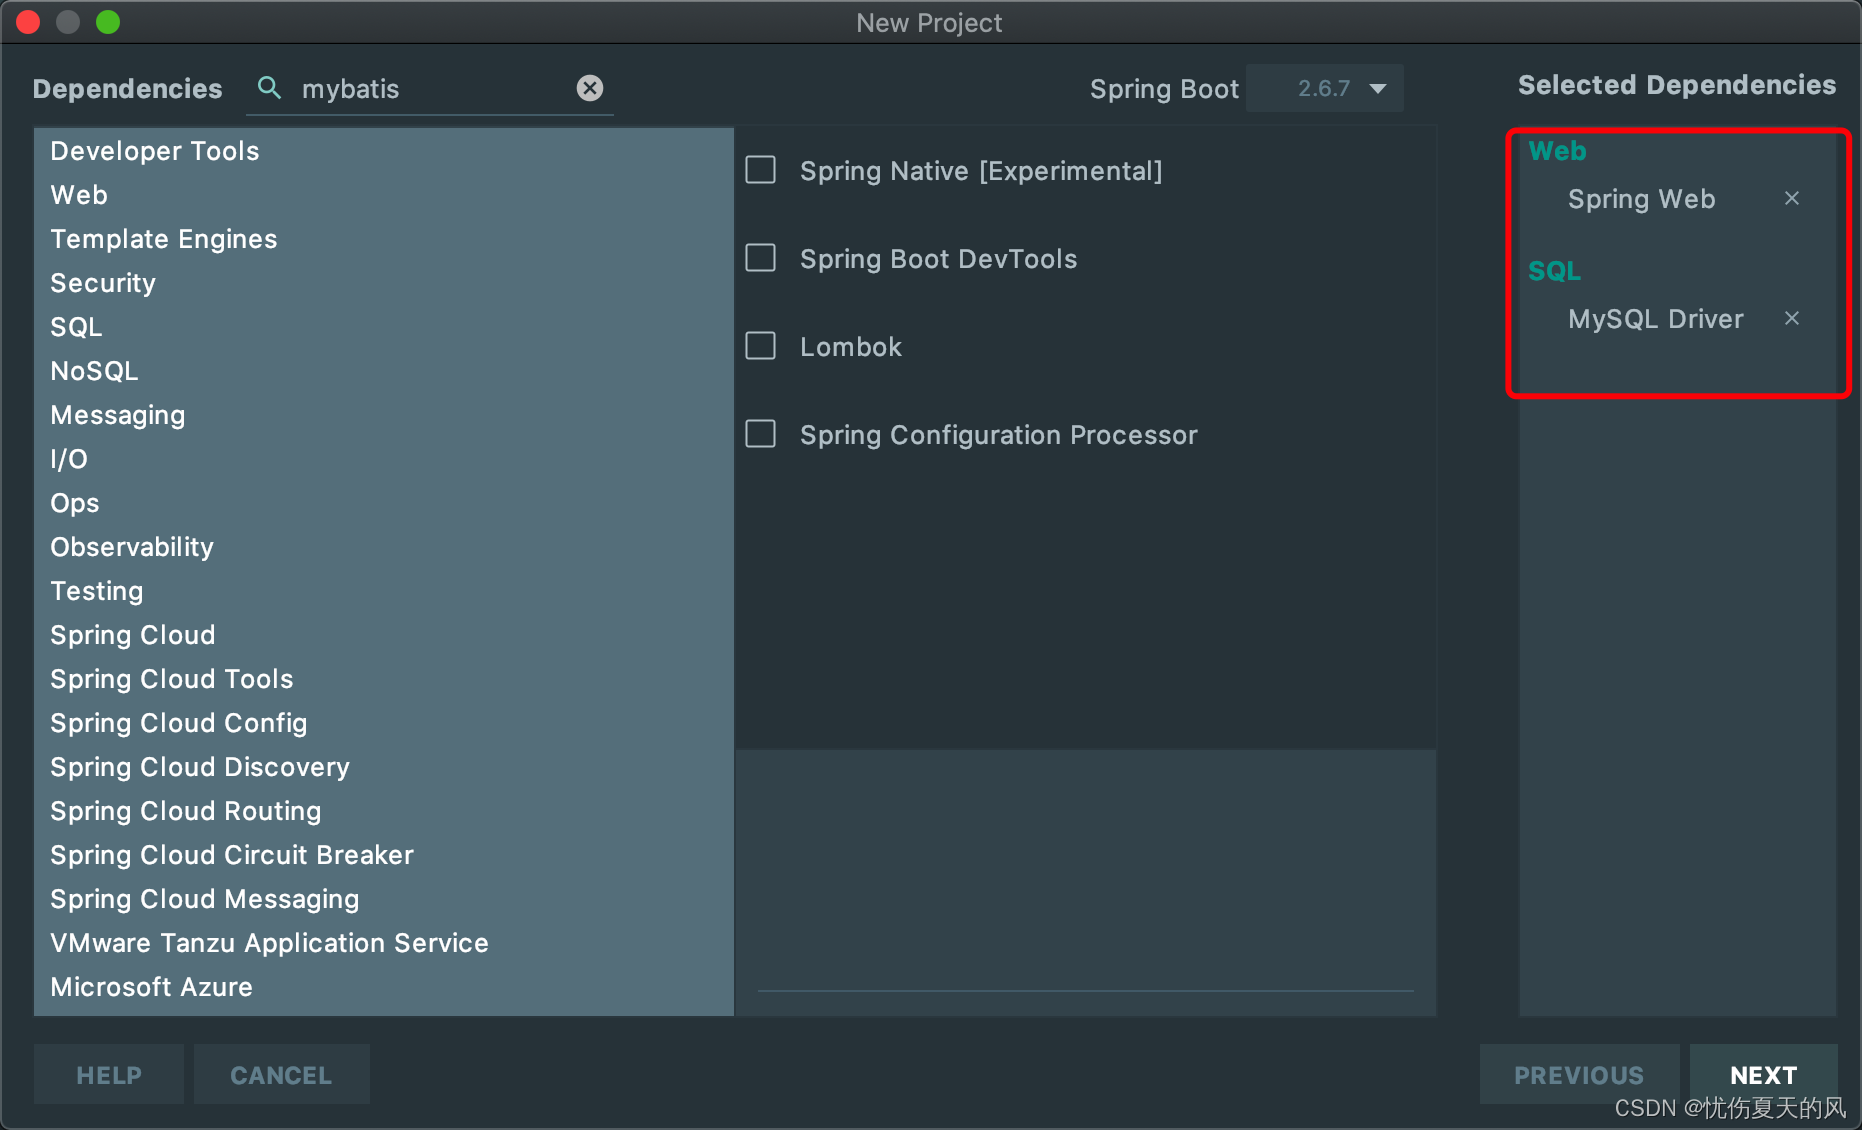
(4) 选择组件,勾选中间Spring Web,然后下一步
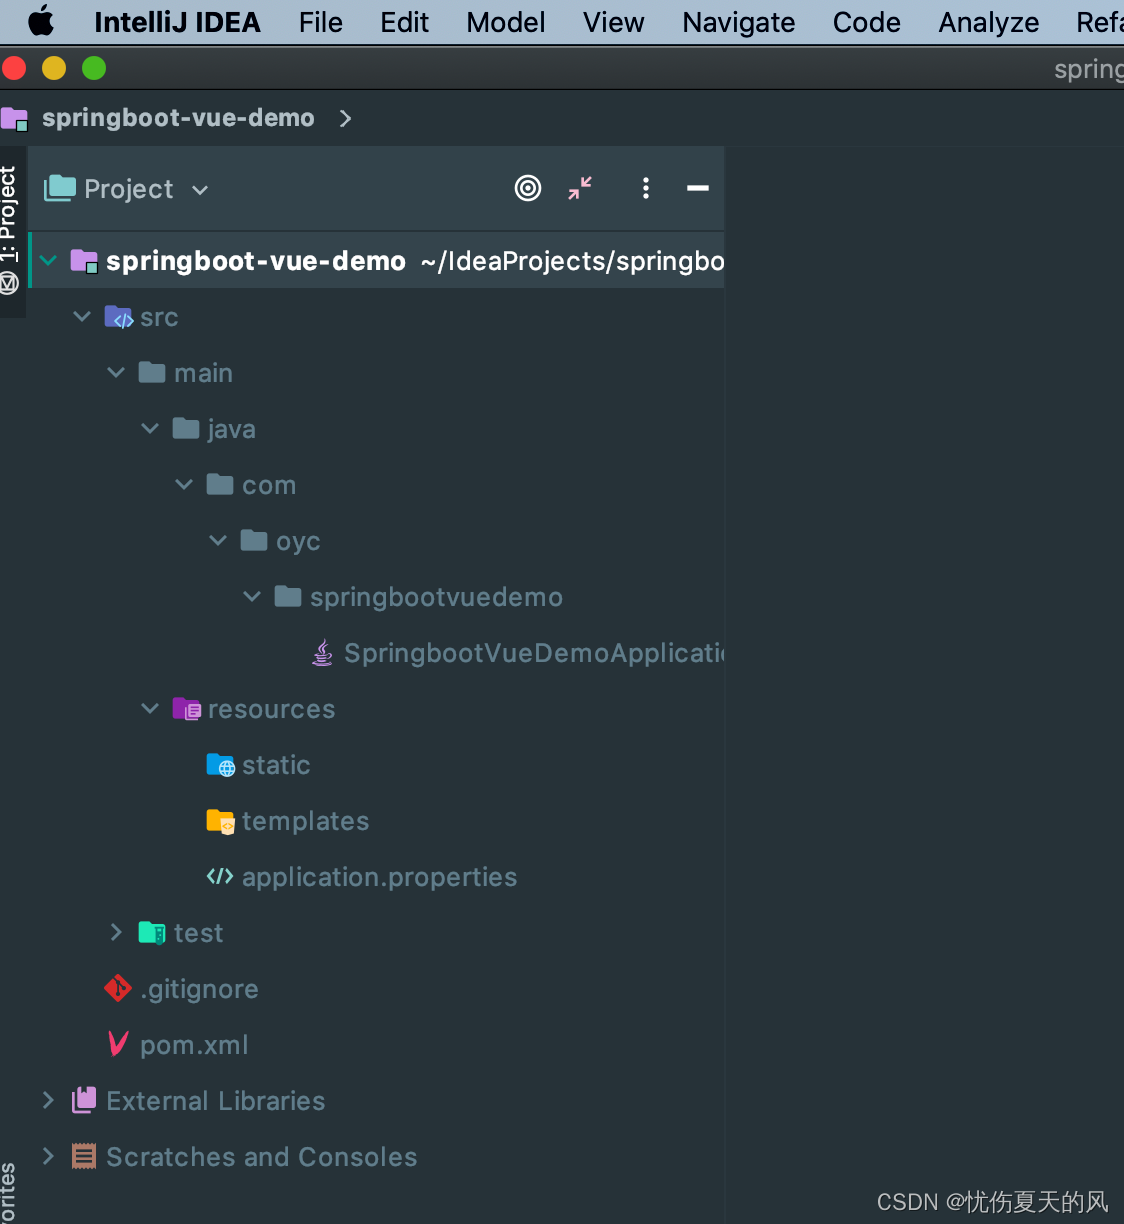
(5) 项目结构
1.2 集成mybatis-plus
(1)在pom.xml中引入SpringDataJPA相关依赖
<!--mysql驱动-->
<dependency>
    <groupId>mysql</groupId>
    <artifactId>mysql-connector-java</artifactId>
    <scope>runtime</scope>
</dependency>
<!-- druid数据库连接池 -->
<dependency>
    <groupId>com.alibaba</groupId>
    <artifactId>druid</artifactId>
    <version>1.1.9</version>
</dependency>
<!-- mybatis-plus https://mvnrepository.com/artifact/com.baomidou/mybatis-plus -->
<dependency>
    <groupId>com.baomidou</groupId>
    <artifactId>mybatis-plus-boot-starter</artifactId>
    <version>3.1.2</version>
</dependency>
<!--lombok 可以为我们生产getter、setter、构造方法、toString方法等-->
<dependency>
    <groupId>org.projectlombok</groupId>
    <artifactId>lombok</artifactId>
    <version>1.16.18</version>
    <scope>provided</scope>
</dependency>
(2) 配置数据源
spring:
  datasource:
    url: jdbc:mysql://127.0.0.1:3306/vue_demo?useUnicode=true&characterEncoding=utf8&zeroDateTimeBehavior=convertToNull&serverTimezone=GMT%2B8
    username: root
    password: 123456
    driver-class-name: com.mysql.cj.jdbc.Driver
    ###  数据源类别
    type: com.alibaba.druid.pool.DruidDataSource
    ### 初始化大小,最小,最大
    initialSize: 5
    minIdle: 5
    maxActive: 20
    ### 配置获取连接等待超时的时间,单位是毫秒
    maxWait: 60000
    ### 配置间隔多久才进行一次检测,检测需要关闭的空闲连接,单位是毫秒
    timeBetweenEvictionRunsMillis: 60000
    ### 配置一个连接在池中最小生存的时间,单位是毫秒
    minEvictableIdleTimeMillis: 300000
    validationQuery: SELECT 1 FROM DUAL
    testWhileIdle: true
    testOnBorrow: false
    testOnReturn: false
    ### 打开PSCache,并且指定每个连接上PSCache的大小
    poolPreparedStatements: true
    maxPoolPreparedStatementPerConnectionSize: 20
    ### 配置监控统计拦截的filters,去掉后监控界面sql无法统计,'wall'用于防火墙
    filters: stat,wall,log4j
    ### 通过connectProperties属性来打开mergeSql功能;慢SQL记录
    connectionProperties: druid.stat.mergeSql=true;druid.stat.slowSqlMillis=5000
server:
  port: 8888
  servlet:
    context-path: /vue-demo
(3) 增加mybatis-plus配置MybatisPlusConfig.java
package com.oyc.springbootvuedemo.config;

import com.baomidou.mybatisplus.extension.plugins.PaginationInterceptor;
import org.mybatis.spring.annotation.MapperScan;
import org.springframework.context.annotation.Bean;
import org.springframework.context.annotation.Configuration;
import org.springframework.transaction.annotation.EnableTransactionManagement;

/**
 * @Description: mybatis-plus配置类
 * @Author oyc
 * @Date 2022/5/4 4:21 下午
 */
@Configuration
@EnableTransactionManagement
@MapperScan("com.oyc.springbootvuedemo.mapper")
public class MybatisPlusConfig {
    @Bean
    public PaginationInterceptor paginationInterceptor() {
        PaginationInterceptor paginationInterceptor = new PaginationInterceptor();
        return paginationInterceptor;
    }
}
(4) 创建用户表并填入数据用于测试
-- 创建用户表
create table user(
    id bigint unsigned primary key comment '自增id',
    user_name varchar(50) not null default '' comment '用户名称',
    user_nickname varchar(200) not null default '' comment '用户昵称',
    password varchar(200) not null default '' comment '密码',
    sex tinyint not null default -1 comment '用户性别:-1-未知,0-男,1-女',
    age tinyint not null default 0 comment '年龄',
    create_by varchar(50) not null default '' comment '创建人',
    create_time timestamp not null default current_timestamp comment '创建时间',
    update_by varchar(50) not null default '' comment '更新人',
    update_time timestamp not null default current_timestamp on update current_timestamp comment '更新时间',
    delete_flag tinyint not null default 0 comment '删除状态:0-正常,1-已删除'
);
-- 插入用户数据
insert into user (user_name,user_nickname,password,sex,age)
values ('zhangsan','张三','123456',0,18),
       ('lisi','李四','123456',0,19),
       ('wangwu','王五','123456',0,19),
       ('zhaoliu','赵六','123456',0,22),
       ('linchong','林冲','123456',0,28),
       ('sunerniang','孙二娘','123456',0,18);
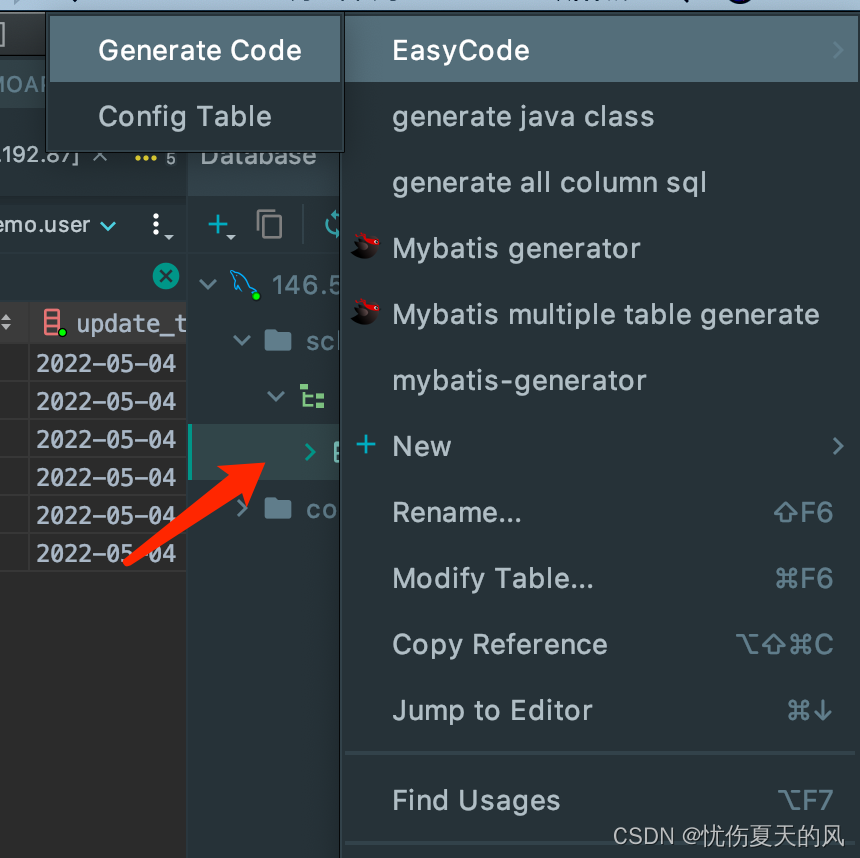
(5) 生成user相关的entity、controller、service、mapper代码
这里选择使用easyCode生成相关代码,也可以使用mabatis genarater等方式
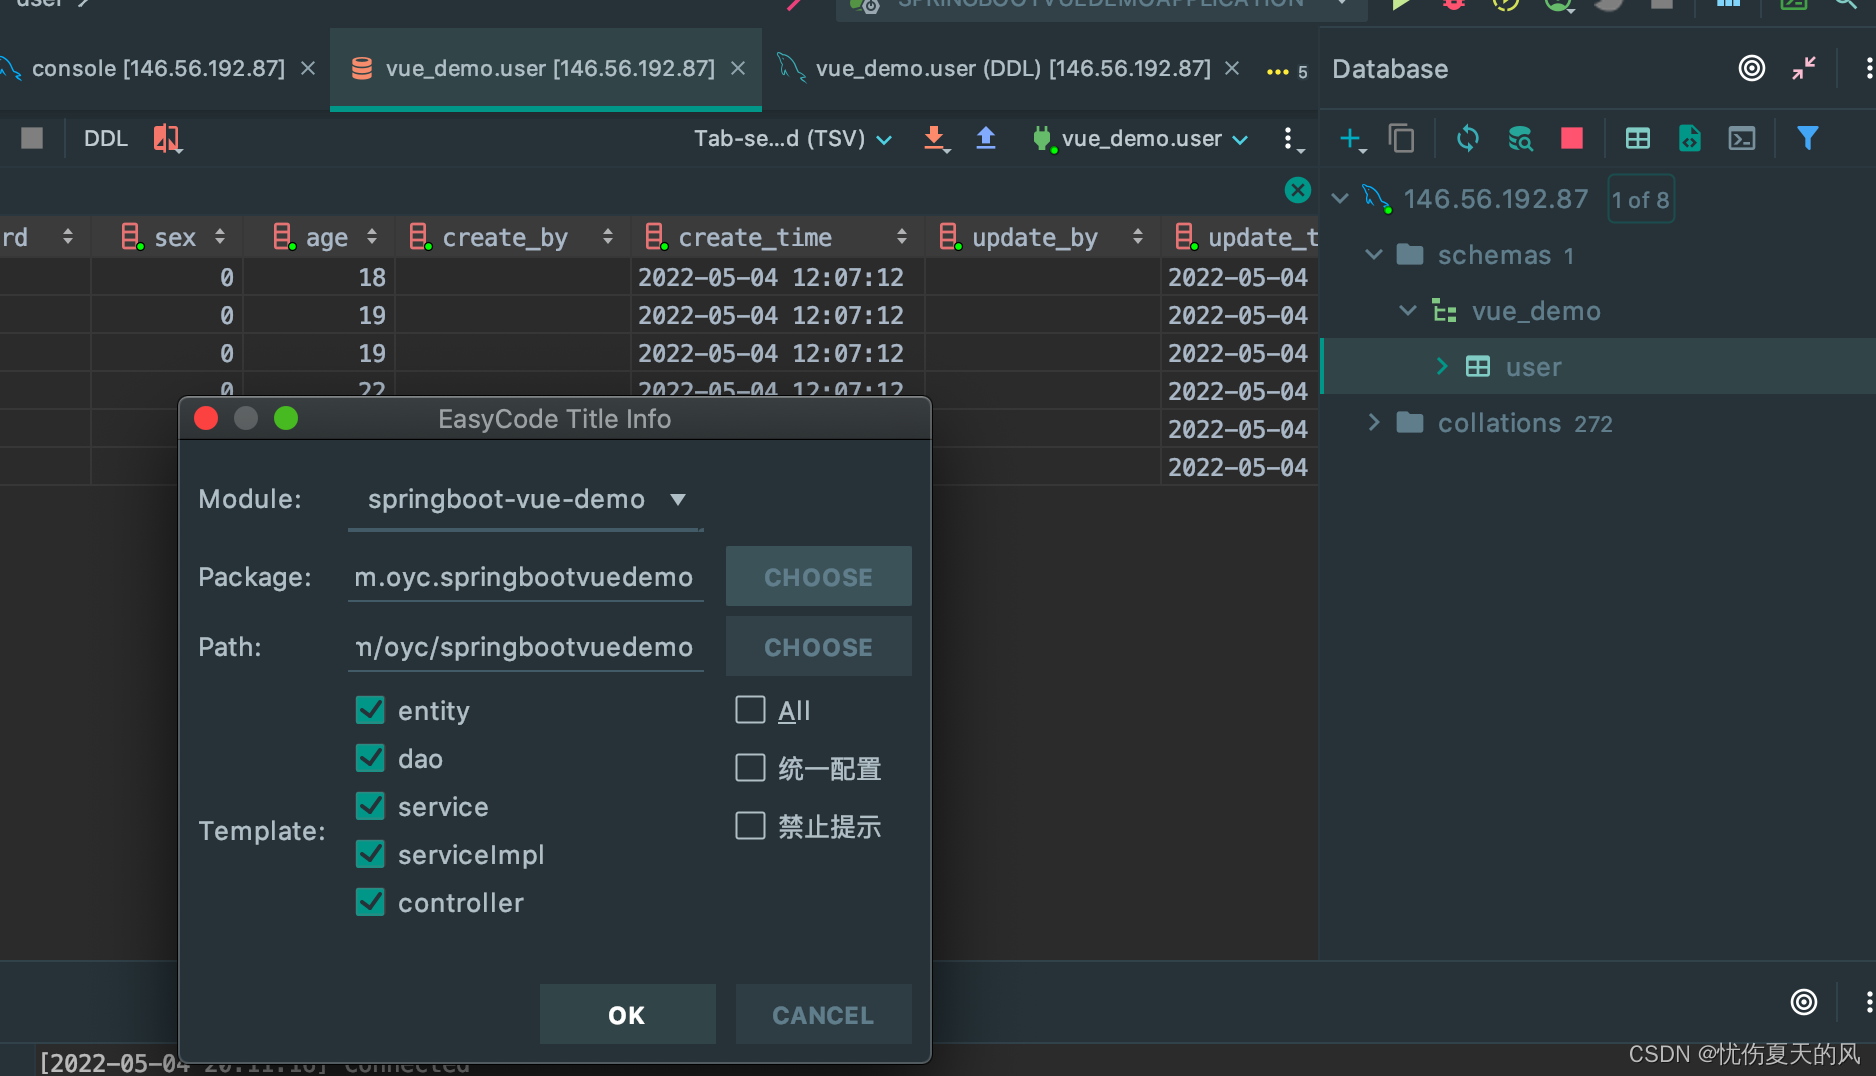
选择要生成的package和勾选要生成的文件
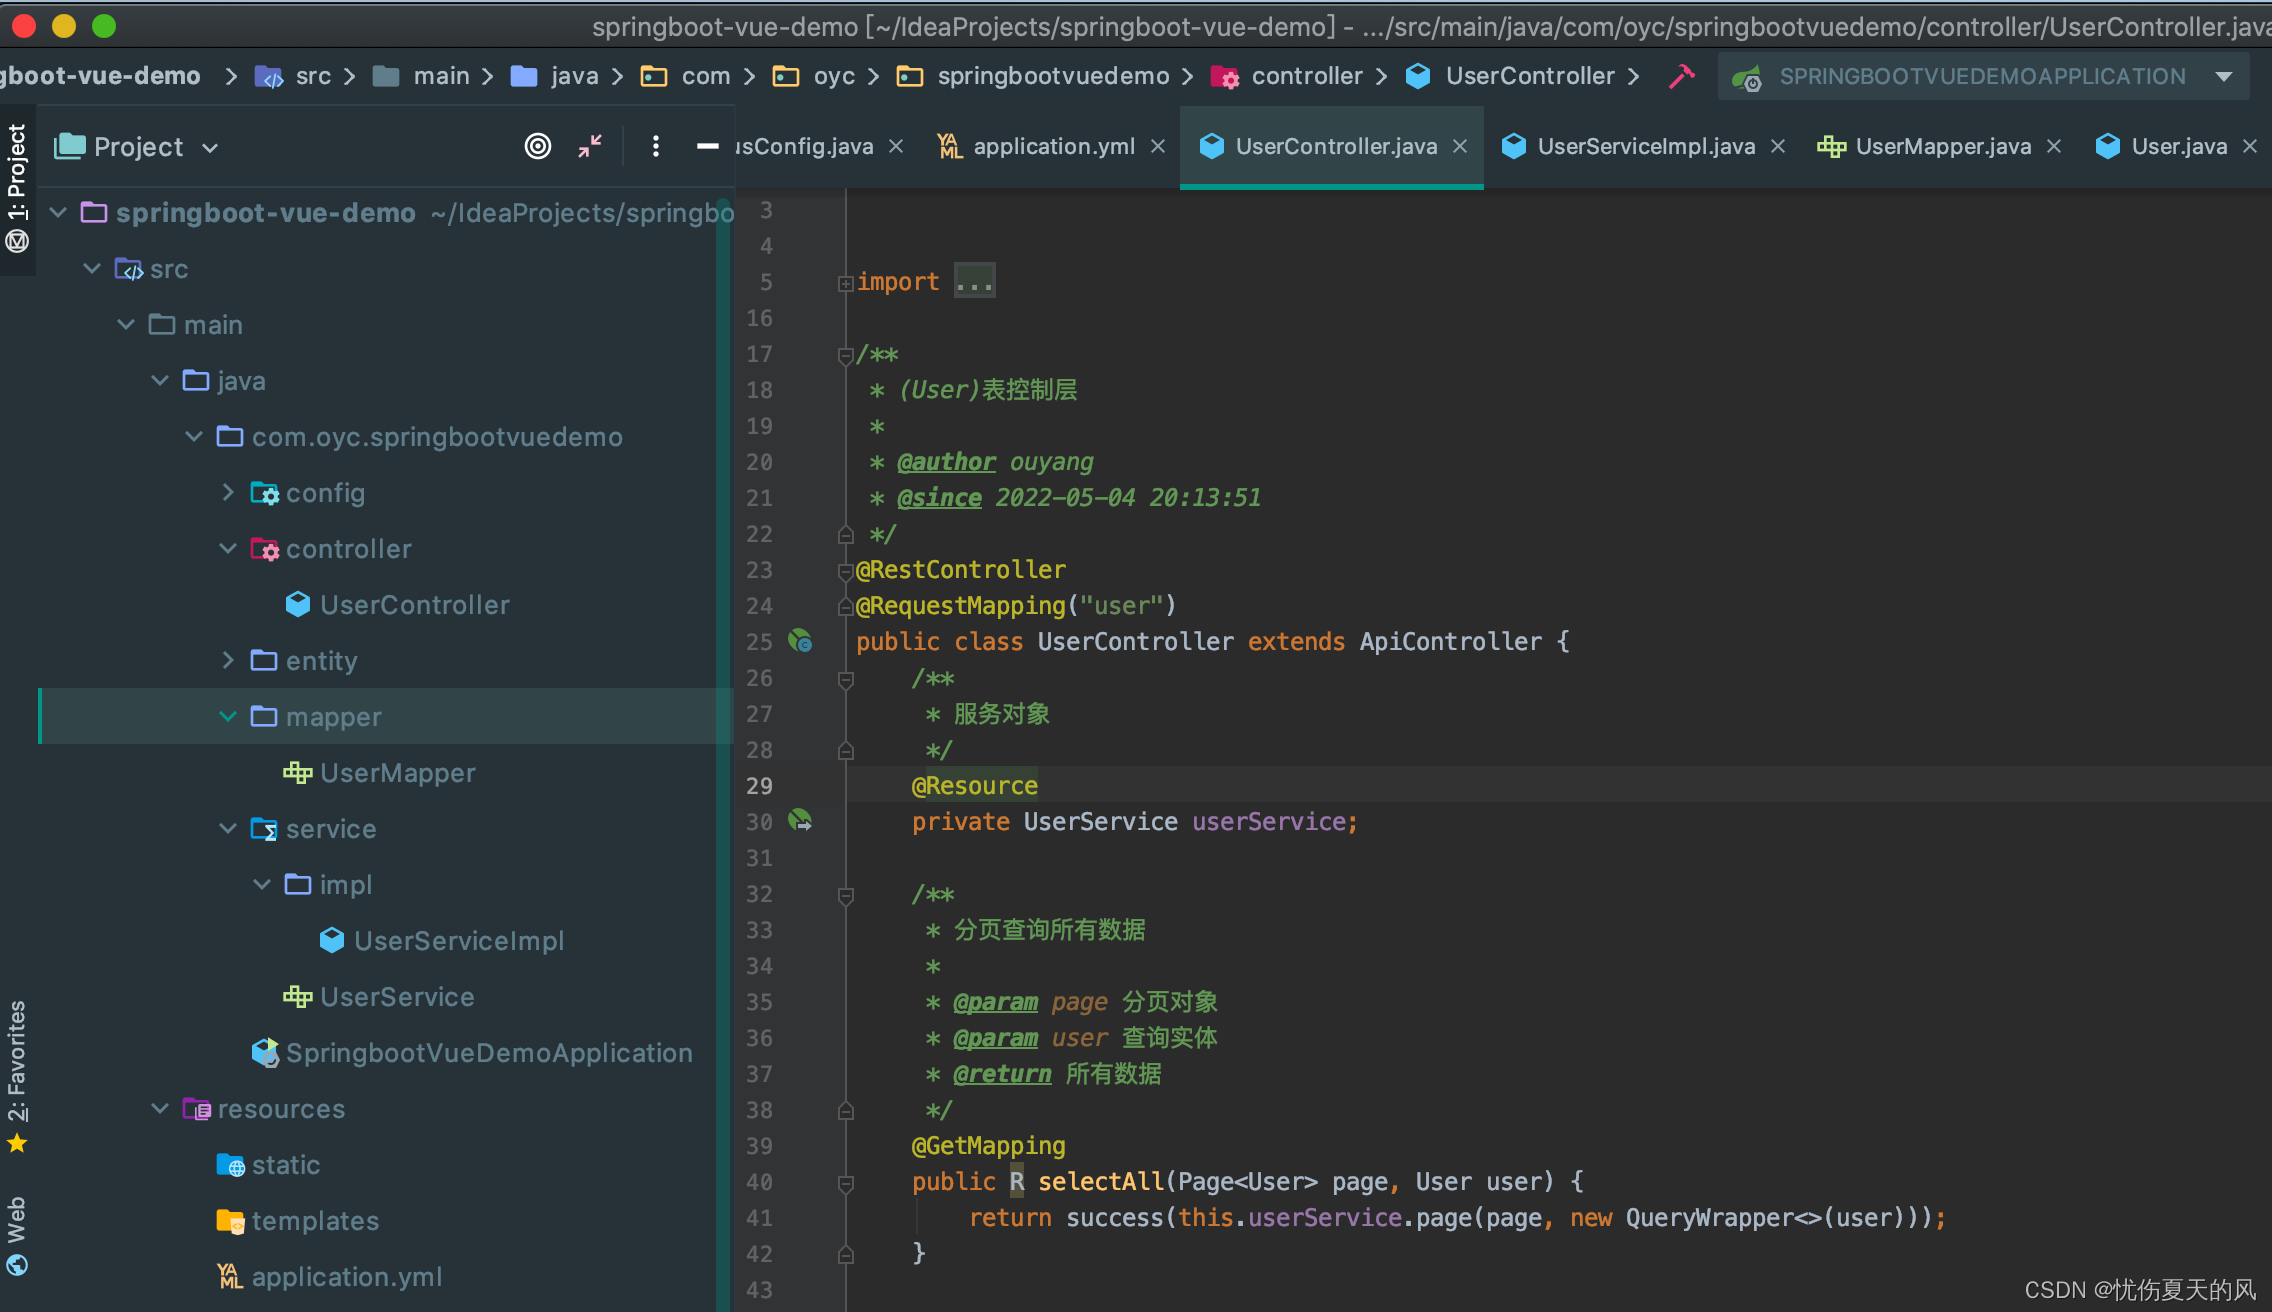
生成代码结构
1.3 设置跨域
(1) 配置类
package com.oyc.springbootvuedemo.config;

import org.springframework.context.annotation.Configuration;
import org.springframework.web.servlet.config.annotation.CorsRegistry;
import org.springframework.web.servlet.config.annotation.WebMvcConfigurer;

/**
 * @Description:当前的跨域的配置
 * @Author oyc
 * @Date 2022/5/4 7:28 下午
 */
@Configuration
public class CorsConfig implements WebMvcConfigurer {
    @Override
    public void addCorsMappings(CorsRegistry registry) {
        // 设置允许跨域的路由
        registry.addMapping("/**")
                // 设置允许跨域请求的域名
                .allowedOriginPatterns("*")
                // 是否允许证书(cookies)
                .allowCredentials(true)
                // 设置允许的方法
                .allowedMethods("*")
                //设置请求头
                .allowedHeaders("*")
                // 跨域允许时间
                .maxAge(3600);
    }
}
(2) 配置注解
在相关controller上加@CrossOrigin注解
(3) 前端设置proxy
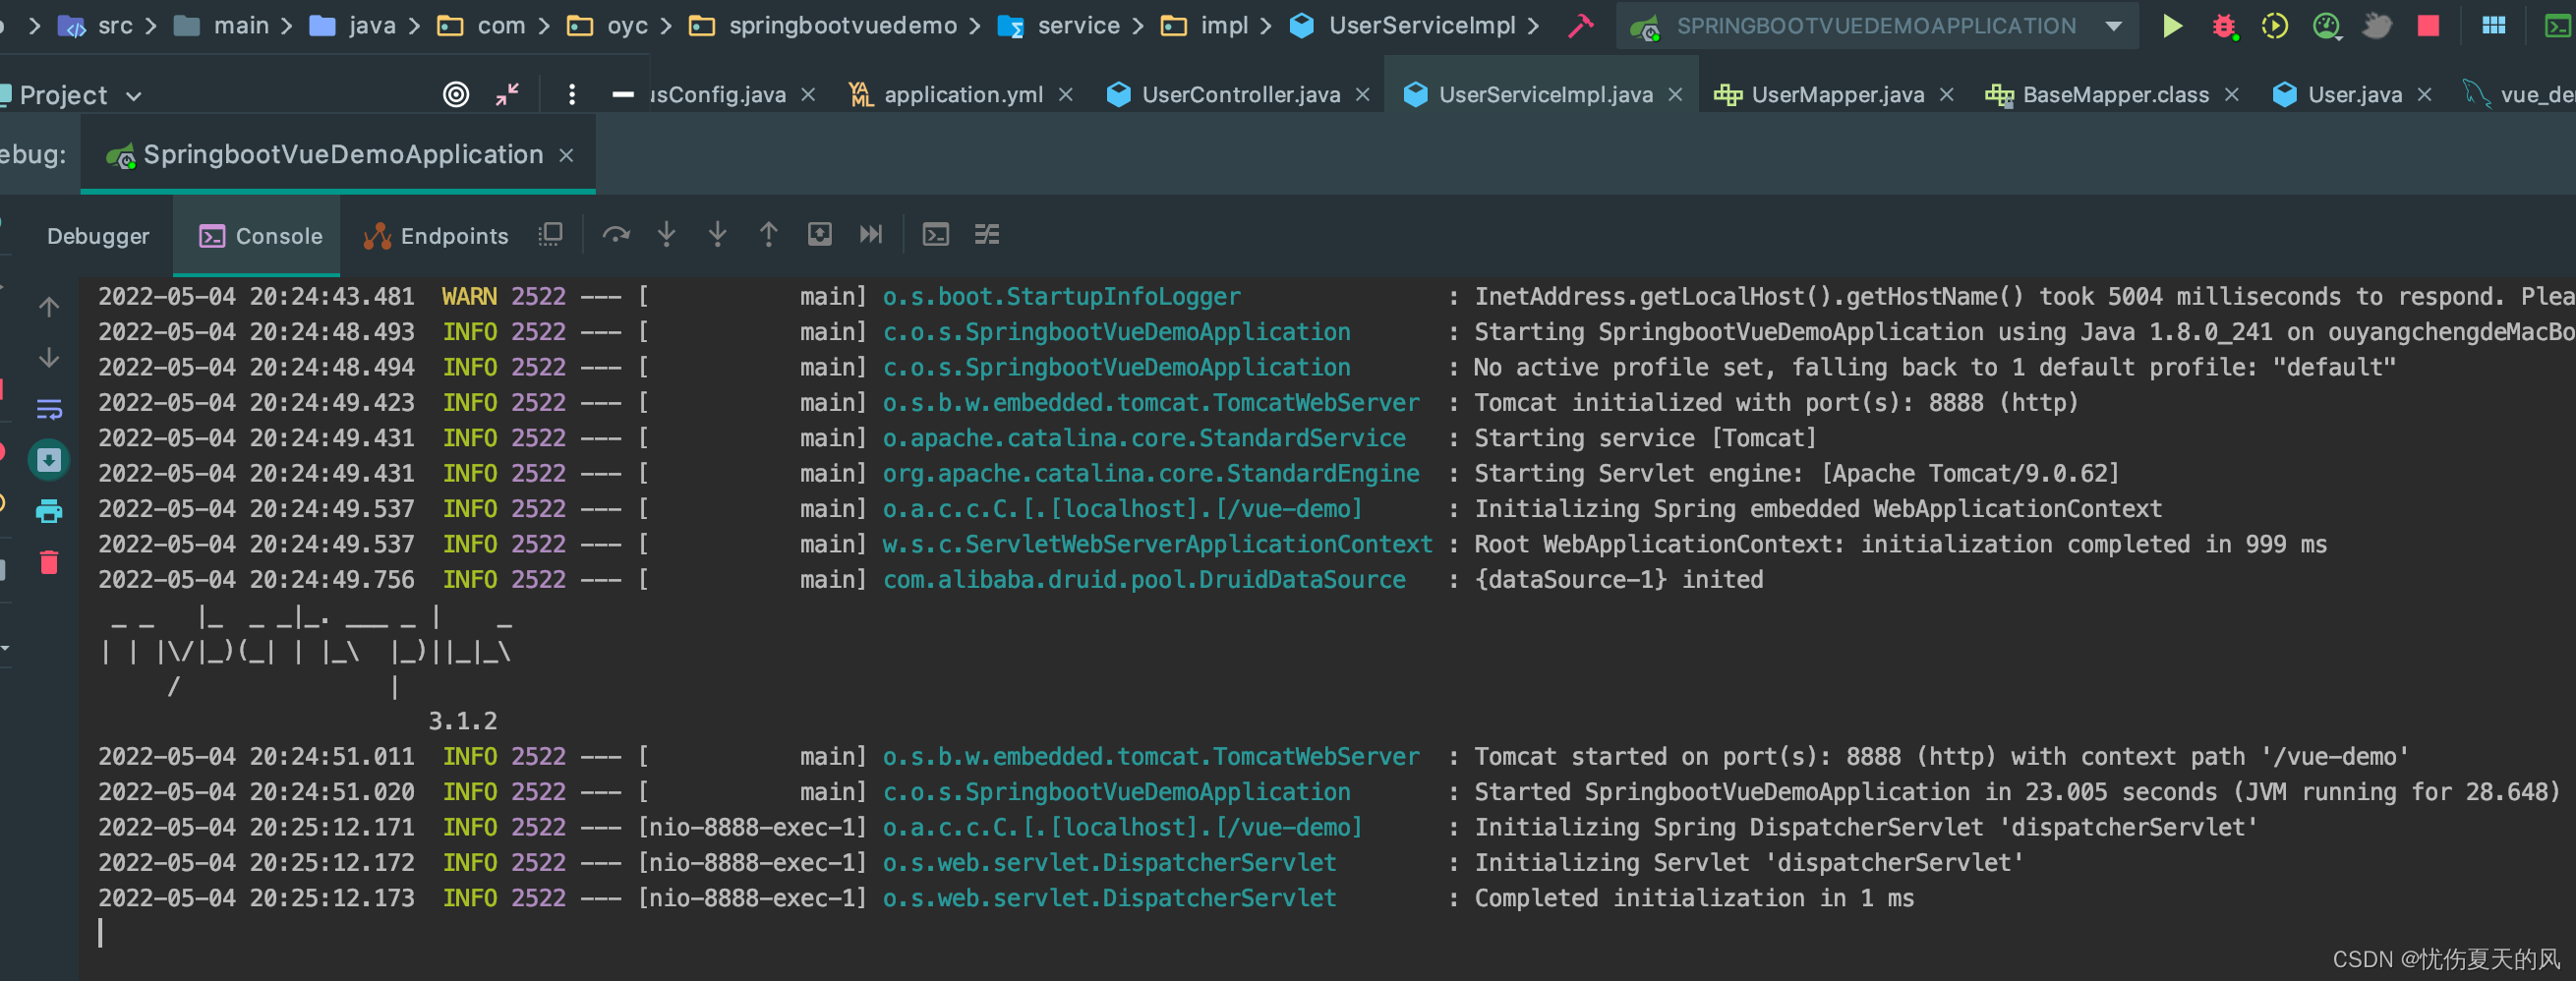
1.4 启动测试接口
启动调试,启动成功界面如下图所示:
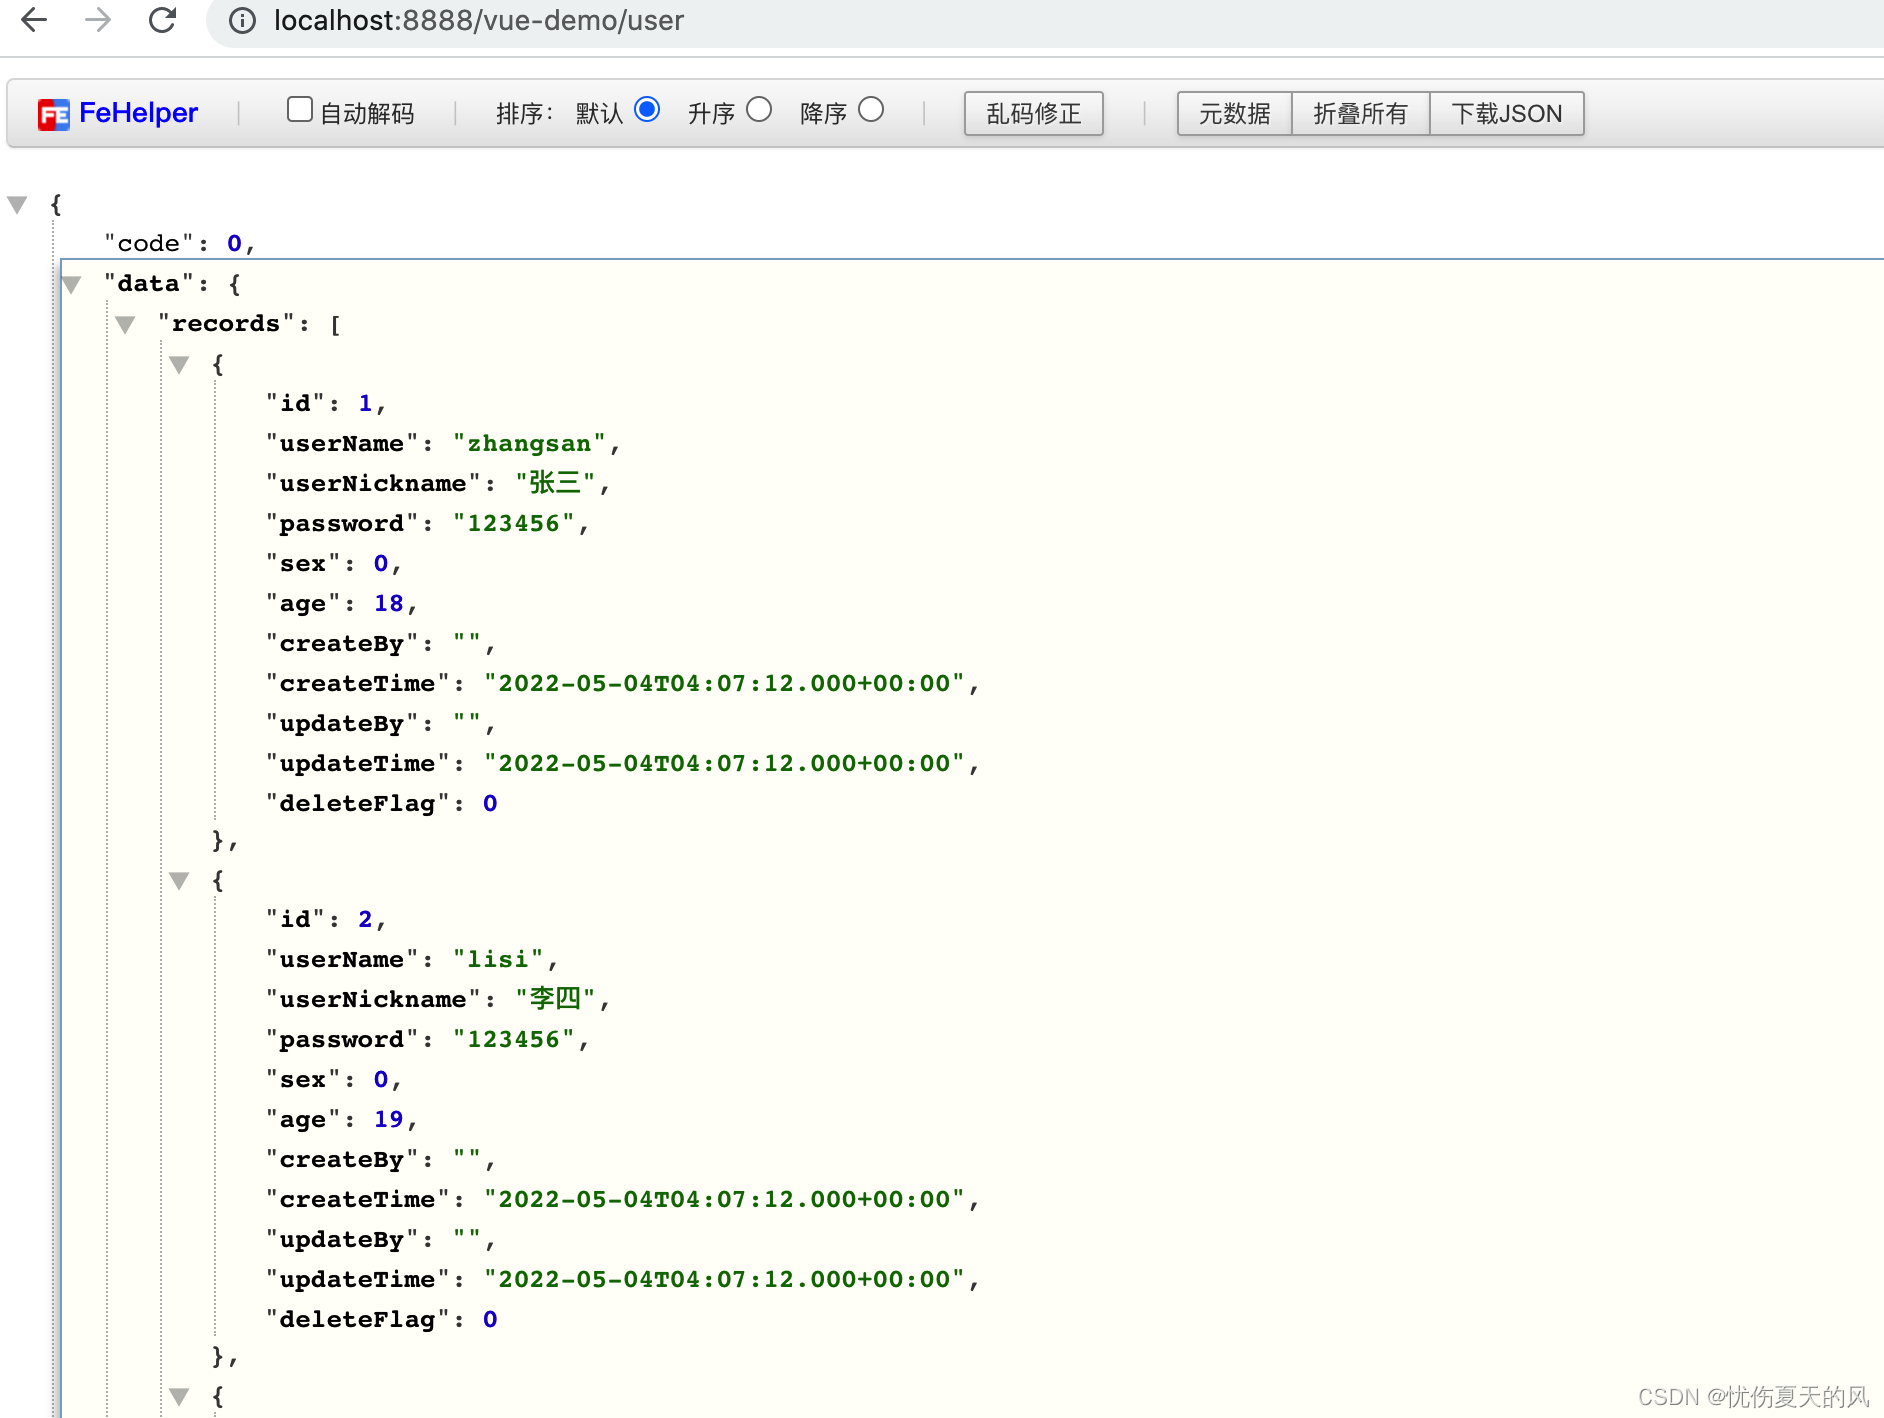
浏览器访问,返回结果,如下图所示:
二、前端项目搭建
前言-使用技术
2.1 vue
2.2 element-ui
2.3 axios
2.4 router
2.1 创建vue项目
vue init webpack vue_demo


启动项目:

使用浏览器访问:localhost:8080

2.2 集成element-ui
npm i element-ui -S
在main.js引入并使用
import ElementUI from 'element-ui' // element-ui的全部组件
import 'element-ui/lib/theme-chalk/index.css'// element-ui的css
Vue.use(ElementUI) // 使用elementUI
测试:
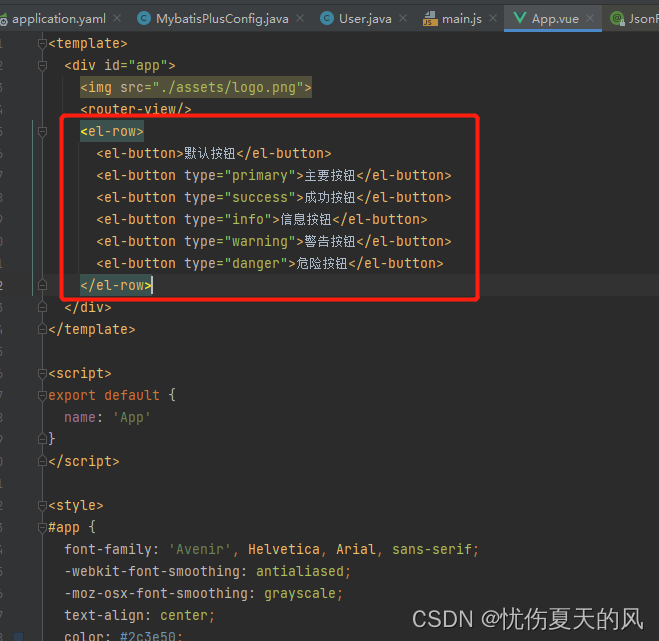
在App.vue中加入一段element-ui的代码,查看是否生效:
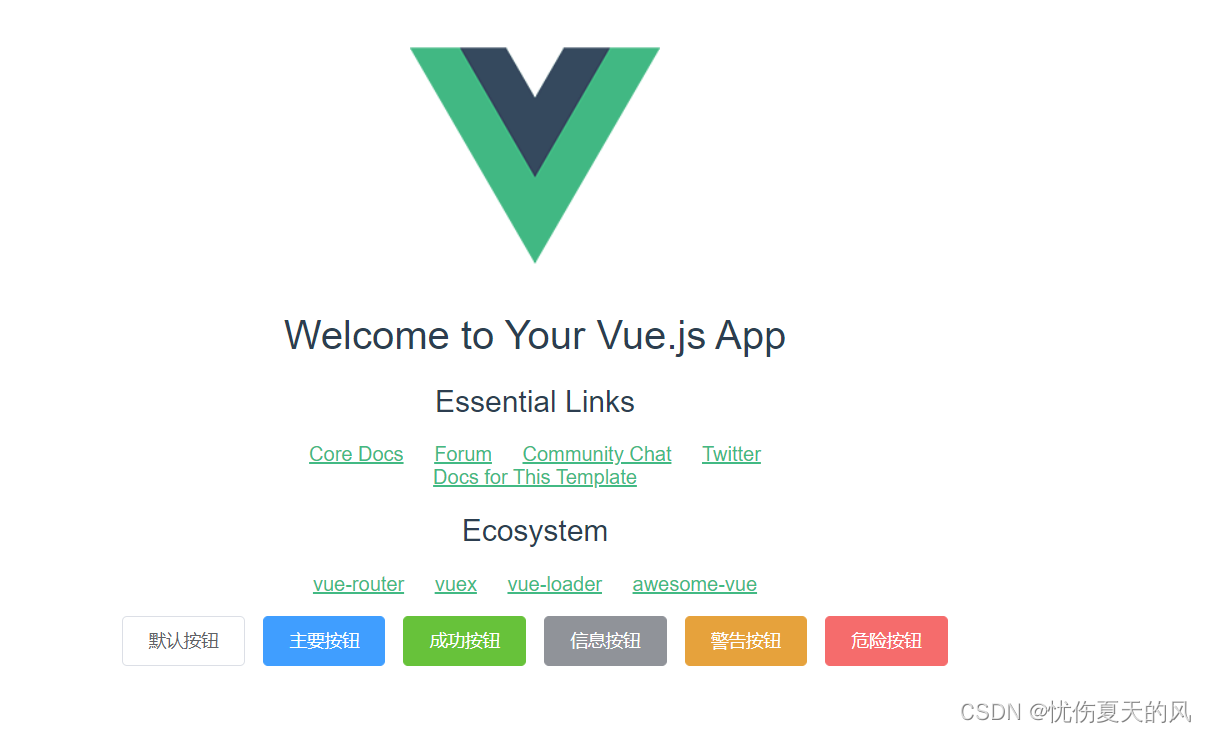
浏览器显示如下,说明生效:
2.3 集成axios
(1)安装axios
执行npm install axios --save 命令(–save:在package.json添加依赖 不加的话,只是去下载插件,项目中并没有依赖插件)
(2)以vue属性的方式使用axios
修改main.js
import axios from 'axios'
Vue.prototype.$ajax=axios
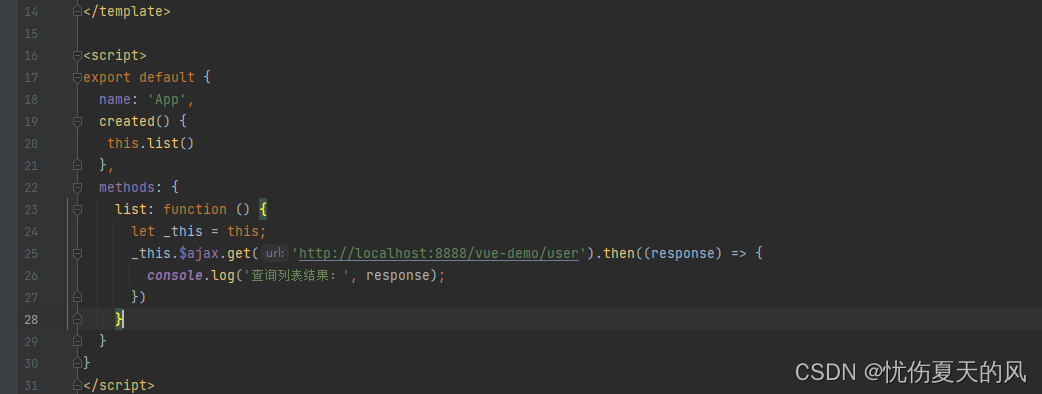
(3)使用方法 定义一个方法叫list 填入接口的响应路径
response就是返回的响应的数据结果
 created() {
   this.list()
  },
  methods: {
    list: function () {
      let _this = this;
      _this.$ajax.get('http://localhost:8888/vue-demo/user').then((response) => {
        console.log('查询列表结果:', response);
      })
    }
  }
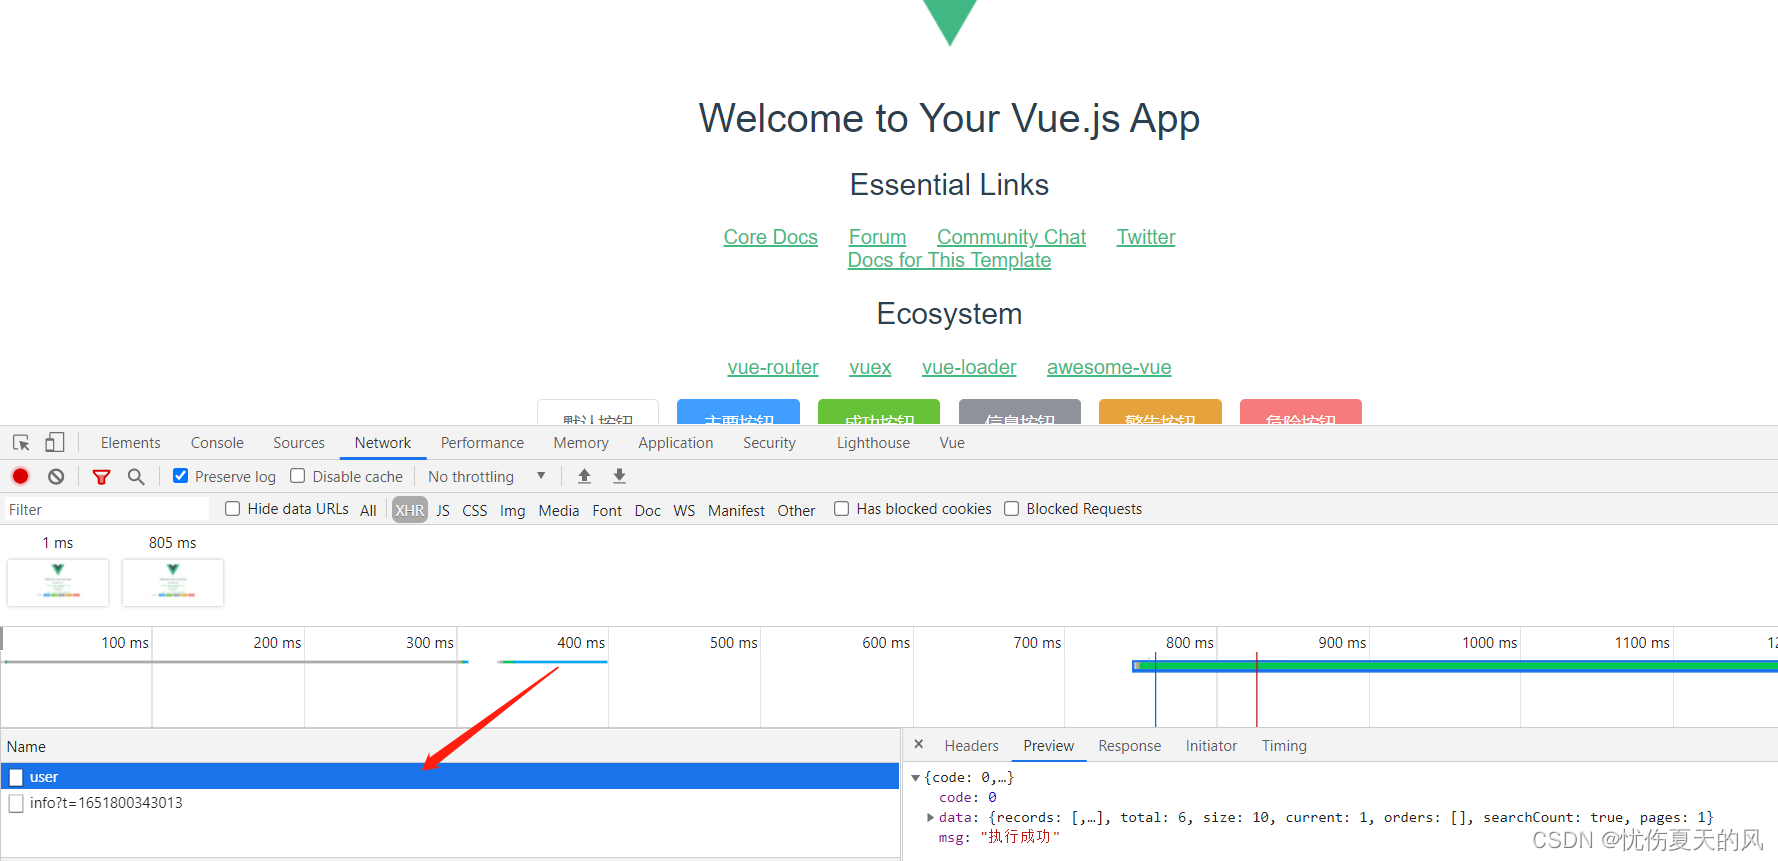
(4)浏览器访问,查看网络请求情况
使用浏览器访问:http://localhost:8080/#/,查看network情况,如下图所示,正常获取到后端接口数据。


 1万+
1万+


 被折叠的 条评论
为什么被折叠?
被折叠的 条评论
为什么被折叠?
 到【灌水乐园】发言


